Introduction
VMware Workstation Pro is a powerful virtualization software that allows you to run multiple operating systems on a single computer. While it offers a wide range of features and functionality, there may come a time when you need to uninstall VMware Workstation Pro from your system. Whether you’re looking to upgrade to a newer version or simply no longer require the software, this guide will walk you through the steps to uninstall VMware Workstation Pro on Windows, macOS, and Linux.
Uninstalling software can sometimes be a complex process, but with the right guidance, it can be done efficiently and effectively. In this article, we’ll provide you with a step-by-step instructions on how to properly uninstall VMware Workstation Pro. We’ll cover the necessary steps to fully remove the software from your system, including closing the program, uninstalling it using the appropriate methods for each operating system, removing virtual machines, cleaning up the registry (Windows only), and deleting leftover files and folders.
It’s important to note that before you proceed with uninstalling VMware Workstation Pro, you should backup any important files and virtual machines that you may have created using the software. This will ensure that you don’t lose any valuable data during the uninstallation process.
Now, let’s dive into the step-by-step instructions on how to uninstall VMware Workstation Pro on Windows, macOS, and Linux. Follow the instructions carefully to ensure a smooth and successful uninstallation process. Whether you’re a beginner or an experienced user, this guide will assist you in removing VMware Workstation Pro from your system in no time.
Step 1: Close VMware Workstation Pro
Before you can proceed with the uninstallation process, it is essential to make sure that VMware Workstation Pro is completely closed. This will ensure that no files or processes related to the software are running in the background, which could interfere with the uninstallation process.
To close VMware Workstation Pro, follow these steps:
- If you have any virtual machines running in VMware Workstation Pro, save your work and shut them down properly.
- Go to the system tray, located in the lower-right corner of your Windows taskbar (or menu bar on macOS).
- Locate the VMware Workstation Pro icon in the system tray and right-click on it.
- In the context menu that appears, select the option to “Close” or “Exit” VMware Workstation Pro.
Once you have successfully closed VMware Workstation Pro, you can proceed to the next step of the uninstallation process. It’s important to ensure that the software is completely closed before uninstalling to avoid any potential conflicts or errors during the process.
Now that you’ve closed VMware Workstation Pro, you’re ready to move on to the next step, which will guide you through the uninstallation process specific to your operating system.
Step 2: Uninstall VMware Workstation Pro on Windows
If you’re using VMware Workstation Pro on a Windows operating system and want to uninstall it, you can do so by following these steps:
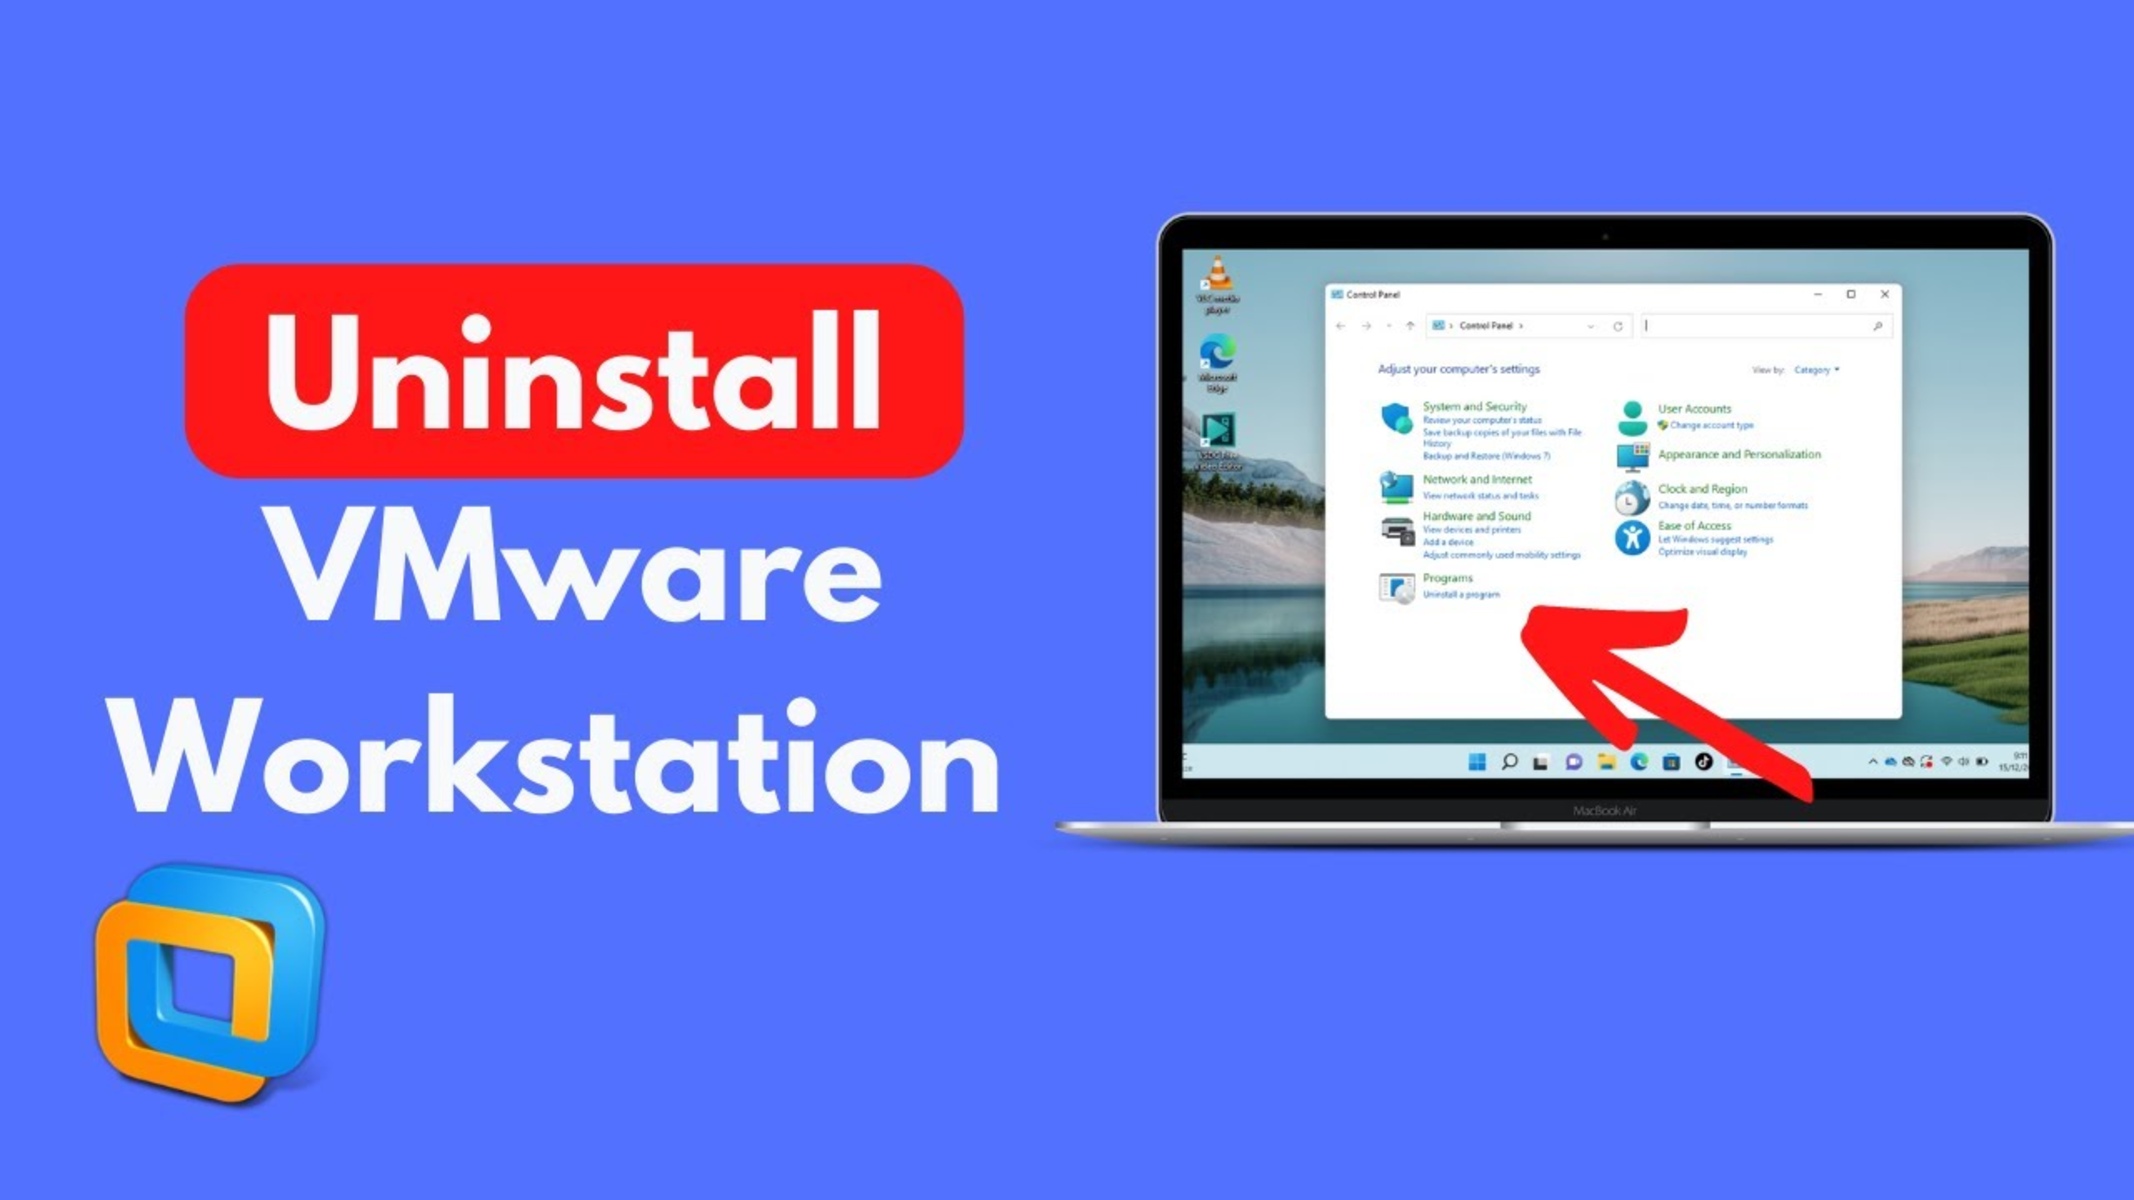
- Go to the Start menu and click on “Control Panel.”
- In the Control Panel window, locate and click on “Programs” or “Programs and Features.”
- A list of installed programs will appear. Find and select “VMware Workstation Pro” from the list.
- Click on the “Uninstall” or “Remove” button.
- A confirmation prompt will appear. Follow the on-screen instructions to proceed with the uninstallation process.
- Once the uninstallation process is complete, restart your computer to ensure that all components of VMware Workstation Pro have been successfully removed.
After restarting your computer, VMware Workstation Pro should be completely uninstalled from your Windows system. However, there may be additional steps you need to take to ensure a clean uninstallation.
It’s recommended to check your system for any leftover files, folders, or registry entries related to VMware Workstation Pro. You can use a third-party uninstaller or follow these manual steps:
- Press the Windows key + R to open the Run dialog box.
- Type “regedit” and press Enter to open the Windows Registry Editor.
- In the Registry Editor window, navigate to the following location:
HKEY_CURRENT_USER\Software\VMware - Delete the “VMware” folder by right-clicking on it and selecting “Delete.”
- Close the Registry Editor.
By following these additional steps, you can ensure that all traces of VMware Workstation Pro have been removed from your Windows system. This will help maintain a clean and optimized computer.
Now that you’ve successfully uninstalled VMware Workstation Pro on Windows, you can proceed to the next step depending on the operating system you’re using.
Step 3: Uninstall VMware Workstation Pro on macOS
If you’re using VMware Workstation Pro on a macOS system and want to uninstall it, you can do so by following these steps:
- Open a Finder window on your Mac.
- In the sidebar, click on “Applications” to view the list of installed applications.
- Locate and select “VMware Workstation Pro” in the list of applications.
- Drag the VMware Workstation Pro icon to the Trash bin located at the end of the Dock. Alternatively, you can right-click on the VMware Workstation Pro icon and select “Move to Trash”.
- To complete the uninstallation process, right-click on the Trash bin in the Dock and select “Empty Trash”.
- Restart your Mac to ensure that any remaining components of VMware Workstation Pro are fully removed.
After restarting your Mac, VMware Workstation Pro should be successfully uninstalled. However, it’s recommended to check for any leftover files or folders related to the software. You can manually remove them by following these steps:
- Open a Finder window on your Mac.
- Click on the “Go” menu in the menu bar at the top of the screen and select “Go to Folder”.
- In the “Go to Folder” window, type the following path and press Enter:
~/Library/Application Support/VMware - Delete the “VMware” folder by dragging it to the Trash bin.
- Empty the Trash bin to permanently delete the folder.
By following these additional steps, you can ensure that all traces of VMware Workstation Pro have been removed from your macOS system. This will help keep your computer clean and free from unnecessary files.
Now that you’ve successfully uninstalled VMware Workstation Pro on macOS, you can proceed to the next step depending on the operating system you’re using.
Step 4: Uninstall VMware Workstation Pro on Linux
If you’re using VMware Workstation Pro on a Linux system and want to uninstall it, you can do so by following these steps:
- Open a terminal on your Linux system. You can usually find it in the Applications menu or by pressing Ctrl + Alt + T on your keyboard.
- Run the following command to switch to the root user:
- Enter your root password when prompted.
- Run the following command to uninstall VMware Workstation Pro:
- Follow the on-screen prompts to proceed with the uninstallation process.
- Once the uninstallation process is complete, exit the root user by running the following command:
- Restart your Linux system to ensure that any remaining components of VMware Workstation Pro are fully removed.
bash
sudo su
bash
vmware-installer –uninstall-product vmware-workstation
bash
exit
After restarting your Linux system, VMware Workstation Pro should be successfully uninstalled. However, it’s recommended to check for any leftover files or directories related to the software. You can manually remove them by following these steps:
- Open a terminal on your Linux system.
- Run the following command to navigate to the appropriate directory:
- Delete the “vmware” directory by running the following command:
bash
cd ~/.vmware
bash
rm -rf vmware
By following these additional steps, you can ensure that all traces of VMware Workstation Pro have been removed from your Linux system. This will help maintain a clean and optimized environment.
Now that you’ve successfully uninstalled VMware Workstation Pro on Linux, you’ve completed the necessary steps to remove the software from your system.
Step 5: Remove VMware Workstation Pro Virtual Machines
When uninstalling VMware Workstation Pro, it’s important to consider any virtual machines that you have created using the software. These virtual machines contain important data and should be handled properly to avoid any data loss or confusion.
To remove VMware Workstation Pro virtual machines, follow these steps:
- Open VMware Workstation Pro.
- In the virtual machine library or inventory view, locate the virtual machines you want to remove.
- Right-click on each virtual machine and select “Delete” or “Remove” from the context menu.
- A confirmation prompt will appear. Read the prompt carefully and select the appropriate option to delete the virtual machine and its associated files.
- Repeat this process for all the virtual machines you want to remove from VMware Workstation Pro.
By removing the virtual machines from VMware Workstation Pro, you free up disk space and ensure that no unnecessary files and resources are left behind. However, it’s important to back up any important data from the virtual machines before deleting them to avoid any data loss.
Now that you have successfully removed the virtual machines from VMware Workstation Pro, you can proceed to the next step, which involves cleaning up the registry (Windows only) or deleting leftover files and folders.
Step 6: Clean Up the Registry (Windows Only)
If you’re uninstalling VMware Workstation Pro on a Windows system, it can be beneficial to clean up the registry to ensure that any leftover entries related to the software are removed. Cleaning up the registry can help optimize your system’s performance and prevent any potential conflicts or errors.
Before making any changes to the registry, it’s important to create a backup in case anything goes wrong. To clean up the registry, follow these steps:
- Press the Windows key + R on your keyboard to open the Run dialog.
- Type “regedit” and press Enter to open the Windows Registry Editor.
- In the Registry Editor window, navigate to the following location:
- Right-click on the “VMware” folder and select “Delete” from the context menu.
- Confirm the deletion by clicking “Yes” when prompted.
- Close the Registry Editor.
HKEY_CURRENT_USER\Software\VMwareBy following these steps, you have removed any leftover registry entries associated with VMware Workstation Pro. Cleaning up the registry can help ensure a clean and optimized Windows system.
Now that you’ve cleaned up the registry, you can move on to the final step, which involves deleting any remaining files and folders related to VMware Workstation Pro.
Step 7: Delete Leftover Files and Folders
After uninstalling VMware Workstation Pro and cleaning up the registry, it’s important to check for any remaining files and folders associated with the software. These leftover files may include configuration files, logs, or temporary files that were not removed during the uninstallation process. Deleting these files will help free up disk space and ensure a clean system.
To delete leftover files and folders, follow these steps:
- Open a File Explorer window on your computer.
- Navigate to the following locations:
- Windows: C:\Program Files\VMware or C:\Program Files (x86)\VMware
- macOS: /Applications/VMware Workstation Pro
- Linux: /usr/lib/vmware
- Locate the VMware Workstation Pro folder.
- Right-click on the folder and select “Delete” or “Move to Trash”.
- Confirm the deletion by clicking “Yes” or “Move to Trash” when prompted.
Additionally, you may want to check for any VMware-related folders in your user directory, such as in the Documents, Downloads, or AppData (Windows) folder. If you find any, you can safely delete them as well.
By deleting these leftover files and folders, you ensure a thorough removal of VMware Workstation Pro from your system. This will help maintain a clean and organized environment.
With the deletion of the leftover files and folders, you have successfully completed the uninstallation process of VMware Workstation Pro. Congratulations!
Conclusion
Uninstalling VMware Workstation Pro may seem like a daunting task, but with the right guidance, it can be a straightforward process. In this guide, we have provided you with step-by-step instructions on how to properly uninstall VMware Workstation Pro on Windows, macOS, and Linux.
Starting with closing the program, we walked you through the uninstallation process specific to each operating system. We also emphasized the importance of removing virtual machines, cleaning up the registry (Windows only), and deleting leftover files and folders. Following these steps will ensure a clean and complete removal of VMware Workstation Pro from your system.
Throughout the guide, we highlighted the significance of backing up any important files and virtual machines before uninstalling the software. This precautionary step ensures that you do not lose any valuable data during the uninstallation process.
By uninstalling VMware Workstation Pro, you can free up disk space, improve system performance, and remove any unnecessary files and registry entries. This can lead to a more optimized and efficient computer experience.
We hope this guide has helped you successfully uninstall VMware Workstation Pro. If you have any additional questions or need further assistance, feel free to consult the official VMware documentation or reach out to their support team.
Thank you for following this guide, and we wish you the best in your future endeavors!