Introduction
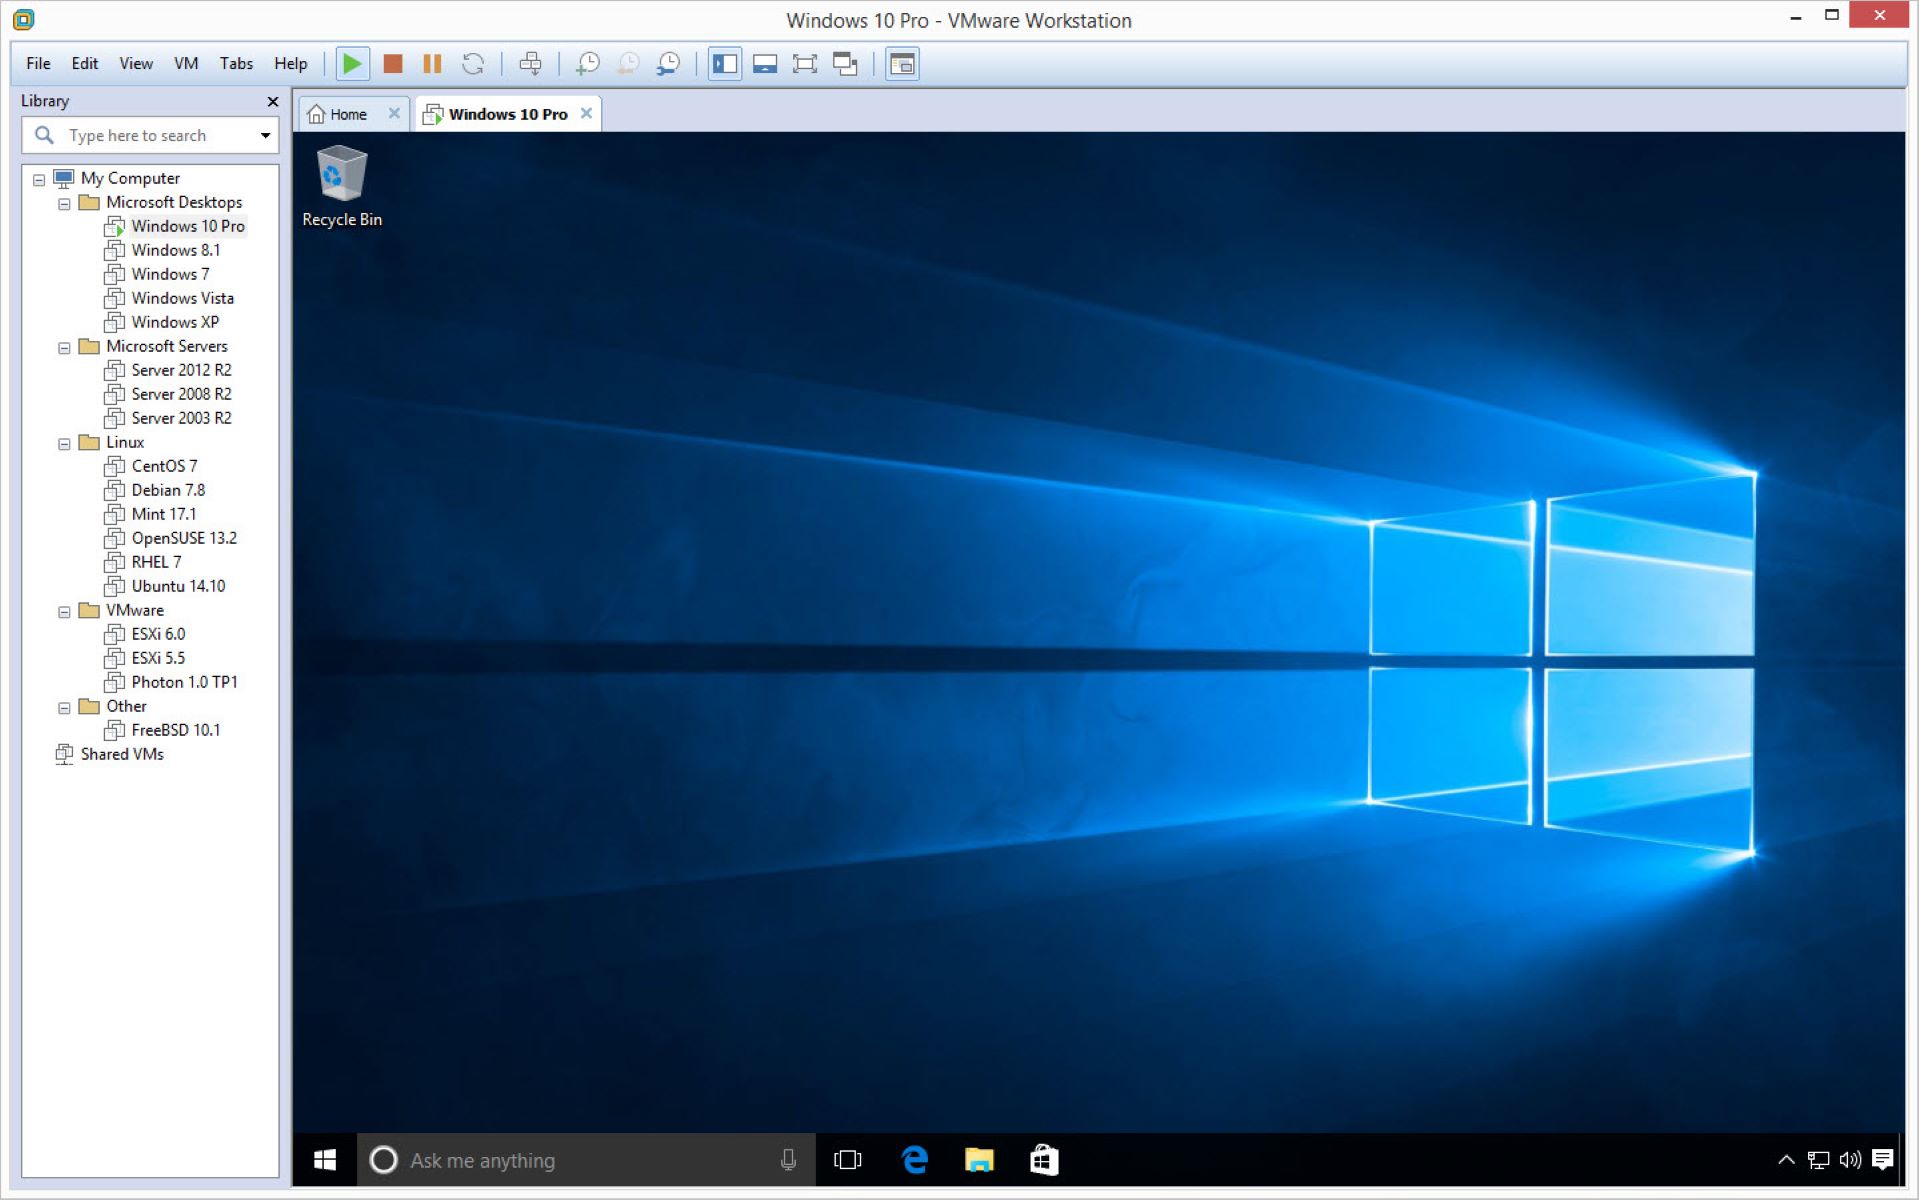
Welcome to this step-by-step guide on how to boot from a USB drive in VMware Workstation. Whether you’re a software developer, IT professional, or simply someone who wants to explore different operating systems, VMware Workstation provides a powerful virtualization platform that allows you to run multiple operating systems on your computer.
However, there may be instances when you need to boot your virtual machine directly from a USB drive. This could be necessary when installing a new operating system or running a troubleshooting tool. In this guide, we will walk you through the process of creating a bootable USB and configuring VMware Workstation to boot from it.
Before we begin, it’s important to note that the steps outlined in this guide assume you have a working knowledge of VMware Workstation and are familiar with virtual machine management. Additionally, you will need access to a compatible USB drive and the installation files or ISO image for the operating system you wish to boot from.
Now that we have the prerequisites out of the way, let’s dive into the process of creating a bootable USB drive.
Prerequisites
Before we start, make sure you have the following prerequisites in place:
- A computer running VMware Workstation: Ensure that you have VMware Workstation installed and configured on your computer. It can be a Windows or Linux operating system.
- A USB drive: You will need a USB drive with sufficient capacity to hold the operating system and any additional files you may need. Make sure the USB drive is formatted correctly and in good working condition.
- Operating system installation files or ISO image: Obtain the installation files or ISO image for the operating system you want to boot from. Ensure that you have the necessary license or legal permissions to use the operating system.
- USB bootable creation tool: You will need a tool to create a bootable USB drive. There are several options available, such as Rufus, UNetbootin, or the official tools provided by the operating system vendor. Choose one that is compatible with your operating system and follow the tool-specific instructions.
Having these prerequisites in place will ensure a smooth and seamless process when creating a bootable USB drive and configuring your virtual machine. Make sure you have all the necessary files and tools ready before proceeding to the next steps.
Creating a Bootable USB Drive
Now that we have the prerequisites ready, it’s time to create a bootable USB drive. The specific steps may vary depending on the operating system you are using and the tool you choose. However, the general process remains the same:
- Insert the USB drive into your computer: Connect the USB drive to an available USB port on your computer. Ensure that the drive is recognized and accessible before proceeding.
- Run the USB bootable creation tool: Open the USB bootable creation tool that you have chosen. Follow the tool’s instructions to select the appropriate ISO image or operating system files, and designate the USB drive as the destination.
- Create the bootable USB drive: Click on the create or start button to begin the process of creating the bootable USB drive. This may take some time, depending on the size of the operating system files and the speed of your USB drive.
- Verify the bootable USB drive: Once the process is complete, verify that the USB drive is bootable by accessing its contents. You should see the necessary files and folders required for the operating system installation.
It’s important to note that the process of creating a bootable USB drive can overwrite any existing data on the USB drive. Therefore, make sure you have backup copies of any important files before proceeding.
With the bootable USB drive created, you are now ready to configure VMware Workstation to boot from it. In the next section, we will explore the steps to get your virtual machine up and running with the bootable USB drive.
Configuring the Virtual Machine
Before you can boot your virtual machine from the USB drive, you need to configure the virtual machine settings in VMware Workstation. Follow the steps below to ensure your virtual machine is properly configured:
- Open VMware Workstation: Launch the VMware Workstation application on your computer.
- Open the virtual machine settings: Select the virtual machine you want to configure, then click on “Edit virtual machine settings” or a similar option.
- Access the virtual machine’s BIOS or firmware settings: Look for an option labeled “BIOS settings,” “Firmware settings,” or “Boot settings.” This may vary depending on the version of VMware Workstation you are using.
- Set the boot order: In the BIOS or firmware settings, locate the boot order section. Change the boot order to prioritize the USB drive as the first boot option. Save the changes and exit the BIOS or firmware settings.
- Configure USB compatibility: In the virtual machine settings, ensure that the USB compatibility is enabled. This allows the virtual machine to recognize and access the USB drive. Save the settings.
By configuring your virtual machine accordingly, you are now ready to boot from the USB drive in VMware Workstation. Let’s proceed to the next section to explore the steps for booting your virtual machine with the USB drive.
Booting from USB in VMware Workstation
With the virtual machine configured to boot from the USB drive, it’s time to start your virtual machine and boot from the USB drive in VMware Workstation. Follow the steps below:
- Start VMware Workstation: Launch the VMware Workstation application on your computer.
- Select the virtual machine: Choose the virtual machine that you have configured to boot from the USB drive.
- Power on the virtual machine: Click on the “Power on” or “Start” button to start the virtual machine.
- Access the boot menu: As the virtual machine boots up, quickly press the designated key to access the boot menu. This may vary depending on the operating system you’re running, but common keys include F2, F12, or Esc.
- Select the USB drive: In the boot menu, use the arrow keys to navigate and select the USB drive as the boot device. Press Enter to confirm your selection.
- Boot from the USB drive: The virtual machine will restart and begin booting from the USB drive. Follow the on-screen instructions to install the operating system or run the desired tool.
It’s important to note that the boot process may take some time, depending on the speed of your computer and the operating system you’re booting. Be patient and allow the virtual machine to complete the boot process.
Once the boot process is complete, you can proceed with the installation or use the operating system as you would on a physical machine. Make sure to properly shut down or exit the virtual machine when you’re finished.
That’s it! You’ve successfully booted from a USB drive in VMware Workstation. In case you encounter any issues or errors during the process, refer to the troubleshooting section for possible solutions.
Troubleshooting
While booting from a USB drive in VMware Workstation is generally a straightforward process, you may encounter some common issues along the way. Here are some troubleshooting tips to help resolve any potential problems:
1. USB not recognized: If the USB drive is not being recognized in the virtual machine, ensure that you have properly configured the USB compatibility settings in the virtual machine settings. Additionally, ensure that the USB drive is properly inserted and functioning correctly.
2. Boot menu not accessible: If you’re unable to access the boot menu to select the USB drive as the boot device, try pressing the designated key multiple times during the boot process. Some systems have a short window of opportunity to access the boot menu.
3. Incorrect boot order: If the virtual machine is not booting from the USB drive, double-check the boot order settings in the virtual machine’s BIOS or firmware settings. Ensure that the USB drive is set as the first boot option.
4. Incompatible operating system: Some operating systems may not be compatible with VMware Workstation or may require additional configuration. Make sure to check the VMware compatibility guide and the operating system’s documentation for any specific requirements or known issues.
5. Corrupted USB drive: If you notice any errors or issues with the USB drive, such as file corruption or formatting problems, try formatting the drive again and recreating the bootable USB using a reliable tool.
6. Insufficient resources: If your virtual machine is running out of resources or is experiencing slow performance, consider allocating more resources like CPU, memory, or disk space to the virtual machine.
If you continue to encounter issues after attempting these troubleshooting steps, consult the VMware Workstation documentation or community forums for further assistance. Additionally, make sure that your VMware Workstation software is up to date with the latest patches and updates.
Overall, troubleshooting can vary depending on the specific scenario and configuration. It’s important to systematically identify and address any potential issues to ensure a successful boot from the USB drive.
Conclusion
Congratulations! You have successfully learned how to boot from a USB drive in VMware Workstation. This process allows you to explore different operating systems, perform installations, and run troubleshooting tools directly from a USB drive within your virtual machine.
Throughout this guide, we covered the prerequisites for booting from USB, creating a bootable USB drive, configuring the virtual machine settings, and the step-by-step process to boot from the USB drive in VMware Workstation. We also provided troubleshooting tips to help you overcome any potential issues.
Remember to ensure that you have the necessary prerequisites in place, including a compatible USB drive and the operating system installation files. Take the time to carefully configure your virtual machine settings to prioritize the USB drive as the boot device, and then follow the instructions to boot from the USB drive during the virtual machine’s startup process.
If you encounter any issues or errors, make use of the troubleshooting tips provided to help resolve them. Additionally, don’t hesitate to consult the VMware Workstation documentation or community forums for further assistance.
We hope this guide has equipped you with the knowledge to confidently boot from a USB drive in VMware Workstation. Enjoy exploring different operating systems and taking advantage of the versatile virtualization capabilities offered by VMware Workstation.


