Introduction
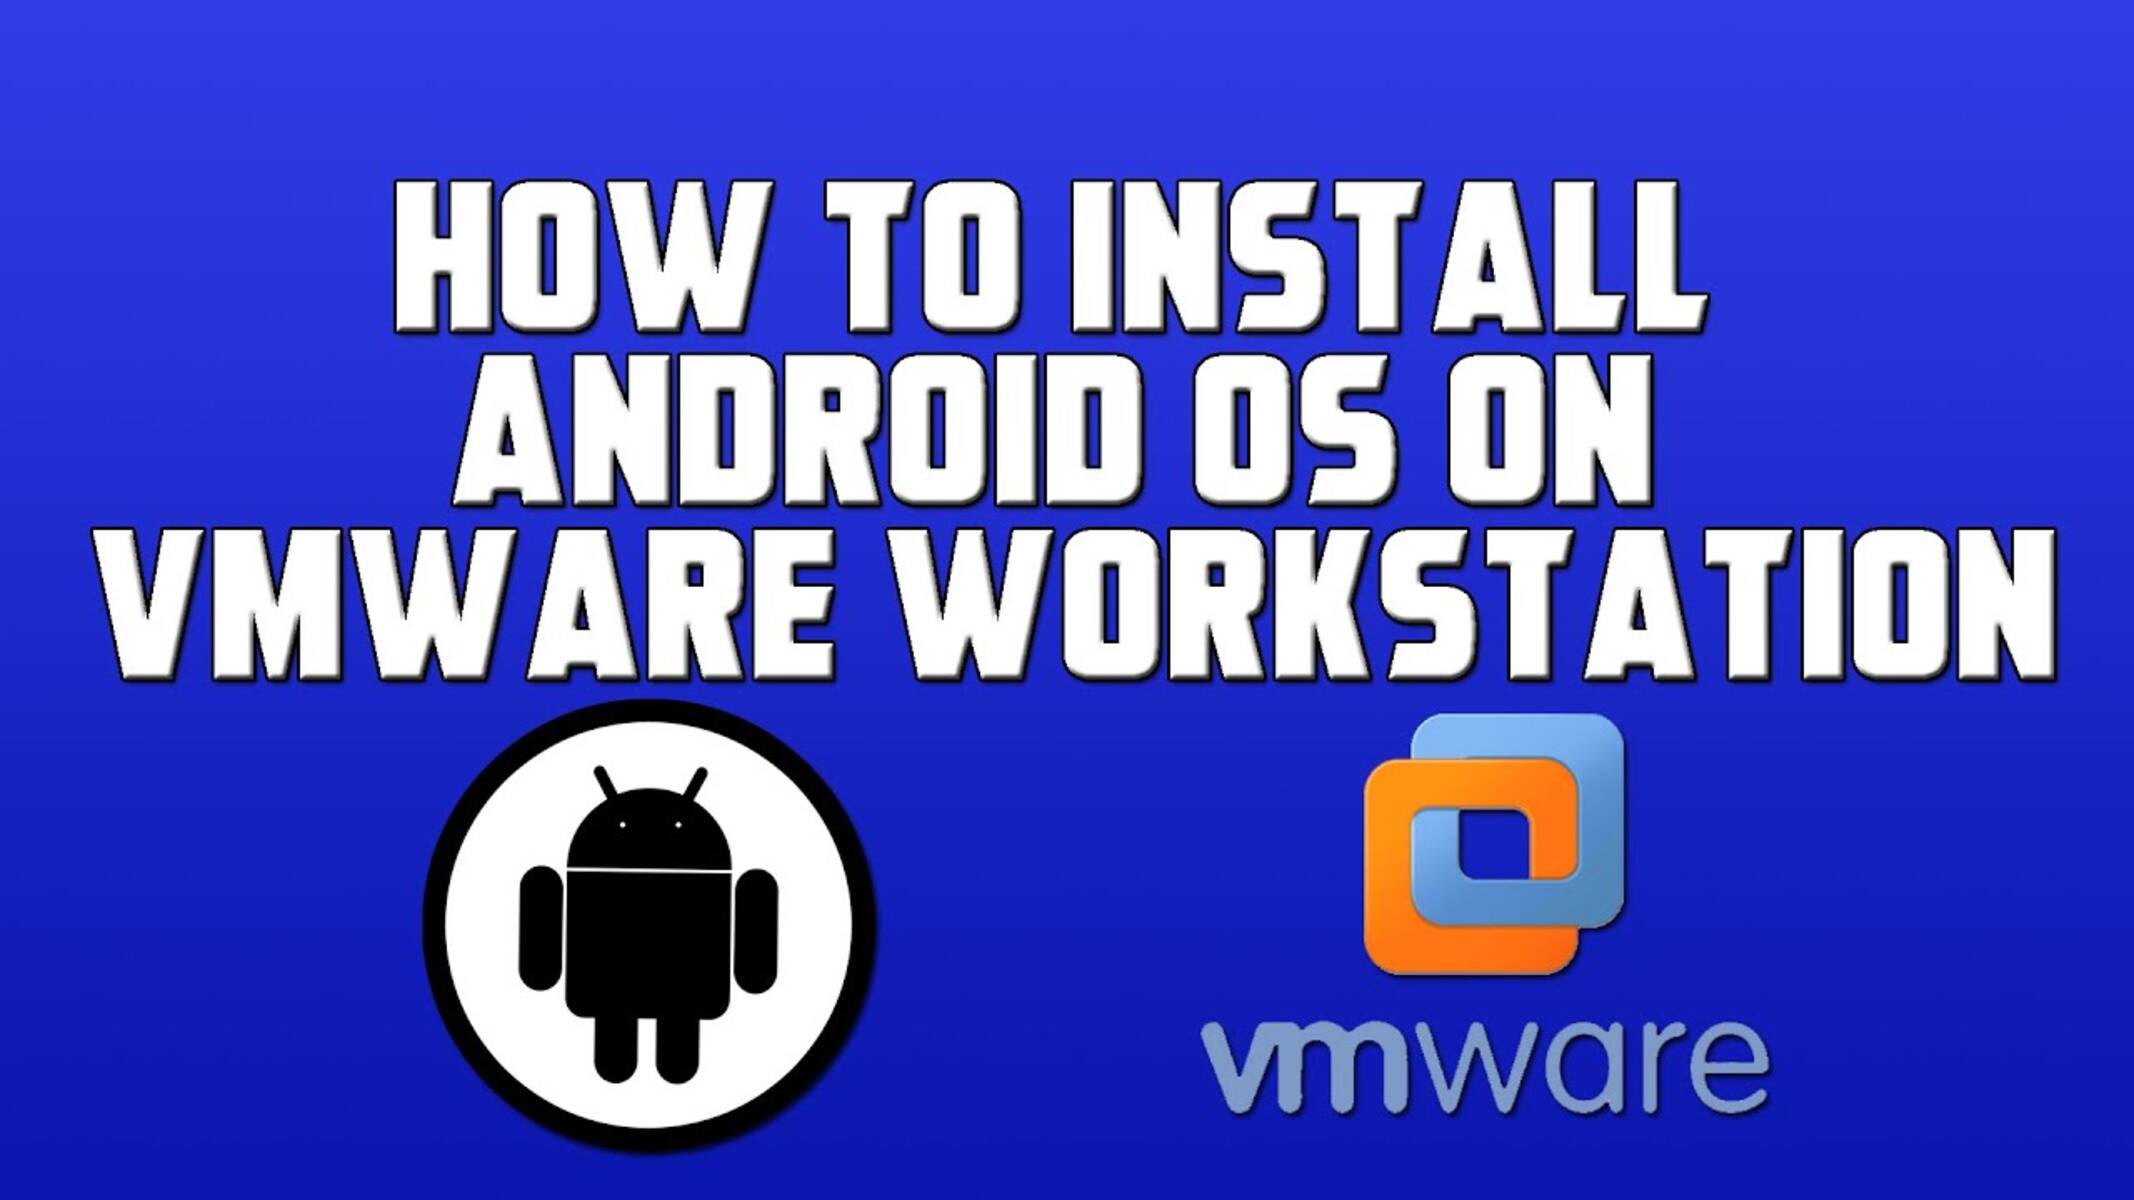
Welcome to this step-by-step guide on how to install Android in VMware Workstation 11. VMware Workstation is a popular virtualization software that allows you to run multiple operating systems on your computer simultaneously. With this guide, you’ll be able to set up and run Android, one of the most widely used mobile operating systems, on your Windows or Linux machine using VMware Workstation 11.
By virtualizing Android in VMware Workstation, you can enjoy the benefits of having Android apps and functionality on your desktop or laptop without the need for a physical Android device. This is particularly useful for developers, testers, or anyone who wants to explore Android’s features and applications on a larger screen.
With VMware Workstation 11, you’ll have the ability to run Android as a guest operating system within a virtual machine. This means you can easily switch between your primary operating system and the virtualized Android environment, enhancing your productivity and flexibility.
This guide will walk you through the entire process, from downloading and installing VMware Workstation 11 to configuring the virtual machine and installing Android. You’ll also learn how to customize Android settings and start using it in VMware Workstation 11.
Before we dive into the steps, it’s important to note that you will need a legitimate copy of VMware Workstation 11, as well as a compatible version of the Android ISO file. Make sure your computer meets the system requirements and that you have enough disk space to accommodate the virtual machine and Android installation.
Now, let’s get started with the first step: downloading and installing VMware Workstation 11.
Step 1: Download and Install VMware Workstation 11
The first step in installing Android in VMware Workstation 11 is to download and install the software onto your computer. Here’s how you can do it:
- Go to the official VMware website and navigate to the downloads section.
- Select the appropriate version of VMware Workstation 11 for your operating system (Windows or Linux).
- Click on the download link to start the download process.
- Once the download is complete, locate the installer file and double-click on it to begin the installation.
- Follow the on-screen instructions to complete the installation process. You may need to accept the license agreement and select the installation location.
- Once the installation is finished, launch VMware Workstation 11 to ensure that it is installed correctly.
It’s worth mentioning that VMware Workstation 11 is a paid software. You will need to purchase a license to use it beyond the trial period. However, if you don’t have a license, you can still use the trial version to follow along with this guide.
Make sure to check the system requirements for VMware Workstation 11 before installing it. Your computer should meet the minimum hardware and software specifications to ensure proper functionality.
Now that you have VMware Workstation 11 installed on your computer, you’re ready to proceed to the next step: downloading the Android ISO file.
Step 2: Download the Android ISO File
In order to install Android in VMware Workstation 11, you’ll need to obtain the Android ISO file. This file contains the complete Android operating system that will be used within the virtual machine. Here’s how you can download the Android ISO file:
- Open a web browser and search for “Android ISO download”.
- From the search results, choose a reliable source to download the Android ISO file. One recommended source is the official Android-x86 project website.
- Navigate to the download section of the website and select the appropriate version of the Android ISO file for your needs. Choose the version that is compatible with VMware Workstation 11.
- Click on the download link or button to start the download process.
- Once the download is complete, locate the ISO file on your computer.
It’s important to note that there are different versions of Android available, so make sure to download the one that suits your requirements. You may choose a specific version based on the Android version you want to install or the features you need.
By downloading the Android ISO file from a reliable source, you can ensure that you’re getting a clean and trustworthy version of the operating system. This will help to avoid any compatibility issues or security risks.
Now that you have successfully downloaded the Android ISO file, you’re ready to move on to the next step: creating a new virtual machine in VMware Workstation 11.
Step 3: Create a New Virtual Machine in VMware Workstation
Now that you have VMware Workstation 11 installed and the Android ISO file downloaded, it’s time to create a new virtual machine to run Android. Here’s how you can do it:
- Launch VMware Workstation 11 on your computer.
- Click on “File” in the top menu bar and select “New Virtual Machine”.
- In the New Virtual Machine Wizard, choose “Typical” and click “Next”.
- Select the option to install the operating system later and click “Next”.
- Choose “Linux” as the guest operating system and select the version that matches the Android ISO file you downloaded. If there is no specific option for Android, you can select “Other Linux”.
- Provide a name for your virtual machine and choose a location to store the virtual machine files. Click “Next” to continue.
- Specify the disk capacity for the virtual machine. The recommended size for Android is at least 16GB. You can choose to store the virtual disk as a single file or split it into multiple files. Click “Next” to proceed.
- Review the virtual machine settings and click “Finish” to create the virtual machine.
By creating a new virtual machine, you are setting up a separate environment where Android can run independently of your primary operating system. This ensures that any changes made in the virtual machine will not affect your computer’s main system.
During the virtual machine creation process, you have the ability to customize various settings such as the number of processors, memory allocation, and network configuration. It’s recommended to allocate enough resources to the virtual machine to ensure smooth performance of Android.
Now that you have created a new virtual machine, you’re ready to move on to the next step: configuring the virtual machine settings.
Step 4: Configure the Virtual Machine Settings
After creating a new virtual machine in VMware Workstation 11, it’s essential to configure the settings to optimize the performance and functionality of the virtual machine. Here’s how you can configure the virtual machine settings:
- With the virtual machine selected in the VMware Workstation 11 window, click on “Edit virtual machine settings”.
- In the Hardware tab, you can modify various settings such as the number of processors, memory allocation, and network adapter. Allocate enough resources to the virtual machine to ensure smooth operation of Android.
- In the Options tab, you can configure additional settings such as power management, memory optimization, and display. You may customize these settings based on your preferences and requirements.
- If needed, you can add or remove virtual hardware devices such as CD/DVD drive, USB controller, or sound card in the Virtual Machine Settings window.
- Ensure that the ISO file you downloaded earlier is selected as the primary bootable device. This will enable the virtual machine to boot from the Android ISO and initiate the installation process.
- Review the settings and make any necessary adjustments. Click “OK” to save the changes.
Configuring the virtual machine settings is crucial for a smooth and error-free installation of Android. Allocating sufficient resources to the virtual machine ensures that it runs efficiently and provides an optimal user experience.
It’s important to note that the specific settings and options available may vary depending on the version of VMware Workstation 11 and the guest operating system (Android) you have selected. It’s recommended to refer to the official VMware documentation for detailed information on available settings.
Now that you have configured the virtual machine settings, you’re ready to proceed to the next step: installing Android in the virtual machine.
Step 5: Install Android in the Virtual Machine
With the virtual machine settings configured, it’s time to install Android in the virtual machine. Follow these steps to start the installation process:
- Ensure that the virtual machine is selected in the VMware Workstation 11 window, and then click on the “Play virtual machine” button.
- The virtual machine will boot up and display the VMware boot screen. Wait for a few seconds until the Android-x86 installation menu appears.
- Use the arrow keys to navigate to the “Install Android-x86 to hard disk” option and press Enter.
- Select the disk partition where you want to install Android. If you’re not sure, you can choose the default option.
- Choose the file system format for the partition. The recommended format is ext4, but you can choose a different option if desired.
- Confirm the installation when prompted. This will start the installation process, which may take a few minutes to complete.
- Once the installation is finished, you will see a message indicating the successful installation. Press Enter to reboot the virtual machine.
During the installation process, you may be prompted to set up additional options such as network configuration, time zone, and user credentials. Follow the on-screen instructions to complete these steps.
It’s important to note that the installation process may vary slightly depending on the version of Android you are installing and any customizations you have made to the virtual machine settings.
Now that Android is installed in the virtual machine, you’re ready to move on to the next step: customizing Android settings.
Step 6: Customize Android Settings
After successfully installing Android in the virtual machine, it’s time to customize the Android settings to tailor it to your preferences. Here’s how you can customize the settings:
- Boot up the virtual machine and wait for Android to load.
- You will be prompted to set up the initial settings, such as language, Wi-Fi connection, and Google account. Follow the on-screen instructions to complete these steps.
- Once you have completed the initial setup, you can explore the Android interface and access the settings by swiping down from the top of the screen and tapping on the gear icon.
- In the settings menu, you can customize various aspects of Android, including display settings, sound settings, network settings, and more. Take some time to familiarize yourself with the available options and make adjustments as needed.
- You can also install additional apps from the Google Play Store to enhance the functionality of Android. Open the Play Store app, search for the desired apps, and install them just like you would on a physical Android device.
- Customize the home screen by adding widgets, rearranging app icons, and creating folders to organize your apps. Personalize the wallpaper and choose a theme that suits your taste.
- Explore the various settings and options available in Android to make it your own. You can enable developer options, adjust privacy settings, configure notifications, and much more.
Customizing the Android settings allows you to optimize the user experience and tailor Android to your specific needs. Make sure to explore the available settings and options to make the most out of your virtualized Android environment.
Now that you have customized the Android settings, you’re ready to start using Android in VMware Workstation 11.
Step 7: Start Using Android in VMware Workstation 11
Now that you have installed and customized Android in VMware Workstation 11, it’s time to start using it. Here’s how you can begin using Android within the virtual machine:
- Launch VMware Workstation 11 on your computer.
- Select the virtual machine that you created for Android.
- Click on the “Play virtual machine” button to start the virtual machine.
- The virtual machine will boot up, and you will see the Android home screen.
- Use the mouse or keyboard to interact with Android, just like you would on a physical Android device.
- Access the app drawer to find and launch the installed apps. You can also use the search bar to quickly find specific apps.
- Connect to the internet by configuring Wi-Fi or using a wired network connection. This will allow you to browse the web, check emails, and access online services.
- Transfer files between your computer and the virtual machine by using the shared folders feature in VMware Workstation 11. This allows for easy file exchange and collaboration.
- Enjoy the full Android experience on your computer, including using various apps, customizing settings, browsing the internet, and more.
Using Android in VMware Workstation 11 provides you with the convenience of a larger screen and the power of your computer, while still having access to all the Android apps and functionality. Whether you’re a developer testing your app or simply exploring Android features, the virtual environment allows for a seamless experience.
Remember to save your work and properly shut down the virtual machine when you’re done using Android. This will ensure that any changes or data are properly saved and prevent any potential issues.
Now that you have successfully set up and are using Android in VMware Workstation 11, you can make the most of your virtualized Android experience.
Conclusion
Installing and running Android in VMware Workstation 11 opens up a world of possibilities for users who want to experience Android on their computer. With the step-by-step guide provided in this article, you have learned how to download and install VMware Workstation 11, download the Android ISO file, create a new virtual machine, configure the virtual machine settings, install Android, customize the Android settings, and start using Android within VMware Workstation 11.
By virtualizing Android, you can harness the power of your computer while enjoying the features and functionality of the Android operating system. This is particularly beneficial for developers, testers, or anyone who wants to explore Android apps and features on a larger screen.
Remember, VMware Workstation 11 is a paid software, and you will need a legitimate license to use it beyond the trial period. Ensure that your computer meets the system requirements and has enough disk space to accommodate the virtual machine and Android installation.
Throughout the installation and configuration process, it’s important to refer to the official VMware documentation and follow the instructions carefully. This will help you avoid any potential issues and ensure a smooth installation and usage experience.
Now that you have successfully installed Android in VMware Workstation 11, take some time to explore the Android environment, install your favorite apps, and customize the settings to your liking. Enjoy the benefits of having Android on your computer, and make the most of this virtualized Android experience.
Thank you for following this guide. We hope that it has been helpful and that you enjoy using Android in VMware Workstation 11!