Introduction
Welcome to this guide on how to set up a domain controller in VMware Workstation. If you’re looking to create a virtual lab environment or practice managing a domain, this tutorial will walk you through the step-by-step process.
A domain controller is a server that stores and manages user accounts, security policies, and network resources within a domain. By setting up a domain controller in VMware Workstation, you can simulate and test real-world scenarios without the need for physical hardware.
VMware Workstation is a popular platform that allows you to run multiple operating systems simultaneously on a single computer. It provides a virtualized environment for installing and configuring server operating systems like Windows Server.
In this guide, we will cover everything you need to know to set up a domain controller in VMware Workstation. We’ll walk you through the installation of VMware Workstation, creating a new virtual machine, installing Windows Server, configuring the server, and promoting it to a domain controller.
Whether you’re a beginner or an experienced IT professional, this guide will provide you with the knowledge and skills to create a domain controller in VMware Workstation. It’s a great way to gain hands-on experience and expand your understanding of domain management.
Before we begin, it’s important to note that setting up a domain controller requires a basic understanding of networking and server administration. It’s also recommended to have a good grasp of Windows Server and VMware Workstation concepts.
Now, let’s dive into the prerequisites before we start setting up our domain controller in VMware Workstation.
Prerequisites
Before getting started with setting up a domain controller in VMware Workstation, make sure you have the following prerequisites in place:
1. VMware Workstation: Ensure that you have VMware Workstation installed on your computer. You can either purchase a license or use the free trial version available on the VMware website.
2. Windows Server ISO: Obtain a Windows Server ISO file. You can download the evaluation version from the Microsoft website or use a licensed copy if you have one.
3. Sufficient system resources: Make sure your computer meets the minimum system requirements to run VMware Workstation and the virtual machines. Check for the recommended amount of RAM, disk space, and processor specifications.
4. Network connectivity: Ensure that your computer has a stable internet connection. This is important for downloading software updates and accessing online resources during the installation process.
5. Administrator access: You need to have administrator privileges on your computer to install VMware Workstation and configure the virtual machine settings.
6. Basic networking knowledge: Familiarize yourself with networking concepts such as IP addresses, subnets, and DNS. Understanding these concepts will help you configure network settings for your virtual machine and domain controller.
7. Active Directory understanding: Have a basic understanding of Active Directory (AD) concepts and terminology. This will help you navigate through the domain controller setup process and perform necessary configurations.
Taking care of these prerequisites will ensure a smooth and successful setup process for your domain controller in VMware Workstation. Now that you have these requirements in place, let’s move on to the next step: downloading and installing VMware Workstation.
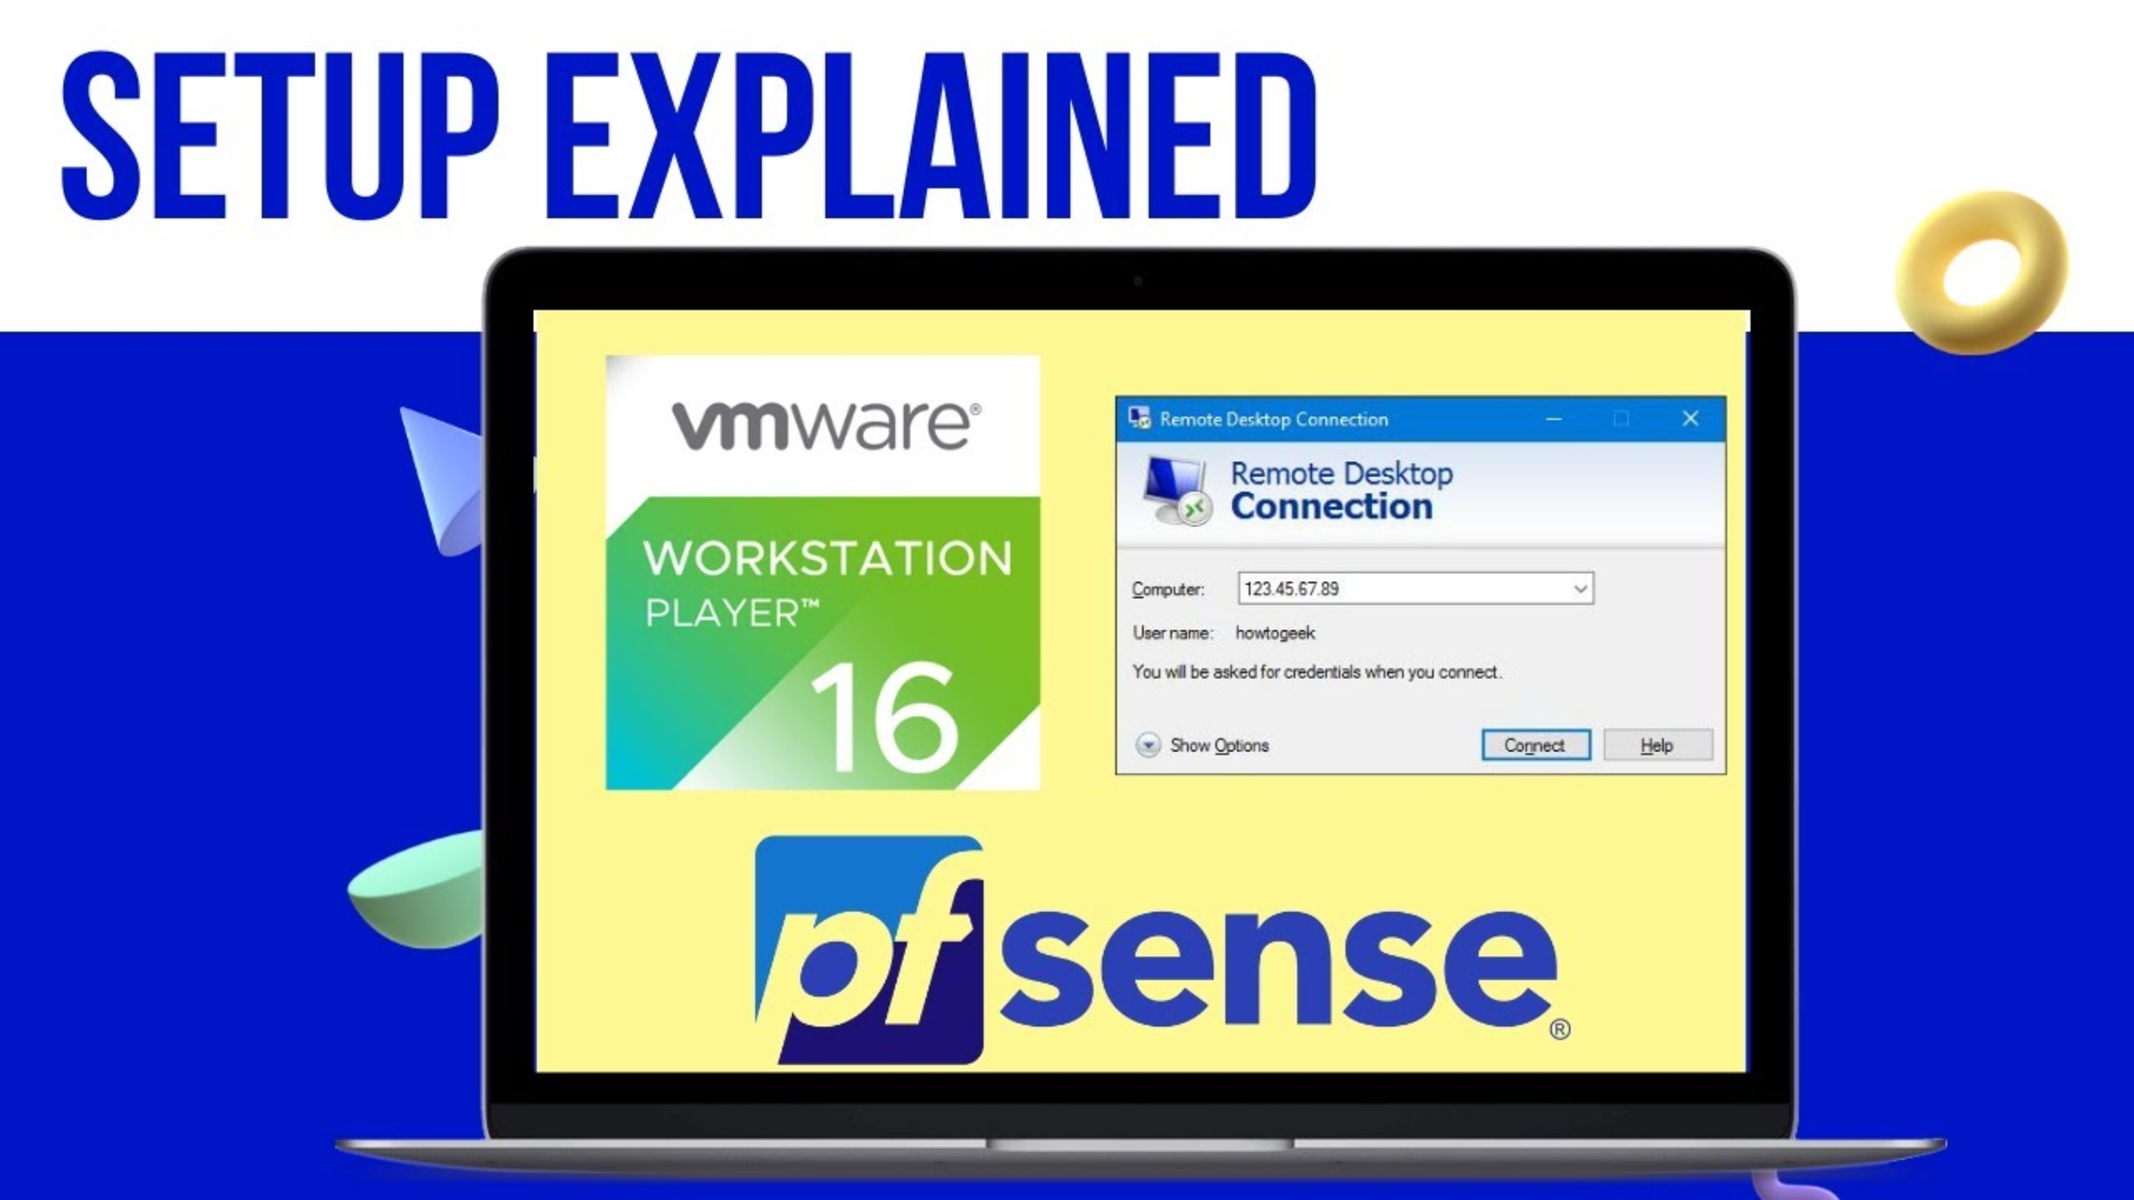
Step 1: Download and Install VMware Workstation
In this step, we will guide you through downloading and installing VMware Workstation on your computer. Follow these steps:
1. Visit the VMware website: Go to the official VMware website (www.vmware.com) and navigate to the “Downloads” section.
2. Choose the version: Select the version of VMware Workstation that is compatible with your operating system. Make sure to download the appropriate version (Windows or Linux) that matches your system requirements.
3. Download the installation file: Click on the download link to initiate the download of the VMware Workstation installer file. The file size can be quite large, so ensure you have a stable internet connection.
4. Run the installer: Once the download is complete, locate the installer file in your downloads folder and double-click on it to run the installation process.
5. Accept the license agreement: Read and accept the terms and conditions of the license agreement to proceed with the installation. Click “Next” to continue.
6. Choose the installation location: Select the preferred folder where VMware Workstation will be installed. You can either stick with the default location or choose a different directory. Click “Next” to proceed.
7. Customize the installation: You can customize the installation by selecting the features you want to include or exclude. It’s recommended to keep the default settings if you’re not sure about specific requirements. Click “Next” when you’re done.
8. Enter the license key: If you have a purchased license key, enter it in the appropriate field. Otherwise, choose the option to install the free trial version of VMware Workstation. Click “Next” to continue.
9. Ready to install: Review the installation settings and click “Install” to start the installation process. VMware Workstation will now begin installing on your computer.
10. Complete the installation: Once the installation is complete, you will see a confirmation message. Click “Finish” to exit the installer.
Congratulations! You have successfully downloaded and installed VMware Workstation on your computer. Now, you’re ready to proceed with creating a new virtual machine in the next step.
Step 2: Create a New Virtual Machine
Now that you have VMware Workstation installed, it’s time to create a new virtual machine. Follow these steps to create a virtual machine for your domain controller:
1. Launch VMware Workstation: Open VMware Workstation from your applications or start menu to begin creating a new virtual machine.
2. Click on “Create a New Virtual Machine”: On the VMware Workstation home screen, select the option to create a new virtual machine. This will open the “New Virtual Machine Wizard.”
3. Choose the installation method: Select “Typical” as the installation method to enable the wizard to guide you through the process easily. Alternatively, you can choose “Custom” if you have specific requirements.
4. Select the installation disc or image file: Specify whether you want to install the operating system from a disc or an image file. If you have a Windows Server ISO file, choose the option to install from an ISO image file.
5. Provide the path to the ISO file: Browse and locate the Windows Server ISO file you have downloaded earlier. Select the file and click “Next” to continue.
6. Enter the product key: If you have a valid product key, enter it in the appropriate field. This step is optional as you can enter the product key during the Windows Server installation process.
7. Specify the guest operating system version: Select the version of Windows Server that corresponds to your ISO file. VMware Workstation will adjust the settings accordingly to optimize compatibility.
8. Name the virtual machine: Give a meaningful name to your virtual machine, such as “DomainController” or “DC-VM.” You can also choose the location where you want to store the virtual machine files.
9. Specify the disk size: Define the disk size for your virtual machine. It’s recommended to allocate adequate disk space for the operating system and future domain services. The default size should suffice for a basic setup.
10. Customize the hardware settings: If necessary, you can make adjustments to the hardware settings such as CPU, memory, and network adapter. It’s generally recommended to use the default settings unless you have specific requirements.
11. Review the summary: Take a moment to review the settings you have provided for the virtual machine. If everything looks correct, click “Finish” to finalize the creation of the virtual machine.
That’s it! You have successfully created a new virtual machine for your domain controller. In the next step, we will configure the virtual machine settings before installing Windows Server.
Step 3: Configure the Virtual Machine Settings
After creating a new virtual machine, it’s important to configure the settings to ensure optimal performance and compatibility. Follow these steps to configure the virtual machine settings:
1. Power off the virtual machine: Before making any changes, ensure that the virtual machine is powered off. If it’s currently running, shut it down gracefully.
2. Access the virtual machine settings: In VMware Workstation, locate the virtual machine you created in the Virtual Machine Library. Right-click on the virtual machine and select “Settings” from the context menu. This will open the virtual machine settings window.
3. Adjust the hardware settings: In the settings window, you have the option to modify various hardware settings. You can increase or decrease the allocated memory, adjust the number of CPU cores, and modify network adapter settings. It’s recommended to allocate sufficient resources to the virtual machine based on your requirements.
4. Configure the CD/DVD drive: If you’re installing Windows Server from an ISO image, make sure the CD/DVD drive is configured to use the ISO file. In the settings window, select the “CD/DVD (IDE)” option and choose “Use ISO image file.” Browse and select the Windows Server ISO file you downloaded earlier.
5. Adjust the network settings: Configure the network adapter settings based on your requirements. By default, the virtual machine is set to use NAT (Network Address Translation), which allows it to share the host’s IP address for internet connectivity. However, you can choose other options such as bridged or host-only networking depending on your needs.
6. Customize additional settings: VMware Workstation provides various additional settings that you can customize for the virtual machine. These include options for power management, shared folders, USB device connections, and more. Modify these settings based on your preferences and requirements.
7. Save the virtual machine settings: Once you have made all the necessary adjustments, click “OK” to save the virtual machine settings. The changes will take effect the next time you power on the virtual machine.
That’s it! You have successfully configured the virtual machine settings. In the next step, we will proceed with the installation of Windows Server on the virtual machine.
Step 4: Install Windows Server on the Virtual Machine
Now that you have configured the virtual machine settings, it’s time to install Windows Server on the virtual machine. Follow these steps to install Windows Server:
1. Power on the virtual machine: In VMware Workstation, select the virtual machine you created and click the “Power on” button to start the virtual machine.
2. Start the Windows Server installation: Once the virtual machine boots up, it will start the Windows Server installation process. Follow the on-screen instructions to proceed.
3. Select the language, time, and currency format: Choose the appropriate language, time format, and currency for your location. Click “Next” to continue.
4. Click “Install now”: On the installation screen, click the “Install now” button to begin the Windows Server installation process.
5. Enter the product key: If you have a product key for Windows Server, enter it in the provided field. Alternatively, choose the option to install Windows Server without a product key. Click “Next” to proceed.
6. Accept the license terms: Read and accept the license terms by selecting the checkbox. Click “Next” to continue.
7. Choose the installation type: Select the installation type based on your requirements. For a domain controller setup, choose the “Custom” installation option.
8. Create a new partition: On the next screen, you’ll see the available disk partitions on the virtual machine. Select the unallocated space and click the “New” button to create a new partition.
9. Specify the partition size: Enter the desired size for the partition, or keep the default size for the full disk space. Click “Apply” to create the partition.
10. Select the partition to install: Select the newly created partition and click “Next” to begin the installation process. Windows Server will start copying the necessary files and installing the operating system.
11. Set the administrator password: When prompted, set the administrator password for the Windows Server. Choose a strong password and remember it for future use. Click “Next” to continue.
12. Configure the network: Choose the network type for the virtual machine. If you’re using DHCP, the virtual machine will automatically obtain an IP address. If you’re using a static IP address, enter the required information and click “Next”.
13. Complete the installation: Wait for the installation to complete. Once finished, the virtual machine will restart, and you will see the Windows Server login screen.
Congratulations! You have successfully installed Windows Server on your virtual machine. In the next step, we will proceed with the configuration of the Windows Server and promote it to a domain controller.
Step 5: Configure the Windows Server
After installing Windows Server on your virtual machine, it’s time to configure it for use as a domain controller. Follow these steps to configure Windows Server:
1. Log in to Windows Server: Use the administrator account and the password you set during the installation to log in to Windows Server.
2. Set the computer name: By default, Windows Server assigns a generic computer name. Change it to a more descriptive name that reflects its purpose as a domain controller. Right-click on the Start button, select “System,” and then click on “About.” Click on the “Rename this PC” button and enter the new computer name.
3. Join the domain: Before promoting the server to a domain controller, you need to join it to a domain. On the System Properties page, click on the “Change” button, select the “Domain” option, and enter the name of the domain you want to join. Enter the credentials of a domain administrator and click “OK” to join the domain.
4. Install Active Directory Domain Services (AD DS): To promote the server to a domain controller, you need to install the AD DS role. Open the Server Manager, click on “Add roles and features,” and follow the wizard to install the AD DS role. Choose the default settings unless you have specific requirements.
5. Promote the server to a domain controller: Once the AD DS role is installed, open the Server Manager and click on the “Notifications” icon. Select “Promote this server to a domain controller” and follow the Active Directory Domain Services Configuration Wizard. Choose the option to “Add a new forest” and provide a root domain name. Set a Directory Services Restore Mode password and click “Next” to proceed. Review the options, modify if necessary, and click “Next” to promote the server to a domain controller.
6. Configure DNS: During the promotion process, the wizard will prompt you to install and configure DNS if it’s not already installed. Accept the default settings to use a DNS server located on the domain controller itself.
7. Verify the configuration: After the domain controller promotion is completed, perform a verification to ensure that the configuration is successful. Open the Active Directory Users and Computers tool, and ensure that the default containers for users, groups, and computers are present.
8. Configure automatic updates: Enable automatic updates for Windows Server to keep it up to date with the latest security patches and improvements. Open the Windows Update settings, choose the appropriate update settings, and click “OK” to save the changes.
That’s it! You have successfully configured Windows Server as a domain controller. In the next step, we will proceed with configuring the network adapter settings on the virtual machine.
Step 6: Promote the Windows Server to Domain Controller
After installing Active Directory Domain Services (AD DS) and configuring Windows Server, it’s time to promote the server to a domain controller. Follow these steps to promote the Windows Server to a domain controller:
1. Open the Server Manager: Launch the Server Manager from the taskbar or start menu on the Windows Server.
2. Click on “Manage”: In the Server Manager window, click on the “Manage” button located on the top-right corner of the window.
3. Select “Add Roles and Features”: From the dropdown menu, select “Add Roles and Features.” This will launch the Add Roles and Features Wizard.
4. Click “Next”: On the Before You Begin page, click “Next” to proceed with the wizard.
5. Choose the installation type: Select “Role-based or feature-based installation” and click “Next” to continue.
6. Select the target server: Ensure that the correct server is selected in the Server Selection section. If not, click on “Select a server from the server pool” and choose the appropriate server. Click “Next” to proceed.
7. Choose the server role: From the list of available roles, select “Active Directory Domain Services.” A pop-up window will appear asking to add the required features. Click “Add Features” and then click “Next.”
8. Review the role features: On the Features page, review the features that will be installed alongside the Active Directory Domain Services role. Click “Next” to continue.
9. Confirm the installation: The wizard will provide an overview of the selected role and features. Review the information and click “Install” to begin the installation process.
10. Promote to a domain controller: Once the installation is complete, the Active Directory Domain Services Configuration Wizard will launch automatically. Choose “Add a new forest” and enter the root domain name for your domain. Provide the desired domain and forest functional levels, and set the Directory Services Restore Mode password. Click “Next” to proceed.
11. Review the options: On the Domain Controller Options page, review the options, modify if necessary, and click “Next” to continue.
12. DNS options: If DNS is not already installed, you will be prompted to install and configure it on the domain controller. Accept the default settings to use a DNS server located on the domain controller itself. Click “Next” to proceed.
13. Additional options: On the Additional Options page, you can configure additional options such as SYSVOL and Global Catalog. Make the appropriate selections based on your requirements and click “Next.”
14. Paths: Configure the paths for the AD DS database, log files, and SYSVOL folder. By default, the recommended paths will be pre-filled. If required, modify the paths according to your preferences. Click “Next” to proceed.
15. Review and click “Next”: Review the configuration summary and click “Next” to begin the promotion process. The domain controller promotion will now start.
16. Restart the server: Once the promotion process is complete, the server will automatically restart. Allow the server to reboot to finalize the domain controller promotion.
Congratulations! You have successfully promoted the Windows Server to a domain controller. In the next step, we will proceed with configuring the network adapter settings on the virtual machine.
Step 7: Configure Network Adapter Settings
After promoting the Windows Server to a domain controller, it’s essential to configure the network adapter settings to ensure proper communication within the network. Follow these steps to configure the network adapter settings on the virtual machine:
1. Power on the virtual machine: Start the virtual machine if it’s not already running. Allow it to boot up and log in to the Windows Server.
2. Open Network Connections: Right-click on the Start button and select “Network Connections” from the context menu. This will open the Network Connections window.
3. Identify the network adapter: Identify the network adapter that is connected to the network. It will have a network connection status of “Connected.” Take note of the name of the adapter, as you will need it for the next steps.
4. Configure IP address settings: Right-click on the network adapter and select “Properties” from the menu. In the Properties window, double-click on “Internet Protocol Version 4 (TCP/IPv4)” to open its properties.
5. Set static or dynamic IP address: In the TCP/IPv4 properties, choose to obtain an IP address automatically (if using DHCP) or specify a static IP address if required. If using DHCP, ensure that “Obtain an IP address automatically” is selected. If using a static IP address, enter the IP address, subnet mask, default gateway, and DNS server addresses. Click “OK” to save the changes.
6. Configure DNS settings: In the network adapter properties, click on “Advanced” and navigate to the “DNS” tab. Here, you can specify the DNS suffix for your domain and add DNS server addresses if required. Click “OK” to save the changes.
7. Verify network connectivity: Open a Command Prompt window and run the command “ipconfig /all” to check if the network adapter is configured correctly. Ensure that the IP address, subnet mask, default gateway, and DNS server addresses are correctly displayed.
8. Test network connectivity: Verify network connectivity by pinging other devices on the network, such as the default gateway or other computers. This will confirm that the domain controller can communicate with other devices on the network.
9. Disable unnecessary network adapters: If you have multiple network adapters configured on the virtual machine, consider disabling any unused or unnecessary adapters to avoid conflicts and confusion.
10. Verify DNS resolution: Open a web browser and access a website to ensure that DNS resolution is working correctly. This will confirm that the DNS settings are properly configured and the domain controller can resolve domain names.
By properly configuring the network adapter settings, you ensure that the domain controller can communicate with other devices on the network and fulfill its role. With the network adapter configured, you can proceed to the next step: joining a client machine to the domain.
Step 8: Join a Client Machine to the Domain
After successfully setting up the domain controller, the next step is to join a client machine to the domain. Follow these steps to join a client machine to the domain:
1. Power on the client machine: Start the client machine and log in using an account with administrative privileges.
2. Open System Properties: Right-click on the Start button and select “System” from the context menu. Alternatively, you can press the Windows key + Pause/Break to open System Properties.
3. Click on “Change settings”: In the System window, click on the “Change settings” link next to the computer name.
4. Join the domain: In the System Properties window, click on the “Change” button in the “Computer Name” tab. Select the option to “Join a domain” and enter the domain name of the domain you want to join.
5. Provide domain credentials: You will be prompted to enter the credentials of a domain administrator account. Enter the username and password of an account with sufficient permissions to join a client machine to the domain.
6. Confirm domain join: After providing the credentials, click “OK” to join the client machine to the domain. Windows will attempt to connect to the domain controller and verify the domain credentials.
7. Restart the client machine: Once the domain join process is complete, a message will appear informing you that the client machine needs to restart. Click “OK” to restart the machine and apply the domain settings.
8. Log in with domain credentials: After the client machine restarts, you will see the logon screen. Select the domain from the drop-down menu and enter the username and password of a domain user account to log in to the client machine.
9. Verify domain connectivity: Once logged in, open a web browser and access a website to ensure that the client machine can connect to the internet through the domain network. You can also check the System Properties to confirm that the client machine is now part of the domain.
10. Test domain functionality: Perform various operations on the client machine to verify that it is properly connected to the domain. Test domain logins, access domain resources, and perform other domain-related tasks to ensure seamless functionality.
By joining a client machine to the domain, you are extending the benefits of the domain controller’s management capabilities to the client machine. This allows for centralized user and resource management within the domain network.
Congratulations! You have successfully joined a client machine to the domain. You can now enjoy the benefits of domain-based user authentication, policy enforcement, and centralized resource management.
Conclusion
Setting up a domain controller in VMware Workstation can be a valuable experience for IT professionals and enthusiasts who want to practice domain management or create virtual lab environments. Throughout this guide, we have covered the essential steps to help you set up a domain controller effectively.
We started by ensuring you had the necessary prerequisites, including VMware Workstation, a Windows Server ISO, and a basic understanding of networking and server administration. We then guided you through the process of downloading and installing VMware Workstation.
Following that, we showed you how to create a new virtual machine and configure its settings, including the installation of Windows Server on the virtual machine. We walked you through the steps of configuring the Windows Server, promoting it to a domain controller, and verifying its functionality.
Subsequently, we covered the configuration of the network adapter settings to establish proper communication within the network. Finally, we explained how to join a client machine to the domain to take advantage of the domain controller’s management capabilities.
By following these steps, you have successfully set up a domain controller in VMware Workstation and joined a client machine to the domain. This allows you to simulate real-world scenarios and enhance your understanding of domain management.
Remember that this guide provides a foundation for setting up a domain controller in a virtual environment. Depending on your specific needs and goals, there may be additional steps or configurations required.
We hope this guide has been helpful and that you feel confident in setting up a domain controller in VMware Workstation. Whether you’re preparing for certifications, expanding your IT knowledge, or simply exploring new technologies, this hands-on experience will serve you well.
Now, it’s time to apply what you’ve learned, experiment with different configurations, and further explore the capabilities of your domain controller in VMware Workstation. Happy domain management!