Introduction
Welcome to this guide on how to set up pfSense on two VMware Workstations. pfSense is a powerful open-source firewall and routing platform that provides advanced features for network security and management. By virtualizing pfSense on VMware Workstation, you can create a test lab environment or configure a production-ready network setup.
Whether you are a network administrator, IT professional, or someone interested in learning about firewalls and network security, this guide will walk you through the step-by-step process of setting up pfSense on two VMware Workstations.
Setting up pfSense on virtual machines allows you to experiment with various network configurations and test different firewall rules without affecting your production environment. Furthermore, using VMware Workstation provides a convenient and flexible platform to run multiple virtual machines simultaneously.
In this guide, we will cover everything you need to know to get started with setting up pfSense on two VMware Workstations. This includes downloading the pfSense ISO file, creating virtual machines in VMware Workstation, configuring network adapters, installing pfSense on the virtual machines, and performing the initial configuration of pfSense.
We will then delve into configuring the interfaces, setting IP addresses, creating firewall rules, enabling the DHCP server, and setting up Network Address Translation (NAT). Finally, we will test the connectivity to ensure that the setup is working correctly.
By the end of this guide, you will have a fully functional pfSense setup running on two VMware Workstations and be ready to explore its extensive features and capabilities. So let’s get started!
Requirements
Before we dive into setting up pfSense on two VMware Workstations, let’s go over the requirements to ensure you have everything you need for a successful implementation.
1. Hardware: You will need a computer or server with sufficient resources to run two virtual machines simultaneously. Make sure your system meets the minimum requirements for running VMware Workstation, including CPU, RAM, and storage.
2. Software: Ensure that you have VMware Workstation installed on your computer. You can download the latest version of VMware Workstation from the official VMware website.
3. pfSense ISO: Download the latest version of the pfSense ISO file from the official pfSense website. This ISO will be used to install pfSense on the virtual machines.
4. Networking: You will need at least two physical network adapters on your computer or server for the virtual machines to connect to the network. This can be achieved through a combination of Ethernet and Wi-Fi adapters. Ensure that these adapters are compatible with VMware Workstation and have the necessary drivers installed.
5. IP Address Allocation: Determine the IP address range you will be using for your pfSense setup. Plan the IP addresses for the WAN and LAN interfaces of each pfSense instance, as well as any additional virtual networks you intend to create.
6. Networking Knowledge: It is beneficial to have a basic understanding of networking concepts, such as IP addressing, subnetting, routing, and firewall rules. This knowledge will help you navigate through the setup process and troubleshoot any issues that may arise.
With these requirements in place, you are ready to move on to the next steps of setting up pfSense on two VMware Workstations. Make sure you have all the necessary hardware and software components before proceeding, as they are essential for a smooth and successful installation.
Step 1: Download pfSense ISO
The first step in setting up pfSense on two VMware Workstations is to download the pfSense ISO file. The ISO file contains the installation image of pfSense, which we will use to install pfSense on our virtual machines.
To download the pfSense ISO, follow these steps:
- Open a web browser and navigate to the official pfSense website.
- Click on the “Download” tab or look for the download link on the homepage.
- On the download page, you will find different versions of pfSense available. Choose the version that is compatible with your hardware and requirements. Typically, the latest stable version is recommended for most users.
- Click on the download link to start the download process.
- Depending on your internet connection speed, the download may take a few minutes. Once the download is complete, you will have the pfSense ISO file saved on your computer.
It is essential to download the pfSense ISO from the official website to ensure you have a legitimate and trusted source. Avoid downloading pfSense from third-party websites to minimize the risk of downloading modified or malicious files.
With the pfSense ISO file downloaded, you are now ready to proceed to the next step, which involves creating virtual machines in VMware Workstation to install pfSense.
Step 2: Create Virtual Machines in VMware Workstation
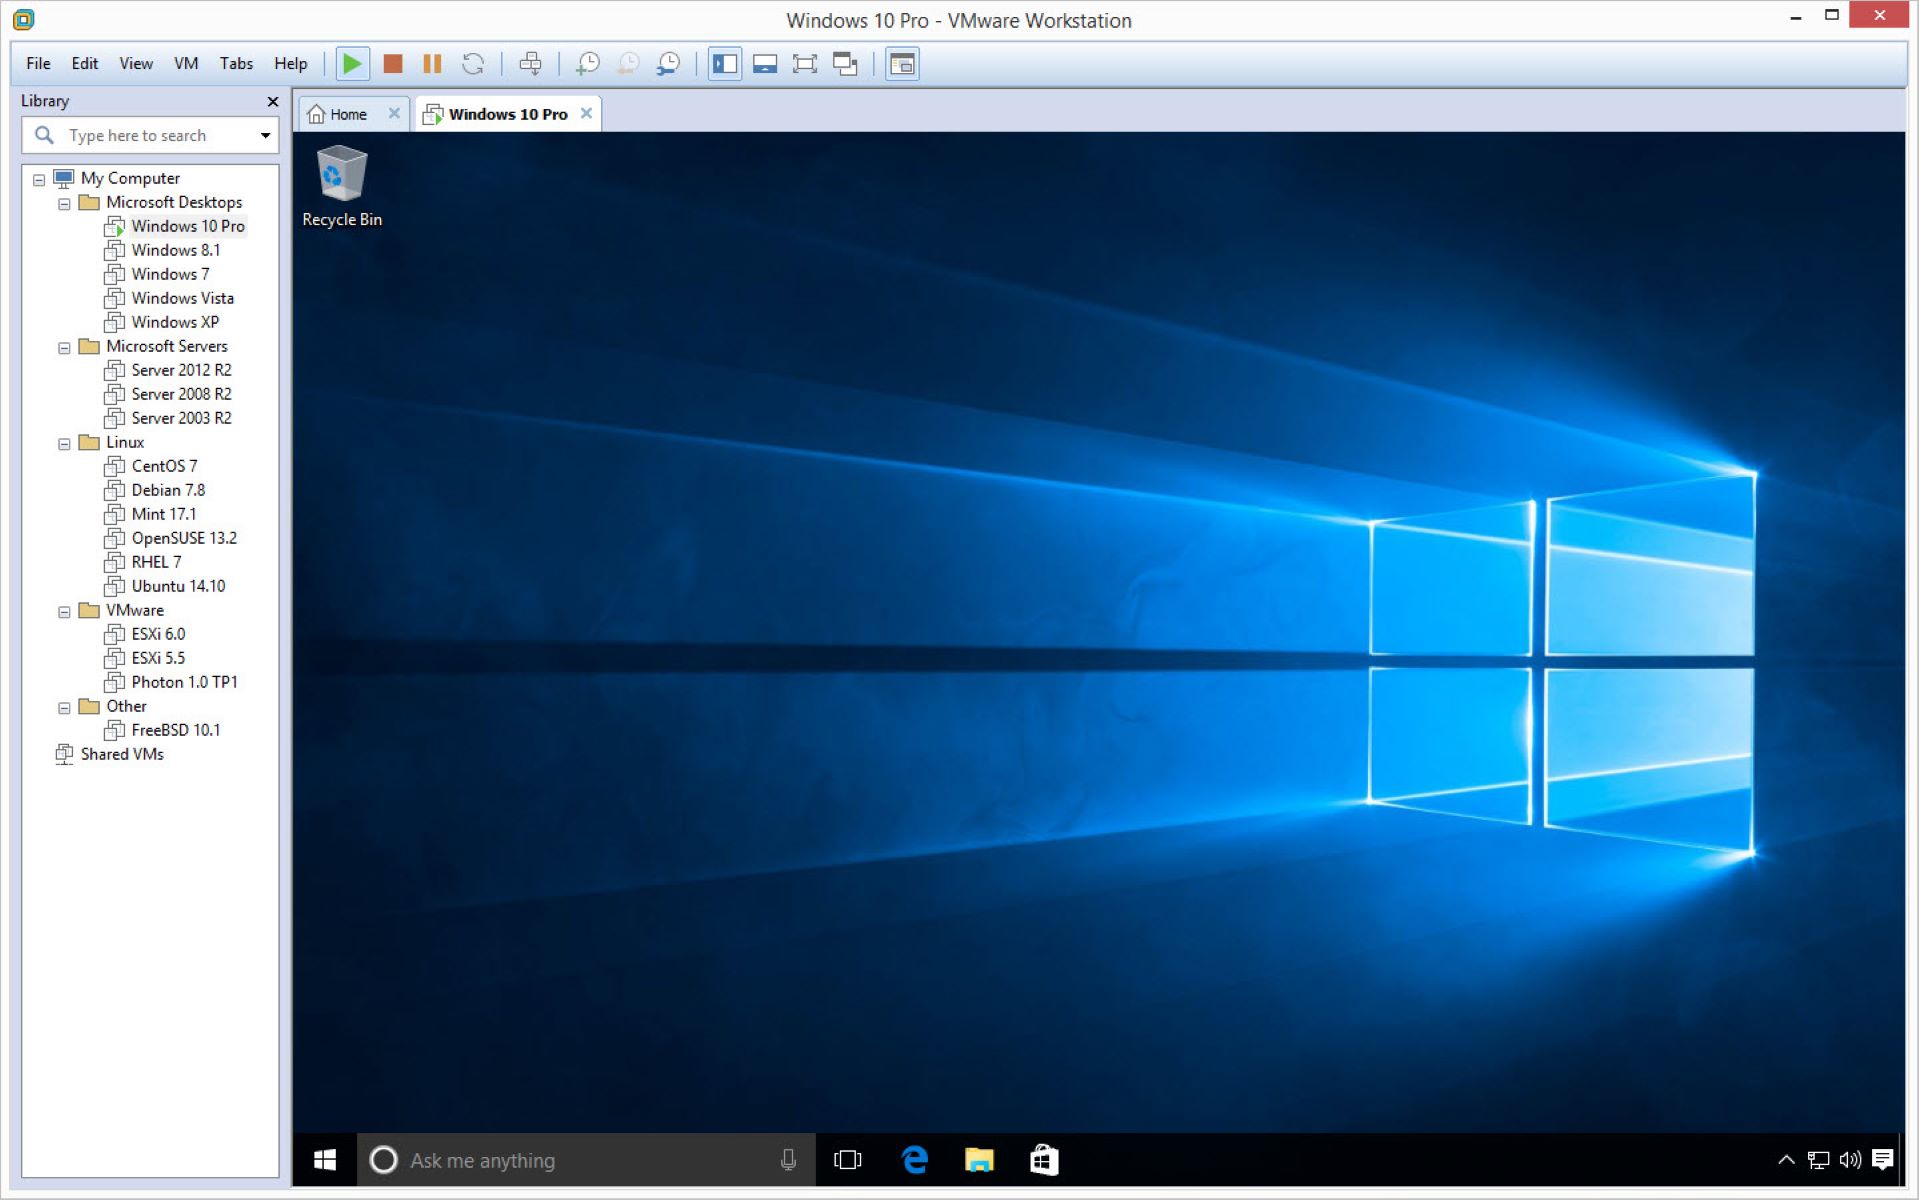
With the pfSense ISO file in hand, the next step in setting up pfSense on two VMware Workstations is to create the virtual machines that will host pfSense.
Follow these steps to create the virtual machines:
- Launch VMware Workstation on your computer.
- Click on the “File” menu and select “New Virtual Machine” to begin the virtual machine creation wizard.
- Choose the “Typical” configuration option and click “Next”.
- Select the option to install the operating system later and click “Next”.
- Specify the guest operating system as “FreeBSD” and select the version that matches your pfSense ISO file.
- Set the name and location for the virtual machine. Choose a descriptive name to easily identify the purpose of the virtual machine, such as “pfSense-VM1”.
- Specify the disk capacity for the virtual machine. The recommended disk size for a pfSense installation is at least 8GB, but you can allocate more if you anticipate a higher workload or plan to store logs and other data.
- Customize the hardware settings for the virtual machine as needed. Ensure that the virtual machine has at least one network adapter configured.
- Review the summary of the virtual machine configuration and make any necessary adjustments.
- Click “Finish” to create the virtual machine.
Repeat the above steps to create a second virtual machine for the second instance of pfSense. Ensure that each virtual machine has a unique name and hardware configuration.
Creating separate virtual machines for each instance of pfSense allows for better isolation and flexibility in terms of configuration and management.
Once you have created the virtual machines, you are ready to proceed to the next step, which involves configuring the network adapters for the virtual machines.
Step 3: Configure Network Adapters
After creating the virtual machines in VMware Workstation, the next step in setting up pfSense on two VMware Workstations is to configure the network adapters for each virtual machine. This will ensure proper network connectivity and communication for pfSense.
Follow these steps to configure the network adapters:
- Select the first virtual machine and click on the “Edit virtual machine settings” option.
- In the “Hardware” tab, click on “Add” to add a new hardware device.
- Select “Network Adapter” and click “Next”.
- Choose the network connection type that matches your network setup. If you are using the host-only network, select “Host-only”. If you want the virtual machine to have internet access, choose “Bridged”.
- If you selected “Host-only”, ensure that the host-only network adapter is correctly configured in the VMware Workstation network settings.
- Repeat these steps for the second virtual machine, ensuring to configure the network adapter based on your network setup.
- Review the virtual machine settings and click “OK” to save the changes.
Configuring the network adapters correctly is crucial for connecting the virtual machines to the desired network environment. By choosing the appropriate network connection type, you can control the network behavior and communication for each pfSense instance.
Once you have configured the network adapters for both virtual machines, you are now ready to proceed to the next step, which involves installing pfSense on the virtual machines.
Step 4: Install pfSense on Virtual Machines
The next step in setting up pfSense on two VMware Workstations is to install pfSense on the virtual machines. This involves booting the virtual machines from the pfSense ISO file and following the installation process.
Follow these steps to install pfSense on the virtual machines:
- Select the first virtual machine and click on the “Power on” button to start the virtual machine.
- When the virtual machine powers on, it will prompt you to select the installation media. Choose the “Use physical DVD drive” option.
- Click “OK” to continue.
- The virtual machine will now boot from the pfSense ISO file.
- Follow the on-screen instructions to proceed with the installation process. This typically includes selecting the appropriate keyboard layout, disk partitioning, and confirming the installation.
- Once the installation is complete, the virtual machine will restart.
- Repeat these steps for the second virtual machine, ensuring that it also boots from the pfSense ISO file.
During the installation process, you will be prompted to configure various settings such as the network interfaces, IP addresses, and administrative passwords. Make sure to note down these configurations as they will be needed for the subsequent steps in setting up pfSense.
After both virtual machines have completed the installation process and restarted, you will have successfully installed pfSense on your VMware Workstations.
In the next step, we will perform the initial configuration of pfSense to get it up and running.
Step 5: Initial Configuration of pfSense
After successfully installing pfSense on the virtual machines, the next step in setting up pfSense on two VMware Workstations is to perform the initial configuration. This involves accessing the pfSense web interface and configuring some basic settings.
Follow these steps to perform the initial configuration of pfSense:
- Open a web browser and enter the IP address of the first pfSense virtual machine in the address bar. This will be the IP address you specified during the installation process.
- A login screen for the pfSense web interface will appear. Enter the default username and password: “admin” for both.
- Once logged in, you will be prompted to change the default password. Follow the on-screen instructions to set a new password for the admin account.
- Next, you will be guided through the pfSense setup wizard. This includes configuring the WAN and LAN interfaces, domain name settings, and other network parameters. Provide the necessary information based on your network setup and requirements.
- After completing the setup wizard, you will be redirected to the pfSense dashboard.
- Repeat these steps to perform the initial configuration for the second pfSense virtual machine.
During the initial configuration, make sure to configure the WAN and LAN interfaces correctly, set up the appropriate IP addresses, and configure any additional network settings as needed. These configurations will impact the overall functionality and security of your pfSense setup.
Once you have completed the initial configuration for both virtual machines, you will have successfully set up the basic framework of your pfSense environment on two VMware Workstations.
In the next steps, we will proceed with configuring the interfaces, setting IP addresses, creating firewall rules, enabling the DHCP server, and setting up Network Address Translation (NAT).
Step 6: Configure Interfaces and Set IP Addresses
After completing the initial configuration of pfSense on the virtual machines, the next step in setting up pfSense on two VMware Workstations is to configure the interfaces and set IP addresses for each pfSense instance. This will enable network connectivity and communication for your pfSense setup.
Follow these steps to configure the interfaces and set IP addresses:
- Login to the web interface of the first pfSense virtual machine using the IP address you assigned during the initial configuration.
- Navigate to the “Interfaces” section and click on “Assignments”.
- Assign the appropriate network interfaces to the WAN and LAN interfaces. This will depend on the virtual network adapters you configured for each pfSense instance in VMware Workstation.
- After assigning the interfaces, navigate to the “Interfaces” section again and click on the “WAN” interface to configure it.
- Specify the IP address, subnet mask, gateway, and other relevant settings for the WAN interface. These values should match the network parameters of your network setup.
- Repeat these steps to configure the LAN interface, ensuring to set a unique IP address and subnet mask for each pfSense instance.
- Save the interface configurations.
Configuring the interfaces and setting IP addresses correctly is crucial for establishing the connectivity and routing capabilities of pfSense. Ensure that the assigned interfaces align with the network adapters in VMware Workstation and that the IP addresses are within the appropriate range for each pfSense instance.
Once you have configured the interfaces and set the IP addresses for both pfSense virtual machines, you are one step closer to having a fully functional pfSense setup on your VMware Workstations.
In the next step, we will proceed with setting up firewall rules to control the traffic between the networks and enhance the security of your pfSense setup.
Step 7: Setup Firewall Rules
Setting up firewall rules is a critical step in securing your pfSense setup on two VMware Workstations. Firewall rules define the policies and restrictions for inbound and outbound traffic, allowing you to control and manage network communication between different networks and devices.
Follow these steps to setup firewall rules in pfSense:
- Login to the web interface of the first pfSense virtual machine using the IP address you assigned during the initial configuration.
- Navigate to the “Firewall” section and click on “Rules”.
- By default, there will already be some firewall rules in place. Review these rules and determine if they meet your requirements or if modifications are necessary.
- To add a new rule, click on the “+” button or the “Add” button, depending on the pfSense version.
- Configure the firewall rule based on your specific needs. This can include specifying the source and destination IP addresses, ports, protocols, and actions (allow or block).
- Repeat these steps to add additional firewall rules as needed.
- After configuring the firewall rules, review the rule order to ensure that they are prioritized correctly. Rules are evaluated from top to bottom, so make sure that more specific rules precede more general ones.
- Save the firewall rule configuration.
Setting up firewall rules based on your network requirements and security policies is vital for protecting your pfSense setup and ensuring that only authorized traffic is allowed. Take the time to carefully consider your firewall rule configuration to strike the right balance between security and accessibility.
Remember to repeat the above steps on the second pfSense virtual machine to configure the firewall rules accordingly.
In the next step, we will enable the DHCP server on pfSense to simplify IP address assignment within your network.
Step 8: Enable DHCP Server
Enabling the DHCP (Dynamic Host Configuration Protocol) server in pfSense on your two VMware Workstations allows for automatic IP address assignment to devices on your network. This simplifies the management of IP addresses and ensures efficient network connectivity.
Follow these steps to enable the DHCP server in pfSense:
- Login to the web interface of the first pfSense virtual machine using the IP address you assigned during the initial configuration.
- Navigate to the “Services” section and click on “DHCP Server”.
- Click on the “Enable DHCP Server” checkbox to enable the DHCP server on the desired interface. Typically, this would be the LAN interface.
- Set the range of IP addresses that the DHCP server can assign to client devices. Specify the starting and ending IP address within the subnet.
- Configure additional options such as the lease time, DNS server addresses, and domain name.
- Save the DHCP server configuration.
Enabling the DHCP server in pfSense simplifies the process of assigning IP addresses to devices on your network. Instead of manually configuring each device, they can obtain an IP address automatically from the DHCP server, thereby reducing the chances of IP address conflicts.
Remember to repeat the above steps on the second pfSense virtual machine to enable the DHCP server on the LAN interface.
In the next step, we will configure Network Address Translation (NAT) to allow devices on the LAN to access the internet through the WAN interface.
Step 9: Configure NAT (Network Address Translation)
Configuring Network Address Translation (NAT) in pfSense on your two VMware Workstations allows devices on the LAN to access the internet through the WAN interface. NAT translates the private IP addresses of devices on the LAN to the public IP address assigned to the WAN interface, ensuring seamless communication between the internal network and the internet.
Follow these steps to configure NAT in pfSense:
- Login to the web interface of the first pfSense virtual machine using the IP address you assigned during the initial configuration.
- Navigate to the “Firewall” section and click on “NAT”.
- Click on the “Outbound” tab.
- By default, there will be a “Automatic outbound NAT rule generation” rule in place. This rule allows devices on the LAN to access the internet.
- If you need to make any modifications or add custom NAT rules, you can do so by clicking on the “+” button or the “Add” button, depending on the pfSense version.
- Configure the NAT rule based on your specific needs, specifying the source and destination IP addresses, ports, and actions.
- Repeat these steps to add additional NAT rules as needed.
- Save the NAT configuration.
Configuring NAT in pfSense is crucial for enabling internet connectivity for devices on the LAN. With NAT in place, internal devices can communicate with external systems and access online resources without exposing their private IP addresses to the internet.
Remember to repeat the above steps on the second pfSense virtual machine to configure NAT accordingly.
In the next step, we will test the connectivity of your pfSense setup to ensure that everything is functioning correctly.
Step 10: Test Connectivity
After completing the configuration of pfSense on two VMware Workstations, the final step is to test the connectivity of your setup. This involves verifying that devices on the LAN can access the internet and communicate with each other through the pfSense virtual machines.
Follow these steps to test the connectivity of your pfSense setup:
- Ensure that the virtual machines hosting pfSense are powered on and running.
- Connect a device to the LAN interface of one of the pfSense virtual machines.
- Power on the device and ensure that it receives an IP address from the DHCP server configured in pfSense.
- Attempt to access a website or perform an internet-based activity from the device. Verify if the device can successfully access the internet.
- Verify if the devices on the LAN can communicate with each other. Try pinging or accessing shared resources between devices to test the internal network connectivity.
- Repeat the above steps with devices connected to the LAN interface of the second pfSense virtual machine.
By testing the connectivity, you can ensure that your pfSense setup is functioning correctly and that devices on your LAN can access the internet and communicate with each other as intended.
If you encounter any issues or connectivity problems during the testing phase, double-check your configuration settings, including the firewall rules, NAT rules, and interface configurations, to ensure everything is set up correctly.
Congratulations! You have successfully set up pfSense on two VMware Workstations and tested the connectivity of your setup. You now have a powerful and flexible network security and routing platform ready to protect and manage your network.
Conclusion
Setting up pfSense on two VMware Workstations is a great way to create a test lab environment or configure a production-ready network setup. By following the step-by-step process outlined in this guide, you have successfully installed and configured pfSense on your virtual machines.
Throughout the setup process, you have learned how to download the pfSense ISO, create virtual machines in VMware Workstation, configure network adapters, install pfSense, perform the initial configuration, and set up essential components such as firewall rules, DHCP server, and NAT.
With pfSense running on your VMware Workstations, you have a powerful and versatile platform for network security and management. Right from the web interface, you can monitor network traffic, create advanced firewall rules to protect your network, implement VPN connections for secure remote access, and much more.
Remember to keep your pfSense setup up to date by regularly checking for software updates and new releases. Stay informed about security best practices and configure additional features based on your specific network requirements.
The knowledge and skills gained from setting up pfSense on two VMware Workstations can be applied to real-world network environments, allowing you to enhance network security, optimize routing, and improve network management efficiency.
Continue exploring and experimenting with pfSense to unlock its full potential and discover the wide range of features and capabilities it offers.
Thank you for following along with this guide, and happy networking with pfSense!


