Introduction
VMware Workstation 12 is a powerful virtualization software that allows users to run multiple operating systems on a single computer. With its intuitive interface and extensive features, it has become a popular choice among developers, IT professionals, and tech enthusiasts.
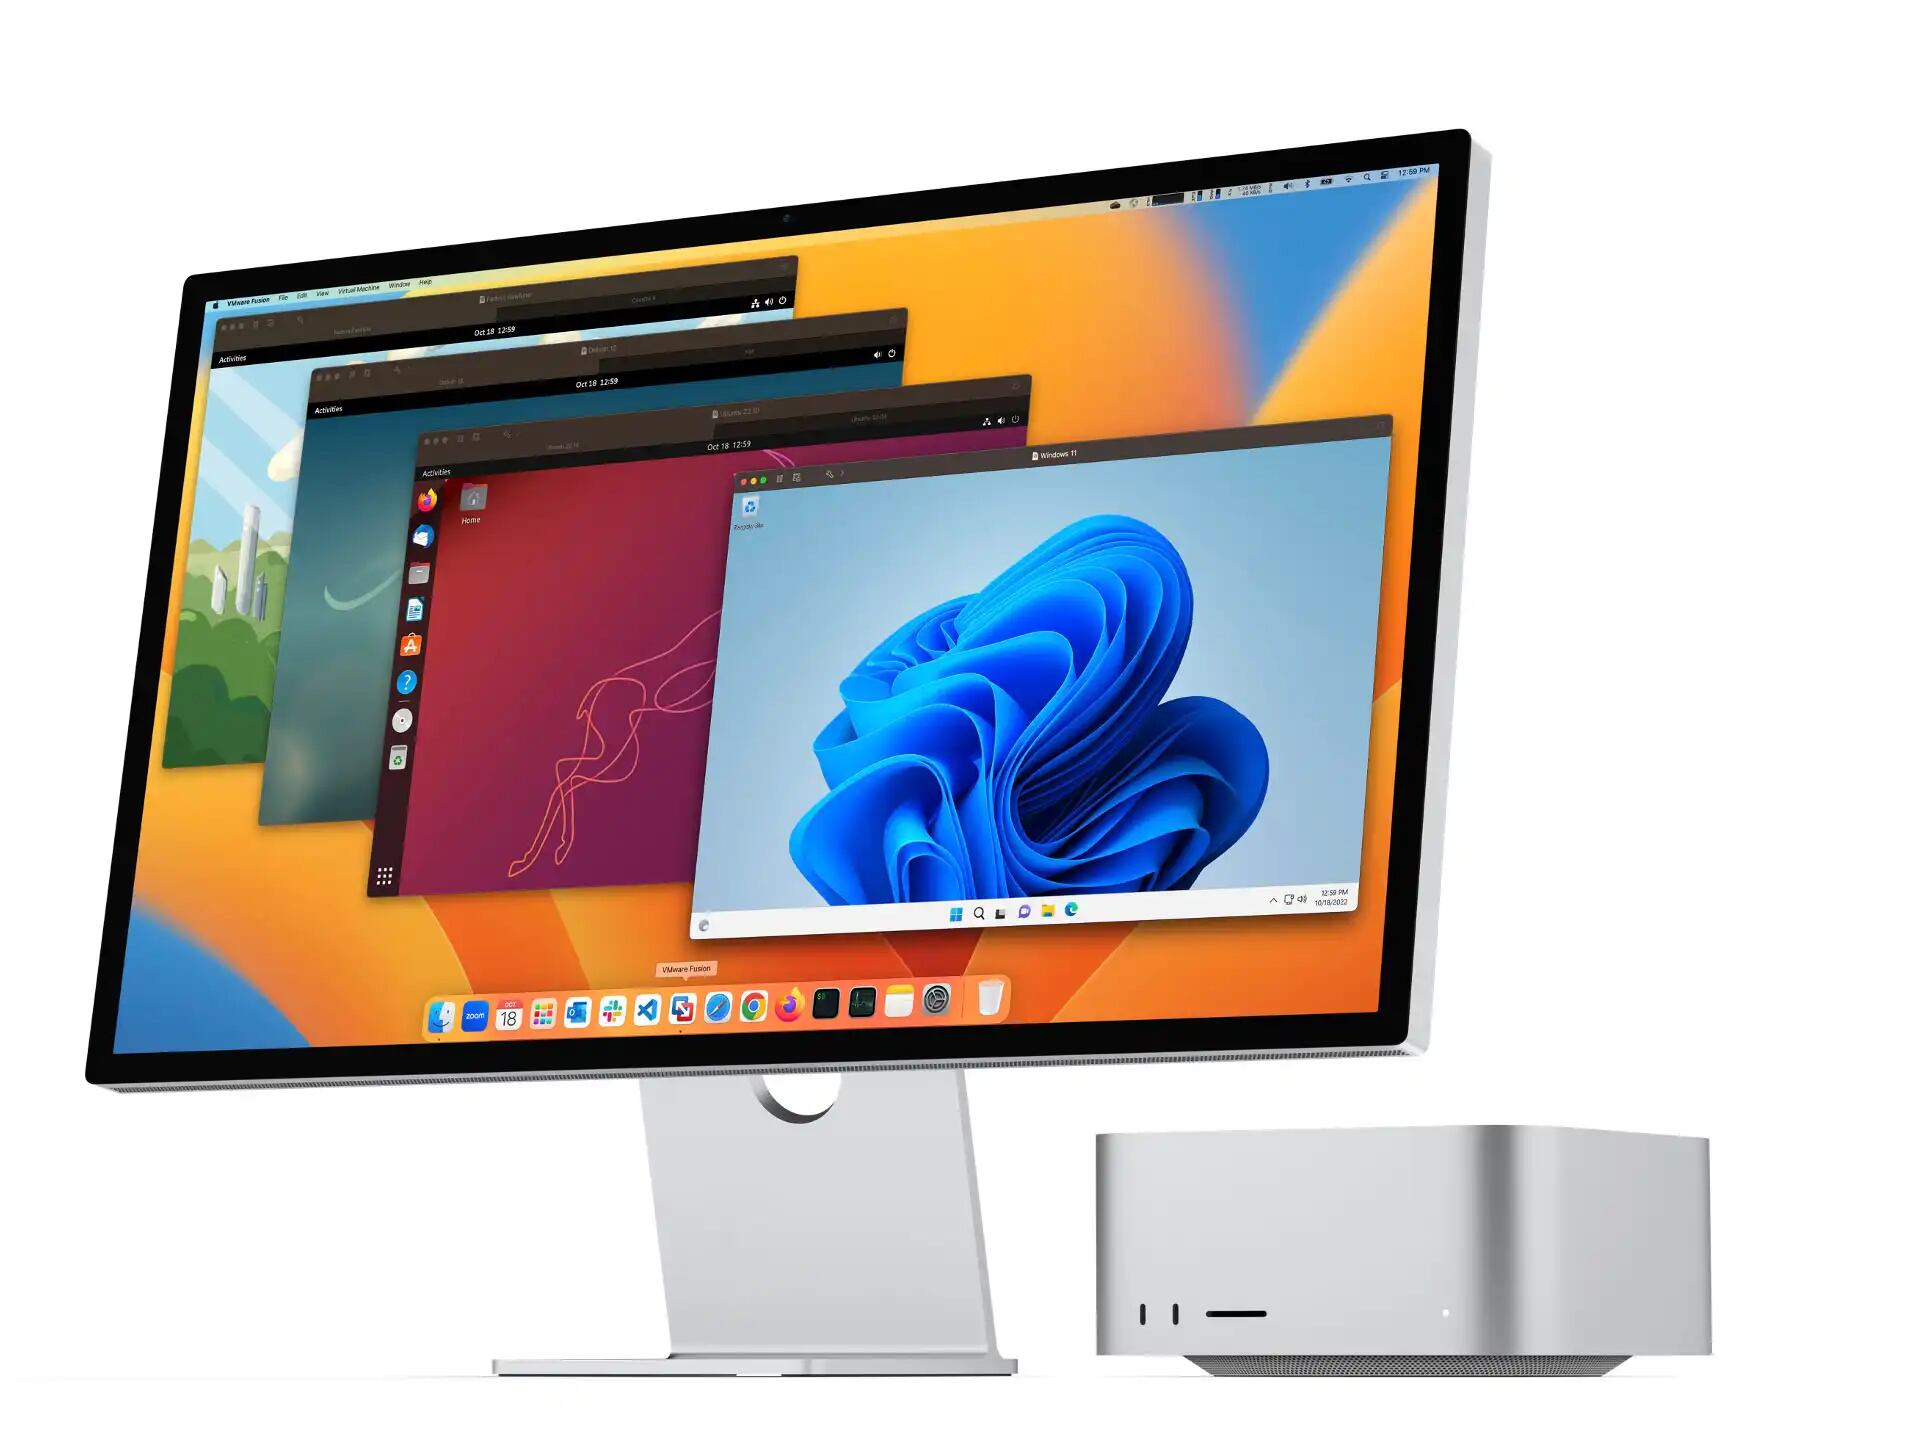
One of the key features that VMware Workstation 12 offers is the ability to run virtual machines in full screen mode. This allows users to maximize their virtual machine experience by utilizing the entire screen real estate, providing a more immersive and focused work environment.
However, enabling full screen on a dual monitor setup in VMware Workstation 12 can be a bit trickier compared to a single monitor setup. In this article, we will guide you through the step-by-step process of enabling full screen on VMware Workstation 12 with dual monitors, helping you make the most out of your virtualization experience.
Whether you are working on multiple virtual machines simultaneously or simply need more screen space for your tasks, enabling full screen on both monitors will allow you to seamlessly navigate and interact with your virtual machines. So, without further ado, let’s dive into the steps to enable full screen in VMware Workstation 12 on a dual monitor setup.
Step 1: Open VMware Workstation 12
The first step to enabling full screen in VMware Workstation 12 on a dual monitor setup is to open the VMware Workstation 12 application on your computer. Ensure that you have already installed VMware Workstation 12 by following the instructions on the official VMware website.
Once the application is launched, you will be presented with the main interface of VMware Workstation 12. Here, you will find a list of your virtual machines, as well as various menus and settings.
If you have already created a virtual machine, simply select the virtual machine from the list to proceed. However, if you have not created a virtual machine yet, you will need to set up a new one by clicking on the “Create a New Virtual Machine” option. This will launch the Virtual Machine Wizard, where you can select the desired operating system and configure the virtual machine settings.
After selecting the virtual machine, click on the “Start” or “Power On” button to power on the virtual machine. The virtual machine will now boot up and you will be able to access its desktop.
It is important to note that you need to have VMware Tools installed on the virtual machine in order to enable full screen. VMware Tools provides additional features and functionality, including improved graphics performance and seamless mouse integration. If you have not installed VMware Tools, it is recommended to do so before proceeding to the next steps.
With the virtual machine powered on and VMware Tools installed, you are now ready to proceed to the next step and enable full screen on VMware Workstation 12 with dual monitors.
Step 2: Power on the virtual machine
Once you have successfully launched VMware Workstation 12 and selected the desired virtual machine, it’s time to power on the virtual machine. This step is essential in order to access the virtual machine’s desktop and make the necessary changes to enable full screen on a dual monitor setup.
To power on the virtual machine, locate the “Start” or “Power On” button within VMware Workstation 12’s interface. Click on this button to initiate the booting process of the virtual machine.
It may take a few moments for the virtual machine to fully power on and display the desktop. Be patient and allow it to complete the booting process before proceeding to the next steps.
Once the virtual machine is powered on, you will be able to see the desktop environment of the operating system running within the virtual machine. This is where you will be making the necessary changes to enable full screen on VMware Workstation 12 with dual monitors.
Keep in mind that the process may vary slightly depending on the operating system you are running within the virtual machine. The following steps are based on a Windows operating system. If you are using a different operating system, the options and menus may be named differently, but the overall concept remains the same.
With the virtual machine successfully powered on, you are now ready to proceed to the next step and access the necessary settings to enable full screen on VMware Workstation 12 with dual monitors.
Step 3: Go to “View” menu
Once you have powered on the virtual machine within VMware Workstation 12, the next step is to access the “View” menu. This menu contains the necessary options to enable full screen mode and make the required adjustments for a dual monitor setup.
To access the “View” menu, navigate to the top of the VMware Workstation 12 interface. Here, you will find a series of menus including “File,” “Edit,” “View,” “Virtual Machine,” and more. Click on the “View” menu to proceed.
When you click on the “View” menu, a dropdown list of options will appear. This is where you will find the necessary settings to enable full screen mode on VMware Workstation 12 with dual monitors.
Depending on the version of VMware Workstation 12 you are using, the options and layout within the “View” menu may vary slightly. However, the key options you need to look for are “Full Screen” and “Display.” These options will allow you to maximize the virtual machine interface and make the necessary adjustments for dual monitor support.
By accessing the “View” menu, you are one step closer to enabling full screen mode and utilizing both monitors in your virtual machine setup. Now, let’s move on to the next step and select the “Full Screen” option to maximize your virtual machine experience.
Step 4: Select “Full Screen”
After accessing the “View” menu in VMware Workstation 12, the next step is to select the “Full Screen” option. This option allows you to maximize the virtual machine interface and utilize both monitors in your dual monitor setup.
Within the “View” menu, look for the “Full Screen” option. It is usually located towards the bottom of the dropdown list or listed as a sub-menu under the “View” menu.
Click on the “Full Screen” option to initiate the full screen mode on VMware Workstation 12. Once selected, the virtual machine window will automatically expand to fill both of your monitors, providing you with a larger workspace to perform your tasks within the virtual machine.
Enabling full screen mode is essential to fully utilize the screen real estate of your dual monitor setup. It creates a more immersive and focused virtual machine experience, allowing you to seamlessly navigate and interact with the virtual machine environment.
By selecting the “Full Screen” option, you have taken a crucial step in maximizing your virtual machine experience on VMware Workstation 12. Now, let’s proceed to the next step and make the necessary display settings adjustments to ensure smooth dual monitor functionality.
Step 5: Adjust the display settings
After enabling full screen mode on VMware Workstation 12, the next step is to adjust the display settings to ensure optimal dual monitor functionality. By making the necessary adjustments, you can enhance the visual experience and ensure that both monitors are utilized effectively.
To access the display settings, navigate to the “View” menu once again. Within the “View” menu, look for the “Display” or “Display Settings” option. Click on this option to access the display settings window.
In the display settings window, you will find various options to configure the display resolution, screen layout, and other visual settings. Depending on your preferences and requirements, you can set the resolution to match the native resolutions of your monitors or adjust it to your desired specifications.
Additionally, you may have the option to select whether you want to use a single monitor or extend the display across both monitors. This allows you to choose between a mirrored display or an extended display setup, depending on your needs.
Take some time to explore the display settings and customize them according to your preferences. You can experiment with different resolutions, orientation options, and monitor layouts to find the setup that works best for you.
Once you have made the necessary display settings adjustments, apply the changes and exit the display settings window. The virtual machine will now be displayed across both monitors with the adjusted settings in place.
With the display settings properly configured, you have successfully adjusted the settings to ensure smooth and optimized dual monitor functionality within VMware Workstation 12. Now, you can enjoy working on your virtual machines with an expanded workspace and improved visual experience.
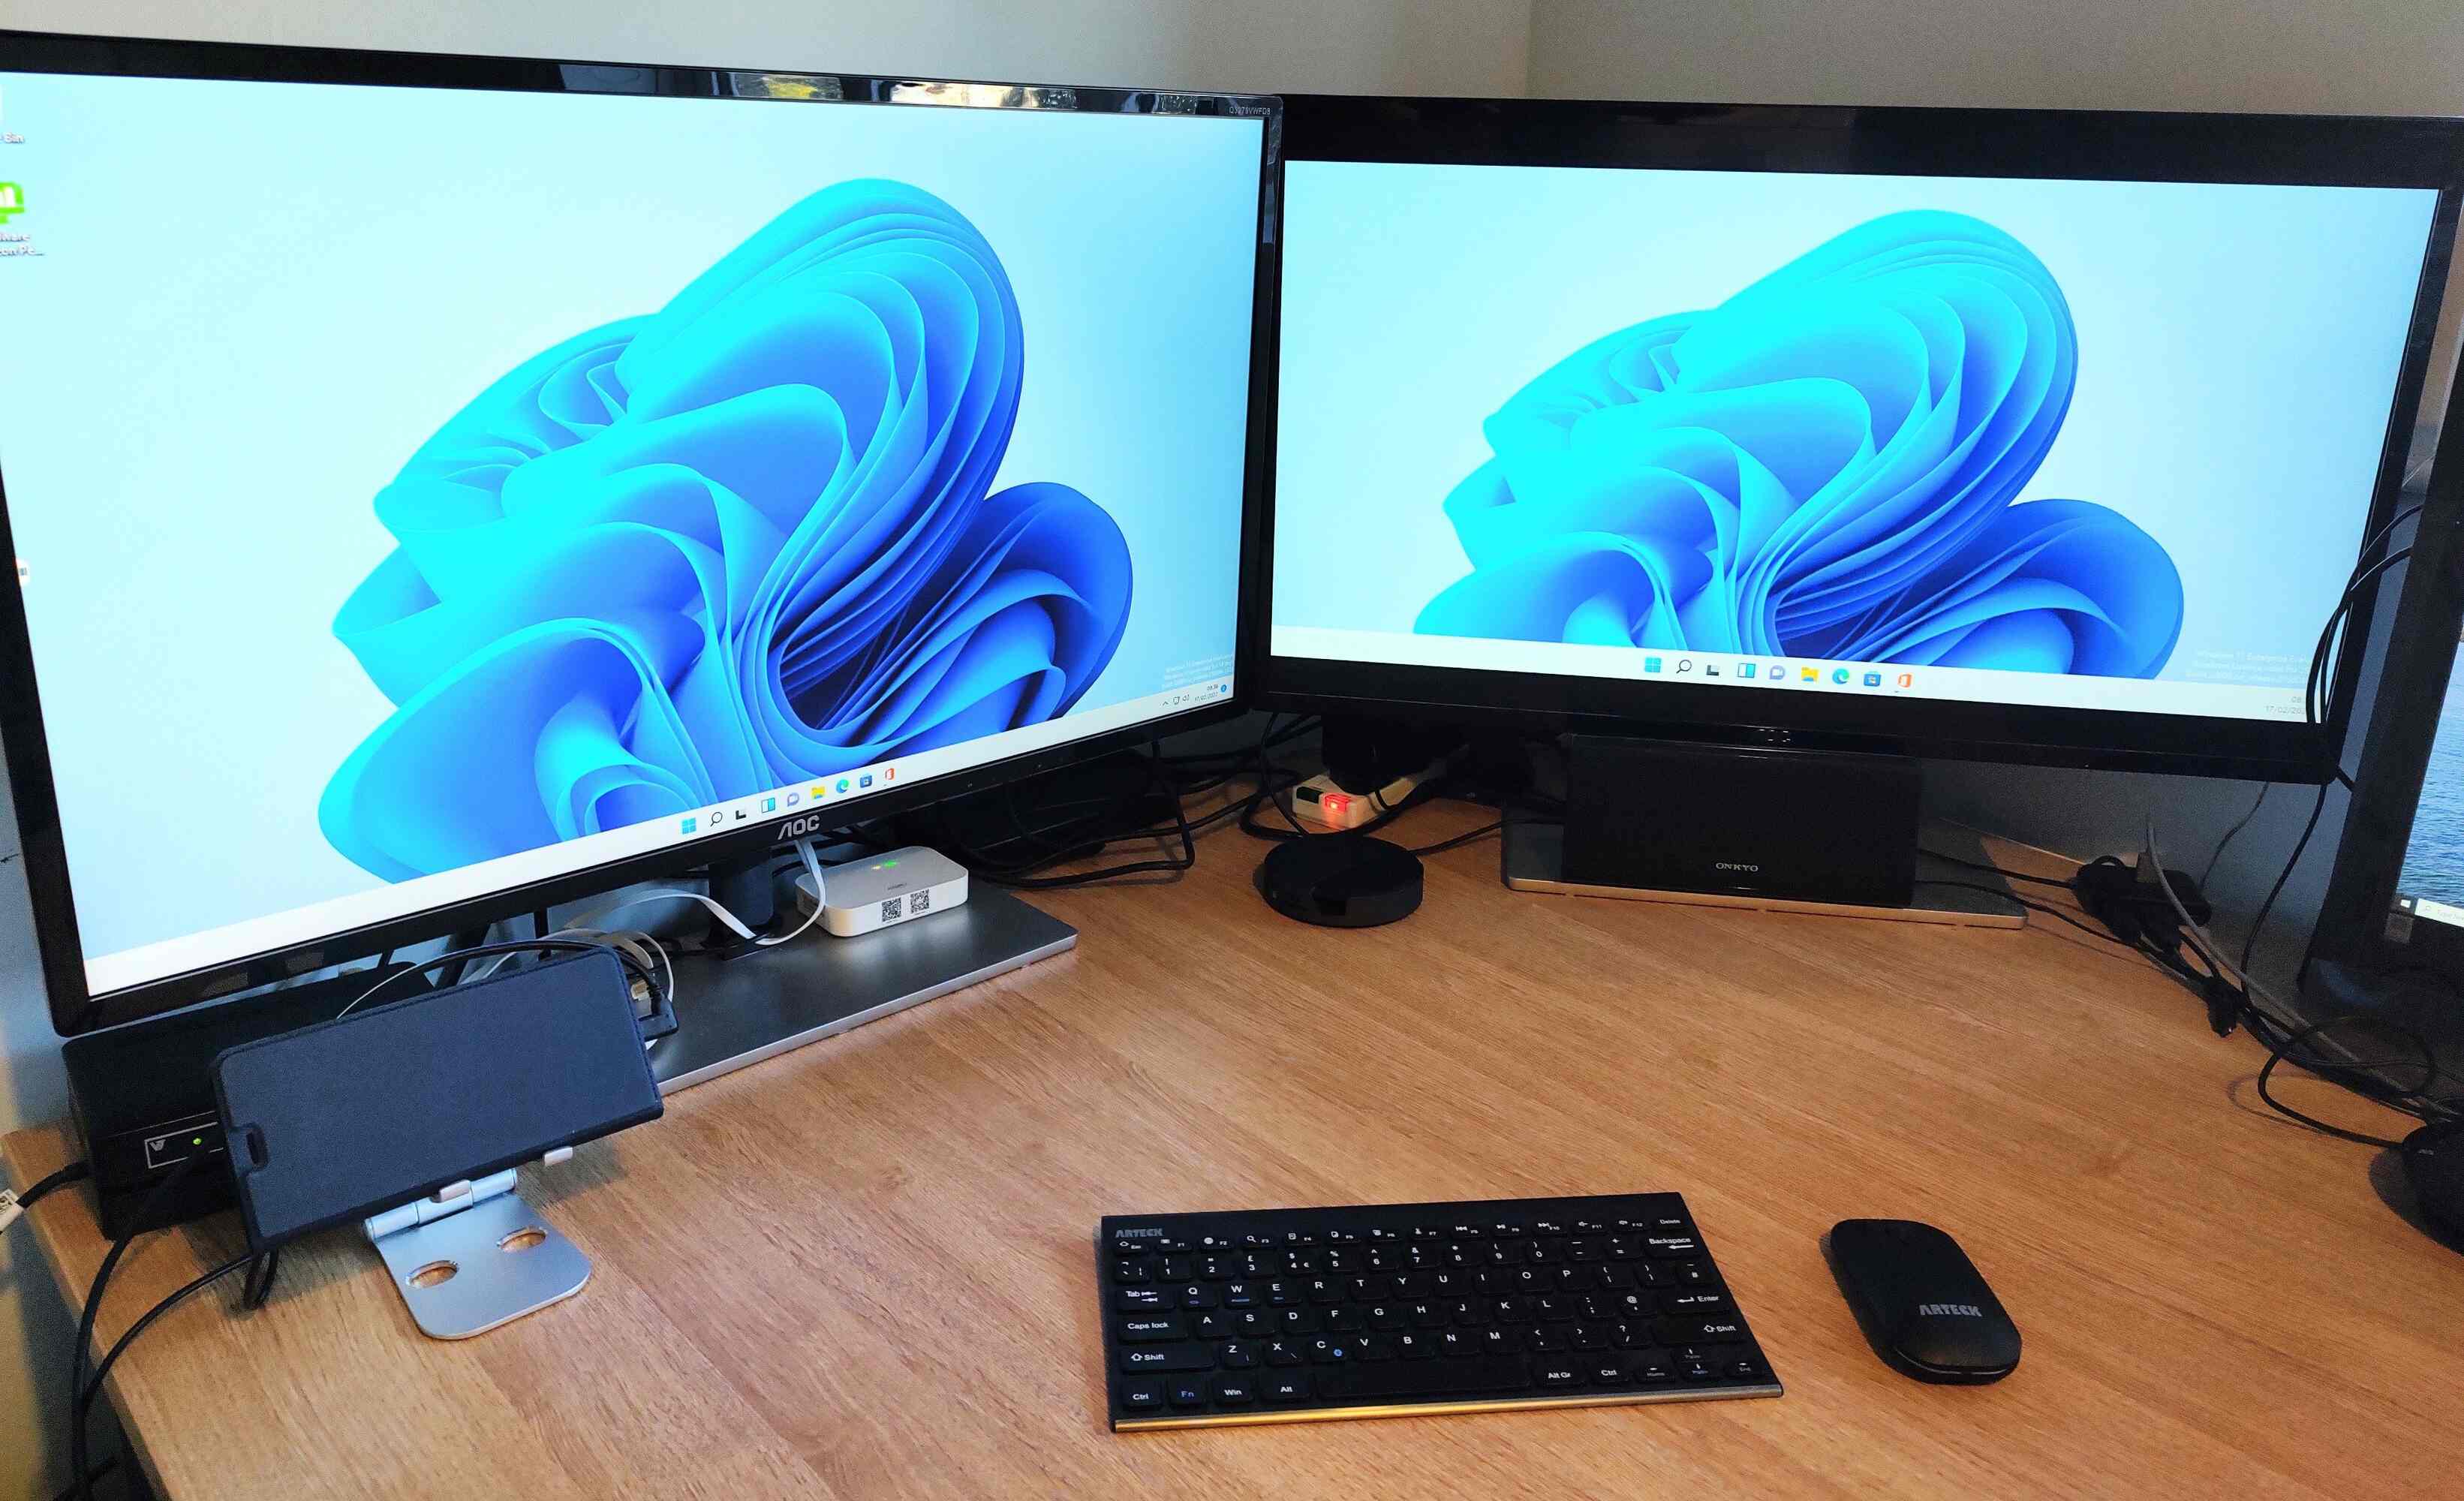
Step 6: Enable full screen on both monitors
Now that you have adjusted the display settings in VMware Workstation 12, the next step is to enable full screen on both monitors to fully utilize the dual monitor setup. By doing so, you can maximize your virtual machine experience and enjoy a seamless workflow across both monitors.
To enable full screen on both monitors, first ensure that the virtual machine is in full screen mode on one monitor. This can be done by selecting the “Full Screen” option from the “View” menu, as mentioned in the previous steps.
Once in full screen mode, navigate to the VMware Workstation 12 toolbar at the top of the screen. You will find a set of icons and options within the toolbar.
Look for the “Full Screen” icon, which typically resembles two overlapping monitors. Click on this icon to enable full screen mode on the second monitor.
When the second monitor enters full screen mode, you will now have both monitors displaying your virtual machine environment, providing an extended workspace for your tasks.
It is important to note that enabling full screen on both monitors may require manual adjustment of the virtual machine window size to fit both screens properly. You can do this by resizing the window or dragging its edges to span across both monitors.
Furthermore, if you find that the virtual machine’s display is not aligned correctly or the resolution needs adjustment, you can revisit the display settings, as discussed in the previous step, and make the necessary changes.
With full screen mode enabled on both monitors, your dual monitor setup in VMware Workstation 12 is now fully utilized. Take advantage of the expanded workspace and enjoy a seamless multi-tasking experience on your virtual machines.
Step 7: Enjoy full screen on VMware Workstation 12 with dual monitors
Congratulations! You have successfully enabled full screen mode on VMware Workstation 12 with dual monitors. Now, it’s time to sit back, relax, and enjoy the benefits of your expanded workspace and enhanced virtualization experience.
With full screen mode enabled on both monitors, you have the freedom to work on multiple virtual machines simultaneously, seamlessly switch between different applications and tasks, and take advantage of the extra screen real estate to increase your productivity.
Whether you are a developer testing software on different operating systems, an IT professional managing multiple virtual environments, or simply someone who enjoys the flexibility and convenience of virtualization, VMware Workstation 12 with dual monitors provides an immersive and efficient workflow.
Make the most out of this setup by organizing your virtual machines across the two monitors, utilizing the extended workspace for multitasking, and customizing the display settings according to your preferences.
Remember to save your work regularly and take advantage of VMware Workstation 12’s features such as snapshots and virtual machine templates to streamline your workflow and improve your overall virtualization experience.
By having full screen on VMware Workstation 12 spread across dual monitors, you have unlocked new possibilities and expanded your capabilities in virtualization.
So, sit back, relax, and enjoy the seamless integration of your virtual machines with your dual monitor setup on VMware Workstation 12. Happy virtualizing!
Conclusion
Enabling full screen mode on VMware Workstation 12 with dual monitors provides a more immersive and productive virtualization experience. By following the steps outlined in this guide, you can unleash the full potential of your dual monitor setup and take advantage of the expanded workspace.
We started by opening VMware Workstation 12 and powering on the virtual machine. Then, we accessed the “View” menu and selected the “Full Screen” option, ensuring that the virtual machine filled one monitor. After that, we adjusted the display settings to optimize the dual monitor functionality, enabling a seamless transition between screens.
In the final step, we enabled full screen on both monitors, maximizing the virtual machine experience and utilizing the extended workspace for multitasking. We explored the benefits of working with multiple virtual machines simultaneously and customizing the display settings to suit our needs.
By following these steps, you can enjoy an enhanced virtual machine experience, whether you are a developer, IT professional, or simply an enthusiast. Utilizing dual monitors in VMware Workstation 12 allows for improved productivity, multitasking capabilities, and a seamless integration of multiple virtual environments.
Remember to experiment with different configurations and settings to find the setup that works best for you. VMware Workstation 12 offers a range of features and options that can be customized to suit your specific requirements and preferences.
Now that you have learned how to enable full screen on VMware Workstation 12 with dual monitors, it’s time to put your knowledge into practice. Take advantage of the expanded workspace, optimize your virtualization workflows, and enjoy a more efficient and immersive experience with VMware Workstation 12 and your dual monitor setup.