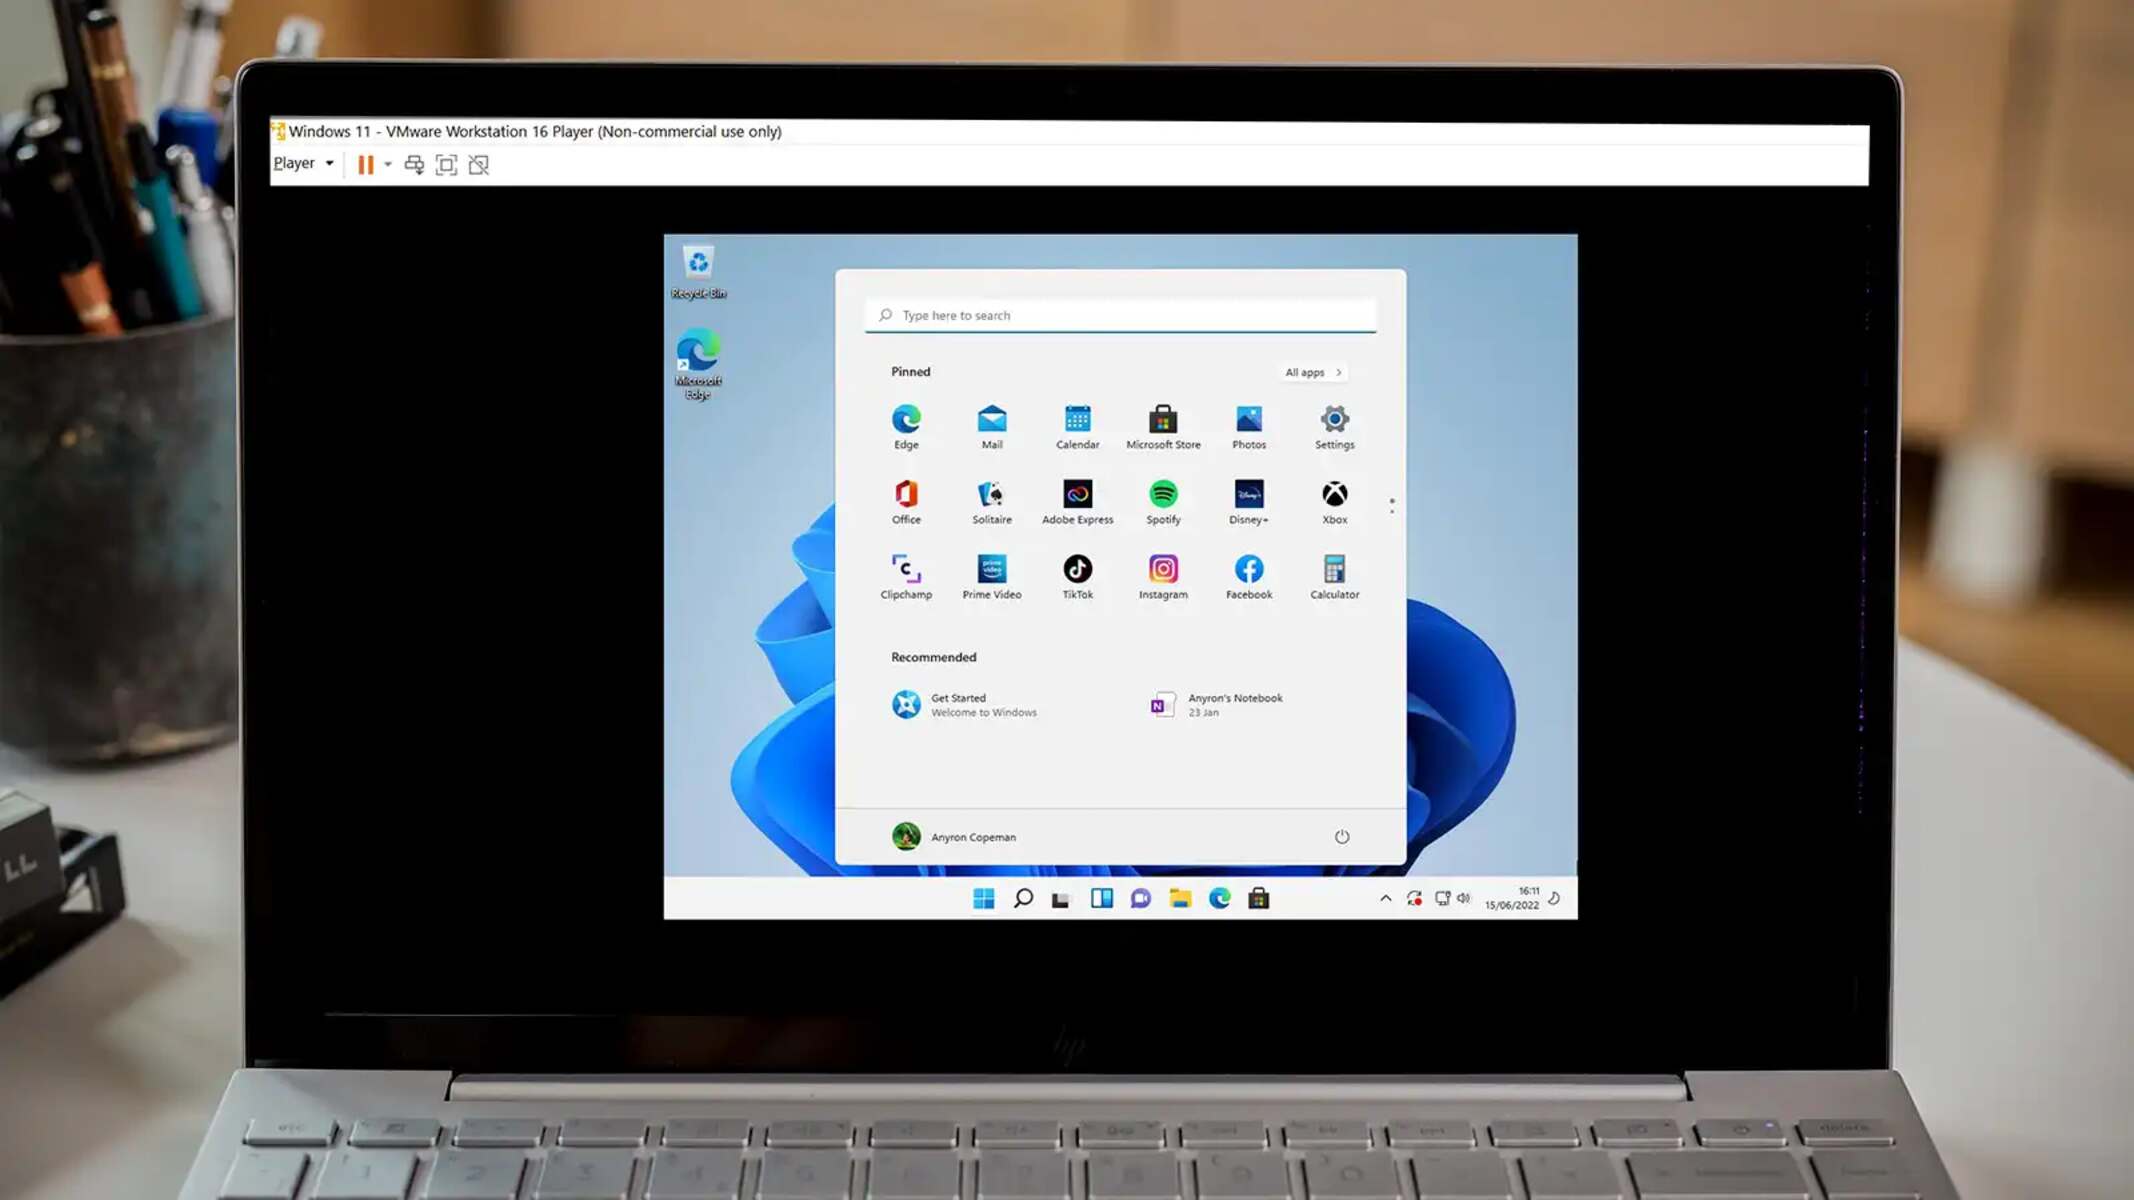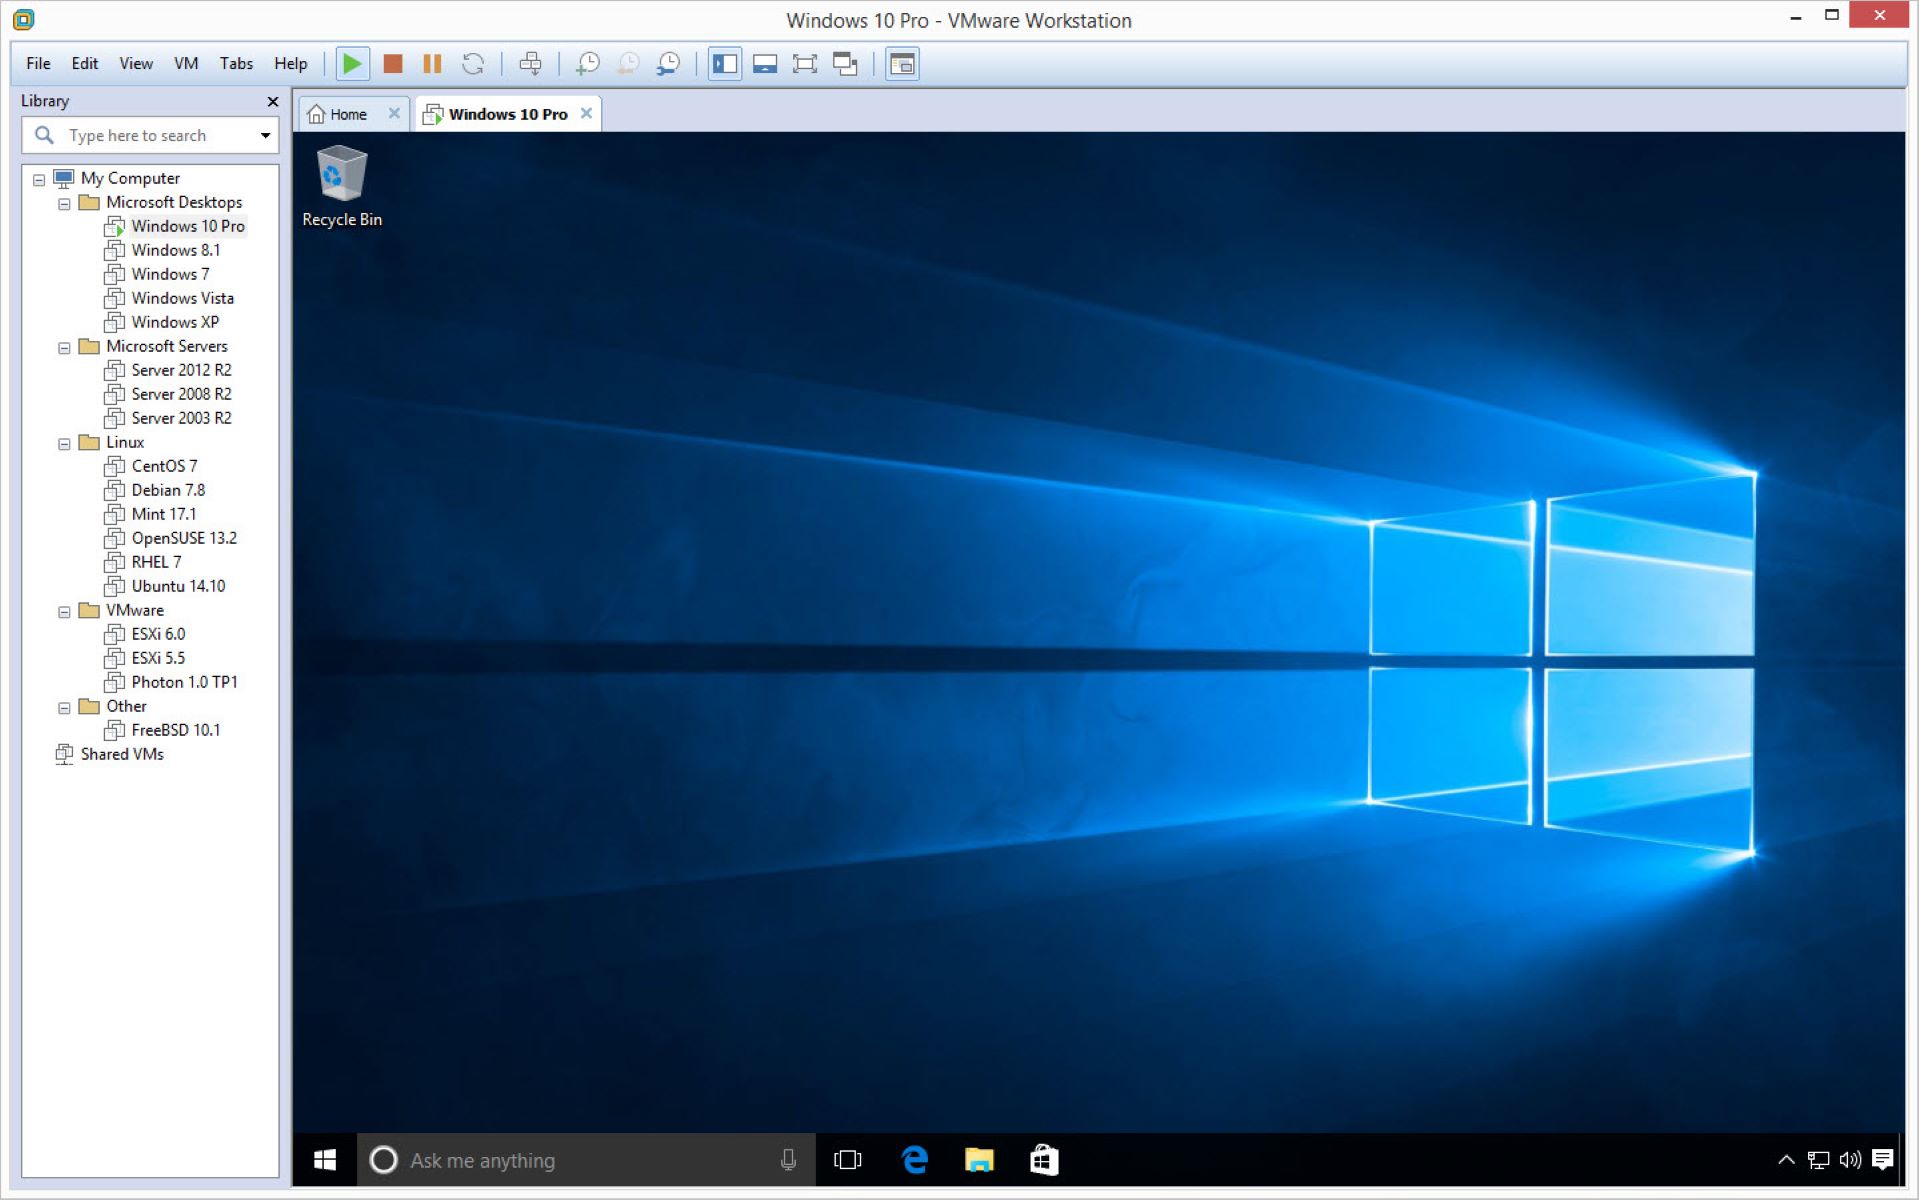
To install an operating system on a VMware virtual machine, you create a virtual machine in VMware Workstation, attach an ISO file of the OS, and boot from it to run the installer. First, enable virtualization in vmware virtual machine to ensure your guest OS can leverage hardware acceleration for better performance. This process lets you run a fully isolated guest OS on your host computer for testing, development, or running multiple operating systems simultaneously.
Before you install an operating system on a vmware virtual machine: Prerequisites
Before starting, ensure your host machine meets the requirements. To run a 64-bit guest operating system, your host must have a 64-bit CPU, and hardware virtualization features (Intel VT-x or AMD-V) must be enabled in the host's BIOS/UEFI settings. You will also need a licensed copy of VMware Workstation (this guide covers Workstation; for ESXi environments, the process differs slightly). Have the ISO file of the operating system you wish to install ready on your host machine. If you are working with legacy software, you can also install ms-dos 6.22 on vmware workstation using floppy disk images instead of an ISO.
Create a new virtual machine for your operating system
Launch VMware Workstation. In the main interface, select the option to create a new virtual machine. You will be prompted to choose between a Typical or Custom configuration. Typical is recommended for most users as it provides a simplified setup. You will then select the guest operating system type, choose the OS you plan to install from the list (e.g., Windows, Linux). If your OS is not listed, select the closest match. Next, specify the location of your installation media by choosing the ISO file option and browsing to your downloaded ISO. VMware Workstation will detect the OS and suggest a name and location for the virtual machine. Finally, specify the disk capacity for the virtual hard disk; you can accept the default or adjust it.
Configure virtual machine settings and attach the ISO file
After creating the virtual machine, the Virtual Machine Settings window opens. Here, adjust the hardware configuration: allocate memory (RAM), set the number of processors, and review the virtual disk capacity. The critical step is setting the CD/DVD drive to point to your OS ISO file. In the Hardware tab, select the CD/DVD drive, choose "Use ISO image file," browse to your ISO, and ensure "Connect at power on" is checked. This ensures the virtual machine boots from the installation media. You can also configure the network adapter (Bridged, NAT, or Host-only) and other hardware as needed. Click OK to save the settings.
Install the operating system on the virtual machine
Power on the virtual machine. It will boot from the attached ISO file. You will see the operating system's installer begin. Follow the on-screen prompts specific to your OS:
- Select your language and regional settings.
- Accept the license agreement.
- Choose the disk or partition for installation. You may need to format or create partitions.
- Set a username and password for the initial user account.
- Wait for the installation to complete. The virtual machine may restart during this process.
Interact with the guest OS installer using the VMware Remote Console or the Workstation interface. The exact steps vary by operating system, but the installer will guide you through each stage.
Complete the first boot and install VMware Tools
Once the installation finishes, the virtual machine will boot into the newly installed operating system. Log in with the credentials you created during installation. Immediately after logging in, install VMware Tools (or open-vm-tools for Linux distributions) to significantly improve performance, graphics, and host-guest integration. From the VMware Workstation menu, select "VM" > "Install VMware Tools." This mounts a virtual ISO within the guest OS. Run the installer from that mounted drive inside the virtual machine and follow the prompts. After installation, restart the virtual machine if prompted. VMware Tools enables features like better display resolution, mouse integration, and shared folders. For ESXi environments, you would upload the operating system ISO image to a datastore accessible by the ESXi host, then edit the VM settings in vSphere Client to set the CD/DVD drive to "Datastore ISO File" and ensure "Connect at power on" is checked. If you need to work with existing disk images, you can use a VHD in VMware Workstation by converting the VHD file to a VMDK format using the VMware vCenter Converter tool, then attach it as a virtual disk to your virtual machine. After VMware Tools is installed, your virtual machine is fully operational and optimized for use.