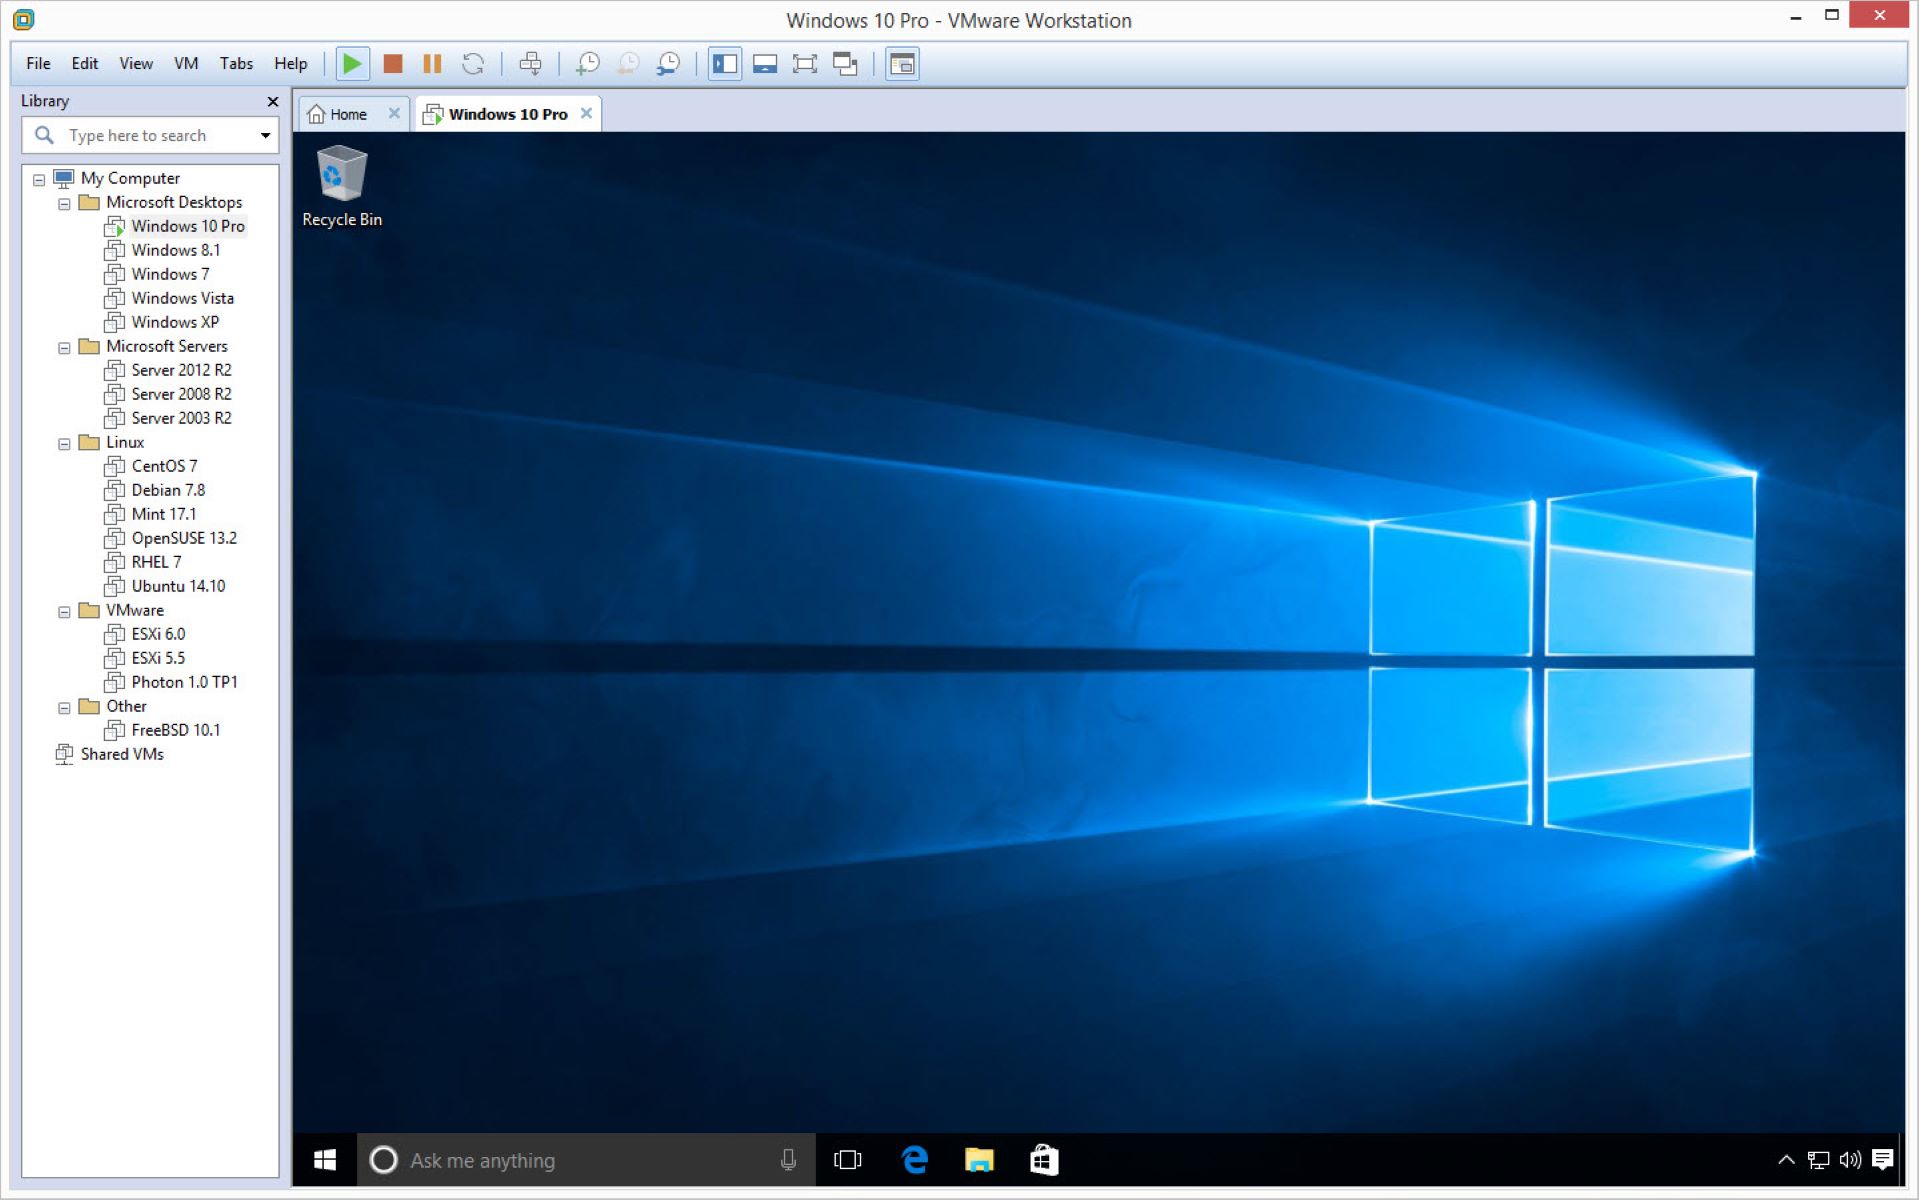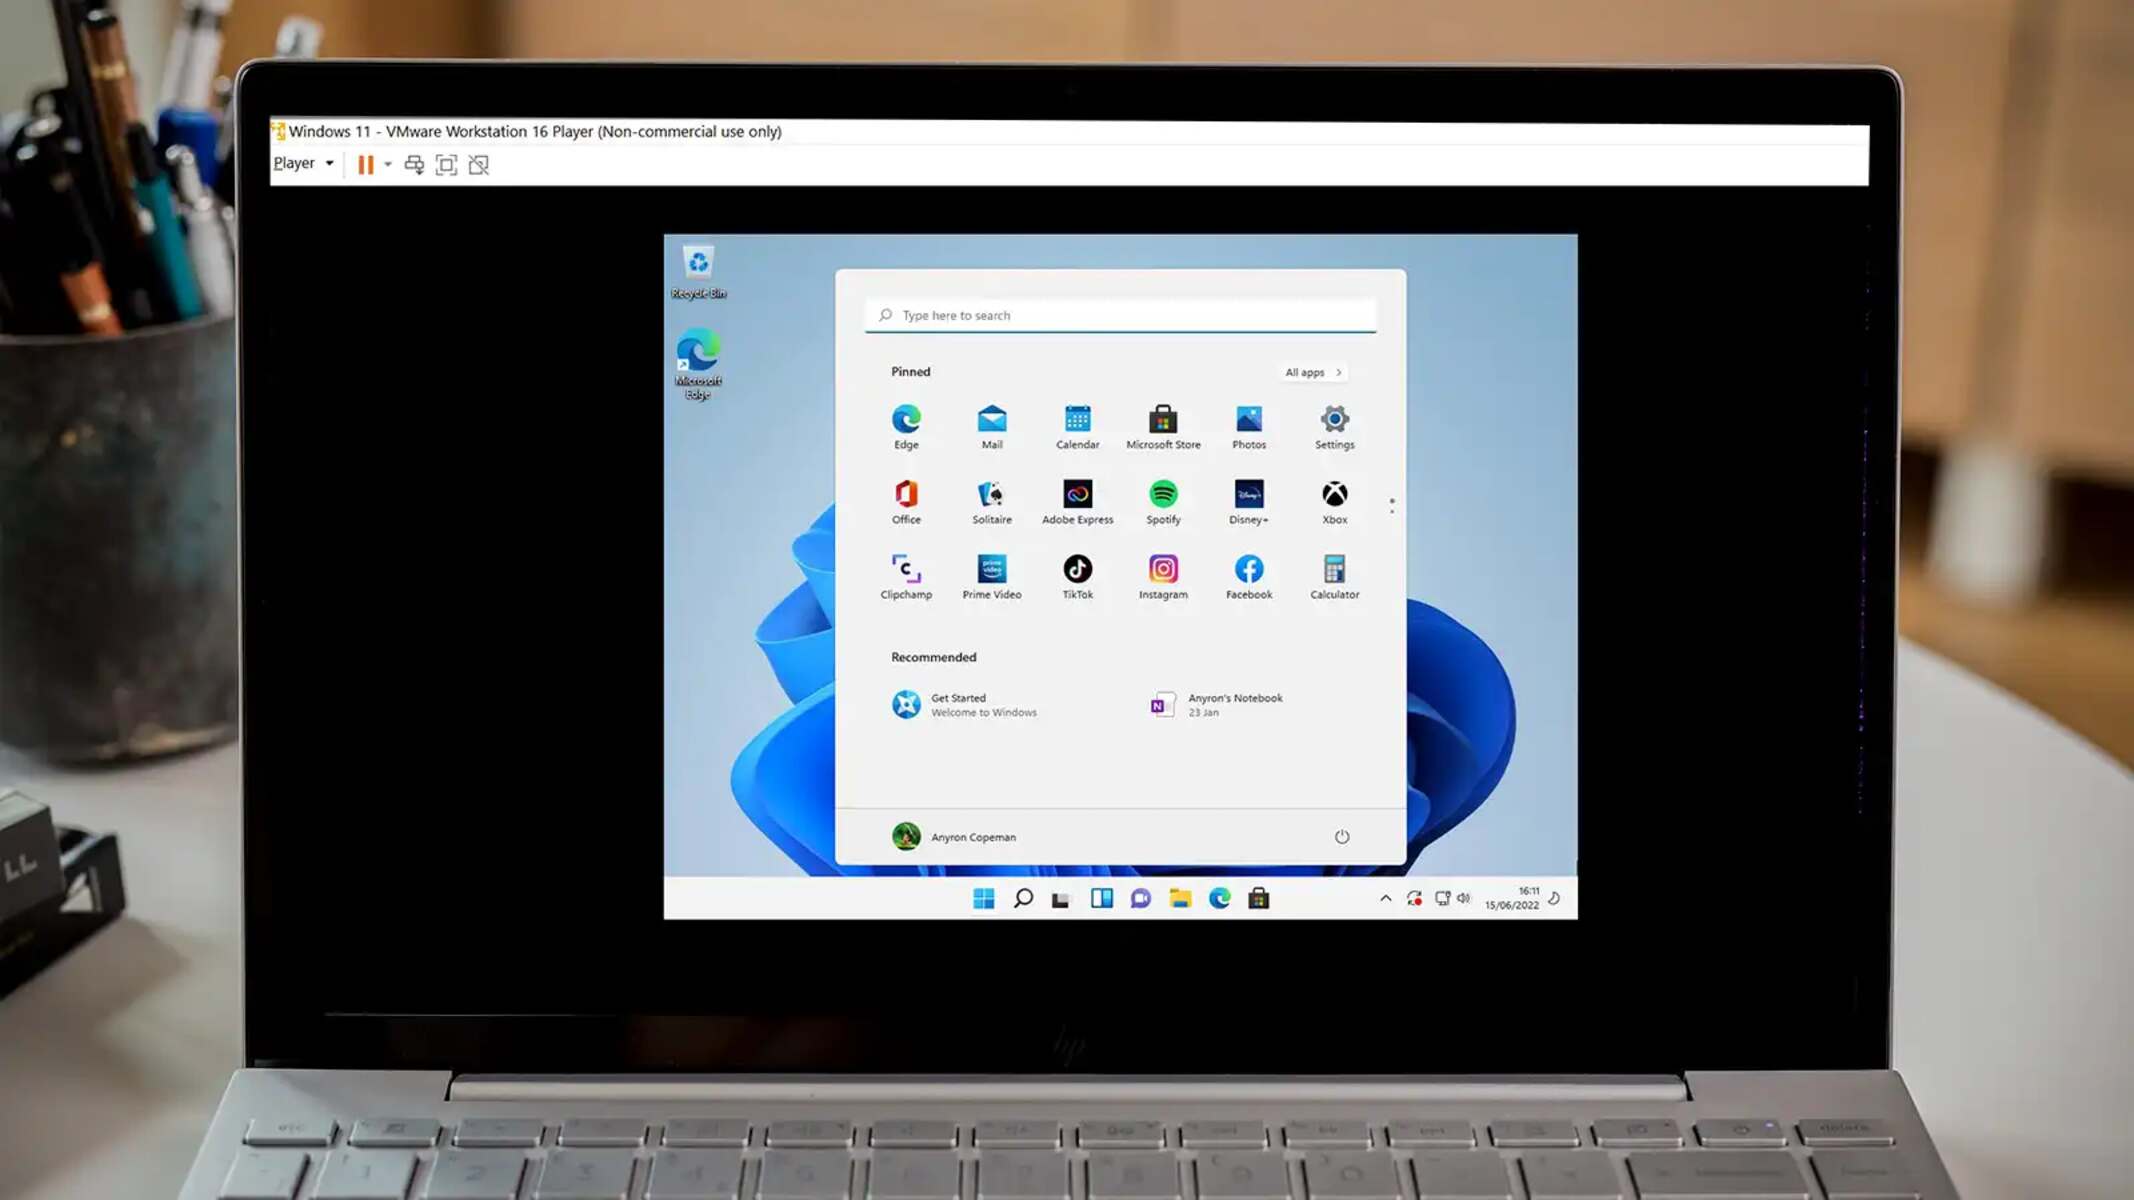
To hide virtual machine detection, you need to strip away the software and hardware fingerprints that VirtualBox or VMware leave behind. The most effective approach combines disabling hypervisor features on both the host and the guest, then masking network and driver artifacts so websites and applications see a normal physical PC.
Why you need to hide virtual machine detection
Websites, games, and enterprise software often block or restrict virtual machines because they assume a VM is a sign of automated abuse, fraud, or unauthorized access. You might want to hide virtual machine detection to access a service that refuses to run inside a VM, to prevent fingerprinting that tracks your environment, or simply to keep your test lab clean from pop-ups and feature limitations. The goal is not to evade security for malicious purposes, but to make your VM behave like an ordinary physical machine so it works exactly as intended.
First, check if Hyper-V is blowing your cover
Before touching your VM settings, look at the host operating system. If Windows Hyper-V or Virtualization-Based Security (VBS) is enabled, it exposes a hypervisor flag to every program running on the machine, including your guest VM. That single flag can override all other anti-detection tweaks you apply inside the VM.
- Press Win+R, type
msinfo32.exe, and hit Enter. - Scroll to the bottom of the System Summary. If you see “A hypervisor has been detected,” Hyper-V is active.
- Open Command Prompt as Administrator and run
bcdedit /set hypervisorlaunchtype off. - Restart your PC.
- If the hypervisor flag persists, open Registry Editor and navigate to
HKLM\SYSTEM\CurrentControlSet\Control\DeviceGuard. SetEnableVirtualizationBasedSecurityto 0. - Also check
HKLM\SYSTEM\CurrentControlSet\Control\Lsaand setLsaCfgFlagsto 0 to disable Credential Guard. - Restart your PC again and re-run
msinfo32.exeto confirm the hypervisor message is gone.
Disabling Hyper-V on the host removes the most obvious detection vector before you even start the VM. Many users skip this step and then wonder why their guest still shows as virtualized.
Hide VirtualBox from detection probes
VirtualBox exposes its presence through CPUID instructions, BIOS strings, and the paravirtualization interface. You can mask all three using command-line tools that come with VirtualBox.
- Shut down the VM completely.
- Open a terminal and run
VBoxManage setextradata "YourVMName" VBoxInternal/CPUM/IsaExtMask 0as a common first step, but the critical setting isVBoxManage setextradata "YourVMName" VBoxInternal/CPUM/HvMsrAll 0. - Run
VBoxManage setextradata "YourVMName" VBoxInternal/Devices/pcbios/0/Config/DmiBIOSVendor "American Megatrends Inc."and replace the product string with a real motherboard vendor. - Set
DmiSystemProductto a generic model name like “System Product Name”. - Open the VM settings, go to System → Processor, and change the Paravirtualization Interface to None. This clears the HVP bit from CPUID, which is one of the primary checks detection tools use.
- Run
VBoxManage setextradata "YourVMName" VBoxInternal/CPUM/CPUID/0x1/edx 0x00000000to further strip hypervisor bits if needed.
After these changes, VirtualBox no longer advertises itself as a hypervisor in the CPUID leaf that anti-detection scripts query. The BIOS strings now look like a typical desktop motherboard, and the paravirtualization interface is silent.
Hide VMware from detection probes
VMware Workstation and Player read their configuration from a .vmx file. Editing this file directly gives you the same level of control as VirtualBox’s command-line settings.
- Locate your VM’s
.vmxfile in the VM directory. - Open it with a text editor and add these lines:
hypervisor.cpuid.v0 = "FALSE"andSMBIOS.reflectHost = "TRUE". - Set
monitor.virtual_mmu = "hardware"andmonitor.virtual_exec = "hardware"to make the CPU appear more like a physical processor. - Add
board-id.reflectHost = "TRUE"andhw.model.reflectHost = "TRUE"to mirror the host’s hardware identifiers. - Change the paravirtualization interface by adding
vhv.enable = "FALSE"andvpmc.enable = "FALSE". - Save the file and start the VM.
Setting hypervisor.cpuid.v0 = "FALSE" is the single most important line because it directly tells the CPUID instruction to not report a hypervisor present. The SMBIOS.reflectHost lines make the VM’s firmware strings match your physical PC, which defeats scripts that check for “VMware” or “Virtual Machine” in the DMI data.
Make the network and hardware fingerprint less obvious
Even with CPUID and BIOS masked, detection tools can still identify a VM by its network adapter model, MAC address, or the presence of guest tools drivers. These are easier to spot than you might think.
- Switch the VM’s network adapter from NAT to Bridged mode. NAT creates a virtual subnet that is a dead giveaway, while Bridged makes the VM appear as another device on your physical LAN.
- In the VM settings, manually randomize the MAC address. Many hypervisors use a vendor prefix like 08:00:27 (VirtualBox) or 00:0C:29 (VMware) that detection scripts recognize instantly.
- Uninstall or disable VMware Tools or VirtualBox Guest Additions. These drivers are named after the hypervisor and appear in device manager, making detection trivial. Keep the VM functional without them by using generic drivers where possible.
- If you must keep guest tools for clipboard or display resolution, at least disable the “VMware SVGA” or “VirtualBox Graphics Adapter” and replace it with a standard VGA driver.
Timing-based detection works because virtualized drivers respond with slightly different latencies than physical hardware. Removing those drivers eliminates the timing anomaly, and switching to Bridged networking removes the NAT signature that many fingerprinting services check first.
Test your anti-detection setup
After applying all the changes, you need to verify that nothing is left exposed. Run a quick validation before attempting to use the VM for its intended purpose.
- Open a browser inside the VM and visit Pafish (Paranoid Fish), a well-known anti-detection test page.
- Check the results page for any red flags. It will tell you if it detects a hypervisor, a virtual BIOS, or a virtual network adapter.
- Re-open
msinfo32.exeinside the guest and confirm it does not mention a hypervisor. - Run
systeminfoin the guest’s command prompt and look for “Hyper-V Requirements”, it should say “A hypervisor has been detected” only if your host still has Hyper-V enabled, which you already disabled. - If any test fails, go back through the steps and verify each setting was applied correctly. The most common mistake is forgetting to disable Hyper-V on the host or leaving the paravirtualization interface set to “Hyper-V” instead of “None”.
Once Pafish shows no detection flags and the system information looks like a physical PC, your setup is ready. Remember that detection techniques evolve, so re-test periodically after updating your hypervisor or operating system.
\nRelated reading: How To Import A Virtual Machine Into VMware Workstation, How To Install An Operating System On A VMware Virtual Machine, and How To Enable Virtualization In Vmware Virtual Machine.