Introduction
When working with VMware Workstation, you may find yourself needing to change the resolution of your virtual machine’s display. Whether you want to increase the resolution for a clearer and more detailed display or decrease it for better performance, VMware Workstation provides easy-to-use options for adjusting the resolution to suit your needs.
Changing the display resolution can be helpful in various scenarios. For instance, if you are using a virtual machine for software testing, you may need to simulate different screen resolutions to ensure compatibility. Alternatively, you may want to adjust the resolution to match your host system’s display settings or optimize it for specific applications.
In this guide, we will walk you through the steps to change the resolution when opening VMware Workstation. We will explore both manual methods and options available within the VMware Workstation menu to make the process as straightforward as possible. Additionally, we will provide troubleshooting tips for common issues that may arise during the resolution adjustment process.
Whether you’re a seasoned VMware user or new to virtualization, this guide will help you navigate the process of changing the resolution in VMware Workstation, empowering you to tailor your virtual machine’s display settings to your preferences and requirements.
Selecting the Desired Resolution
Before we dive into changing the resolution, it’s essential to determine the desired resolution for your virtual machine. The resolution refers to the number of pixels displayed on the screen and is typically represented in width by height, such as 1920×1080. Higher resolutions provide more screen real estate and sharper images, but they may require more system resources. On the other hand, lower resolutions conserve resources but may result in a less detailed display.
To select the desired resolution, consider the purpose of your virtual machine and your personal preferences. If you’re using it for productivity tasks like coding or graphic design, you may want a higher resolution for a more spacious workspace. If your virtual machine is primarily used for testing and compatibility verification, you might want to simulate common resolutions to ensure optimal software performance across different devices.
To determine the ideal resolution, you can refer to the recommended resolution of your guest operating system or choose a resolution that matches your host system’s display settings. Remember that changing the resolution may require adjusting other display settings, such as DPI scaling, to ensure everything appears correctly on the screen.
Once you have identified the desired resolution, you can proceed to change the resolution in VMware Workstation. Whether you prefer manual methods or utilizing the VMware Workstation menu, we will explore both options in the following sections to accommodate different user preferences.
Changing the Resolution Manually
If you prefer a hands-on approach, you can manually adjust the resolution of your virtual machine in VMware Workstation. Here’s how:
- Ensure that your virtual machine is powered off. If it’s currently running, shut it down gracefully before proceeding.
- In the VMware Workstation interface, select the virtual machine you want to modify from the library or workspace.
- Click on the “Edit virtual machine settings” option to open the Virtual Machine Settings window.
- In the Virtual Machine Settings window, navigate to the “Hardware” tab, and select “Display”.
- Under the “Display” settings, you will see the “Resolution” option. Here, you can manually enter the desired resolution value or use the slider to adjust it.
- Click “OK” to save the changes and exit the Virtual Machine Settings window.
- Start your virtual machine to apply the new resolution.
By following these steps, you can manually change the resolution of your virtual machine. However, keep in mind that manually entering a resolution that is not supported by your operating system or virtual machine display capabilities may result in unexpected behavior or a non-functional display. It’s advisable to select resolutions that are within the recommended range for your guest operating system and the virtual machine software.
If you encounter any issues or find that the resolution doesn’t appear as expected, consider adjusting other display settings, such as DPI scaling, within your guest operating system to ensure a proper display experience.
Now that we’ve covered the manual method of changing the resolution, let’s explore an alternative option utilizing the VMware Workstation menu in the next section.
Adjusting the Resolution with the VMware Menu
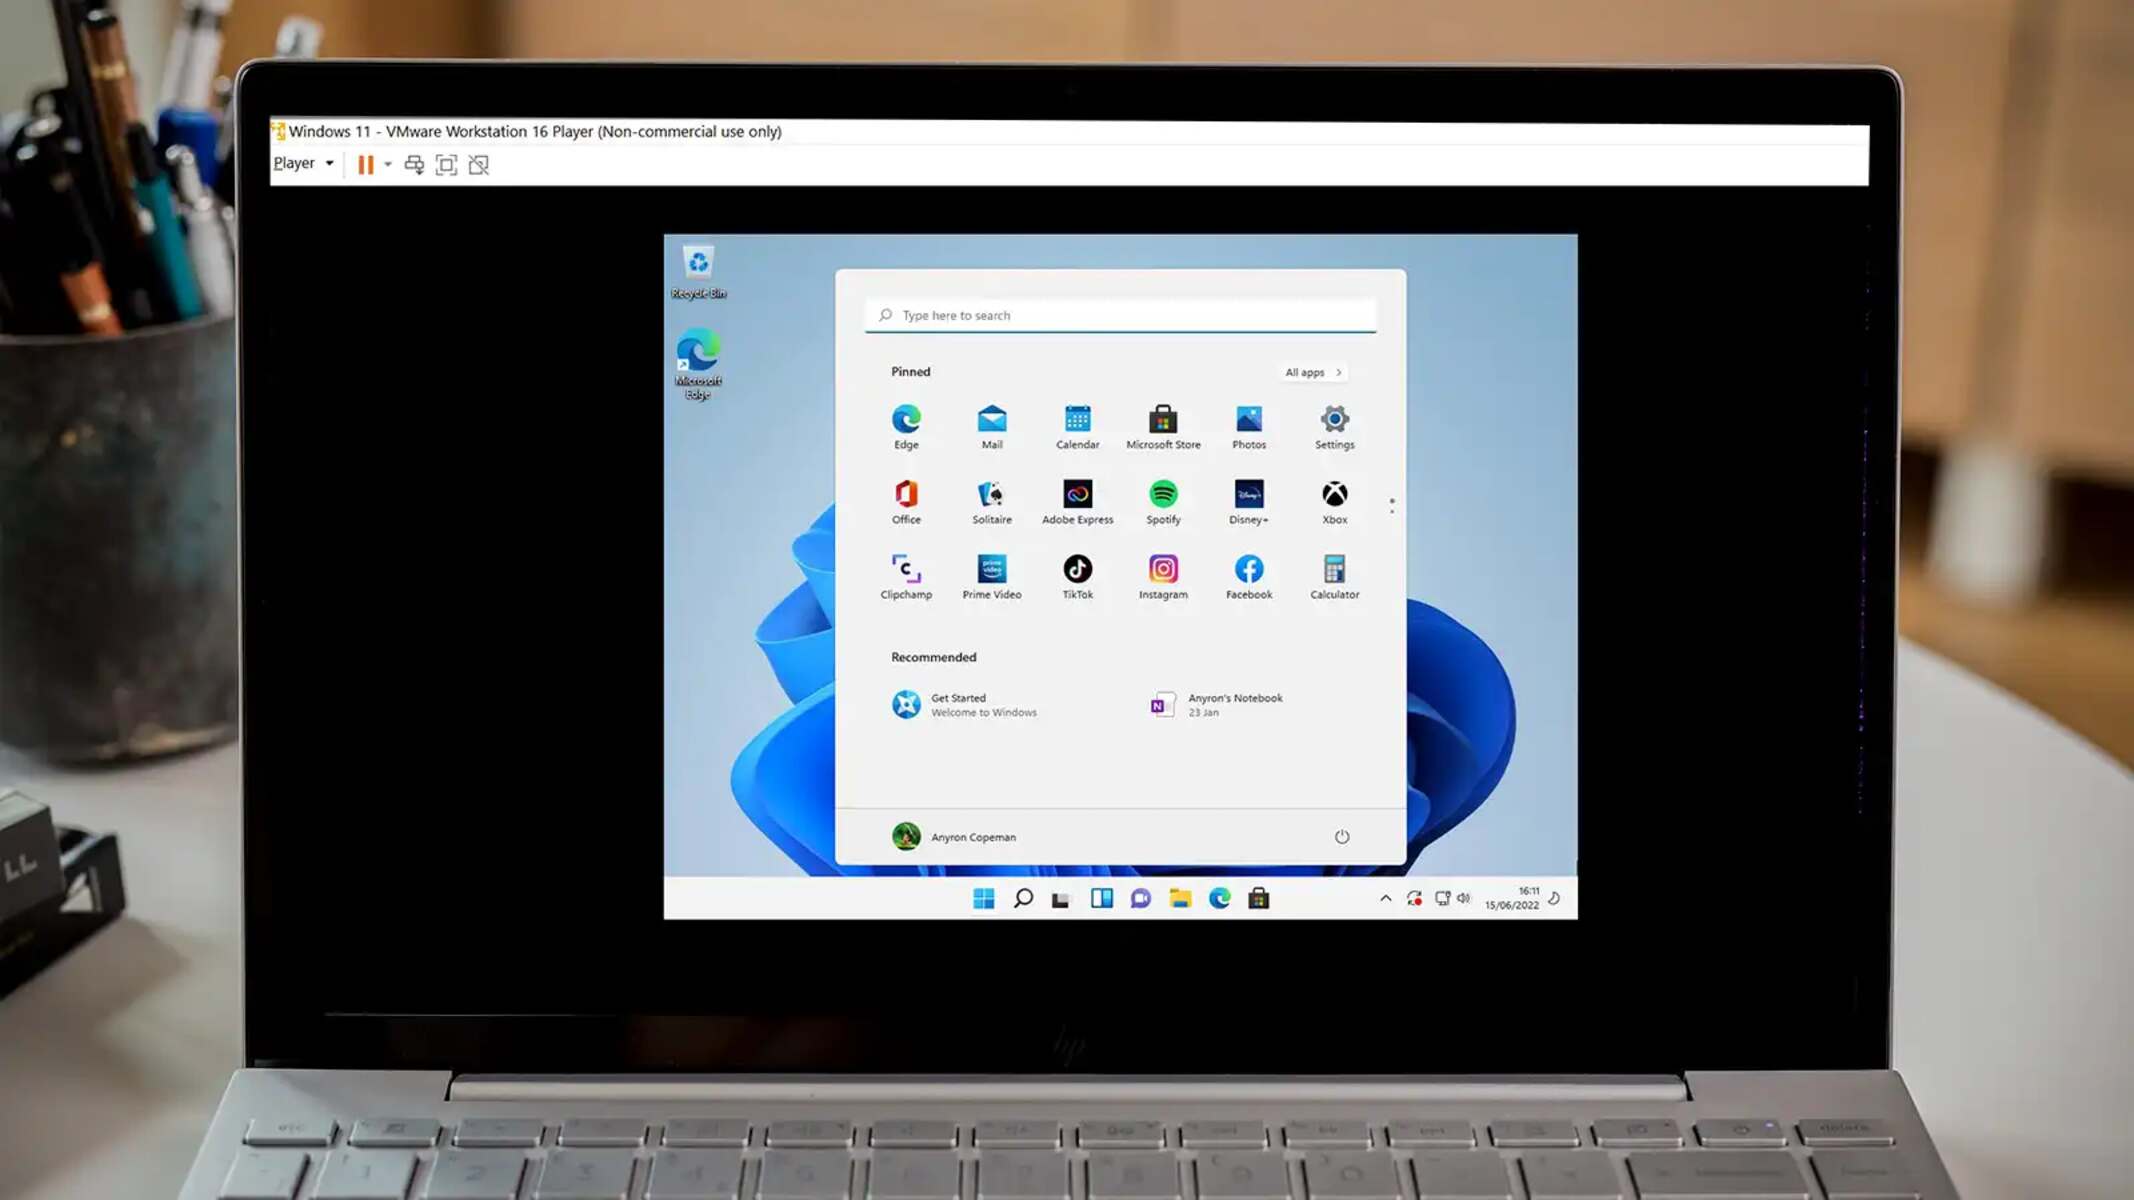
If you prefer a more streamlined approach, VMware Workstation offers a convenient menu option to adjust the resolution of your virtual machine. Here’s how:
- Ensure that your virtual machine is powered on.
- In the VMware Workstation interface, navigate to the menu bar at the top of the window.
- Click on the “View” menu and select “Fit Guest Now” to automatically adjust the resolution to fit the current window size.
- If you prefer a specific resolution, go to the “View” menu again and hover over “Resize”. A submenu will appear, displaying various resolution options. Select the desired resolution to apply it to your virtual machine.
By following these steps, you can easily adjust the resolution of your virtual machine using the available options in the VMware Workstation menu. This method is particularly useful when you want to quickly switch between different resolutions or need to adapt the display to fit the window size.
Remember that the resolution options in the VMware menu are based on the supported resolutions of your guest operating system and the virtual machine software. If the desired resolution is not available in the menu, you may need to use the manual method mentioned earlier to enter a custom resolution within the Virtual Machine Settings.
Now that you know how to adjust the resolution through the VMware menu, let’s proceed to the next section to learn how to save the new resolution as the default setting.
Saving the New Resolution as Default
After changing the resolution of your virtual machine in VMware Workstation, you may want to save it as the default setting for future use. This ensures that the desired resolution is automatically applied whenever you start the virtual machine. Here’s how to save the new resolution as the default:
- Make sure your virtual machine is powered off.
- In the VMware Workstation interface, select the virtual machine from the library or workspace.
- Click on the “Edit virtual machine settings” option to open the Virtual Machine Settings window.
- Navigate to the “Hardware” tab and select “Display”.
- Under the “Display” settings, ensure that the desired resolution is set.
- Check the box next to “Automatically adjust user interface size in the guest operating system” if you want VMware Workstation to automatically adjust the user interface to match the selected resolution.
- Click “OK” to save the changes.
By following these steps, you have saved the new resolution as the default setting for your virtual machine. Now, whenever you power on the virtual machine, it will automatically use the specified resolution.
Keep in mind that saving the resolution as the default may not apply if another virtual machine setting, such as a snapshot or a different display configuration, overrides it. Ensure that there are no conflicting settings that may prevent the default resolution from being applied.
Now that you know how to save the new resolution as the default, let’s move on to the next section to address common troubleshooting issues that may arise during the resolution adjustment process.
Troubleshooting Common Issues
While changing the resolution in VMware Workstation is generally a smooth process, there may be instances where you encounter some common issues. Here are a few troubleshooting tips to help you overcome these challenges:
- Unsupported resolution: If you try to set a resolution that is not supported by your guest operating system or virtual machine display capabilities, you may encounter display issues or a blank screen. Double-check the recommended resolution for your guest operating system and ensure that the chosen resolution falls within the supported range.
- Guest additions not installed: Guest additions are additional tools and drivers that enhance the functionality and performance of a virtual machine. If you experience display-related issues, ensure that the guest additions are installed in your guest operating system, as they often include display-related drivers and features.
- Display driver issues: Outdated or incompatible display drivers can cause display problems within your virtual machine. Make sure you have the latest display drivers installed for your guest operating system. If you encounter issues, try updating the display drivers or reinstalling the guest additions.
- Virtual machine settings conflicts: Conflicting settings in your virtual machine, such as conflicting display configurations or snapshots, may interfere with the resolution adjustment process. Check for any conflicting settings or revert to a clean snapshot if necessary.
- Host display settings mismatch: If the host system’s display settings differ significantly from the chosen resolution in your virtual machine, you may experience display issues or scaling problems. Ensure that the resolution in your virtual machine corresponds to the host settings or adjust the host display settings to match the desired resolution.
If you encounter persistent problems or issues that are not covered here, consult the VMware Workstation documentation or seek support from the VMware community or help resources for further assistance.
With these troubleshooting tips in mind, you should be able to overcome common issues and successfully adjust the resolution in VMware Workstation.
Conclusion
Changing the resolution in VMware Workstation allows you to optimize the display of your virtual machine, catering to your specific needs and preferences. Whether you prefer manual methods or utilizing the VMware Workstation menu, adjusting the resolution is a straightforward process.
By selecting the desired resolution that suits your guest operating system, personal preferences, and system requirements, you can enhance your virtual machine experience. Whether you need a higher resolution for a more spacious workspace or a lower resolution for better performance, VMware Workstation provides the flexibility to choose the resolution that works best for you.
Remember to save the new resolution as the default setting to ensure that it is automatically applied whenever you start the virtual machine. This saves you time and effort in repeatedly adjusting the resolution manually.
If you encounter any issues during the resolution adjustment process, refer to the troubleshooting tips provided to address common problems. Consulting the VMware Workstation documentation or seeking support from the VMware community can also provide additional guidance in resolving any challenges you may face.
With the knowledge and understanding gained from this guide, you are well-equipped to change the resolution in VMware Workstation effortlessly. Enjoy the benefits of a tailored display and maximize your virtual machine experience!