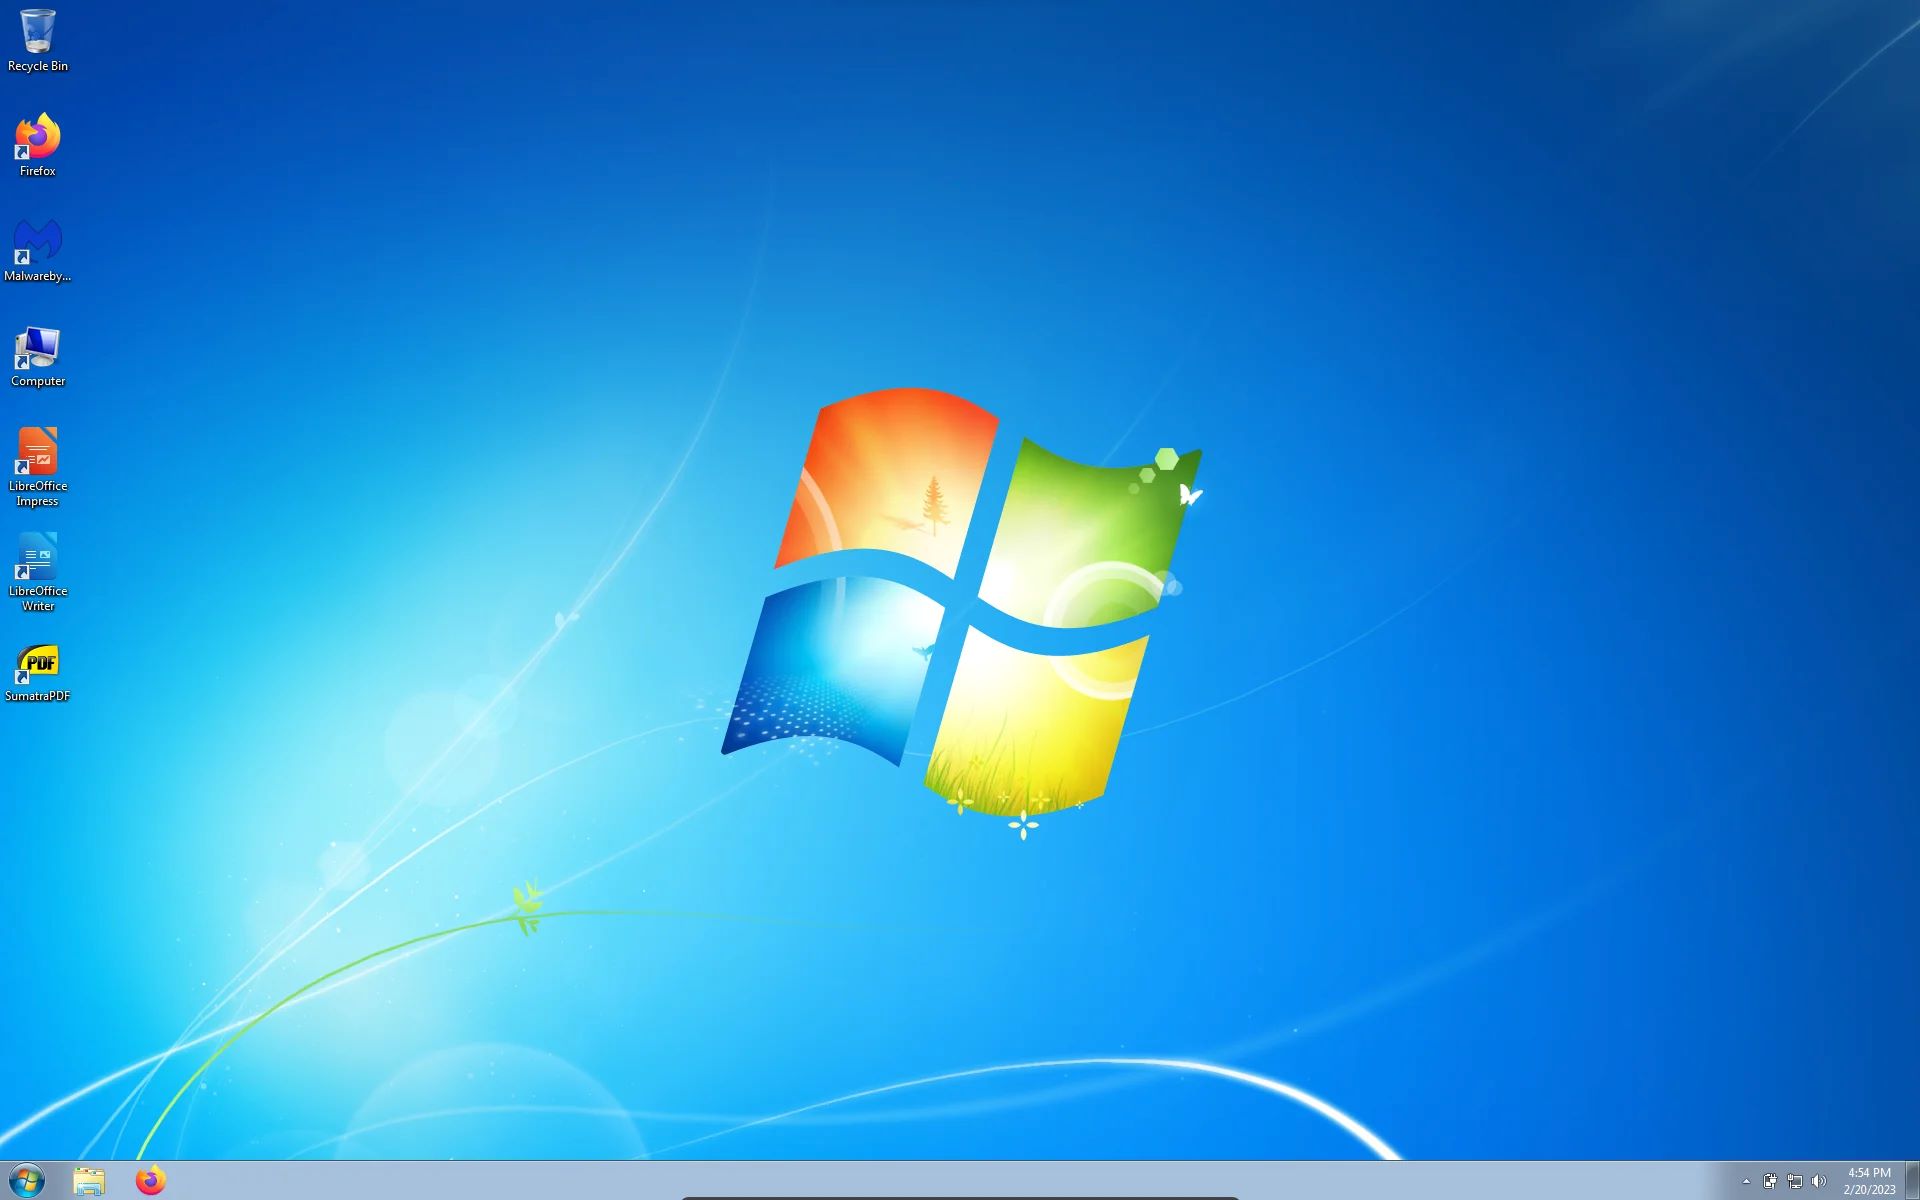
Introduction
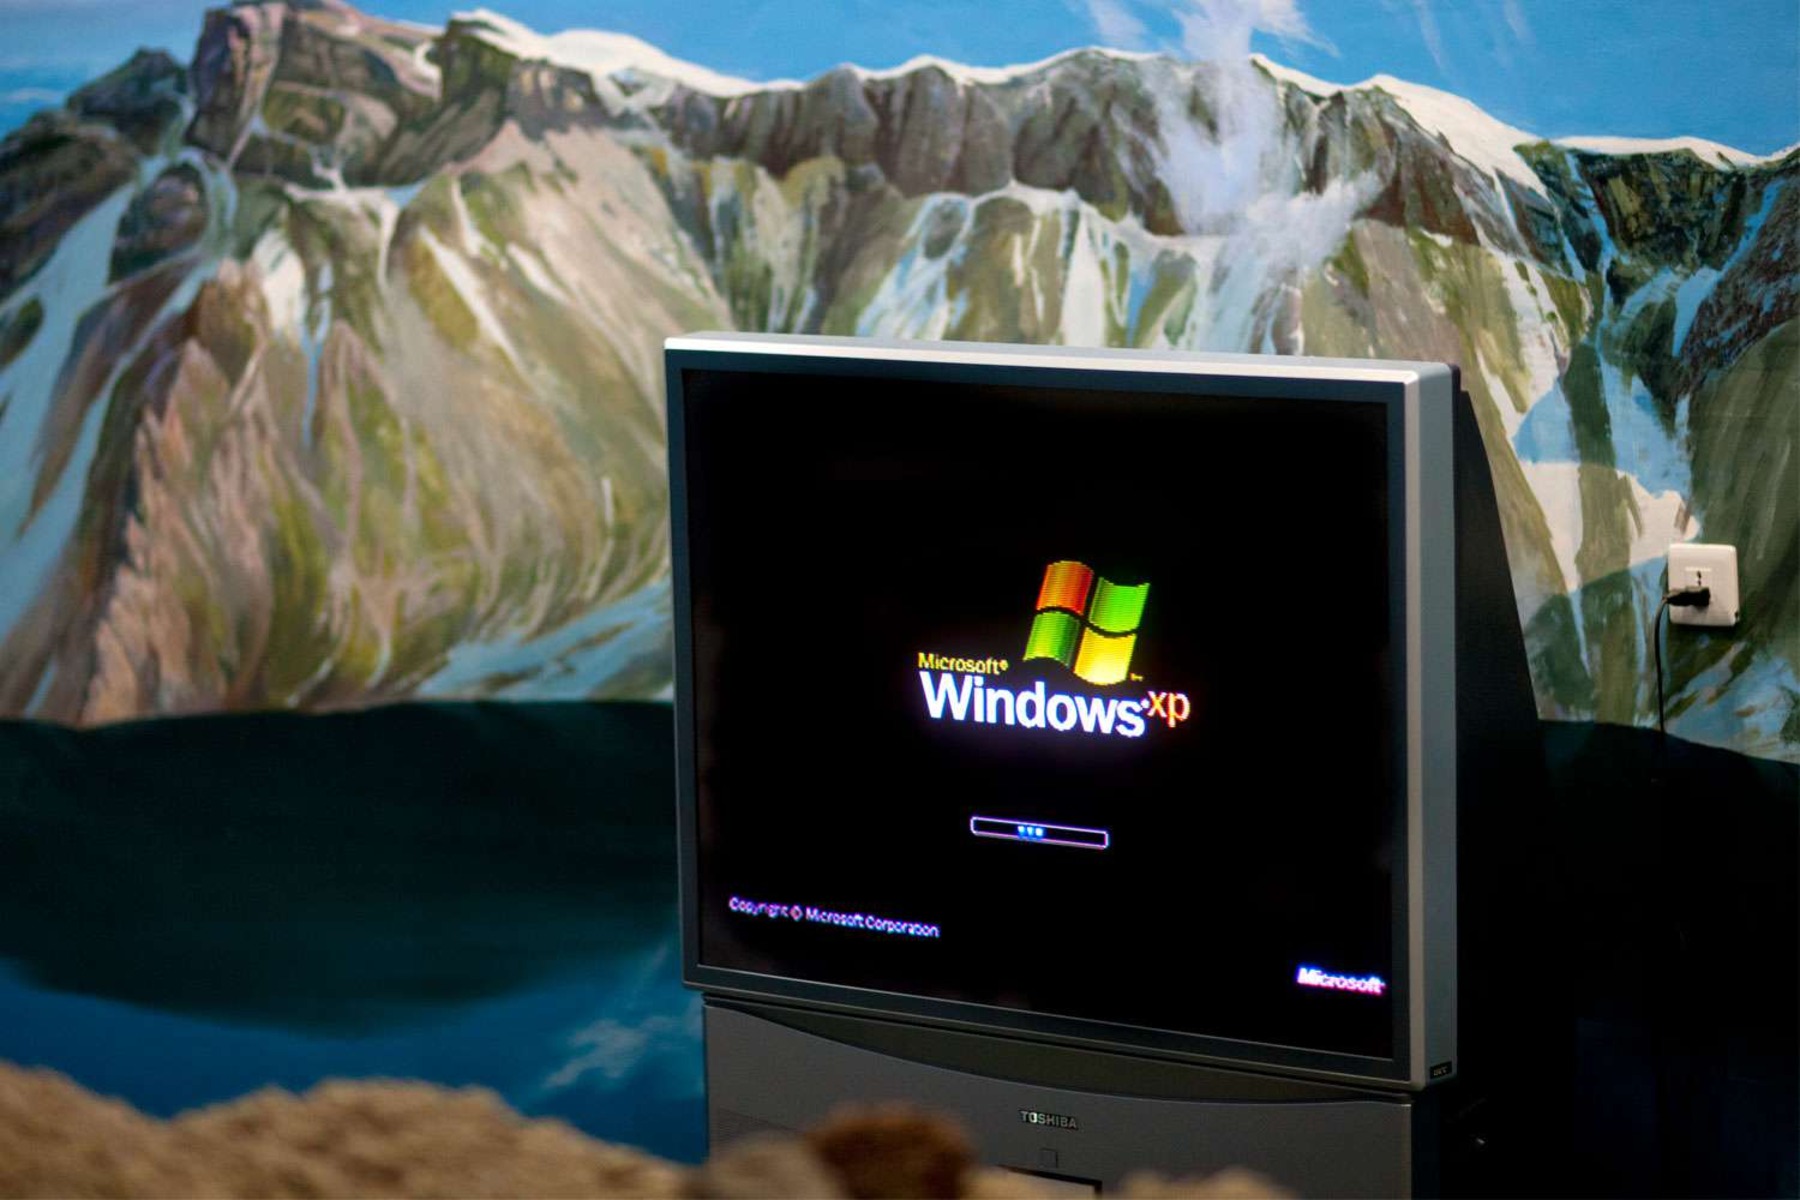
Welcome to this step-by-step guide on how to install Windows XP on a VM Workstation. If you need to run Windows XP for compatibility reasons, or simply want to explore its nostalgic features, using a virtual machine is a convenient and safe option.
Running Windows XP on a virtual machine allows you to create a separate environment isolated from your main operating system, making it easy to manage and test various software applications without interfering with your primary system settings.
In this guide, we will walk you through the process of setting up a virtual machine using VMware Workstation and installing Windows XP on it. By following the steps outlined here, you will be able to run Windows XP seamlessly in a virtual environment.
Please note that Windows XP is an outdated operating system that is no longer supported by Microsoft. Therefore, it is recommended to only install Windows XP for specific purposes or in situations where no viable alternatives are available.
Before we begin, it is important to mention that installing Windows XP requires a legal copy of the operating system and a valid license key. Additionally, virtual machines may require additional resources on your computer, so ensure that your system meets the minimum requirements.
Now, let’s get started with the installation process!
Requirements
Before you begin the installation process, make sure you have the following requirements:
- VMware Workstation: You will need to download and install VMware Workstation on your computer. This software enables you to create and run virtual machines.
- Windows XP ISO file: You will need an ISO file of the Windows XP installation disc. Ensure that you have a valid and legal copy of Windows XP.
- Computer hardware: Your computer should meet the minimum system requirements to run VMware Workstation and Windows XP smoothly. This includes having enough RAM, CPU power, and disk space to support the virtual machine.
- License key: Make sure you have a valid license key for Windows XP. You can find this key on the original installation disc or in the documentation provided with your copy of Windows XP.
Additionally, it is recommended to have a stable internet connection during the installation process. This will allow you to download any necessary updates or drivers for the virtual machine.
Once you have all the requirements in place, you are ready to proceed with the installation process. In the next steps, we will guide you through setting up VMware Workstation, creating a new virtual machine, installing Windows XP, and configuring the necessary settings to optimize your virtual machine experience.
Now that you have all the requirements in check, let’s move on to the first step: downloading and installing VMware Workstation.
Step 1: Download and Install VMware Workstation
The first step in installing Windows XP on a virtual machine is to download and install VMware Workstation. This software allows you to create and run virtual machines on your computer.
- Go to the official VMware website (www.vmware.com) and navigate to the downloads section.
- Choose the appropriate version of VMware Workstation based on your operating system.
- Click on the download link and save the installation file to your computer.
- Once the download is complete, locate the installation file and double-click on it to start the installation process.
- Follow the on-screen instructions to install VMware Workstation. You may need to accept the terms and conditions, choose the installation location, and select the desired components to install. Leave the default options selected unless you have specific requirements.
- Once the installation is complete, launch VMware Workstation.
- If prompted, enter your license key to activate the software. If you don’t have a license key, you can choose the trial version or purchase a license from VMware’s website.
Now that you have successfully downloaded and installed VMware Workstation, you are ready to move on to the next step: obtaining a Windows XP ISO file.
Step 2: Obtain a Windows XP ISO File
In order to install Windows XP on your virtual machine, you will need to obtain an ISO file of the Windows XP installation disc. This ISO file will serve as the installation media for Windows XP.
Here are a few methods to obtain a Windows XP ISO file:
- Original Windows XP installation disc: If you have a physical copy of the Windows XP installation disc, you can use software like ImgBurn (www.imgburn.com) to create an ISO file from the disc.
- Microsoft Download Center: Visit the Microsoft Download Center (https://www.microsoft.com/en-us/download) and search for “Windows XP ISO.” While Microsoft no longer provides official downloads for Windows XP, you may be able to find ISO files from trusted third-party websites.
- Other trustworthy sources: There are several reputable websites that offer Windows XP ISO files for download. Make sure to choose a reliable and trusted source to avoid any malicious or modified versions of Windows XP.
Once you have obtained the Windows XP ISO file, make sure to keep it in a safe location on your computer. You will need this file during the virtual machine setup process.
Now that you have obtained a Windows XP ISO file, you can proceed to the next step: creating a new virtual machine in VMware Workstation.
Step 3: Create a New Virtual Machine
After downloading and installing VMware Workstation and obtaining a Windows XP ISO file, the next step is to create a new virtual machine where you will install Windows XP.
- Launch VMware Workstation and click on the “New Virtual Machine” option. This will open the New Virtual Machine Wizard.
- Choose the “Typical (recommended)” option and click “Next”. This will allow you to create a virtual machine with default settings.
- Select “Installer disc image file (iso)” and click “Browse” to locate the Windows XP ISO file that you obtained in the previous step. Once you have selected the ISO file, click “Next”.
- Enter a name for your virtual machine and choose a location to store the virtual machine files. It is recommended to leave the default location unless you have specific preferences. Click “Next” to proceed.
- Specify the maximum disk size for your virtual machine. The recommended size for a basic installation of Windows XP is around 20-25 GB. Adjust the size according to your needs and available disk space. Click “Next” to continue.
- Finally, review the virtual machine settings summary and click “Finish” to create the virtual machine.
Congratulations! You have successfully created a new virtual machine in VMware Workstation. Now, you are ready to configure the virtual machine settings and proceed with the installation of Windows XP.
In the next step, we will guide you through the process of configuring the virtual machine settings to optimize performance and ensure a smooth installation process.
Step 4: Configure Virtual Machine Settings
After creating the new virtual machine in VMware Workstation, you need to configure certain settings to optimize the performance and compatibility of your Windows XP installation. These settings will ensure a smooth and stable virtual machine experience.
Here are the key settings to configure:
- Memory (RAM) allocation: Allocate the appropriate amount of memory (RAM) to your virtual machine. Windows XP typically requires at least 512MB of RAM, but it is recommended to allocate 1GB or more for better performance.
- Processor allocation: Assign a sufficient number of virtual processors to the virtual machine. If your physical system has multiple cores, you can assign at least one virtual processor per core to optimize performance.
- Hard disk: Ensure that the virtual hard disk is properly configured. The disk size should be large enough to accommodate the Windows XP installation, applications, and any additional files you plan to use. Consider allocating at least 20-25GB for a basic installation, and more if you require additional storage.
- Network settings: Choose the appropriate network settings for your virtual machine. Depending on your needs, you can select either bridged or NAT networking. Bridged networking allows the virtual machine to appear as a separate entity on your network, while NAT networking allows it to share the host system’s IP address.
- Display settings: Adjust the display resolution, number of monitors, and graphics memory allocation according to your preferences. For Windows XP, a resolution of 1024×768 should work fine.
- Other settings: Explore additional settings such as USB device connectivity, sound, and sharing folders between the virtual machine and host system. Configure these settings as needed.
Once you have configured the virtual machine settings, carefully review them to ensure everything is set according to your requirements. Remember, these settings can be modified later if needed.
With the virtual machine settings configured, you are now ready to install Windows XP on the virtual machine. In the next step, we will guide you through the installation process.
Step 5: Install Windows XP on the Virtual Machine
Now that you have configured the virtual machine settings in VMware Workstation, it’s time to proceed with the installation of Windows XP on the virtual machine. Follow these steps to install Windows XP:
- Start the virtual machine by selecting it in the VMware Workstation interface and clicking on the “Power on” button.
- The virtual machine will boot up and display a black screen. Click inside the virtual machine window to capture the keyboard and mouse.
- During the boot process, you will see a prompt to press any key to boot from the Windows XP installation disc. Follow the prompt and press any key to continue.
- The Windows XP setup will now start, and you will be guided through the installation process with on-screen instructions.
- Choose your preferred language and regional settings, and click “Next”.
- Read and accept the license agreement.
- Depending on your specific situation, you may be prompted to create and/or partition the virtual hard disk. Follow the instructions to proceed.
- Select the partition where you want to install Windows XP, and choose the file system (NTFS is recommended).
- The setup will copy the necessary files to the virtual hard disk and perform the installation process. This may take some time.
- Once the installation is complete, the virtual machine will reboot.
- Follow the on-screen instructions to personalize your Windows XP installation, including setting up a user account and choosing your computer name.
- Windows XP will finalize the installation process and present you with the desktop.
Congratulations! You have successfully installed Windows XP on the virtual machine. You can now start exploring the features and functionalities of Windows XP within your virtual environment.
In the next step, we will guide you through configuring the Windows XP settings to optimize its performance and functionality on the virtual machine.
Step 6: Configure Windows XP Settings
After successfully installing Windows XP on your virtual machine, it’s important to configure the settings to optimize its performance and functionality. Here are some key settings to consider:
- Windows Updates: Connect your virtual machine to the internet and run Windows Update to download and install the latest updates and patches for Windows XP. This is crucial for security and overall system stability.
- Display Settings: Adjust the screen resolution, color depth, and other display settings to suit your preferences. Right-click on the desktop and select “Properties” to access these options.
- User Accounts: Create additional user accounts or modify existing accounts to suit your needs. This can be done through the Control Panel under “User Accounts”.
- Device Drivers: Install any required device drivers for optimal hardware functionality. Check the Device Manager under the Control Panel for any missing or outdated drivers.
- Network Configuration: If you haven’t already done so, configure the network settings to connect to the internet or a local network. This can be done through the Network Connections section in the Control Panel.
- Security Settings: Enable Windows Firewall and ensure that your virtual machine has adequate antivirus and malware protection. Regularly update and scan for any potential threats.
- Software Installation: Install any additional software or applications that you require on your Windows XP virtual machine. Make sure to download and install them from trusted sources to avoid any security risks.
- File Sharing: Set up file sharing between the virtual machine and the host system if needed. This allows easy transfer of files and folders between the two environments.
- Backup and Restore: Implement a regular backup strategy for your Windows XP virtual machine to safeguard your data. Utilize backup tools or third-party software to automate the process.
By configuring these settings, you can customize your Windows XP experience on the virtual machine and ensure optimal performance and functionality for your specific needs.
In the next step, we will discuss the importance of installing VMware Tools and guide you through the installation process.
Step 7: Install VMware Tools
One crucial step in optimizing your Windows XP virtual machine is to install VMware Tools. VMware Tools is a set of drivers and utilities that enhances the performance and functionality of your virtual machine.
Here’s how you can install VMware Tools on your Windows XP virtual machine:
- Ensure that your Windows XP virtual machine is powered on and running.
- In the VMware Workstation menu, go to VM > Install VMware Tools. This will mount the VMware Tools installation disc to your virtual machine.
- On the virtual machine, a dialog box should appear, displaying the contents of the VMware Tools disc.
- Open the disc and run the setup file to begin the VMware Tools installation.
- Follow the on-screen instructions and prompts to complete the installation process. It may involve accepting license agreements, choosing the installation location, and selecting the components to install.
- Once the installation is complete, restart your Windows XP virtual machine to apply the changes.
The installation of VMware Tools brings several benefits to your Windows XP virtual machine:
- Improved Display: VMware Tools enhances the display capabilities, providing better graphics performance and allowing you to adjust the screen resolution more effectively.
- Enhanced Mouse and Keyboard: VMware Tools optimizes the mouse and keyboard integration, enabling features like dragging and dropping files between the virtual machine and the host system.
- Better Performance: With VMware Tools installed, your virtual machine benefits from improved performance and responsiveness.
- Clipboard Sharing: VMware Tools allows you to share the clipboard between the virtual machine and the host system, making it easier to copy and paste text and files.
- Time Synchronization: VMware Tools ensures that the time in the virtual machine is synchronized with the host system, eliminating any time discrepancies.
By installing VMware Tools, you can optimize the functionality and performance of your Windows XP virtual machine, enhancing your overall experience.
Now that you have successfully installed VMware Tools, you can enjoy the full benefits of running Windows XP on your virtual machine.
Conclusion
Congratulations on successfully installing Windows XP on a VM Workstation! By following the step-by-step guide outlined in this article, you have created a virtual machine, installed Windows XP, and configured the necessary settings for optimal performance.
Running Windows XP on a virtual machine provides a safe and convenient way to explore the operating system’s features, run legacy applications, or perform compatibility testing. It allows you to create an isolated environment that won’t interfere with your primary operating system.
Remember, Windows XP is an outdated operating system that is no longer supported by Microsoft. It is crucial to only use Windows XP for specific purposes, such as software compatibility or nostalgia, and not for regular day-to-day use.
In summary, the key steps covered in this guide include:
- Downloading and installing VMware Workstation
- Obtaining a Windows XP ISO file
- Creating a new virtual machine
- Configuring virtual machine settings
- Installing Windows XP on the virtual machine
- Configuring Windows XP settings
- Installing VMware Tools
Remember to keep your Windows XP virtual machine updated with the latest security patches and updates to ensure its safety. Additionally, regularly back up your virtual machine to protect your data.
We hope this guide has been helpful in successfully setting up and running Windows XP on a virtual machine. Enjoy exploring and utilizing the features of Windows XP within the virtual environment!


