Introduction
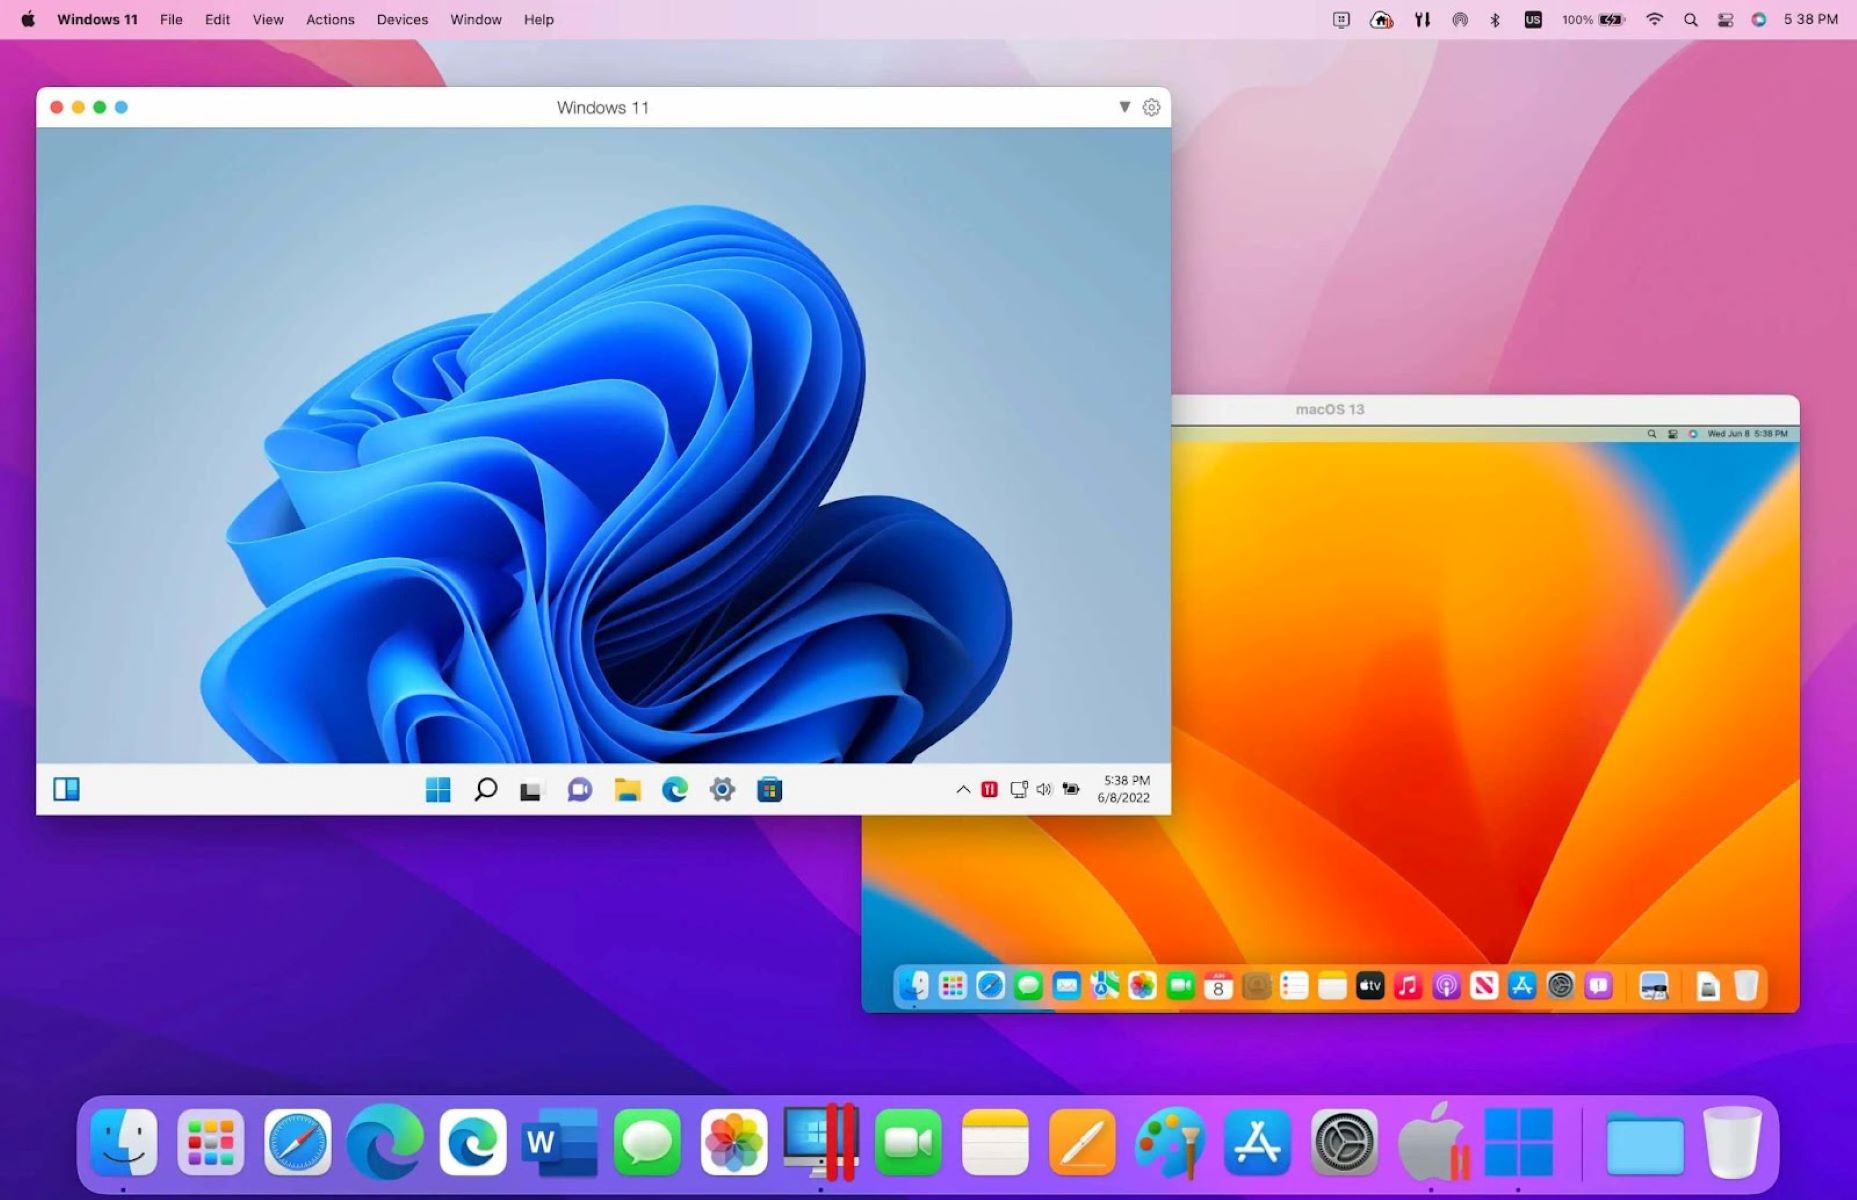
Virtual machines (VMs) have become an indispensable tool for developers, IT professionals, and enthusiasts alike. VM Workstation, developed by VMware, is one of the most popular virtualization software solutions available. It allows users to create and run multiple virtual machines on a single physical machine, enabling them to emulate different operating systems and test applications in isolated environments.
Setting up VM Workstation on Windows 10 is a relatively straightforward process. It involves downloading and installing the software, configuring various settings, installing an operating system on the virtual machine, establishing network connections, and customizing options to optimize performance.
Through this step-by-step guide, we will walk you through the process of setting up VM Workstation on Windows 10. Whether you are a developer wanting to test your software on different operating systems or an IT professional looking to create virtualized environments for your organization, this guide will help you get started.
Before we dive into the technicalities, it is important to note that VM Workstation is a resource-intensive application that requires a high-performance computer with sufficient memory and processing power. It is recommended to have at least 8GB of RAM, an Intel Core i5 or equivalent processor, and a solid-state drive (SSD) for optimal performance.
Step 1: Downloading and Installing VM Workstation
The first step to setting up VM Workstation on your Windows 10 computer is to download the software from the official VMware website. Head over to the VMware website and navigate to the VM Workstation product page. Click on the “Download Now” button to start the download process.
Once the download is complete, locate the downloaded file and double-click on it to initiate the installation process. The installation wizard will guide you through the necessary steps.
Follow the on-screen instructions to accept the terms of the license agreement and choose the installation directory. By default, VM Workstation will be installed in the “Program Files” folder on your system drive.
Next, you will be prompted to choose the installation type. The recommended option is the “Typical” installation, which includes all the necessary components. However, if you want more control over the installation, you can choose the “Custom” option.
Once you have selected the installation type, click on the “Next” button to proceed. On the next screen, you will have the option to enable or disable the shortcut icons and file associations. Make the desired selections and click “Next” to continue.
Finally, review the installation settings and click on the “Install” button to begin the installation process. The setup wizard will now install VM Workstation on your Windows 10 computer.
Once the installation is complete, you can launch VM Workstation by clicking on the shortcut icon created on your desktop or by navigating to the “VMware” folder in the Start menu.
Congratulations! You have successfully downloaded and installed VM Workstation on your Windows 10 computer. In the next step, we will guide you through the process of configuring VM Workstation settings to optimize your virtual machine experience.
Step 2: Configuring VM Workstation Settings
After installing VM Workstation, the next step is to configure the settings to ensure optimal performance and usability. Here are the key settings you should consider:
1. Virtual Machine Preferences: Access the “Edit” menu and navigate to “Preferences” to customize various settings. You can adjust options related to virtual machine behavior, memory usage, CPU allocation, and more.
2. Network Configuration: By default, VM Workstation creates a virtual network adapter for each virtual machine, allowing them to communicate with the host and other virtual machines. However, you can customize the network settings to meet your specific requirements.
3. Display Settings: VM Workstation offers different display options, including full screen, windowed mode, and multiple monitor support. Adjust these settings based on your preferences and the resources available on your system.
4. Keyboard and Mouse Integration: You can enable or disable the integration of the host keyboard and mouse with the virtual machine. This feature allows you to seamlessly switch between the host and virtual machine without needing to click inside the VM window.
5. Folder Sharing: VM Workstation allows you to share files and folders between the host and virtual machine. Configure folder sharing settings to facilitate easy file transfers and seamless collaboration between the host and virtual machine environments.
6. AutoPower Settings: VM Workstation provides options to control the automatic power state of the virtual machines. You can configure settings such as suspending, powering off, or resuming the virtual machines when the host system is shut down or started.
7. Snapshots: VM Workstation provides the ability to take snapshots of virtual machines at specific points in time. This allows you to capture the exact state of the virtual machine and easily revert back if any issues arise during testing or development.
8. VM Encryption: If you are working with sensitive data, you can encrypt the virtual machine to ensure its security. VM Workstation offers encryption options, allowing you to protect your virtual machines with passwords.
Take the time to explore and configure these settings in VM Workstation based on your specific needs and preferences. Configuring the settings properly will make your virtual machine experience more efficient, secure, and seamless.
Step 3: Installing the Operating System on the Virtual Machine
Once you have configured the settings in VM Workstation, the next step is to install the operating system on the virtual machine. This will allow you to create a virtual environment that emulates the desired operating system for testing or development purposes.
Here’s how you can install the operating system on the virtual machine:
1. Create a New Virtual Machine: Open VM Workstation and click on the “Create a New Virtual Machine” option. This will launch the New Virtual Machine wizard, which will guide you through the setup process.
2. Select the Installation Source: In the wizard, choose whether you want to install the operating system from an installation disc or an ISO file. Insert the installation disc or browse for the ISO file on your computer.
3. Choose the Guest Operating System: Select the appropriate guest operating system from the list provided. This will help VM Workstation optimize virtual hardware for the selected operating system.
4. Allocate Resources: Configure the virtual machine’s memory, CPU, and other hardware resources according to your requirements. Ensure that you allocate sufficient resources for the operating system to run smoothly.
5. Specify Storage: Choose the storage location and size for the virtual machine. You can either create a new virtual disk or use an existing disk. Specify the size of the disk based on the space required by the operating system and any additional software or files you plan to install.
6. Customize Hardware: Review and modify the virtual hardware settings if necessary. You can configure options such as network adapters, sound devices, display settings, and USB settings.
7. Finish and Start the Virtual Machine: Once you have completed the setup process, click “Finish” to create the virtual machine. The virtual machine will appear in the VM Workstation library. Select it and click “Play” to start the installation process.
8. Follow the Operating System Installation Process: The virtual machine will start, and the installation process for the selected operating system will begin. Follow the on-screen prompts to install the operating system, including providing necessary inputs such as language preferences, product keys, and user account details.
Once the operating system installation is complete, you will have a fully functional virtual machine running the desired operating system. You can now start using the virtual machine for various testing, development, or educational purposes.
Step 4: Setting Up Network Connections for the Virtual Machine
Now that you have installed the operating system on your virtual machine, it’s essential to set up network connections to enable communication between the virtual machine and the rest of the network, including the host machine and the internet.
Follow these steps to configure network connections for your virtual machine:
1. Network Adapter Settings: Open VM Workstation and select the virtual machine you want to configure. Go to the “Edit Virtual Machine Settings” option. Under the “Hardware” tab, click on the “Add” button and choose “Network Adapter” from the list. Select the desired network connection option, such as Bridged, NAT, or Host-Only.
2. Bridged Networking: If you choose the Bridged networking option, the virtual machine will appear as a separate entity on the network, with its own IP address assigned by the DHCP server. This allows seamless communication between the virtual machine and other devices on the network.
3. NAT Networking: Selecting the NAT option allows the virtual machine to access the network through the host computer’s IP address. This provides internet access for the virtual machine but does not give it a unique IP address on the network.
4. Host-Only Networking: With Host-Only networking, the virtual machine can communicate with the host machine and other virtual machines on a private network. However, it does not have access to the external network or internet.
5. Configure Network Adapter Properties: Once you have selected the network adapter type, click on the “Configure Adapters” button. Here, you can configure additional settings for the network adapter, such as IP address, subnet mask, and DNS server settings, if you choose to use a static IP address instead of DHCP.
6. Test Network Connection: Start the virtual machine and verify the network connection by opening a web browser or attempting to connect to other devices on the network. You should now be able to access the internet and communicate with devices on the network.
7. Troubleshooting: If you are experiencing any network-related issues, ensure that the host machine’s network connection is active and functioning correctly. Additionally, check the virtual machine’s network adapter settings in VM Workstation to ensure they are properly configured.
Setting up network connections is crucial for virtual machine functionality, as it allows the virtual machine to interact with other devices on the network and access internet resources. By following these steps, you can ensure seamless connectivity and efficient communication between your virtual machine and the rest of your network.
Step 5: Sharing Files and Folders between Host and Virtual Machine
Sharing files and folders between the host machine and the virtual machine is an important aspect of using VM Workstation. It allows for seamless transfer of data and facilitates collaboration between the host and virtual machine environments. Follow these steps to enable file and folder sharing:
1. Install VMware Tools: Before you can set up file sharing, it is essential to install VMware Tools on your virtual machine. VMware Tools provides additional features and drivers that enhance the performance and functionality of the virtual machine.
2. Enable Folder Sharing: In VM Workstation, select the virtual machine you want to configure. Navigate to the “Edit Virtual Machine Settings” option. Under the “Options” tab, click on “Shared Folders.” Click on the “Add” button to designate a folder on your host machine to be shared.
3. Folder Sharing Options: Choose whether you want the shared folder to be read-only or read/write. The read-only option allows the virtual machine to view and access the contents of the shared folder, but modifications cannot be made. The read/write option enables the virtual machine to read, write, and modify files and folders within the shared folder.
4. Map Shared Folder: Map the shared folder to a specific location within the virtual machine’s file system. This allows you to access the shared folder directly from within the virtual machine’s operating system.
5. Guest Operating System Access: In the guest operating system, you can access the shared folder by browsing the network locations or using the mapped location specified in the previous step. The shared folder should appear as a network drive or a folder within the file system.
6. Drag-and-Drop: Alternatively, you can use the drag-and-drop feature to transfer files and folders between the host and virtual machine. Simply select the desired files or folders on the host machine, drag them into the virtual machine window, and drop them into the desired location.
7. Advanced Options: VM Workstation also provides additional advanced options for file sharing, such as enabling automatic file syncing between the host and virtual machine or configuring shared folders to be accessible by other users on the network.
By enabling file and folder sharing, you can seamlessly transfer data between your host machine and virtual machine, making it convenient to share files, collaborate on projects, and access necessary resources. This feature enhances productivity and streamlines workflows in virtualized environments.
Step 6: Customizing VMware Tools
VMware Tools is a suite of utilities and drivers that enhances the performance and functionality of virtual machines. It is essential to install and customize VMware Tools to ensure optimal performance and seamless integration between the host and virtual machine. Here’s how you can customize VMware Tools:
1. Install VMware Tools: If VMware Tools is not already installed on your virtual machine, start by installing it. In the VM Workstation console, click on the “Player” or “Workstation” menu and select “Manage” > “Install VMware Tools.” This will mount the VMware Tools virtual disc image on the virtual machine.
2. Launch VMware Tools: Open the virtual CD/DVD drive in the virtual machine’s operating system and run the VMware Tools installation wizard. Follow the prompts to install the necessary drivers and utilities.
3. Customize Tools Installation: During the installation process, you will be presented with various options. Customize the installation by selecting the desired components and features. The available options may vary based on your operating system.
4. Time Synchronization: Ensure that time synchronization between the host machine and the virtual machine is enabled. This helps keep the time in sync, preventing time discrepancies that may affect time-sensitive operations or software licensing.
5. Clipboard Sharing: By default, VMware Tools allows clipboard sharing between the host and virtual machine. This enables you to copy and paste text and files between the two environments seamlessly. Double-check the settings to ensure clipboard sharing is enabled.
6. Seamless Unity Mode: Unity Mode allows you to run applications from the virtual machine’s operating system on the host machine’s desktop, as if they were native applications. Enable Unity Mode for a more integrated experience between the host and virtual machine.
7. Guest Display Preferences: Customize the display preferences of the virtual machine to optimize the resolution, color depth, and multiple monitor support. These settings can be adjusted through the VMware Tools control panel within the virtual machine.
8. Advanced Options: VMware Tools provides various advanced options, such as shared folder settings, printer sharing, and other integration features. Customize these options based on your specific requirements and preferences.
Customizing VMware Tools ensures that your virtual machine is fully optimized for performance, usability, and integration with the host machine. Take the time to explore the different settings and features available to enhance your virtualization experience.
Step 7: Performance Optimization and Virtual Machine Preferences
To get the most out of your virtual machine in VM Workstation, it is important to optimize its performance and configure virtual machine preferences. By fine-tuning various settings, you can ensure smooth operation, resource efficiency, and a tailored virtualization experience. Here’s how you can optimize performance and set virtual machine preferences:
1. Adjust Virtual Machine Hardware: In VM Workstation, select the virtual machine and go to “Edit Virtual Machine Settings.” Here, you can modify the virtual machine’s hardware configuration, including CPU, memory, and storage allocation. Adjust these settings based on your requirements and the resources available on your host machine.
2. Enable Guest OS Optimizations: Guest OS optimizations help improve the performance and compatibility of the virtual machine with the installed operating system. In the virtual machine settings, select the “Options” tab and choose the corresponding guest operating system from the drop-down menu.
3. Virtual Machine Power Management: Configure the power management settings of the virtual machine to optimize its power usage and performance. You can enable options such as automatic power off, suspend, or hibernate according to your needs.
4. Enable Memory Ballooning: Memory ballooning is a technique used to optimize memory usage in a virtual machine. It allows the hypervisor to reclaim idle memory from the guest operating system and allocate it to other virtual machines that require more memory.
5. Set CPU Priority and Resource Allocation: VM Workstation allows you to control CPU priority and resource allocation for the virtual machine. Adjust these settings to prioritize the virtual machine’s usage of CPU resources, especially when running resource-intensive applications or multiple virtual machines simultaneously.
6. Configure Virtual Machine AutoStart: AutoStart allows you to configure the virtual machine to automatically start when you launch VM Workstation. This is useful if you frequently use specific virtual machines and want them to start up automatically upon opening the application.
7. Set Workstation Preferences: Explore the preferences settings in VM Workstation to customize various aspects of the virtualization experience. Adjust options related to user interface, display, input devices, networking, and shared folders to suit your preferences and requirements.
8. Regularly Update VM Workstation: Keep your VM Workstation software up to date by installing the latest updates and patches. This ensures you have access to the latest features, bug fixes, and security enhancements.
By optimizing performance and setting virtual machine preferences, you can enhance the overall usage and efficiency of your virtual machines in VM Workstation. Experiment with different settings to find the ideal configuration that suits your specific needs and maximizes the potential of your virtualized environment.
Step 8: Taking Snapshots and Restoring Virtual Machines
VM Workstation offers the ability to take snapshots of virtual machines, allowing you to capture the exact state of a virtual machine at a specific point in time. Snapshots are useful for creating backup points or for experimenting with different configurations without the risk of permanently altering the virtual machine. Here’s how you can take snapshots and restore virtual machines:
1. Taking a Snapshot: To take a snapshot, select the virtual machine in VM Workstation and go to the “VM” menu. Select “Snapshot” and then click on “Take Snapshot.” Give the snapshot a descriptive name to easily identify it later.
2. Snapshot Manager: The Snapshot Manager allows you to view and manage all the snapshots associated with a particular virtual machine. You can access the Snapshot Manager by selecting the virtual machine and clicking on “Snapshot” > “Snapshot Manager.”
3. Restoring a Snapshot: To restore a virtual machine to a previous snapshot, open the Snapshot Manager and select the desired snapshot. Click on the “Go to” or “Delete” button to either restore the snapshot or remove it and all subsequent snapshots. Restoring a snapshot will revert the virtual machine back to the state captured at the time of the snapshot.
4. Managing and Deleting Snapshots: The Snapshot Manager allows you to manage and delete existing snapshots. You can create new snapshots, delete snapshots, or revert to a previous snapshot by selecting the appropriate options within the Snapshot Manager.
5. Snapshot Hierarchy: When you take multiple snapshots, they form a hierarchy. Each subsequent snapshot captures the changes made after the previous snapshot. This allows you to create multiple branching points and experiment with different configurations or scenarios.
6. Snapshot Best Practices: It’s important to keep in mind a few best practices when working with snapshots. Regularly take snapshots to create restore points, especially before making significant changes to the virtual machine. Avoid excessive snapshot accumulation as it can impact performance and consume disk space. Consider consolidating or deleting unnecessary snapshots to maintain virtual machine efficiency.
7. VM Cloning and Template Creation: Snapshots can also be used as a base for cloning or creating templates. By creating a virtual machine clone from a snapshot, you can have multiple identical virtual machines. Templates serve as a predefined configuration that can be used to create new virtual machines with the same settings.
8. Snapshot Backup: Snapshots are not a substitute for regular backups. While snapshots provide a convenient way to restore a virtual machine to a previous state, they are not designed for long-term storage or disaster recovery. It is important to regularly back up your virtual machines using a dedicated backup solution to ensure data protection.
By utilizing snapshots, you can easily revert to a previous state or explore different configurations within your virtual machines without the fear of causing permanent changes or data loss. Snapshot functionality adds a layer of flexibility and ease to your virtualization experience in VM Workstation.
Conclusion
Setting up VM Workstation on Windows 10 opens up a world of possibilities for developers, IT professionals, and technology enthusiasts. With this comprehensive guide, you have learned the step-by-step process of downloading and installing VM Workstation, configuring settings, installing an operating system, setting up network connections, sharing files and folders, customizing VMware Tools, optimizing performance, and taking snapshots.
By following these instructions, you can create and manage virtual machines efficiently, test software on different operating systems, create isolated environments for development and testing, collaborate seamlessly between the host and virtual machine environment, and take advantage of powerful features like snapshots and VMware Tools customization.
Remember to pay attention to resources and system requirements when running VM Workstation, ensuring that your hardware can handle the demands of virtualization. Additionally, regularly updating VM Workstation and maintaining backups of your virtual machines are essential practices for a smooth and secure virtualization experience.
With VM Workstation, you have the ability to explore new technologies, test software safely, and build diverse computing environments, all within the confines of your Windows 10 computer. Whether you’re a software developer, IT administrator, or simply an enthusiast looking to experiment and learn, VM Workstation is a powerful tool that can elevate your skills and expand your horizons.
So, take the knowledge you have gained from this guide and embark on your journey of virtualization with VM Workstation. Embrace the flexibility, efficiency, and versatility that virtual machines offer, and unlock new possibilities in your work and projects.