Introduction
VMware Workstation 12 is a powerful virtualization software that allows users to run multiple operating systems on a single physical computer. However, there may come a time when you need to uninstall VMware Workstation 12 from your Windows 10 system. Whether you upgraded to a newer version or no longer have a need for the software, properly uninstalling it ensures that all associated files and settings are removed from your computer.
Uninstalling VMware Workstation 12 from Windows 10 is a straightforward process, but it requires a few steps to ensure a complete removal. In this article, we will guide you through each step to help you successfully uninstall VMware Workstation 12 without leaving any traces behind.
Before we proceed, it’s essential to make sure that you have administrative privileges on your Windows 10 computer. This will give you the necessary permissions to uninstall programs and modify system settings.
It’s also important to note that uninstalling VMware Workstation 12 will remove all virtual machines created using the software. Therefore, it’s recommended to back up any critical data or virtual machines before proceeding with the uninstallation process.
Now, let’s dive into the step-by-step instructions to uninstall VMware Workstation 12 from Windows 10 and ensure a clean removal of the software.
Step 1: Close VMware Workstation 12
Before we start the uninstallation process, it’s important to ensure that VMware Workstation 12 is closed on your Windows 10 computer. Closing the application will prevent any conflicts or errors during the uninstallation process.
To close VMware Workstation 12, follow these simple steps:
- Go to the system tray located at the bottom-right corner of your screen.
- Locate the VMware Workstation 12 icon, which looks like a blue square with white “Vm” letters.
- Right-click on the VMware Workstation 12 icon to open the context menu.
- Select “Exit” or “Close” from the menu to shut down the application.
Alternatively, you can also close VMware Workstation 12 by using the “File” menu within the application. Simply click on “File” at the top-left corner of the VMware Workstation 12 window, and then select “Exit” or “Close” from the dropdown menu.
Once you have successfully closed VMware Workstation 12, you can proceed to the next step of the uninstallation process.
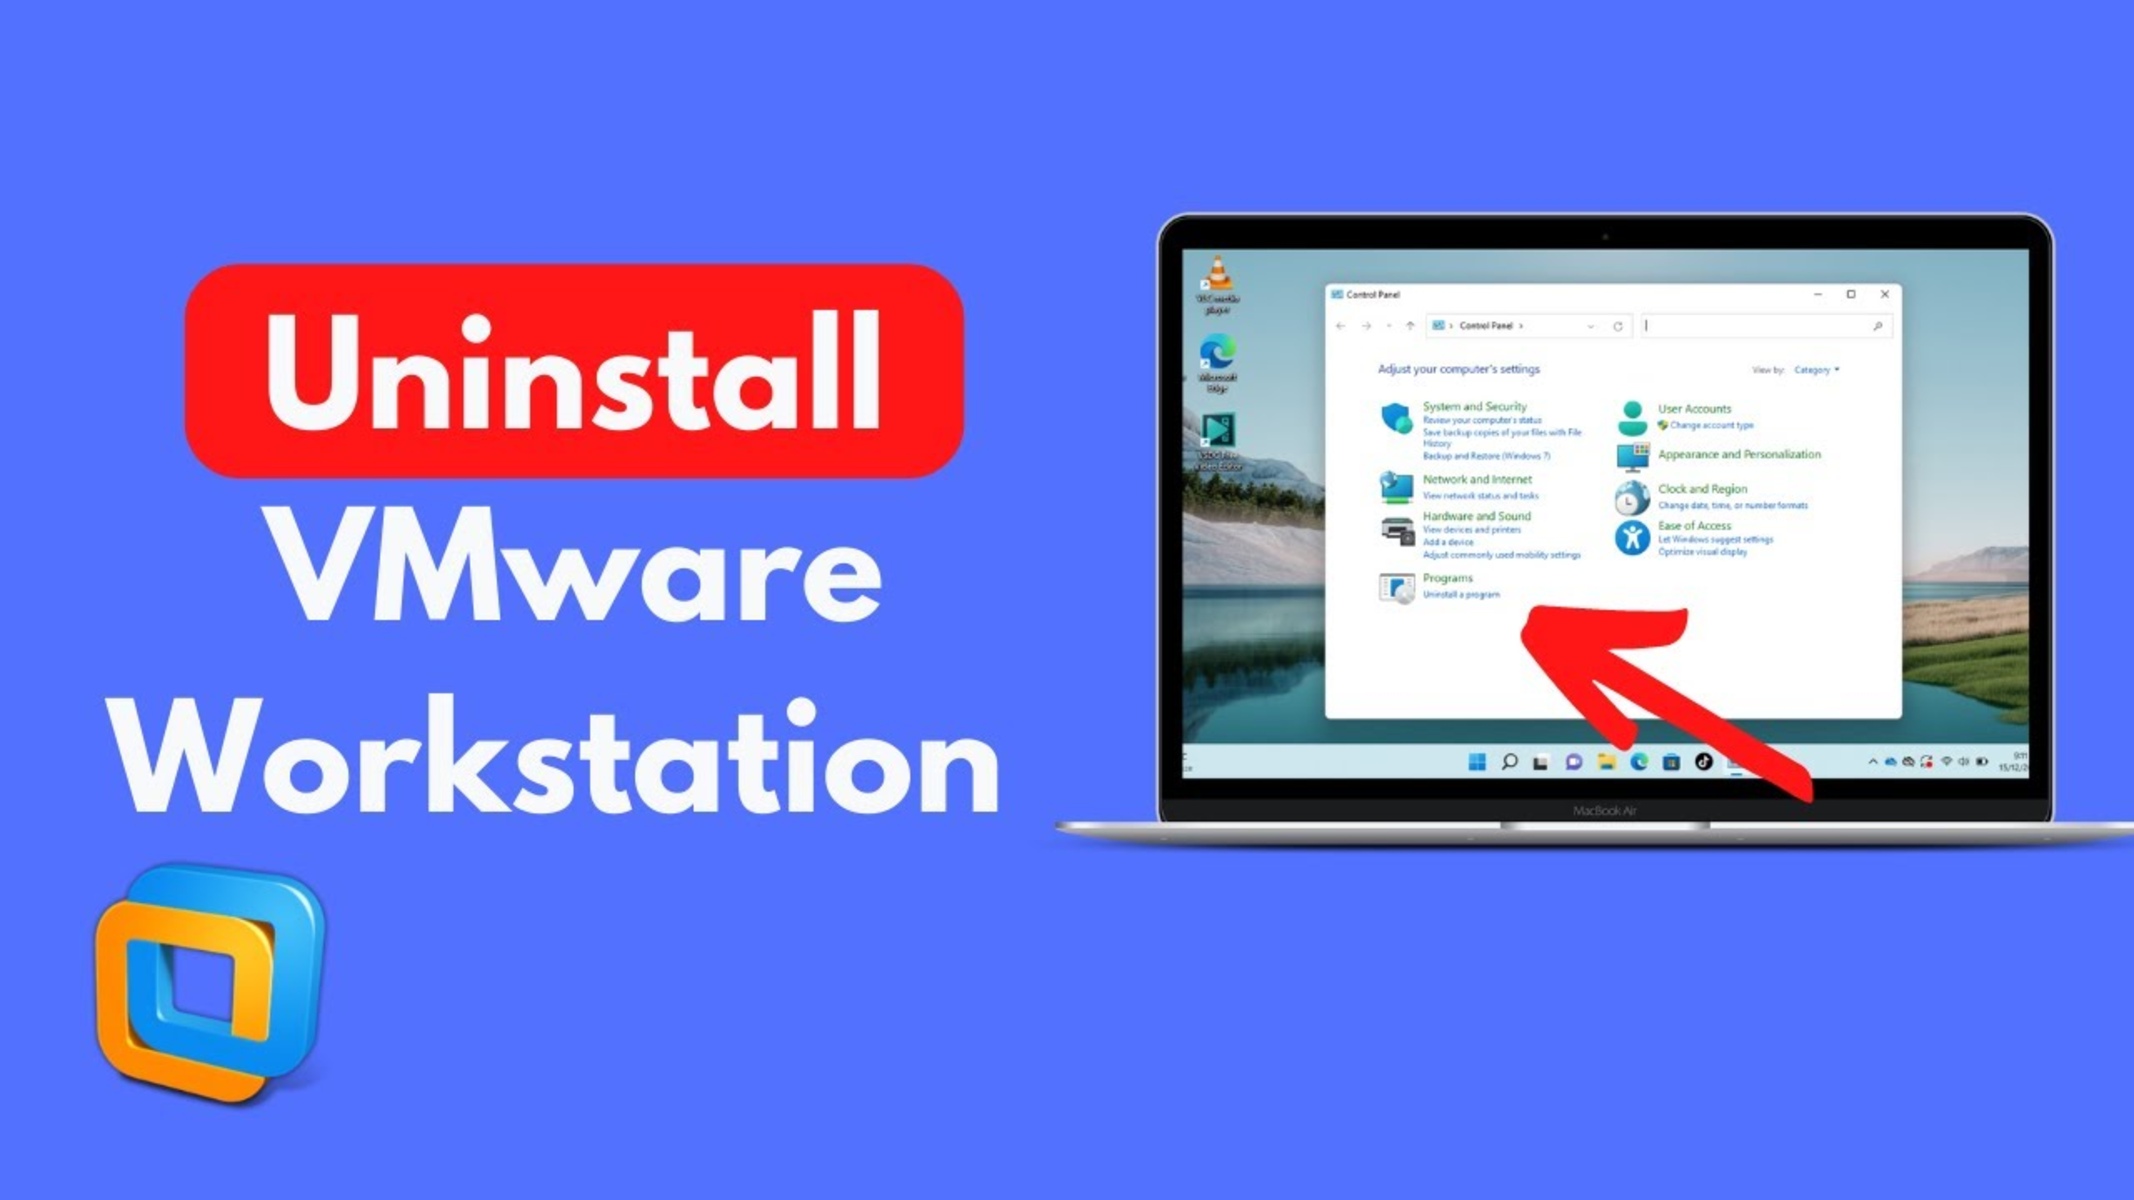
Step 2: Uninstall VMware Workstation 12 from Control Panel
After ensuring that VMware Workstation 12 is closed, you can now uninstall the software from the Control Panel of your Windows 10 system. The Control Panel provides a centralized location where you can manage and modify various settings on your computer, including uninstalling programs.
To uninstall VMware Workstation 12 from the Control Panel, follow these steps:
- Click on the “Start” menu, typically located at the bottom-left corner of your screen, and type “Control Panel”.
- Click on the “Control Panel” option in the search results to open the Control Panel window.
- In the Control Panel window, locate “Programs” or “Programs and Features”, and click on it.
- A list of installed programs will appear. Scroll down or use the search bar to find “VMware Workstation 12” in the list.
- Once you have located VMware Workstation 12, right-click on it and select “Uninstall” or “Remove”.
- Follow the on-screen prompts and instructions to complete the uninstallation process. This may include confirming your action, selecting additional options, or entering your administrator password.
- Wait for the uninstallation process to complete. Depending on the size of the software and your computer’s performance, this may take a few moments.
- Once the uninstallation is finished, you will receive a notification or confirmation message indicating that VMware Workstation 12 has been successfully removed from your Windows 10 system.
It’s important to note that some versions of Windows 10 may have slight variations in the structure or naming of options in the Control Panel. However, the general steps for uninstalling programs remain the same.
With VMware Workstation 12 successfully uninstalled from the Control Panel, you can proceed to the next step to remove any remaining files and folders related to the software.
Step 3: Remove Remaining VMware Workstation Files and Folders
Although uninstalling VMware Workstation 12 from the Control Panel removes the majority of the software from your Windows 10 system, there may still be some residual files and folders left behind. These leftovers can take up disk space and potentially cause conflicts if you decide to reinstall VMware Workstation or other VMware products in the future.
To ensure a complete removal of VMware Workstation 12, follow these steps to manually delete any remaining files and folders:
- Press the “Windows” key and “R” simultaneously on your keyboard to open the Run dialog box.
- Type “%ProgramFiles%\VMware” (without the quotation marks) into the Run dialog box and press “Enter”.
- A new window will open, showing the VMware folder. Right-click on the folder and select “Delete” from the context menu.
- Confirm the deletion by clicking “Yes” in the confirmation dialog box that appears.
- If you have installed VMware on a different drive, navigate to that drive and delete the “VMware” folder located in the root directory.
- Next, open the Run dialog box again by pressing “Windows” key and “R” simultaneously.
- Type “%AppData%” (without the quotation marks) into the Run dialog box and press “Enter”.
- In the new window that opens, locate the “VMware” folder. Right-click on it and select “Delete” from the context menu.
- Confirm the deletion by clicking “Yes” in the confirmation dialog box.
By following these steps, you will remove any remaining VMware Workstation files and folders from your Windows 10 system. This ensures a clean uninstallation and helps free up disk space on your computer.
In the next step, we will focus on deleting registry entries related to VMware Workstation 12 to further ensure a thorough removal of the software.
Step 4: Delete Registry Entries Related to VMware Workstation 12
In addition to removing files and folders, it’s important to delete any registry entries associated with VMware Workstation 12. The Windows Registry is a hierarchical database that stores important system settings and configuration information. Removing registry entries ensures that all traces of VMware Workstation 12 are eliminated from your Windows 10 system.
Before proceeding with registry modifications, it is strongly recommended to create a backup of your registry. This will allow you to restore it to its previous state if any issues arise during the deletion process. To create a registry backup, follow these steps:
- Press the “Windows” key and type “regedit” (without the quotation marks) into the search bar.
- Click on the “Registry Editor” result to open the Registry Editor.
- In the Registry Editor window, click on “File” at the top-left corner, then select “Export” from the dropdown menu.
- Choose a location to save the backup file, provide a name for it, and click on the “Save” button.
With a backup of your registry created, you can proceed to delete the VMware Workstation 12 registry entries by following these steps:
- Open the Registry Editor by typing “regedit” into the Windows search bar and selecting the “Registry Editor” result.
- Navigate to the following registry key:
HKEY_LOCAL_MACHINE\SOFTWARE\VMware, Inc. - Right-click on the “VMware, Inc.” folder and select “Delete” from the context menu.
- Confirm the deletion by clicking “Yes” in the confirmation dialog box.
Once you have deleted the registry entry related to VMware Workstation 12, close the Registry Editor. The remaining registry entries are typically not associated with the standard functioning of the Windows 10 system and can be safely deleted.
By removing these registry entries, you are ensuring a thorough uninstallation of VMware Workstation 12 from your Windows 10 system. In the next step, we will focus on removing any VMware Virtual Network Adapters that may still be present.
Step 5: Remove VMware Virtual Network Adapters
Alongside files, folders, and registry entries, VMware Workstation 12 may have created virtual network adapters on your Windows 10 system. These adapters are used to establish network connections within virtual machines and may still be present even after the uninstallation process.
To remove the VMware virtual network adapters, follow these steps:
- Press the “Windows” key and type “Device Manager” into the search bar.
- Click on the “Device Manager” result to open the Device Manager window.
- In the Device Manager, locate the “Network adapters” category and click on the arrow next to it to expand the list.
- Look for any adapters with “VMware” or “Virtual Network” in their names. Typically, these adapters are labeled as “VMware Virtual Ethernet Adapter.”
- Right-click on each VMware virtual network adapter and select “Uninstall” from the context menu.
- Confirm the uninstallation by clicking “OK” in the confirmation dialog box.
- Repeat the process for any other VMware virtual network adapters that are present in the list.
Once you have uninstalled all the VMware virtual network adapters, restart your Windows 10 system to ensure that the changes take effect. Restarting will also allow Windows to detect and install the necessary network adapters, if needed.
Removing the VMware virtual network adapters ensures that no remnants of the software’s networking components are left on your Windows 10 system. With this step completed, you are getting closer to completely uninstalling VMware Workstation 12 from your computer.
In the next step, we will focus on cleaning up temporary files and folders that may have been generated by VMware Workstation 12.
Step 6: Cleanup Temporary Files and Folders
During the usage of VMware Workstation 12, temporary files and folders may have been created on your Windows 10 system. These temporary files serve a temporary purpose and can accumulate over time, taking up valuable disk space. Cleaning up these files not only helps free up storage but also ensures a cleaner and more efficient system.
To cleanup temporary files and folders, follow these steps:
- Press the “Windows” key and “R” simultaneously on your keyboard to open the Run dialog box.
- Type “%temp%” (without the quotation marks) into the Run dialog box and press “Enter”.
- A new window will open, displaying the temporary files and folders on your system.
- Select all the files and folders by pressing “Ctrl” + “A” on your keyboard.
- Right-click on the selected files and folders and choose “Delete” from the context menu.
- If prompted for confirmation to permanently delete the files, click “Yes” to proceed.
In addition to cleaning up the temporary files in the “%temp%” folder, you can also perform a disk cleanup to further remove unnecessary files on your Windows 10 system:
- Press the “Windows” key and type “Disk Cleanup” into the search bar.
- Click on the “Disk Cleanup” result to open the Disk Cleanup utility.
- Select the drive where VMware Workstation 12 was installed (usually the “C:” drive) and click “OK”.
- Wait for the utility to calculate the amount of disk space that can be freed up.
- Select the file types you want to remove, such as temporary files, recycle bin contents, and temporary internet files.
- Click “OK” to confirm the deletion of the selected file types.
By cleaning up temporary files and performing a disk cleanup, you are further eliminating any remnants of VMware Workstation 12 and improving the overall performance of your Windows 10 system.
In the next step, we will restart your Windows 10 system to finalize the uninstallation process.
Step 7: Restart Windows 10
After completing all the previous steps to uninstall VMware Workstation 12 from your Windows 10 system, it’s important to restart your computer. Restarting allows for the finalization of the uninstallation process and ensures that any remaining system changes take effect.
To restart your Windows 10 system, follow these simple steps:
- Click on the “Start” menu, typically located at the bottom-left corner of your screen.
- Click on the power icon, which is usually represented by a circle with a vertical line inside.
- In the power options menu, click on “Restart”.
- Alternatively, you can also press and hold the “Shift” key on your keyboard while clicking on the “Restart” option.
Windows 10 will initiate the restart process and shut down your computer. After a moment, it will automatically power back on. Once your system has restarted, all the changes made during the uninstallation process will be fully implemented.
Restarting your computer after uninstalling VMware Workstation 12 is crucial to ensure that any remaining system configurations or services are properly updated. It also allows your Windows 10 system to start fresh without any lingering traces of the software.
Congratulations! You have successfully uninstalled VMware Workstation 12 from your Windows 10 system. Your computer is now free of the virtualization software, providing you with a clean slate and potentially freeing up system resources.
If you ever need to reinstall VMware Workstation 12 or upgrade to a newer version, you can now proceed with a fresh installation without any conflicts or remnants from the previous installation.
Conclusion
Uninstalling software properly is essential to ensure a clean and efficient system. In this article, we have provided a step-by-step guide on how to uninstall VMware Workstation 12 from your Windows 10 system. By following these steps, you can effectively remove the virtualization software and all associated files, folders, registry entries, and virtual network adapters.
First, we emphasized the importance of closing VMware Workstation 12 before starting the uninstallation process. Then, we guided you through the uninstallation process from the Control Panel, ensuring that the software is completely removed from your system.
We also highlighted the significance of removing any remaining files and folders related to VMware Workstation 12, followed by deleting associated registry entries. This step guarantees a thorough removal of the software and helps optimize your system’s performance.
Additionally, we provided instructions to remove VMware virtual network adapters and clean up temporary files and folders. These steps aid in freeing up disk space and ensuring that no remnants of VMware Workstation 12 are left on your Windows 10 system.
Lastly, we advised restarting your computer to finalize the uninstallation process and allow the system to fully implement the changes made.
By following this comprehensive guide, you have successfully uninstalled VMware Workstation 12 from your Windows 10 system. Your computer is now free of the virtualization software, providing you with a clean and optimized environment.
Should you ever need to reinstall VMware Workstation 12 or upgrade to a newer version, you can now proceed with confidence knowing that you have properly uninstalled the previous installation.
Thank you for following along with this guide, and we hope it has been helpful in assisting you with the uninstallation of VMware Workstation 12 from your Windows 10 system.