Introduction
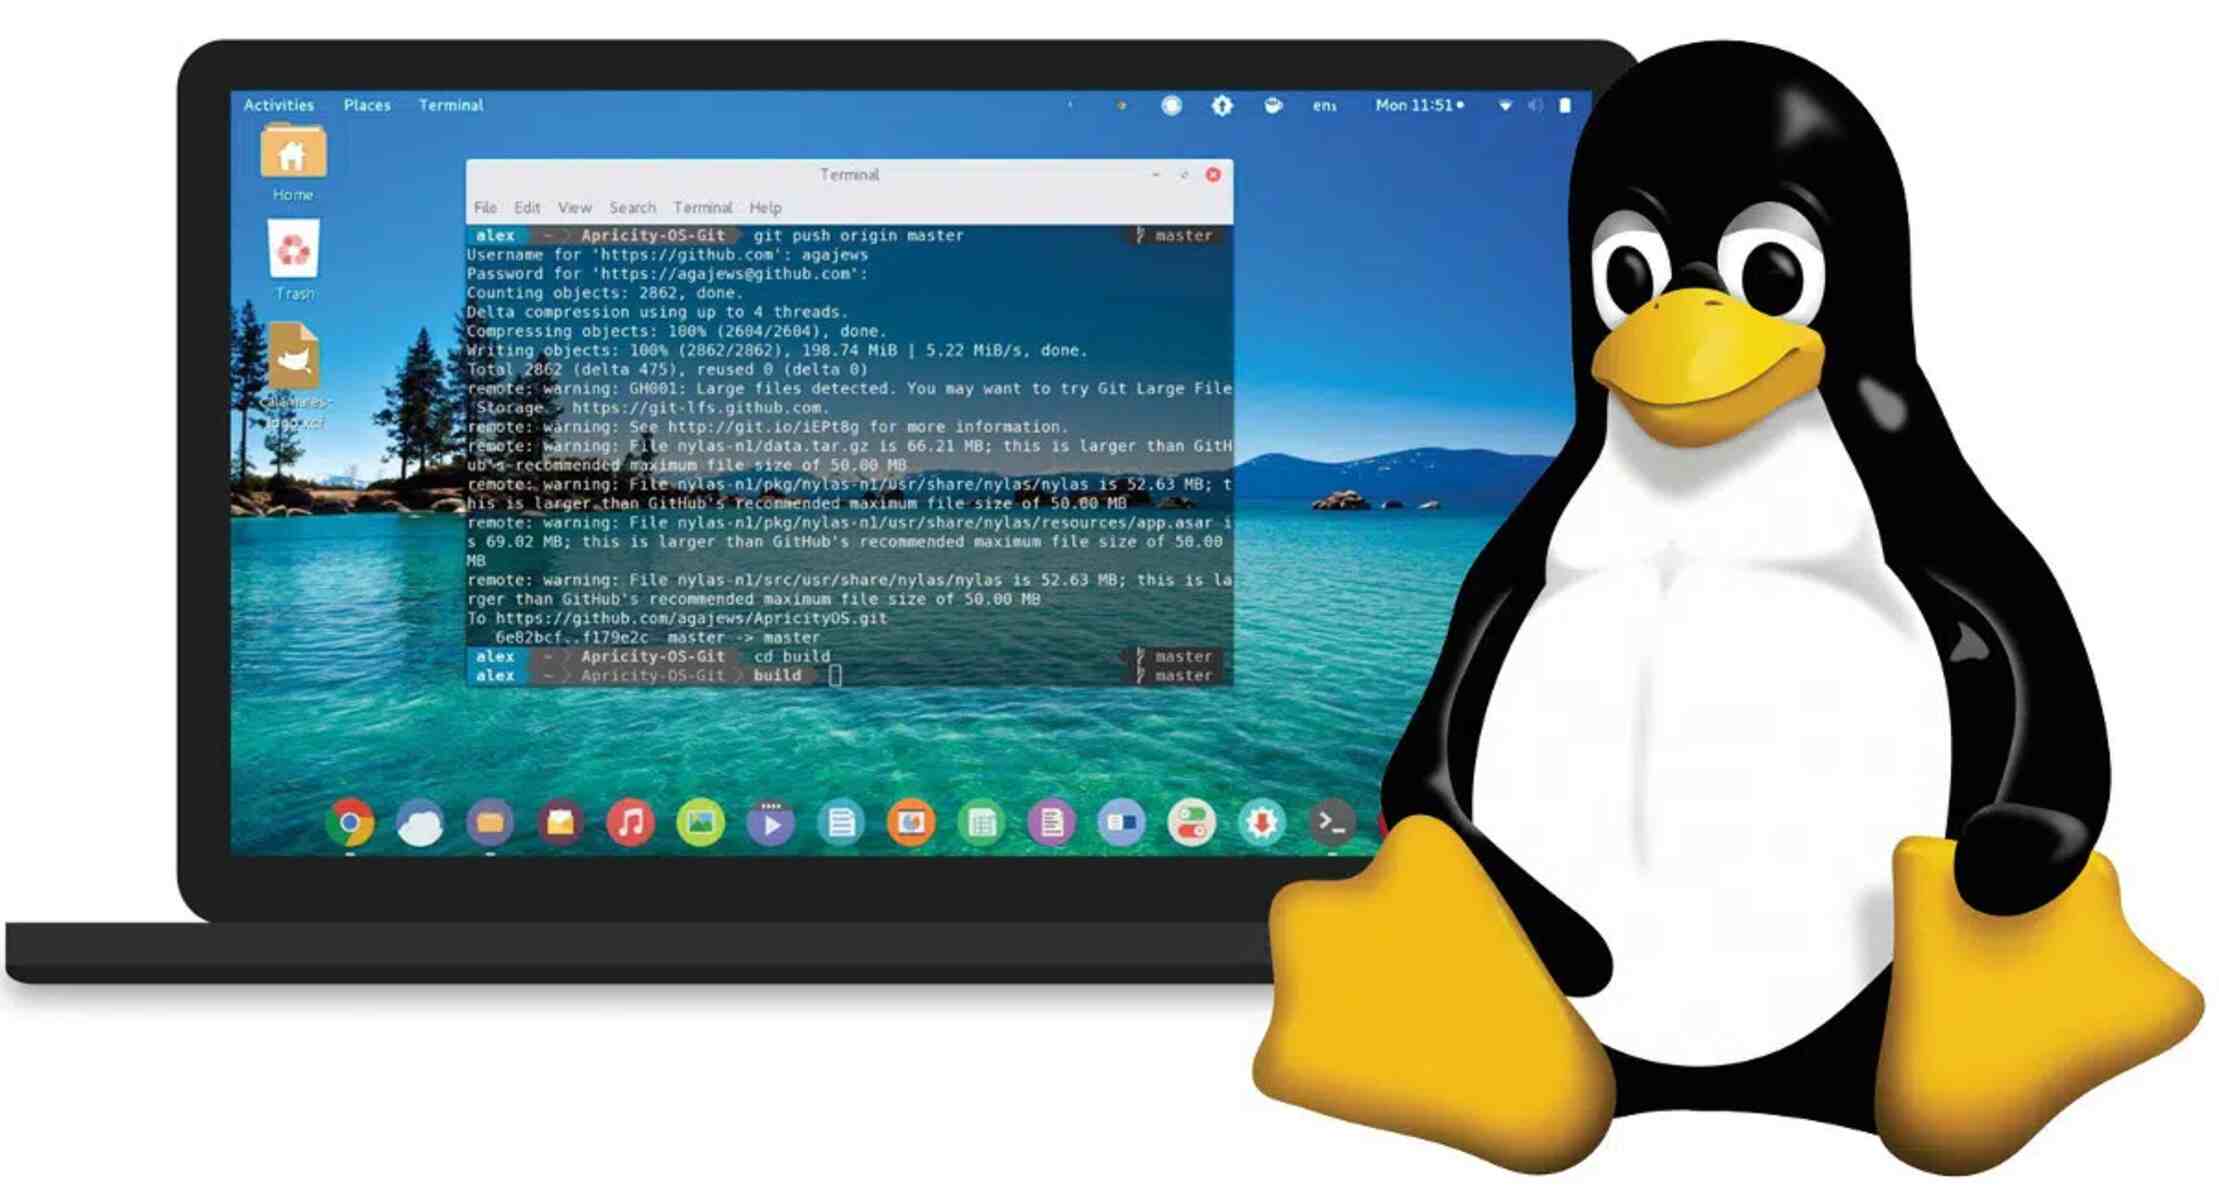
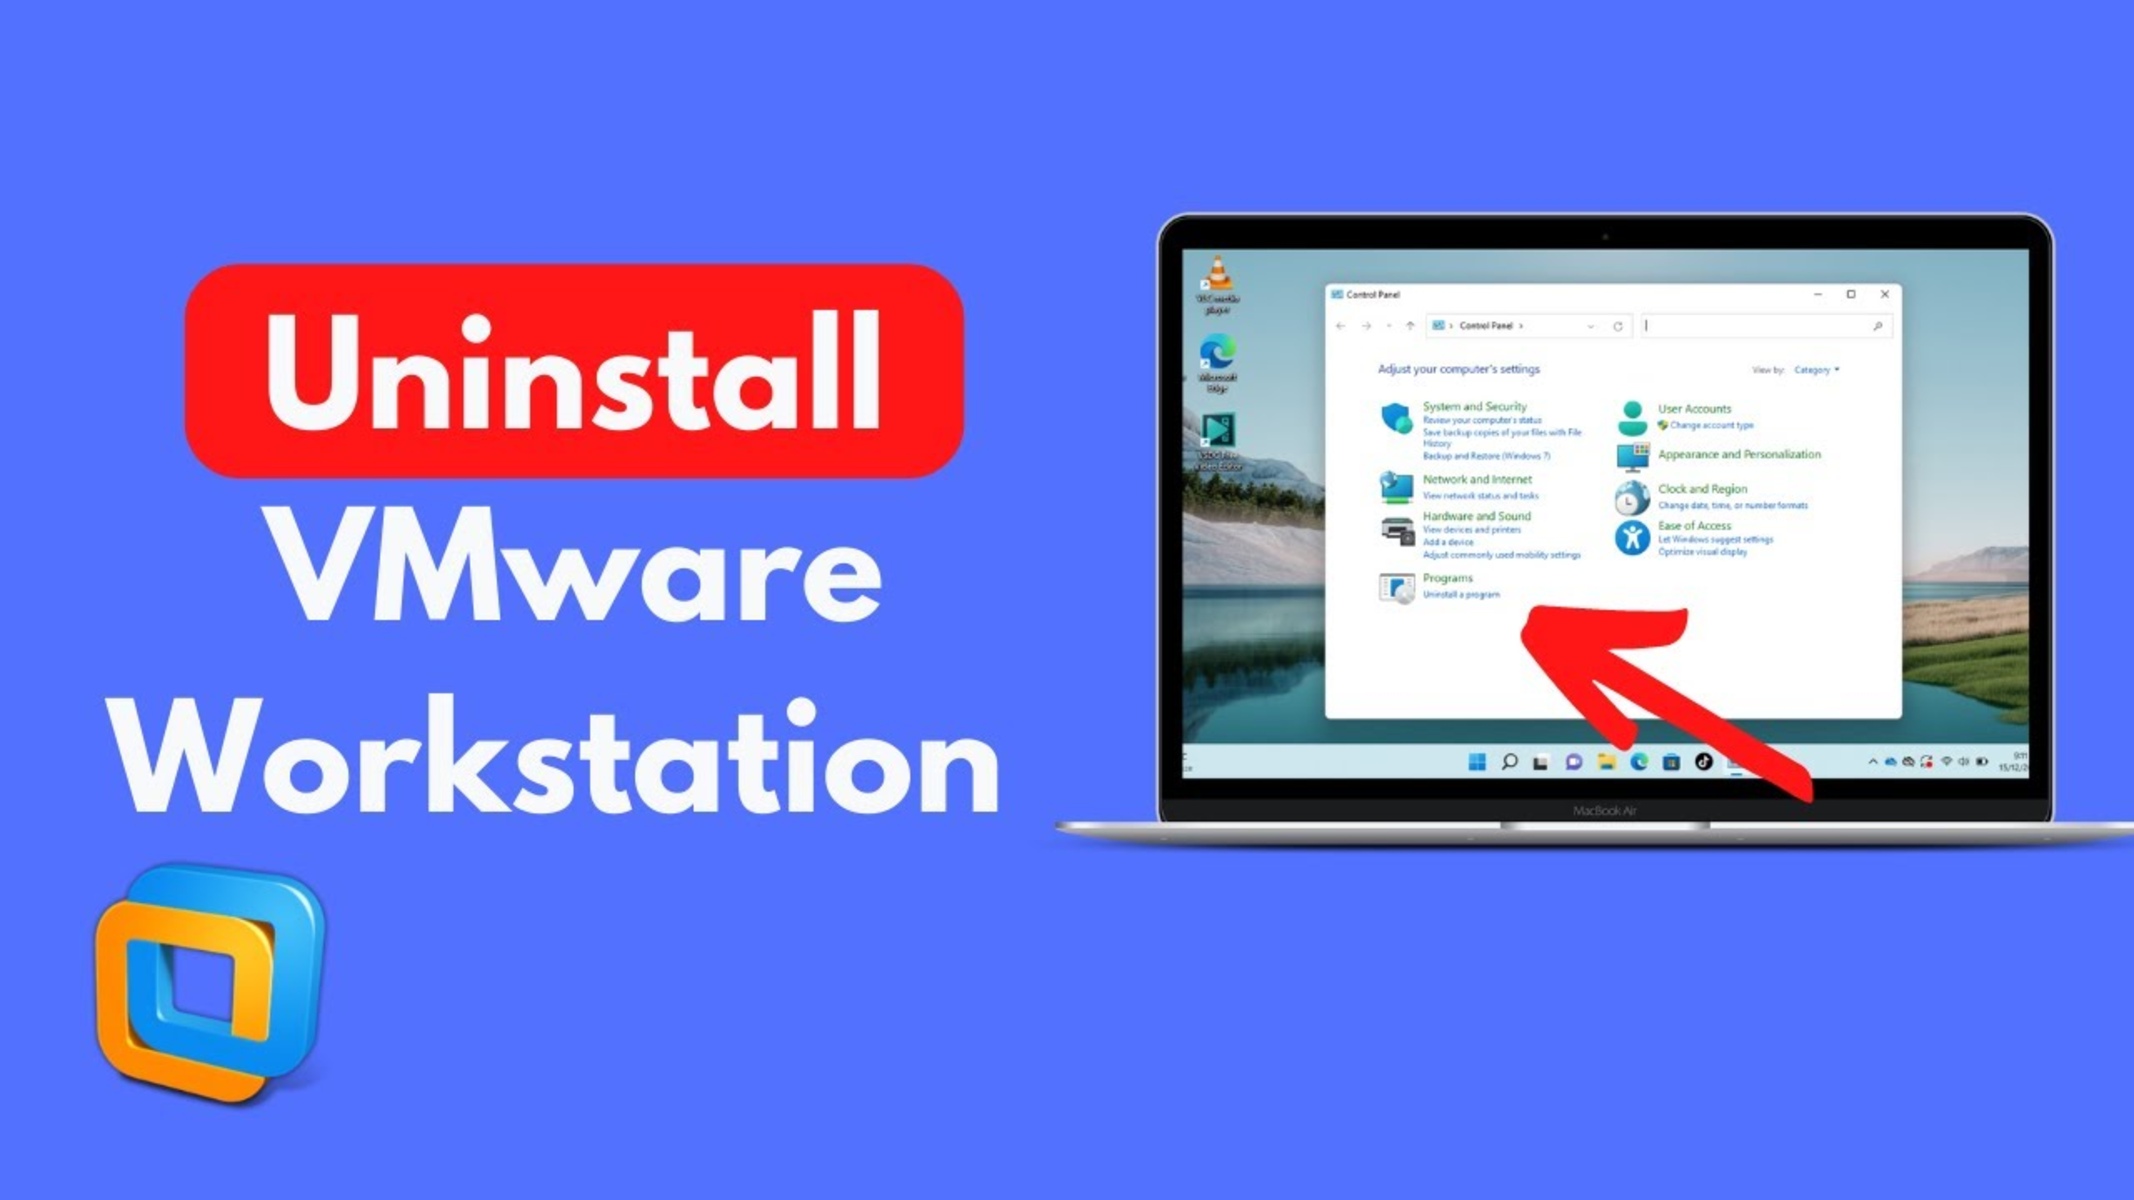
VMware Workstation is a powerful virtualization software that allows users to run multiple operating systems on a single machine. However, there may come a time when you need to remove VMware Workstation from your Linux system. Whether it’s to free up disk space, upgrade to a newer version, or switch to a different virtualization solution, the process of uninstalling VMware Workstation requires a few steps to ensure a clean removal.
In this guide, we will walk you through the step-by-step process of removing VMware Workstation from Linux. By following these instructions, you will be able to completely uninstall the software and remove all associated files and configurations from your system.
Before we begin, make sure to back up any important virtual machines that you have created using VMware Workstation. Uninstalling the software will remove the virtual machines and their associated files, so it’s crucial to have backups to prevent any data loss.
Additionally, it’s worth noting that the steps provided in this guide are specific to removing VMware Workstation from Linux systems. The process may vary slightly for different Linux distributions, so it’s recommended to consult the documentation or forums for your particular distribution if you encounter any issues.
Now that we have covered the necessary precautions, let’s dive into the step-by-step process of removing VMware Workstation from Linux. Follow along and ensure a thorough and successful uninstallation of the software.
Step 1: Stop VMware Workstation Services
The first step in removing VMware Workstation from your Linux system is to stop all VMware Workstation services. This ensures that the software is not actively running and prevents any conflicts or errors during the uninstallation process.
To stop VMware Workstation services, open a terminal window and enter the following command:
sudo service vmware stop
This command will stop all VMware Workstation services running on your Linux system. You may need to enter your administrator password to authorize the command.
After executing this command, wait for a few moments to ensure that all services have been stopped successfully. You can verify this by running the following command:
sudo service vmware status
If the output displays “vmware is not running,” it indicates that all VMware Workstation services have been successfully stopped.
By stopping the services, you prevent any active processes or background tasks related to VMware Workstation from interfering with the uninstallation process. This ensures a smoother and more efficient removal of the software from your Linux system.
Now that you have stopped the VMware Workstation services, you can proceed to the next step: uninstalling the VMware Workstation software.
Step 2: Uninstall VMware Workstation Software
Once you have stopped the VMware Workstation services, the next step is to uninstall the VMware Workstation software from your Linux system. This process will remove the main application files and dependencies associated with VMware Workstation.
To uninstall VMware Workstation, open a terminal and enter the following command:
sudo vmware-installer -u vmware-workstation
This command will initiate the uninstallation process for VMware Workstation. You may be prompted to enter your administrator password to authorize the uninstallation.
Follow the on-screen prompts to complete the uninstallation process. You may be asked to confirm the removal of certain files and dependencies. It is recommended to review the prompts carefully before proceeding.
Once the uninstallation is complete, you will receive a confirmation message. VMware Workstation has now been successfully uninstalled from your Linux system.
It’s important to note that uninstalling VMware Workstation will remove not only the main application files but also any virtual machines you have created using the software. Therefore, ensure that you have backed up any important virtual machines before proceeding with the uninstallation.
If you encounter any issues or receive error messages during the uninstallation process, it’s recommended to refer to the official VMware documentation or seek assistance from the VMware community forums for troubleshooting guidance.
With the VMware Workstation software successfully uninstalled from your system, you can proceed to the next step: removing VMware Workstation configuration files.
Step 3: Remove VMware Workstation Configuration Files
After uninstalling the VMware Workstation software, it’s important to remove the configuration files associated with the application. These configuration files may contain user preferences, settings, and other data specific to VMware Workstation.
To remove VMware Workstation configuration files, open a terminal window and enter the following command:
rm -rf ~/.vmware
This command will delete the ~/.vmware directory, which contains the VMware Workstation configuration files. Deleting this directory ensures a clean removal of all traces of VMware Workstation from your Linux system.
After executing the command, the configuration files will be permanently removed, and you can proceed to the next step without any remnants of VMware Workstation on your system.
It’s important to note that deleting the ~/.vmware directory may also remove any other VMware-related applications or configurations you have on your system. If you have other VMware products installed, such as VMware Player, ensure that you have backup copies of any necessary configurations or settings before proceeding with this step.
With the VMware Workstation configuration files successfully removed, you can now move on to the next step: removing the VMware Workstation binaries and libraries.
Step 4: Remove VMware Workstation Binaries and Libraries
Once the configuration files have been removed, the next step is to delete the VMware Workstation binaries and libraries from your Linux system. These files are responsible for the execution and functioning of VMware Workstation.
To remove the VMware Workstation binaries and libraries, open a terminal window and enter the following command:
sudo rm -rf /usr/lib/vmware
This command will delete the /usr/lib/vmware directory, which contains the VMware Workstation binaries and libraries. Deleting these files ensures a complete removal of the software from your Linux system.
After executing the command, all VMware Workstation binaries and libraries will be permanently removed, freeing up disk space and ensuring that there are no leftover files on your system.
It’s important to note that removing the binaries and libraries may also affect other VMware-related applications or components that may be installed on your system. If you have other VMware products or dependencies, make sure to back up any necessary files or configurations before proceeding with this step.
With the VMware Workstation binaries and libraries successfully removed, you can now proceed to the final step: removing the VMware Workstation modules from the kernel.
Step 5: Remove VMware Workstation Modules from the Kernel
In the final step of removing VMware Workstation from your Linux system, you need to remove the VMware Workstation modules from the kernel. These modules allow VMware Workstation to interact with the underlying operating system.
To remove the VMware Workstation modules, open a terminal window and enter the following command:
sudo vmware-modconfig --console --uninstall-all
This command will initiate the module removal process for VMware Workstation. It will uninstall all VMware modules from the kernel, ensuring that there are no lingering traces of the software left behind.
Depending on your system configuration and the number of installed modules, the removal process may take a few moments. You will see a progress message as each module is uninstalled.
Once the removal process is complete, you will receive a confirmation message. All VMware Workstation modules have now been successfully removed from the kernel.
Removing the VMware Workstation modules from the kernel ensures that there are no remaining system dependencies or conflicts related to the software. It allows for a clean and thorough removal of VMware Workstation from your Linux system.
Congratulations! You have successfully followed all the steps to remove VMware Workstation from your Linux system. By completing each step carefully, you have ensured that all components and configurations associated with VMware Workstation are completely removed from your system.
Remember to restart your Linux system to finalize the removal process and take effect the changes.
Conclusion
Removing VMware Workstation from your Linux system requires a systematic approach to ensure a clean and thorough uninstallation. By following the steps outlined in this guide, you can successfully remove VMware Workstation and all associated files and configurations from your system.
We started by stopping the VMware Workstation services to prevent any active processes that could interfere with the uninstallation process. Then, we proceeded to uninstall the VMware Workstation software, removing the main application files and dependencies.
Next, we removed the VMware Workstation configuration files, ensuring that no remnants of the software remained on our system. Following that, we deleted the VMware Workstation binaries and libraries to free up disk space and eliminate any leftover files.
Finally, we removed the VMware Workstation modules from the kernel, completing the removal process and ensuring a clean system without any remaining dependencies.
Throughout the uninstallation process, it is crucial to back up any important virtual machines before proceeding, as the removal of VMware Workstation will also remove the associated virtual machines and their files.
Remember to consult the official documentation or seek assistance from the VMware community forums if you encounter any difficulties during the uninstallation process.
By diligently following each step, you can confidently remove VMware Workstation from your Linux system and free up resources for other purposes or explore alternative virtualization solutions.
Thank you for using this guide, and we hope you found it helpful in successfully removing VMware Workstation from your Linux system!