Introduction
Welcome to the world of Kali Linux, the powerful and versatile operating system that is widely used for penetration testing and digital forensics. In this guide, we will take you through the step-by-step process of installing Kali Linux 2017.2 in VMware Workstation 12. Whether you’re a beginner or an experienced user, this guide will provide you with everything you need to know to get Kali Linux up and running on your virtual machine.
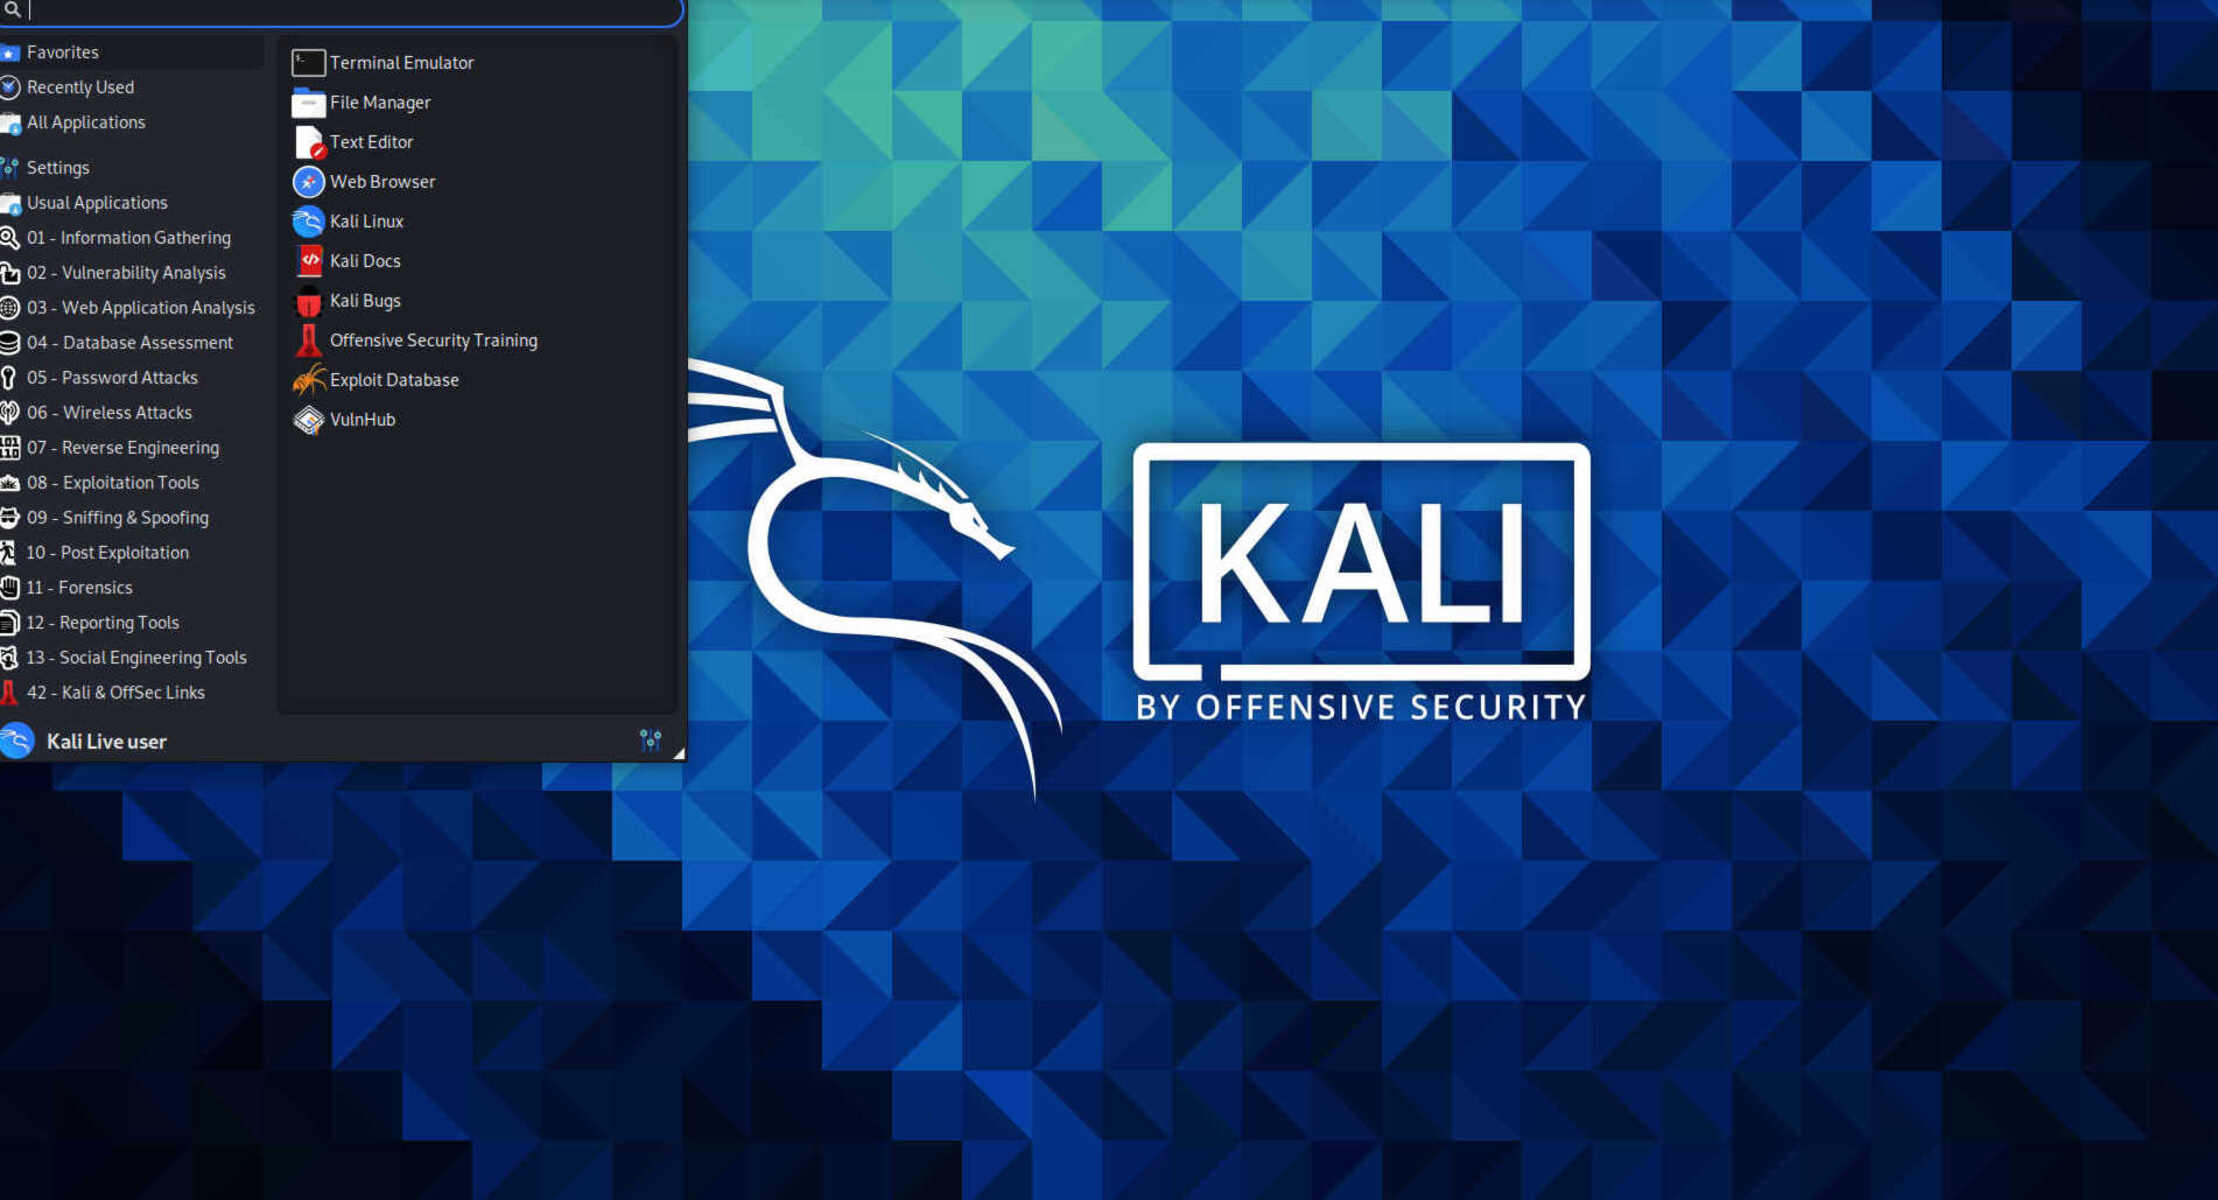
But first, let’s briefly explore what Kali Linux is and why it’s such a popular choice among ethical hackers and security professionals. Developed and maintained by Offensive Security, Kali Linux is a Debian-based distribution that is specifically designed for digital forensics and penetration testing. It comes pre-loaded with a wide range of powerful tools and software packages, making it the go-to operating system for anyone interested in testing the security of networks, systems, and applications.
By installing Kali Linux in VMware Workstation, you will be able to create a virtualized environment where you can safely and securely practice your penetration testing skills. This allows you to explore and learn without the risk of damaging your own system or network. VMware Workstation is a reliable and feature-rich virtualization software that provides the necessary platform to run Kali Linux.
In this guide, we will walk you through each step of the installation process, from downloading the Kali Linux 2017.2 ISO image to configuring the virtual machine settings. We will also guide you on how to update Kali Linux to ensure that you have the latest security patches and software updates.
So, whether you’re a cybersecurity professional looking to enhance your skills or simply curious about exploring the world of ethical hacking and penetration testing, this comprehensive guide will help you install and configure Kali Linux 2017.2 in VMware Workstation 12. Let’s dive in and get started!
Prerequisites
Before you begin the installation of Kali Linux in VMware Workstation 12, there are a few prerequisites that you need to fulfill. These requirements ensure that you have the necessary resources and software for a smooth installation process. Here’s what you’ll need:
- A computer capable of running VMware Workstation 12: Ensure that your computer meets the minimum system requirements to run VMware Workstation 12. This includes having a compatible processor, sufficient RAM, and available storage space.
- VMware Workstation 12: Download and install VMware Workstation 12 on your computer. This virtualization software creates a virtual machine where you can run Kali Linux.
- Kali Linux 2017.2 ISO image: Download the Kali Linux 2017.2 ISO image from the official website. You will use this image to install Kali Linux on your virtual machine.
- Minimum system requirements for Kali Linux: Ensure that your virtual machine meets the minimum system requirements for running Kali Linux. This includes having at least 20 GB of available disk space, 2 GB of RAM, and a processor that supports virtualization.
- Internet connection: Make sure you have a stable internet connection throughout the installation process. This is essential for downloading updates and additional software packages for Kali Linux.
It’s important to note that installing Kali Linux on a virtual machine requires intermediate computer skills and knowledge of operating systems and virtualization. Familiarize yourself with the basics of VMware Workstation 12 and the installation process for operating systems within a virtual environment.
Once you have fulfilled these prerequisites, you are ready to move on to the next section and begin the installation process. Don’t worry if you are not familiar with VMware Workstation or the installation process – we will guide you through each step to ensure a successful installation of Kali Linux 2017.2 on your virtual machine.
Step 1: Downloading Kali Linux 2017.2 ISO
The first step in installing Kali Linux 2017.2 in VMware Workstation 12 is to download the Kali Linux 2017.2 ISO image. The ISO image contains all the necessary files and software packages required for the installation. Here’s how you can download the ISO image:
- Open your preferred web browser and go to the official Kali Linux website.
- Navigate to the “Downloads” section of the website.
- Choose the appropriate version of Kali Linux 2017.2 based on your system architecture (32-bit or 64-bit). Make sure to select the ISO image format.
- Click on the download link to start the download process. Depending on your internet connection speed, this may take some time.
- Once the download is complete, verify the integrity of the downloaded ISO image. This step ensures that the file was not corrupted during the download process.
-
To verify the integrity, you can use the provided SHA-256 hash on the Kali Linux website and compare it with the hash of the downloaded file. There are various tools available that can help you verify the hash, including the built-in sha256sum command on Linux or third-party software like HashCheck for Windows.
If the hash matches, it means that the downloaded ISO image is intact and ready for installation. If the hash does not match, you may need to re-download the ISO image to avoid any issues during installation.
With the Kali Linux 2017.2 ISO image successfully downloaded and verified, you are now ready to move on to the next step: installing VMware Workstation 12. Having the ISO image readily available speeds up the installation process and ensures a seamless installation of Kali Linux on your virtual machine.
Step 2: Installing VMware Workstation 12
To install Kali Linux 2017.2, you’ll need to have VMware Workstation 12 installed on your computer. VMware Workstation is a powerful virtualization software that allows you to create and run virtual machines. Here’s how you can install VMware Workstation 12:
- Download the VMware Workstation 12 installer from the official VMware website. Make sure to choose the correct version for your operating system.
- Once the download is complete, locate the installer file and double-click on it to start the installation process.
- Follow the on-screen prompts to initiate the installation process. You may need to provide administrative privileges to install VMware Workstation.
- Read and accept the End User License Agreement (EULA) to proceed with the installation.
- Choose the installation directory where you want to install VMware Workstation 12. The default directory is usually fine, but you can choose a different location if desired.
- Select the features and options you want to include in the installation. The default settings are usually sufficient for most users.
- Review the installation summary, ensuring that all the selected options and settings are correct.
- Click on the “Install” button to begin the installation process. Depending on your system’s performance, this may take a few minutes.
- Once the installation is complete, click on the “Finish” button to exit the installer.
- Restart your computer to complete the installation process.
After restarting your computer, VMware Workstation 12 will be successfully installed and ready for use. With VMware Workstation installed, you can now proceed to the next step: creating a new virtual machine to install Kali Linux 2017.2.
Step 3: Creating a New Virtual Machine
With VMware Workstation 12 installed, you can now create a new virtual machine to install Kali Linux 2017.2. The virtual machine provides an isolated environment where you can run Kali Linux without affecting your host operating system. Here’s how you can create a new virtual machine in VMware Workstation 12:
- Open VMware Workstation 12.
- Click on “File” in the menu bar, then select “New Virtual Machine.”
- The New Virtual Machine Wizard will open. Select “Typical” and click “Next.”
- Choose the installation source for the operating system. Select “Installer disc image file (ISO)” and click “Browse.”
- Navigate to the location where you downloaded the Kali Linux 2017.2 ISO image and select it. Click “Next.”
- Enter a name for the virtual machine and specify the location where you want to save it. Choose a location with sufficient disk space. Click “Next.”
- Enter the maximum disk size for the virtual machine. The default size is usually sufficient, but you can increase it if needed. Click “Next.”
- Choose the network type you want to use for the virtual machine. Select “Bridged” to allow the virtual machine to connect to the network. Click “Next.”
- Review the virtual machine settings summary and make any necessary changes. Click “Finish” to create the virtual machine.
With the virtual machine created, you are now ready to configure its settings before installing Kali Linux 2017.2. The virtual machine settings allow you to customize the hardware and options for the virtual machine, such as the amount of RAM, number of CPU cores, and network adapters. In the next step, we will cover how to configure the virtual machine settings to optimize the performance of Kali Linux.
Step 4: Configuring Virtual Machine Settings
After creating a new virtual machine for Kali Linux 2017.2 in VMware Workstation 12, it’s important to configure the virtual machine settings to optimize its performance. These settings allow you to allocate resources such as memory and CPU cores to the virtual machine. Here’s how you can configure the virtual machine settings:
- Ensure that the newly created virtual machine is selected in the VMware Workstation 12 interface.
- Click on “Edit virtual machine settings” in the toolbar or go to the “VM” menu and select “Settings.”
- The Virtual Machine Settings window will open. Here, you can customize various aspects of the virtual machine.
- Under the “Hardware” tab, you can configure options such as memory, processor, and network adapters.
- Allocate an appropriate amount of memory to the virtual machine. Kali Linux 2017.2 requires a minimum of 2 GB of RAM, but allocating more can improve performance.
- Adjust the number of CPU cores assigned to the virtual machine. Kali Linux works well with at least 2 CPU cores, but you can allocate more if your system supports it.
- Configure network settings. Select the desired network adapter type and choose the appropriate network connection type (bridged, NAT, or host-only).
- Modify other optional settings, such as enabling or disabling sound, USB support, and shared folders.
- Review the settings summary and make any necessary changes.
- Click “OK” to save the settings and close the Virtual Machine Settings window.
By configuring the virtual machine settings, you can ensure that Kali Linux 2017.2 has the necessary resources to run smoothly within the VMware Workstation 12 environment. Allocating sufficient memory, CPU cores, and network connectivity will enhance the performance of Kali Linux as you explore its capabilities in the next step.
Step 5: Installing Kali Linux 2017.2
With the virtual machine settings configured, you are now ready to install Kali Linux 2017.2. The installation process involves booting the virtual machine from the downloaded Kali Linux ISO image and following the on-screen prompts. Here’s how you can install Kali Linux 2017.2:
- Ensure that the virtual machine is selected in the VMware Workstation 12 interface.
- Click on the “Power on this virtual machine” button or go to the “VM” menu and select “Power” and then “Power On.”
- The virtual machine will start up and display the VMware Workstation boot screen. Press any key to enter the boot menu.
- Use the arrow keys to select “Install” and press Enter to continue.
- The installation process will begin, and you will be guided through a series of prompts.
- Select your preferred language for the installation process.
- Choose your location and keyboard layout.
- Enter a hostname for your Kali Linux system.
- Set a strong root password to secure your Kali Linux system.
- Choose a disk partitioning option. For simplicity, you can select the default option to use the entire virtual disk.
- Confirm your partition changes and proceed with the installation.
- Wait for the installation process to complete. This may take some time.
Once the installation process finishes, you will be prompted to reboot the virtual machine. Press Enter to restart the virtual machine.
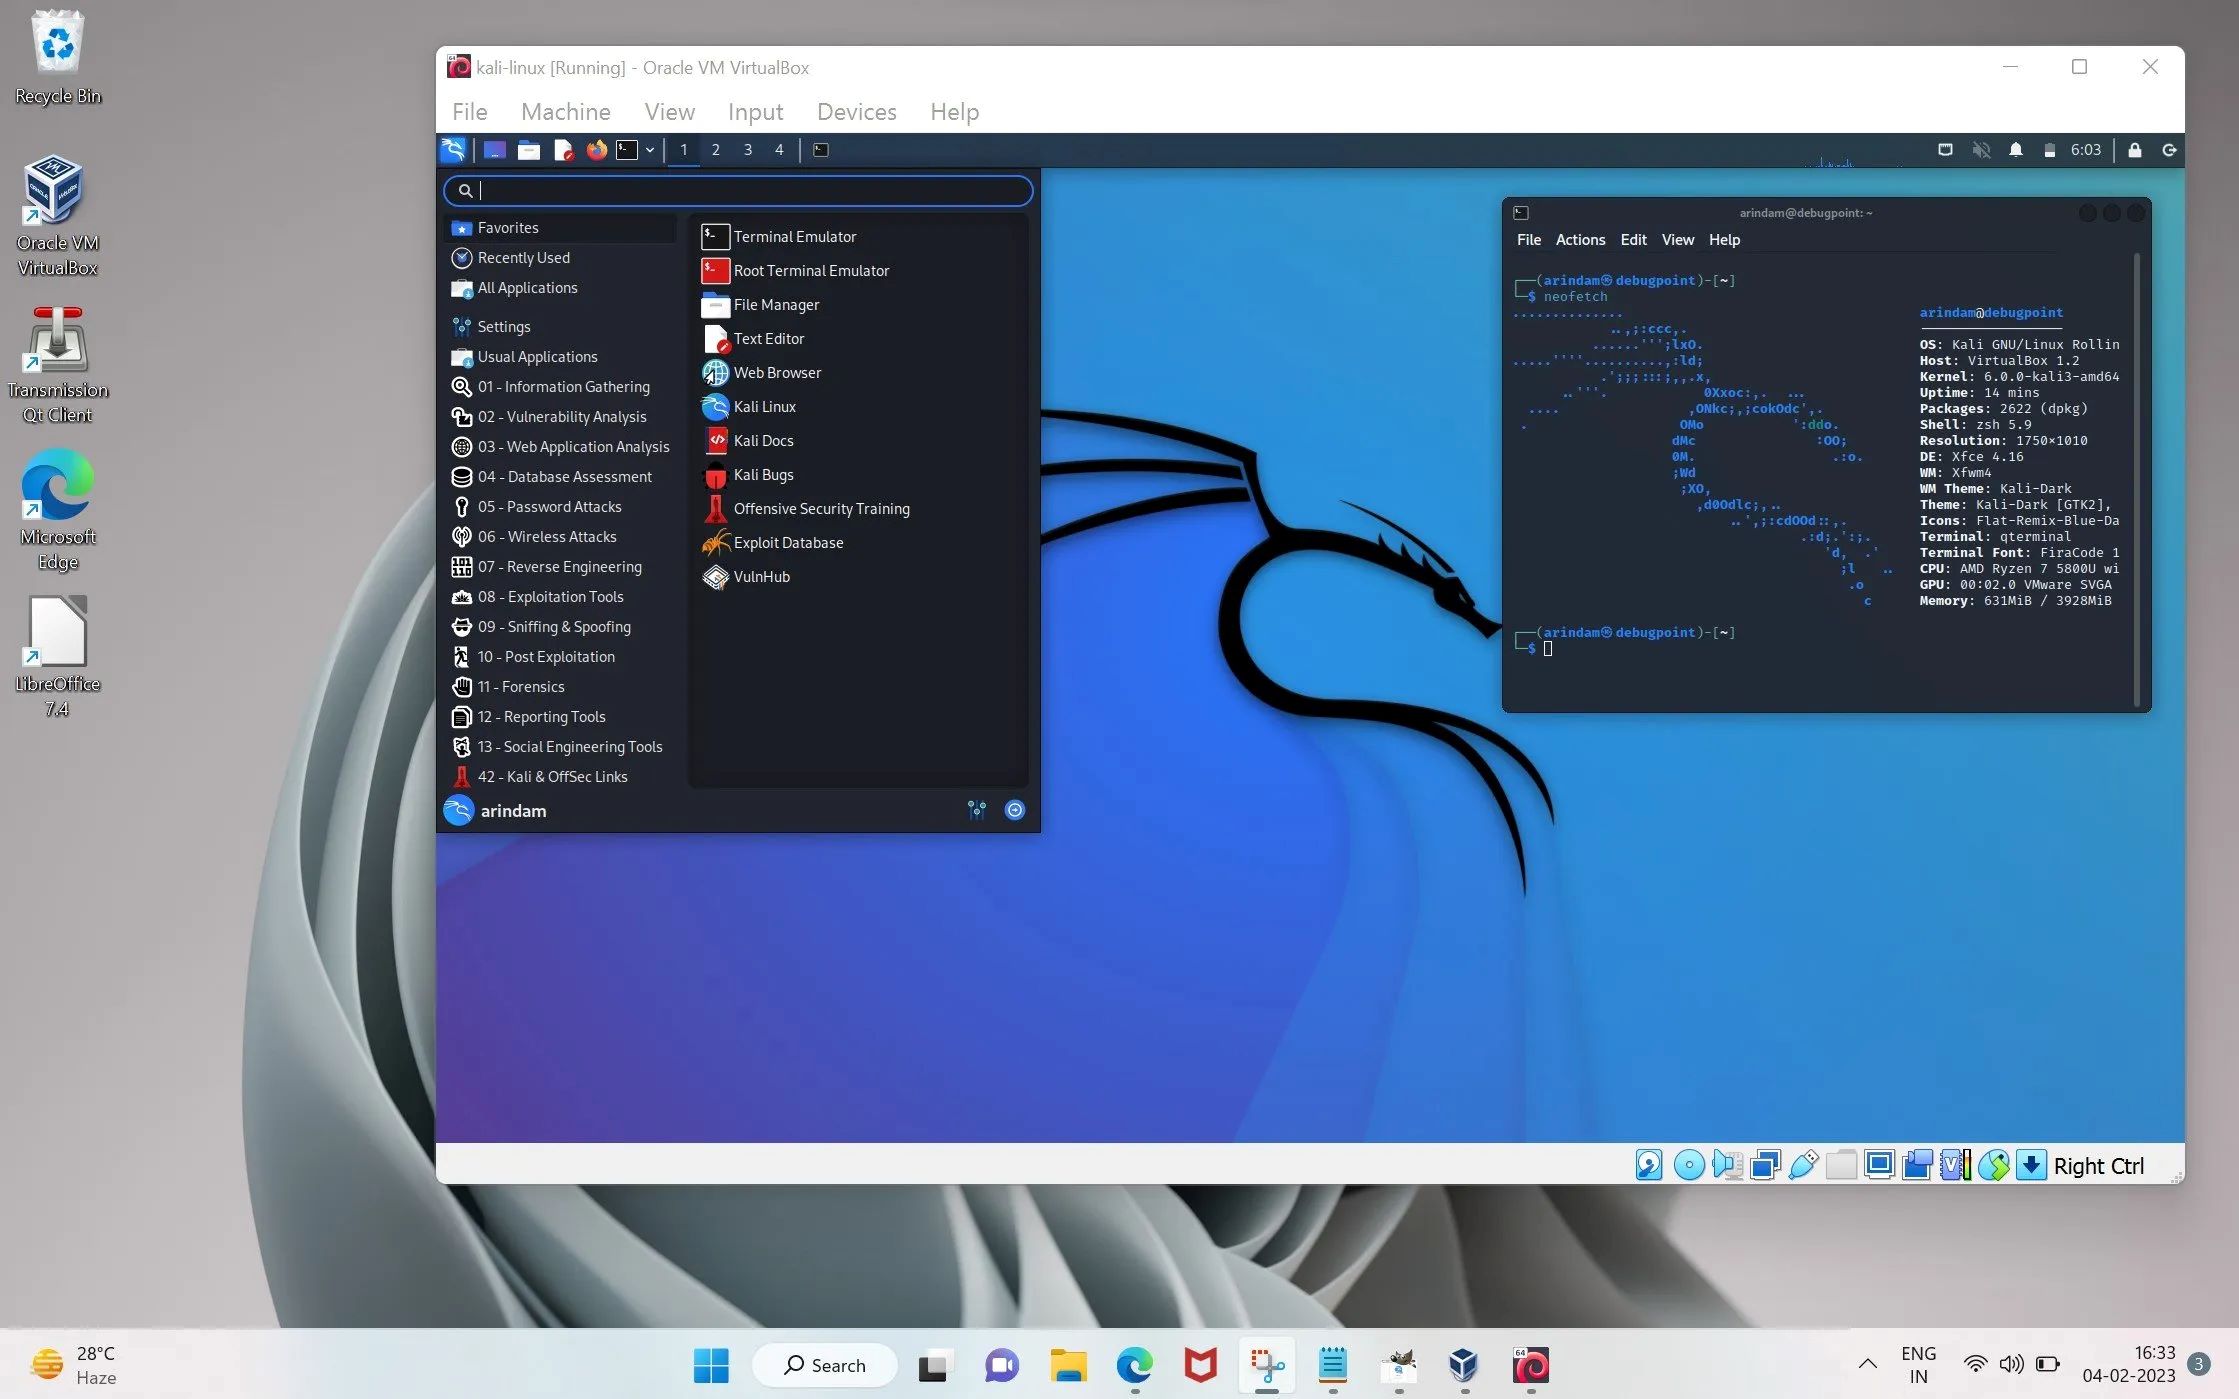
After the virtual machine restarts, you will be greeted with the login screen for your newly installed Kali Linux 2017.2. Enter the root username and the password you set during the installation process to log in.
Congratulations! You have successfully installed Kali Linux 2017.2 on your virtual machine. In the next step, we will cover how to configure Kali Linux to ensure optimal performance and functionality.
Step 6: Configuring Kali Linux
With Kali Linux 2017.2 installed on your virtual machine, it’s time to configure it to suit your needs. The configuration process involves setting up network connectivity, updating system packages, and customizing the environment. Here’s how you can configure Kali Linux:
- Log in to your Kali Linux virtual machine using the root username and password you set during the installation process.
- Open the terminal by clicking on the Applications menu, selecting “System Tools,” and choosing “Terminal.”
- Update the system packages by running the following command:
apt update && apt upgrade - Follow the on-screen prompts to update the system packages. This step ensures that you have the latest security patches and software updates.
- Configure your network settings. You can do this by editing the network configuration files or using the Network Manager tool.
- Customize your desktop environment by changing the wallpaper, theme, and appearance settings according to your preference.
- Install additional software and tools that you require for your work or projects. Kali Linux provides a vast repository of software packages that you can install using the package manager.
- Set up user accounts for additional users if needed. It is generally recommended to create a non-root user account for day-to-day tasks.
By configuring Kali Linux, you can tailor it to your specific needs and enhance your productivity. Customizing the environment, updating packages, and configuring the network ensure that you have a secure and efficient working environment for penetration testing and digital forensics.
With Kali Linux properly configured, you are now ready to explore its extensive range of tools and features. In the next step, we will cover how to keep Kali Linux up to date by regularly updating it.
Step 7: Updating Kali Linux 2017.2
Regularly updating your Kali Linux installation is crucial to maintaining its security and performance. Updates include security patches, bug fixes, and new features that enhance the functionality of the operating system. Here’s how you can update Kali Linux 2017.2:
- Open the terminal in Kali Linux by clicking on the Applications menu, selecting “System Tools,” and choosing “Terminal.”
- Update the package repository by running the following command:
apt update - Once the package repository is updated, upgrade the installed packages using the following command:
apt upgradeIf prompted, review the packages to be upgraded and type ‘y’ to proceed with the upgrade.
- Follow the on-screen prompts to complete the upgrade process. This may take some time, depending on the number of packages that need to be upgraded.
- After the upgrade is complete, install any available updates for the Kali Linux system using the following command:
apt dist-upgradeAgain, review the packages to be upgraded and type ‘y’ to proceed.
- Allow the system to install the updates. This ensures that you have the latest security patches and software updates for your Kali Linux installation.
- Optionally, you can run the following command to clean up any unnecessary packages and free up disk space:
apt autoremove
By regularly updating Kali Linux, you ensure that your operating system stays secure, stable, and up to date. It’s recommended to perform these update steps periodically to benefit from the latest improvements and to keep your system protected against potential vulnerabilities.
With your Kali Linux installation now updated, you’re ready to make the most of its powerful tools and features. Whether you’re engaging in penetration testing or exploring the field of digital forensics, staying updated is essential for a successful and efficient workflow.
Conclusion
Congratulations on successfully installing and configuring Kali Linux 2017.2 in VMware Workstation 12! You’ve taken the first steps into the exciting world of penetration testing and digital forensics. By following this comprehensive guide, you have created a virtual environment where you can safely explore and practice your skills without impacting your host operating system.
We started by introducing Kali Linux and its significance in the realm of cybersecurity. It’s a versatile operating system specifically designed for ethical hacking and penetration testing, packed with a wide range of powerful tools. We then walked you through the installation process, from downloading the Kali Linux 2017.2 ISO image to configuring the virtual machine settings.
Throughout the installation process, we emphasized the importance of fulfilling the prerequisites and configuring the virtual machine to ensure optimal performance. We also highlighted the significance of keeping Kali Linux up to date by regularly updating the system.
Now that your Kali Linux installation is complete, you can further customize the environment, explore the extensive range of tools, and embark on your cybersecurity journey. Regularly updating Kali Linux will help you stay at the cutting edge of security and take advantage of new features and enhancements.
Remember to always approach ethical hacking and penetration testing with the utmost responsibility and adhere to legal and ethical guidelines. Keep learning, stay curious, and continue to sharpen your skills in the field of cybersecurity.
Thank you for embarking on this journey with us, and best of luck in your future endeavors with Kali Linux!