Introduction
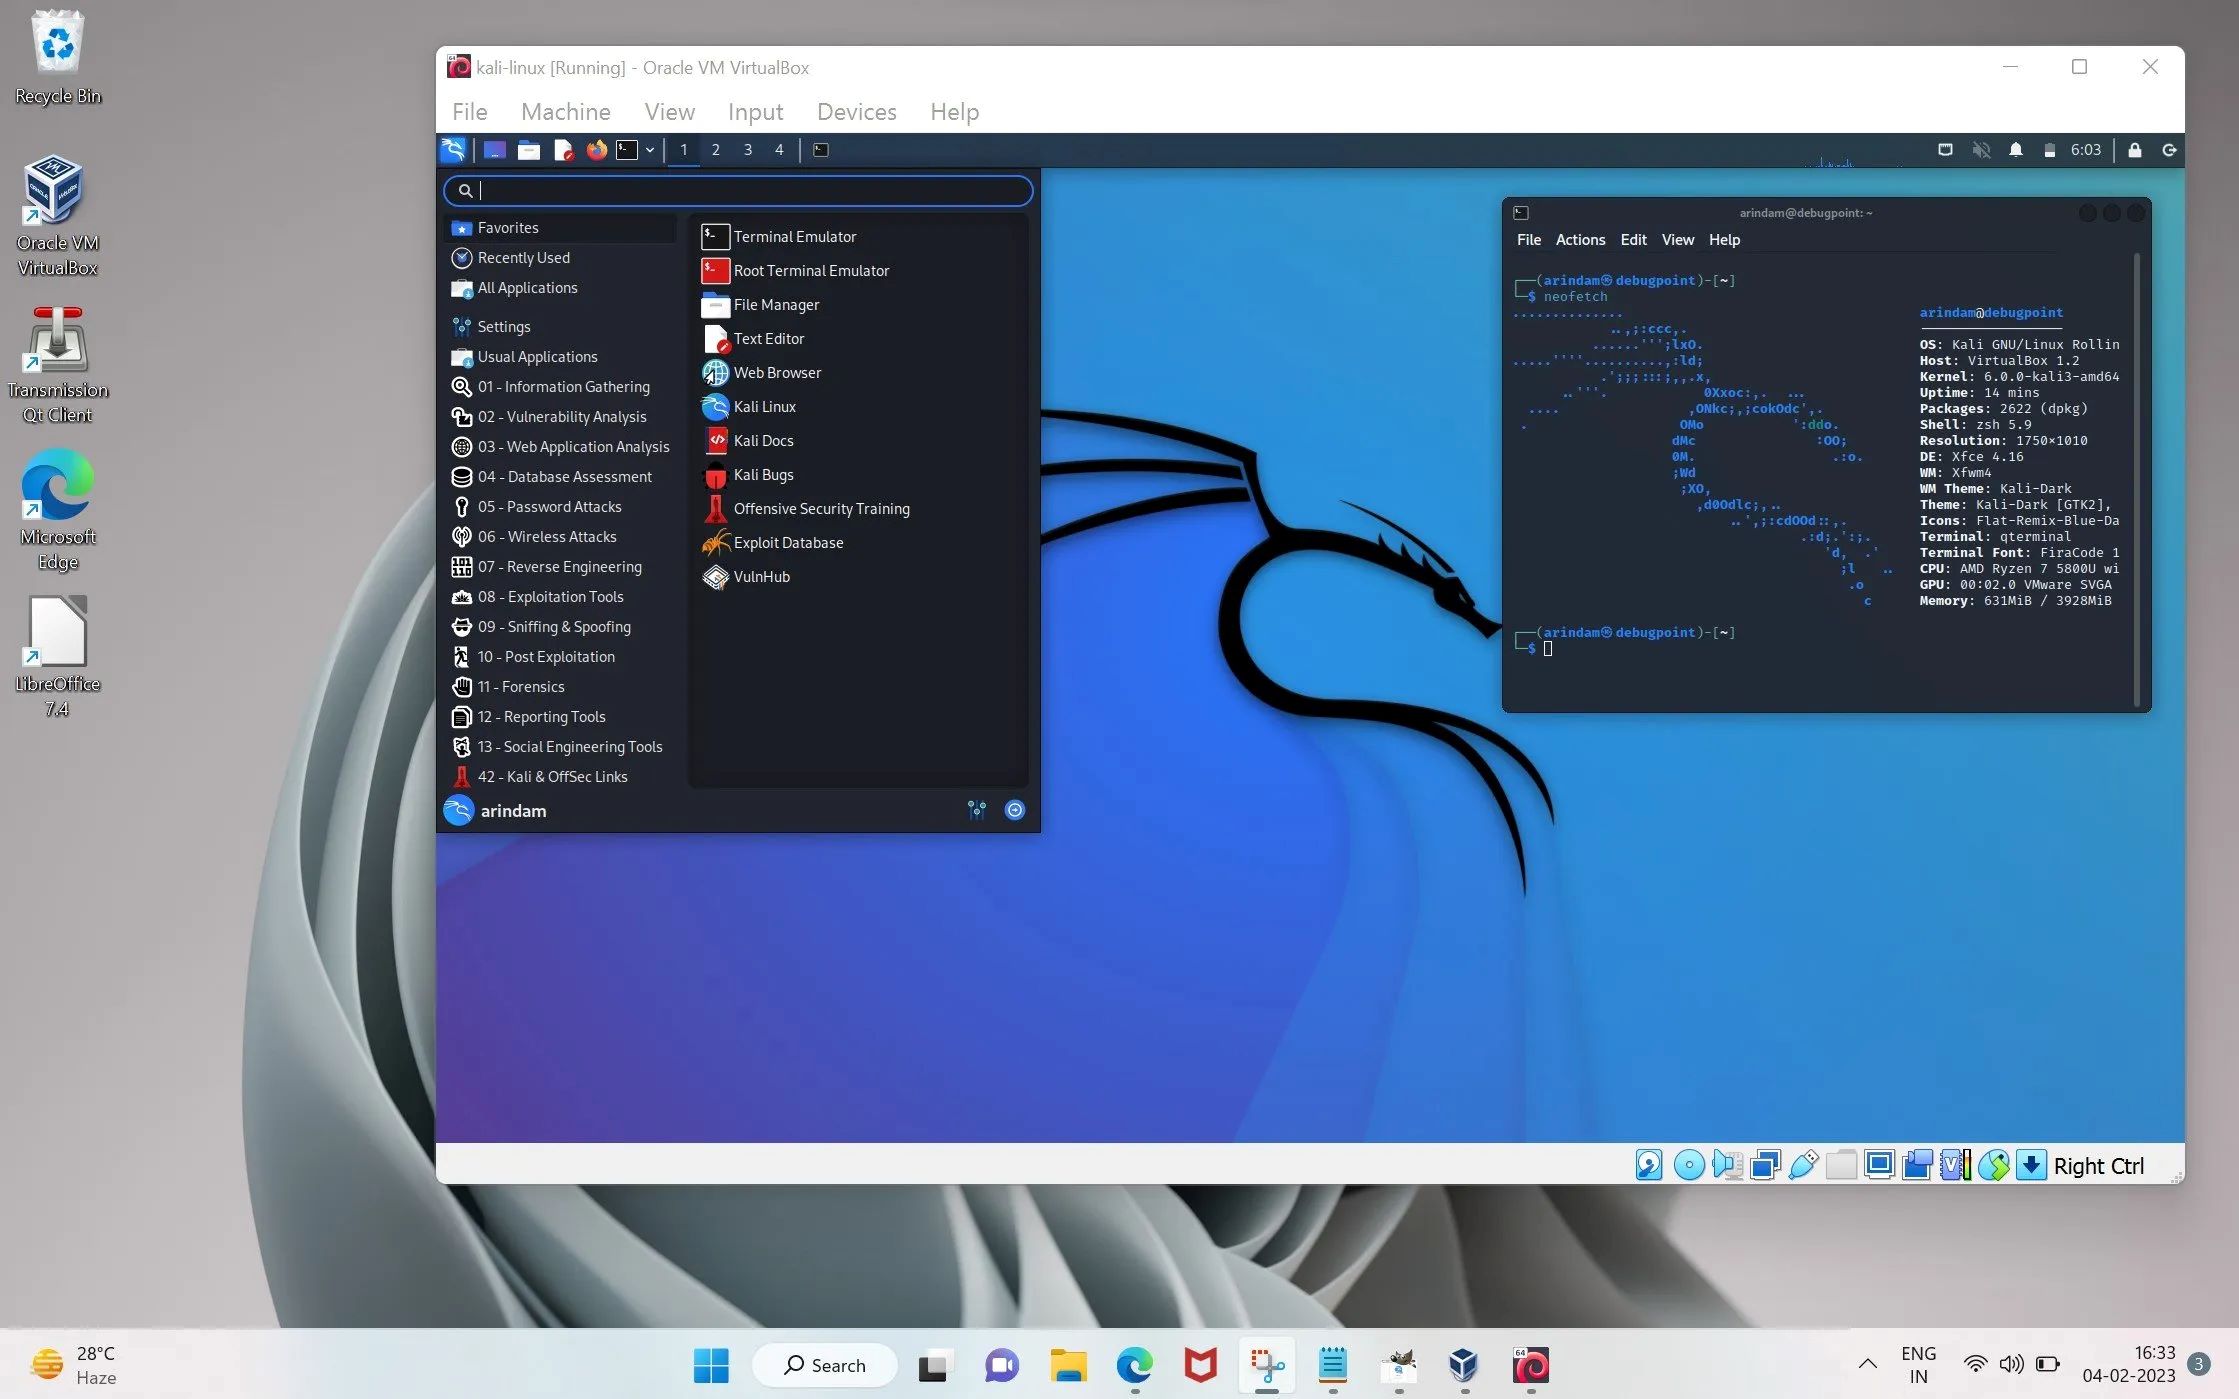
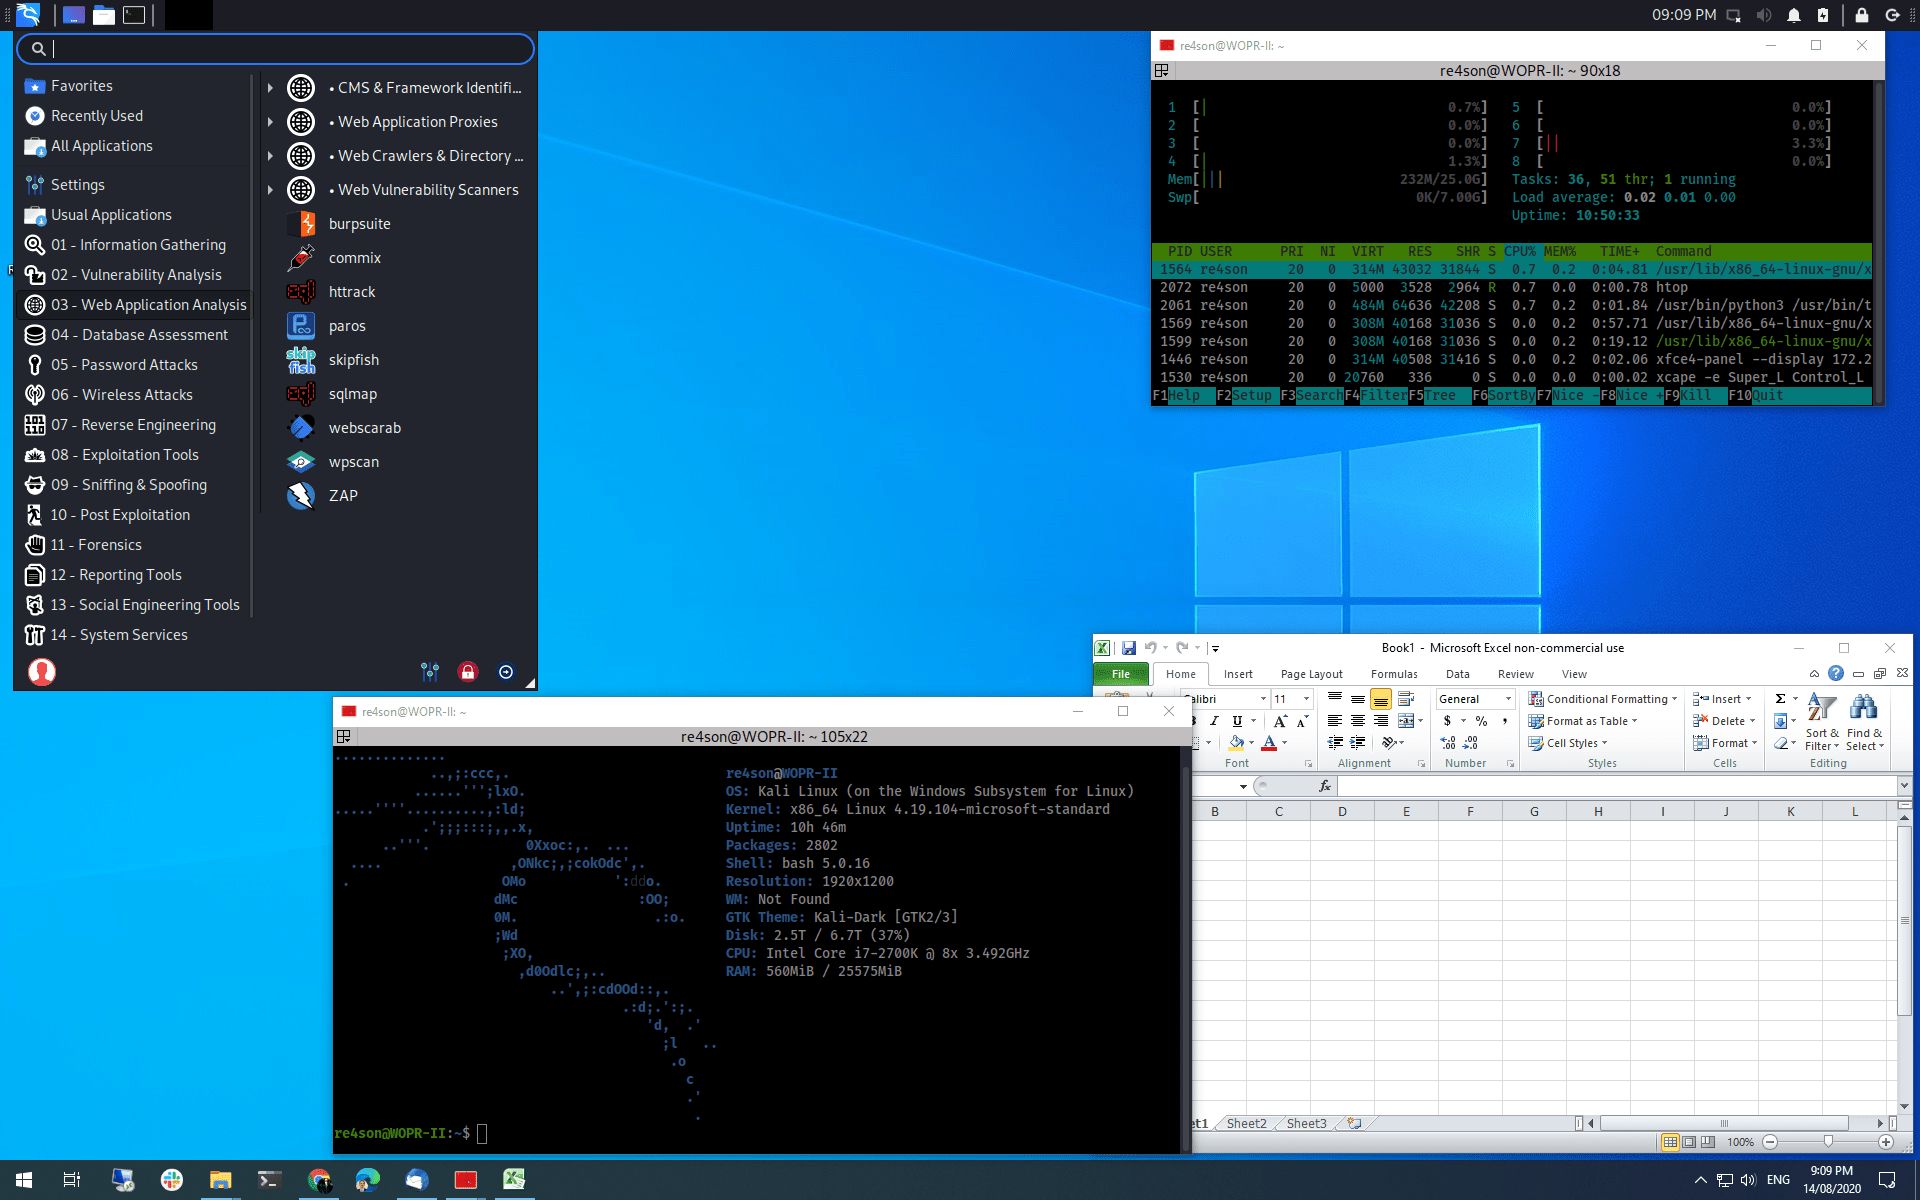
Creating a virtual machine is a great way to explore different operating systems without the need for dedicated hardware. In particular, Kali Linux, a powerful open-source penetration testing platform, is a popular choice for cybersecurity professionals and enthusiasts. By setting up a Kali Linux virtual machine (VM), you can gain hands-on experience with its robust tools and functionalities, all within a safe and isolated environment.
In this guide, we will walk you through the process of creating a Kali Linux virtual machine on your computer. Whether you are a beginner or have experience working with virtualization software, this step-by-step tutorial will provide you with the necessary guidance to get started. By the end of this guide, you will have a fully functioning Kali Linux VM that you can use for various cybersecurity purposes, such as vulnerability testing, network analysis, and ethical hacking exercises.
Before we begin, it’s important to note that setting up a Kali Linux virtual machine requires a few prerequisites. You will need a computer with sufficient resources to run a VM comfortably, including enough RAM, storage space, and processing power. Additionally, you will need to download the Kali Linux ISO file and a virtualization software like Oracle VirtualBox or VMWare Player.
Now that we have a clear understanding of what we aim to achieve, let’s dive into the step-by-step process of creating a Kali Linux virtual machine. By following these instructions carefully, you will soon have a fully functional Kali Linux environment at your fingertips, ready to explore the exciting world of cybersecurity.
Step 1: Downloading the Kali Linux ISO file
The first step in creating a Kali Linux virtual machine is to download the Kali Linux ISO file. The ISO file is a disk image file that contains the complete installation package of Kali Linux. You can obtain the latest version of Kali Linux from the official Kali Linux website.
To download the Kali Linux ISO file, follow these simple steps:
- Open your web browser and navigate to the official Kali Linux website: https://www.kali.org/downloads/
- On the Downloads page, you will see different versions of Kali Linux available for download. Choose the appropriate version based on your system architecture (32-bit or 64-bit).
- Click on the download link for the preferred version. You will be redirected to a mirror page where you can choose a suitable mirror to download the ISO file from. Select a mirror that is closest to your location to ensure faster download speeds.
- Once the download is initiated, the ISO file will start downloading to your computer. The file size can be quite large, so it may take some time depending on your internet connection speed.
- Once the download is complete, you will have the Kali Linux ISO file saved on your computer.
It is important to verify the integrity of the downloaded ISO file to ensure that it hasn’t been tampered with during the download process. Kali Linux provides checksums for each of their ISO files, which can be used to verify the file’s integrity. To do this, you can compare the checksum of the downloaded file with the one provided on the Kali Linux website.
With the Kali Linux ISO file securely downloaded to your computer, we can move on to the next step: installing a virtualization software.
Step 2: Installing a virtualization software
To create and run a Kali Linux virtual machine, you will need to install a virtualization software on your computer. Virtualization software allows you to create and manage virtual machines, enabling you to run multiple operating systems simultaneously. There are several virtualization software options available, but for the purpose of this guide, we will focus on two popular choices: Oracle VirtualBox and VMWare Player.
Here are the steps to install a virtualization software:
- Oracle VirtualBox:
- Visit the Oracle VirtualBox website at https://www.virtualbox.org
- Click on the “Downloads” menu and select the version appropriate for your operating system
- Start the installer and follow the on-screen instructions to complete the installation
- VMWare Player:
- Go to the VMWare Player download page at https://www.vmware.com/products/workstation-player/workstation-player-evaluation.html
- Click on the “Download Now” button to start the download
- Once the download is complete, run the installer and follow the instructions to install VMWare Player
Both Oracle VirtualBox and VMWare Player are free for personal use and offer powerful features for virtualization. Choose the software that best suits your needs and follow the respective installation instructions. Once the virtualization software is successfully installed on your computer, you are ready to move on to the next step: creating a new virtual machine.
Step 3: Creating a new virtual machine
Now that you have installed a virtualization software on your computer, it’s time to create a new virtual machine (VM) for Kali Linux. The virtual machine will provide a platform to run Kali Linux as a guest operating system within your existing host operating system. Follow these steps to create a new virtual machine:
- Launch the virtualization software you have installed, such as Oracle VirtualBox or VMWare Player.
- Click on the “New” or “Create a new virtual machine” button to start the new VM creation wizard.
- Provide a name for your virtual machine, such as “Kali Linux”. You can also choose the location where you want to store the virtual machine files.
- Next, you will be prompted to select the operating system type and version. Choose “Linux” as the operating system type, and “Debian (64-bit)” as the version, as Kali Linux is based on Debian.
- Allocate memory (RAM) to the virtual machine. It is recommended to allocate at least 2GB of RAM to ensure smooth performance.
- In the next step, choose to create a new virtual hard disk for the VM.
- Select the hard disk file type. The default option should be suitable, so you can proceed without making any changes.
- Choose whether to create a dynamically allocated or fixed size hard disk. The dynamically allocated option allows the virtual disk to grow as needed, while the fixed size allocates the full disk space at once. Dynamic allocation is recommended to conserve disk space.
- Specify the size of the virtual hard disk. A minimum of 20GB is recommended to accommodate the Kali Linux installation and any additional tools or packages you may install.
- Finally, click on the “Create” button to create the new virtual machine.
Congratulations! You have successfully created a new virtual machine for Kali Linux. However, there are still a few essential configurations that need to be done before you can start using Kali Linux on your virtual machine. In the next step, we will guide you through the process of configuring the virtual machine settings.
Step 4: Configuring the virtual machine settings
Now that you have created a new virtual machine for Kali Linux, it’s time to configure the virtual machine settings to optimize its performance and ensure a smooth running experience. Follow these steps to configure the virtual machine settings:
- First, select your newly created virtual machine from the virtualization software’s main interface.
- Click on the “Settings” or “Configuration” button to access the virtual machine’s settings.
- In the settings window, you will find various options to configure the virtual hardware components of the virtual machine.
- Start by adjusting the system settings:
- Under the “System” tab, increase the allocated base memory if you have enough available RAM on your host computer. It is recommended to allocate at least 4GB of memory to Kali Linux for optimal performance.
- Enable hardware virtualization (if available) for improved virtualization performance. This option is usually located in the “Processor” or “CPU” settings section.
- Next, configure the display settings:
- Under the “Display” tab, increase the video memory to enhance graphical performance.
- Enable the 3D acceleration option for better graphics support.
- Adjust the network settings:
- Under the “Network” tab, choose the appropriate network adapter type, such as NAT or Bridged, based on your network requirements.
- By default, the NAT adapter allows the virtual machine to share the host computer’s IP address. Bridged adapter connects the virtual machine directly to the physical network.
- Configure the storage settings:
- Under the “Storage” tab, you can add virtual storage devices or attach the downloaded Kali Linux ISO file as a virtual CD/DVD drive.
- Select “Empty” under the CD/DVD drive and click on the small disk icon to browse and select the Kali Linux ISO file you downloaded in the previous step.
- Review and adjust any additional settings according to your requirements, such as audio, USB, and shared folder settings.
- Once you have configured the virtual machine settings, save the changes and exit the settings window.
With the virtual machine settings properly configured, you are now ready to proceed with the installation of Kali Linux on the virtual machine. In the next step, we will guide you through the installation process of Kali Linux.
Step 5: Installing Kali Linux on the virtual machine
Now that you have configured the virtual machine settings, it’s time to install Kali Linux on the virtual machine. Follow these steps to install Kali Linux:
- Start the virtual machine by selecting it from the virtualization software’s main interface and clicking on the “Start” or “Power on” button.
- The virtual machine should boot up and display the Kali Linux boot menu. Use the arrow keys to select the “Graphical Install” option and press Enter to proceed.
- Next, you will be prompted to choose your language, location, and keyboard layout. Select the appropriate options and click “Continue” to proceed.
- The installer will now detect and configure various hardware components. It may take a few moments to complete this process.
- When prompted to enter a hostname for your Kali Linux system, provide a name of your choice and click “Continue”.
- The installer will ask you to set up a domain name for the Kali Linux system. If you are not part of a network domain, you can leave this field empty and click “Continue”.
- Next, you will be asked to set a password for the root account. Enter a strong and secure password, confirm it, and click “Continue”.
- Now, you will need to partition the virtual hard disk. Select the default guided partitioning option, which will automatically set up the partitions for you, and click “Continue”.
- The installer will prompt you to confirm the partition changes. Review the changes carefully, as this will erase any existing data on the virtual hard disk. If you are sure, select “Finish partitioning and write changes to disk” and click “Continue”.
- The installer will now start copying the required files and packages to the virtual machine. This process may take some time depending on your system’s resources and the speed of the virtual machine.
- Once the installation is complete, you will be prompted to install the GRUB boot loader. Choose the default option to install GRUB and click “Continue”.
- Finally, the installation process will finish, and you will be presented with a confirmation screen. Click “Continue” to reboot the virtual machine.
After the virtual machine restarts, you will have a fully installed and ready-to-use Kali Linux system running on your virtual machine. In the next step, we will guide you through the process of configuring Kali Linux to optimize its functionality.
Step 6: Configuring Kali Linux
Now that you have successfully installed Kali Linux on your virtual machine, it’s time to configure it according to your preferences and optimize its functionality. Follow these steps to configure Kali Linux:
- Log in to your Kali Linux system using the root credentials you set during the installation process.
- Once you are logged in, you may notice that the screen resolution is not optimal. To adjust the screen resolution, go to the “Devices” menu in the virtualization software and select “Insert Guest Additions CD Image.” This will mount the Guest Additions ISO file to the virtual machine.
-
Open a terminal in Kali Linux and navigate to the mounted CD drive. Run the following command to install the Guest Additions:
$ sudo sh ./VBoxLinuxAdditions.run - After the Guest Additions installation is complete, reboot the virtual machine for the changes to take effect. You should now have better screen resolution and improved integration between the virtual machine and the host system.
-
Kali Linux comes with a variety of preinstalled tools and packages for penetration testing and security auditing. However, you may want to install additional tools or update the existing ones. To update the package lists and upgrade the installed packages, open a terminal and run the following commands:
$ sudo apt update $ sudo apt upgrade -
You can also explore the Kali Linux repositories to find and install specific tools or packages. Use the “apt” package manager to search for available packages and install them as needed. For example, to install the Metasploit Framework, run the following command:
$ sudo apt install metasploit-framework -
Another important step in configuring Kali Linux is to ensure that it stays up to date with the latest security patches and updates. Use the following commands to update the package lists and upgrade the installed packages regularly:
$ sudo apt update $ sudo apt upgrade -
It’s also a good practice to set up a non-root user account for everyday tasks and avoid using the root account for regular activities. To create a new user account, use the following command:
$ sudo adduser usernameReplace “username” with your preferred username. Follow the on-screen prompts to set a password and configure the account.
- Additionally, you can customize the appearance and behavior of your Kali Linux desktop by exploring the various settings options available in the system preferences. You can configure the desktop environment, appearance, keyboard shortcuts, and much more to suit your personal workflow.
By following these steps and configuring Kali Linux, you can tailor it to your needs and optimize its performance and functionality. In the next step, we will explore how to install additional tools and packages in Kali Linux for specific cybersecurity purposes.
Step 7: Installing additional tools and packages
Kali Linux provides a vast library of tools and packages that are tailored for various cybersecurity purposes. In this step, we will explore how to install additional tools and packages in Kali Linux to expand its capabilities. Follow these steps to install additional tools and packages:
-
Before installing any tools or packages, it is essential to update the Kali Linux repositories to ensure that you have the latest software versions. Open a terminal and run the following commands:
$ sudo apt update $ sudo apt upgrade -
Once the repositories are up to date, you can use the “apt” command-line package manager to search for and install specific tools. For example, to install the popular network scanning tool Nmap, run the following command:
$ sudo apt install nmap - Alternatively, you can browse the Kali Linux Tools website (https://tools.kali.org/tools-listing) to explore the available tools and their descriptions. Take note of the tool names you are interested in installing.
-
To install a specific tool from the Kali Linux Tools website, open a terminal and run the following command, replacing “tool-name” with the actual name of the tool:
$ sudo apt install tool-name - Kali Linux also supports manual installation of tools and packages from various sources. You can download the tool’s source code or binary package and follow the provided installation instructions. Use caution when installing tools from external sources and ensure their authenticity and reliability.
-
To manage and update installed tools and packages, you can use the “apt” command-line package manager. The following commands are useful in managing software packages:
- Update the package lists:
$ sudo apt update - Upgrade installed packages:
$ sudo apt upgrade - Remove a package:
$ sudo apt remove package-name - Search for a package:
$ apt search keyword
- Update the package lists:
- It’s important to keep your installed tools and packages up to date. Regularly check for updates and apply them using the “apt” package manager. This ensures that you have the latest features, bug fixes, and security patches.
By installing additional tools and packages in Kali Linux, you can enhance its functionality and tailor it to your specific cybersecurity needs. Remember to always use these tools responsibly and for ethical purposes. With the installation and customization of Kali Linux complete, you are now equipped to delve into diverse cybersecurity tasks, including vulnerability assessments, penetration testing, and network analysis.
Conclusion
Congratulations! You have successfully created a Kali Linux virtual machine and configured it for your cybersecurity needs. Throughout this guide, we have covered the essential steps to download the Kali Linux ISO file, install a virtualization software, create a new virtual machine, configure its settings, install Kali Linux, and customize it to enhance its functionality.
By setting up a Kali Linux virtual machine, you have unlocked a powerful platform for practicing penetration testing, network analysis, and other cybersecurity tasks. Kali Linux offers an arsenal of preinstalled tools and packages, as well as the flexibility to install additional tools tailored to your specific needs.
Remember to use these tools responsibly and within the bounds of the law and ethical guidelines. It’s important to always obtain proper authorization before conducting any security assessments. Additionally, stay vigilant and keep your Kali Linux system up to date by regularly updating the installed tools and packages.
With your Kali Linux virtual machine up and running, you are ready to embark on exciting cybersecurity adventures. Whether you are a beginner or an experienced professional, the hands-on experience gained through using Kali Linux will help sharpen your skills and broaden your knowledge in the field of cybersecurity.
Now that you have a solid foundation, continue to explore the rich ecosystem of tools and resources that Kali Linux has to offer. Join online communities, participate in forums, and keep learning from experienced individuals in the field. The world of cybersecurity is constantly evolving, and there is always something new to discover.
Thank you for following this guide, and we hope that your journey with Kali Linux is filled with exciting discoveries and valuable insights into the world of cybersecurity. Happy hacking and stay safe!


