Introduction
Welcome to the step-by-step guide on how to install Hyper-V on VMware Workstation 10. Hyper-V is a virtualization technology developed by Microsoft that allows users to create and run virtual machines on their Windows servers or workstations. While Hyper-V is usually used on Windows Server editions, it is also possible to install and run it on VMware Workstation 10, which is a popular software for creating and managing virtual machines. By installing Hyper-V on VMware Workstation 10, users can take advantage of the powerful features and capabilities of both platforms.
With Hyper-V and VMware Workstation 10, users can create and manage multiple virtual machines, run different operating systems simultaneously, and perform various tasks such as software development, testing, and server virtualization. This combination provides flexibility, scalability, and ease of use for individuals or organizations looking to leverage the benefits of virtualization.
This guide will walk you through the step-by-step process of installing Hyper-V on VMware Workstation 10. We will cover the necessary prerequisites, downloading and installing VMware Workstation 10, obtaining the Hyper-V VHD file, creating a new virtual machine, installing Windows Server on the virtual machine, configuring the virtual machine’s hardware settings, enabling Hyper-V, and verifying the successful installation.
Before we begin, it’s important to note that while we will provide detailed instructions, it is essential to have a basic understanding of virtualization concepts and familiarity with VMware Workstation 10. Now, let’s get started on the journey to install Hyper-V on VMware Workstation 10 and unlock the potential of virtualization on your machine.
Prerequisites
Before we dive into the installation process, there are a few prerequisites that need to be met in order to successfully install Hyper-V on VMware Workstation 10. Ensure that you have the following:
- VMware Workstation 10: Make sure you have VMware Workstation 10 installed on your computer. You can download it from the official VMware website and follow the installation instructions.
- Windows Server Image: You will need a Windows Server installation image. The Hyper-V VHD file that we will be using requires a compatible Windows Server image. You can obtain a Windows Server image from Microsoft or other authorized sources.
- Sufficient System Resources: Hyper-V requires a significant amount of system resources to operate efficiently. Make sure your computer meets the minimum requirements for running virtual machines, including sufficient RAM, CPU capacity, and available disk space.
In addition to these prerequisites, it is important to have a basic understanding of virtualization concepts and how VMware Workstation 10 operates. Familiarize yourself with the features and functionalities of VMware Workstation 10 to ensure a smooth installation process.
It is recommended to have a stable and reliable internet connection to download the necessary software and updates during the installation process. Additionally, ensure that you have administrative privileges on your computer as some steps might require elevated permissions.
With all these prerequisites in place, you are now ready to proceed with the installation of Hyper-V on VMware Workstation 10. In the next section, we will guide you through the process of downloading and installing VMware Workstation 10.
Step 1: Downloading and Installing VMware Workstation 10
The first step in installing Hyper-V on VMware Workstation 10 is to download and install the VMware Workstation 10 software on your computer. Follow these steps:
- Download VMware Workstation 10: Visit the official VMware website and navigate to the downloads section. Look for the VMware Workstation 10 software and click on the download link.
- Choose the Installer: Depending on your operating system, select the appropriate installer for your machine. VMware Workstation 10 is available for Windows and Linux.
- Run the Installer: Once the installer is downloaded, double-click on it to run the installation wizard. Follow the on-screen instructions to proceed with the installation.
- Accept the License Agreement: During the installation process, you will be prompted to accept the VMware Workstation 10 license agreement. Read through the agreement and click on the “Accept” button to continue.
- Choose Installation Options: Next, you will be presented with options for the installation. You can choose the default settings or customize them according to your preferences. Click on the “Next” button to proceed.
- Choose License Key: If you have a license key for VMware Workstation 10, enter it in the provided field. Otherwise, select the option to use the software in trial mode. Click on the “Next” button to continue.
- Specify Destination Folder: Choose the destination folder where you want to install VMware Workstation 10. You can either go with the default location or select a different folder. Click on the “Next” button to proceed.
- Ready to Install: Review the installation summary and ensure that all the settings are correct. Click on the “Install” button to start the installation process.
- Wait for Installation: The installation process may take a few minutes to complete. Please wait until the process finishes.
- Installation Complete: Once the installation is finished, you will be notified that VMware Workstation 10 has been installed successfully. Click on the “Finish” button to close the installer.
Congratulations! You have successfully downloaded and installed VMware Workstation 10 on your computer. In the next step, we will guide you through the process of downloading the Hyper-V VHD file required for the installation of Hyper-V on VMware Workstation 10.
Step 2: Downloading the Hyper-V VHD file
Now that you have VMware Workstation 10 installed on your computer, the next step is to download the Hyper-V VHD file. This VHD file contains the necessary files and configurations to enable Hyper-V on VMware Workstation 10. Follow these steps:
- Obtain the Hyper-V VHD file: Search for the Hyper-V VHD file online or obtain it from a trusted source. The file is typically available for download in the form of a compressed archive.
- Download the VHD file: Click on the download link or button to start downloading the Hyper-V VHD file. Depending on the file size and your internet connection speed, the download may take some time.
- Extract the VHD file: Once the download is complete, locate the downloaded file on your computer and extract its contents using a compression tool (e.g., WinRAR, 7-Zip). Right-click on the file and select the “Extract” option or use the extraction tool’s interface to extract the files.
- Verify the extracted files: After extraction, you should see several files and folders related to the Hyper-V VHD file. Look for the VHD file, which will have a .vhd or .vhdx extension.
Downloading the Hyper-V VHD file is an essential step in installing Hyper-V on VMware Workstation 10. This VHD file contains the necessary components to enable and configure Hyper-V on VMware Workstation 10. In the next step, we will guide you through the process of creating a new virtual machine for Hyper-V.
Step 3: Creating a New Virtual Machine
With the Hyper-V VHD file downloaded and extracted, it’s time to create a new virtual machine in VMware Workstation 10. This virtual machine will serve as the platform to install and run Hyper-V. Follow these steps to create a new virtual machine:
- Launch VMware Workstation 10: Open VMware Workstation 10 on your computer. You can find the application in your programs or applications folder.
- Create a New Virtual Machine: In the main interface of VMware Workstation 10, click on the “Create a New Virtual Machine” option. This will open the New Virtual Machine wizard.
- Choose Installation Method: In the New Virtual Machine wizard, select the “Typical (recommended)” option and click on the “Next” button. This will allow you to create a virtual machine using the default settings.
- Select the Guest Operating System: Choose the guest operating system that matches the Windows Server version you have. If the exact version is not available, select the closest match. Click on the “Next” button.
- Specify the Virtual Machine Name: Enter a name for your virtual machine. This can be any name that helps you identify the purpose or configuration of the virtual machine.
- Specify the Location: Choose a location on your computer where you want to store the virtual machine files. It is recommended to choose a location with sufficient disk space.
- Specify the Disk Capacity: Select the disk capacity for the virtual machine. This will determine the maximum amount of storage available to the virtual machine.
- Ready to Create Virtual Machine: Review the summary of the virtual machine’s configuration and click on the “Finish” button. The new virtual machine will be created based on the specified settings.
Creating a new virtual machine is a crucial step in implementing Hyper-V on VMware Workstation 10. This virtual machine will serve as the platform for installing and running the Hyper-V software. In the next step, we will guide you through the process of installing Windows Server on the newly created virtual machine.
Step 4: Installing Windows Server on the Virtual Machine
Now that you have created a new virtual machine, the next step is to install Windows Server on it. Windows Server is the operating system required for running Hyper-V. Follow these steps to install Windows Server on the virtual machine:
- Power on the Virtual Machine: In VMware Workstation 10, select the newly created virtual machine and click on the “Power on this Virtual Machine” option. This will start the virtual machine.
- Insert the Windows Server Installation Media: If you have a physical installation disc, insert it into your computer’s CD/DVD drive. Alternatively, if you have an ISO file, go to the “CD/DVD” section of the virtual machine settings and mount the ISO file as the installation media.
- Boot from the Installation Media: Restart the virtual machine and make sure it is set to boot from the Windows Server installation media. You can adjust the boot order in the virtual machine’s BIOS settings.
- Follow the Installation Process: The Windows Server installation process will begin. Follow the on-screen instructions to select the language, accept the license terms, and choose the installation type (typically, a full installation is recommended).
- Specify Installation Options: Select the virtual hard disk that was created for the virtual machine during the previous step. This will be where the Windows Server installation will be performed. Click “Next” to continue.
- Set Administrator Password: Enter a strong password for the Administrator account. This password will be required to log in to the Windows Server operating system. Click “Next” to proceed.
- Customize Settings (Optional): If desired, you can customize additional settings such as timezone, network configuration, and server roles/features during the installation process. Otherwise, you can leave the default settings as they are.
- Wait for Installation: The installation process may take some time. The virtual machine will restart several times during the process. Be patient and allow the installation to complete.
- Complete the Installation: Once the installation is finished, the virtual machine will restart. At this point, the Windows Server operating system will be installed on the virtual machine.
Congratulations! You have successfully installed Windows Server on the virtual machine. In the next step, we will guide you through the process of configuring the virtual machine’s hardware settings for Hyper-V.
Step 5: Configuring the Virtual Machine’s Hardware
With Windows Server installed on the virtual machine, the next step is to configure the hardware settings of the virtual machine to ensure optimal performance for Hyper-V. Follow these steps to configure the virtual machine’s hardware:
- Power on the Virtual Machine: In VMware Workstation 10, select the virtual machine and click on the “Power on this Virtual Machine” option. This will start the virtual machine.
- Access the Virtual Machine’s Settings: Once the virtual machine is powered on, go to the “VM” menu in VMware Workstation 10 and select “Settings”.
- Configure CPU and Memory: In the virtual machine’s settings, adjust the CPU and memory allocation based on your system’s resources and the requirements of the workload you plan to run on Hyper-V. Increase the CPU cores and memory if needed.
- Configure Network Adapter: In the virtual machine’s settings, navigate to the “Network Adapter” section. Ensure that the network adapter is connected and set to the appropriate network mode (e.g., bridged, NAT).
- Adjust Display Settings: In the virtual machine’s settings, go to the “Display” section. Configure the display settings, including screen resolution and graphics memory allocation, according to your preferences.
- Add Virtual Hard Disk: If necessary, you can add additional virtual hard disks to the virtual machine to increase storage capacity. In the virtual machine’s settings, go to the “Hardware” tab and click on “Add” to add a new hard disk.
- Configure Other Hardware: Depending on your requirements, you can configure other hardware settings such as USB controllers, sound devices, and CD/DVD drives in the virtual machine’s settings.
- Review and Save Settings: Once you have made the necessary hardware configuration changes, review the settings and ensure they align with your desired setup. Click on “OK” to apply the changes and save the settings.
- Restart the Virtual Machine (if prompted): If any hardware changes require a restart of the virtual machine, follow the prompts to restart it.
Configuring the virtual machine’s hardware settings is essential to ensure that Hyper-V can operate efficiently and take advantage of the available resources. In the next step, we will guide you through the process of enabling Hyper-V on the virtual machine.
Step 6: Enabling Hyper-V on the Virtual Machine
With the virtual machine’s hardware settings configured, the next step is to enable Hyper-V on the virtual machine. Enabling Hyper-V will allow you to utilize the virtualization capabilities of Windows Server within VMware Workstation 10. Follow these steps to enable Hyper-V on the virtual machine:
- Power on the Virtual Machine: In VMware Workstation 10, select the virtual machine and click on the “Power on this Virtual Machine” option. This will start the virtual machine.
- Log in to Windows Server: Once the virtual machine is powered on, enter the credentials to log in to the Windows Server operating system.
- Open Server Manager: In the Windows Server desktop, click on the “Start” button and search for “Server Manager”. Open Server Manager from the search results.
- Add Roles and Features: In Server Manager, click on the “Manage” menu and select “Add Roles and Features”. This will open the Add Roles and Features Wizard.
- Click Next: In the Add Roles and Features Wizard, click “Next” to proceed with the installation.
- Select the Installation Type: Choose the “Role-based or feature-based installation” option and click “Next”.
- Select the Server: Choose the local server on which you want to enable Hyper-V and click “Next”.
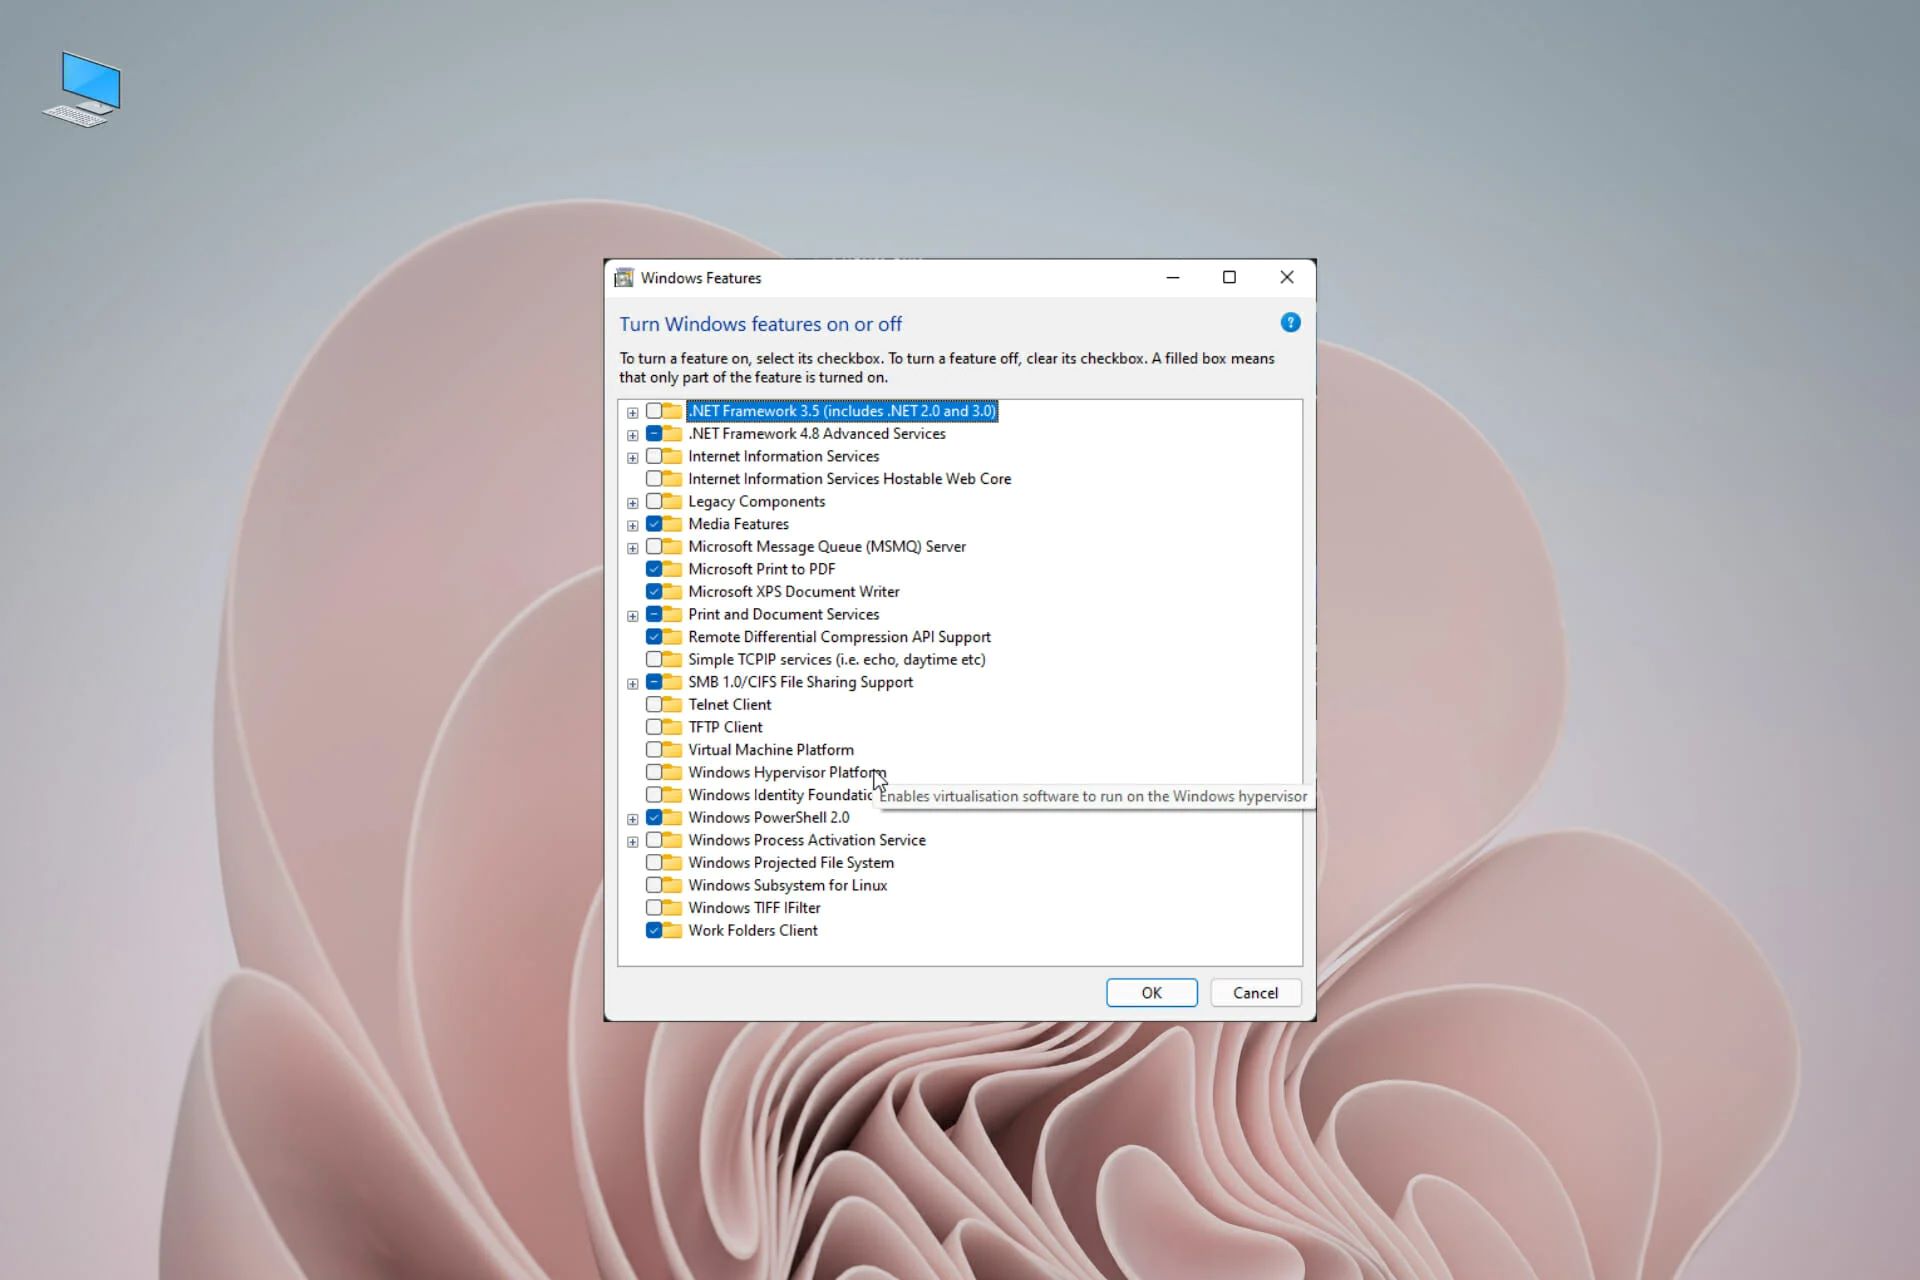
- Select the Role: In the Features selection, scroll down and check the box next to “Hyper-V”. A pop-up window may appear asking you to add additional features required for Hyper-V. Click on “Add Features” and then click “Next”.
- Configure Hyper-V Settings: In the Hyper-V configuration settings, you can choose to customize the storage and network configurations of the virtual switch. Make the desired changes or leave the default settings as they are.
- Review and Confirm: Review the summary of the selected features, and click “Install” to start the installation process.
- Wait for Installation: The installation process may take some time. The virtual machine may restart during the installation. Allow the installation to complete.
- Complete the Installation: Once the installation is finished, you will be notified that Hyper-V has been installed successfully. Click “Close” to close the wizard.
Congratulations! You have successfully enabled Hyper-V on the virtual machine. In the next step, we will guide you through the process of verifying the Hyper-V installation to ensure everything is functioning as expected.
Step 7: Verifying Hyper-V Installation
After enabling Hyper-V on the virtual machine, it is essential to verify the installation to ensure that the virtualization technology is functioning correctly. Follow these steps to verify the Hyper-V installation:
- Power on the Virtual Machine: In VMware Workstation 10, select the virtual machine and click on the “Power on this Virtual Machine” option to start the virtual machine.
- Log in to Windows Server: Once the virtual machine is powered on, enter the credentials to log in to the Windows Server operating system.
- Open Hyper-V Manager: Click on the “Start” button and search for “Hyper-V Manager”. Open Hyper-V Manager from the search results.
- Connect to Local Server: In the Hyper-V Manager, click on the “Connect to Server” option in the right-hand pane. Select “Local Computer” and click “OK” to connect.
- Verify Hyper-V Manager: Once connected, the Hyper-V Manager should display the virtual machine and its associated settings. This confirms that the Hyper-V installation is successful.
- Create a Virtual Machine (Optional): If desired, you can create a new virtual machine using the Hyper-V Manager to further test the functionality of Hyper-V. This will help ensure that you can run and manage virtual machines within the Hyper-V environment.
- Verify Virtual Machine Operations: Once a virtual machine is created, you can power it on, allocate resources, and perform other management tasks to ensure that the virtual machine operates as expected.
- Verify Network Connectivity: Test the network connectivity within the virtual machine to ensure that it can access the network and communicate with other resources.
- Verify Resource Usage: Monitor the resource usage of the virtual machine to ensure that Hyper-V is efficiently managing the allocation of CPU, memory, and disk resources.
By exploring and testing the functionality of Hyper-V, you can verify the successful installation and operation of the virtualization technology on the virtual machine within VMware Workstation 10. Congratulations! You have now completed the process of installing and verifying Hyper-V on VMware Workstation 10.
Conclusion
Installing Hyper-V on VMware Workstation 10 allows you to harness the power of virtualization on your computer. Throughout this guide, we have covered the step-by-step process of installing Hyper-V on VMware Workstation 10, starting from downloading and installing VMware Workstation 10 to verifying the successful installation of Hyper-V.
By following the outlined steps, you have now set up a virtual environment that enables you to create and manage virtual machines, run different operating systems simultaneously, and perform a wide range of tasks, such as software development, testing, and server virtualization.
Remember to ensure that you meet the prerequisites, have a basic understanding of virtualization concepts, and familiarize yourself with the features and functionalities of VMware Workstation 10 before starting the installation process. This will help you navigate the process smoothly and make the most out of Hyper-V and VMware Workstation 10.
With Hyper-V and VMware Workstation 10, you can create a flexible, scalable, and efficient virtualization environment that suits your needs. Take advantage of the powerful features provided by both platforms to increase productivity, improve resource utilization, and simplify management processes.
As you continue to explore and work with Hyper-V and VMware Workstation 10, you will discover the countless possibilities and benefits that virtualization can bring to your work or personal projects. Enjoy the enhanced flexibility, seamless integration, and expanded capabilities that Hyper-V on VMware Workstation 10 offers.
Thank you for following along with this guide, and we hope it has provided you with the knowledge and confidence to successfully install Hyper-V on VMware Workstation 10. Happy virtualizing!


