Introduction
Have you ever wondered how you can run multiple operating systems on a single computer without the need for additional hardware? The answer lies in the fascinating world of virtualization and virtual machines. In this article, we will explore the concept of virtual machines and guide you through the process of creating your very own virtual machine.
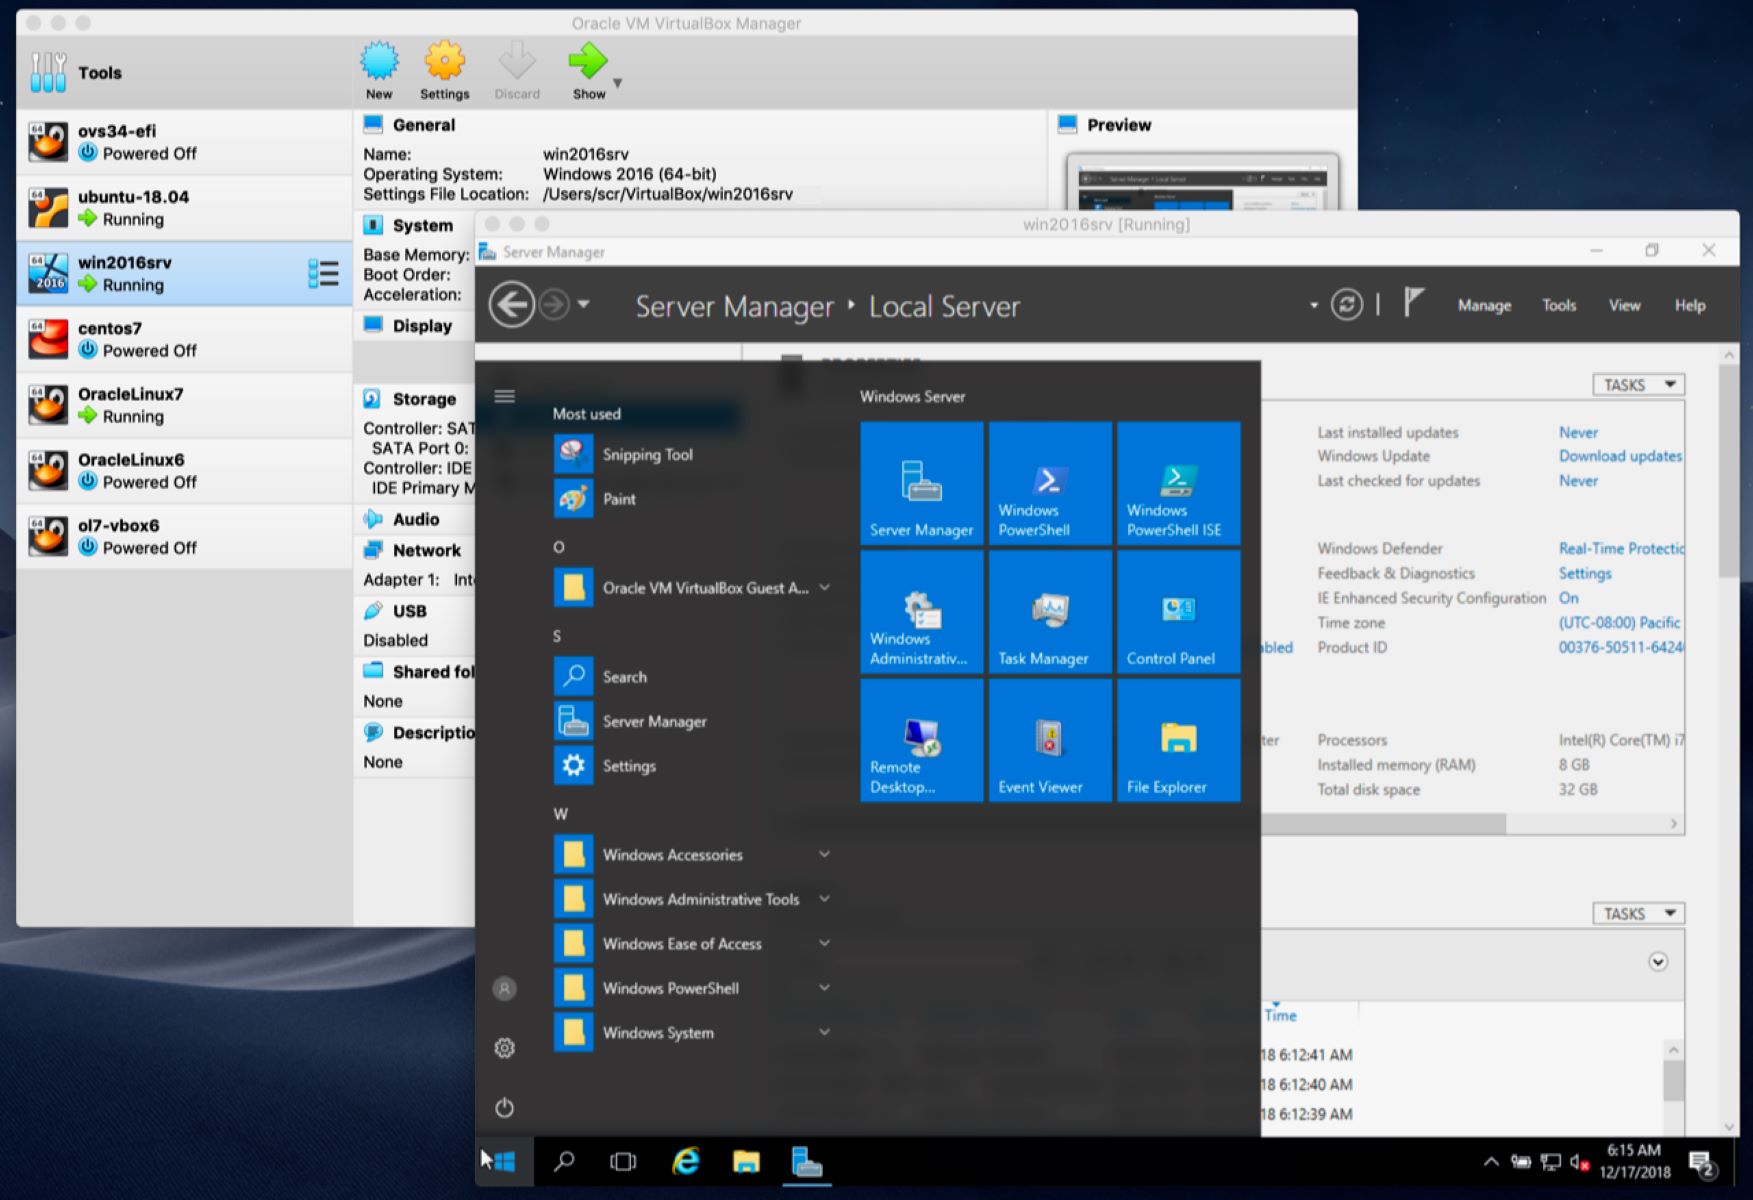
A virtual machine (VM) is a software emulation of a physical computer, allowing you to run multiple operating systems simultaneously on a single machine. It provides an isolated environment with its own virtual hardware, including CPU, memory, storage, and network interfaces. Virtual machines offer a wide range of benefits, from testing new software in a safe environment to running legacy applications that are not compatible with your current operating system.
Whether you’re a software developer, IT professional, or simply an enthusiastic computer user, virtual machines can be a valuable tool in your arsenal. With a virtual machine, you can experiment with different operating systems, set up a test environment for software development, or even create a virtualized network infrastructure.
Creating a virtual machine may sound complex, but with the right tools and step-by-step guidance, it can be a straightforward process. Before we delve into the technical details, let’s take a look at the system requirements and the virtualization software options available.
What is a virtual machine?
A virtual machine (VM) is a software emulation of a physical computer system that allows you to run multiple operating systems simultaneously on a single physical machine. It provides an isolated environment with its own virtual hardware, including CPU, memory, storage, and network interfaces.
Think of a virtual machine as a self-contained computer within your computer. It behaves just like a physical computer, but it runs on software instead of dedicated hardware. This software, known as a hypervisor, manages and controls the virtual machines, allocating resources and facilitating communication between the host operating system and the virtual machines.
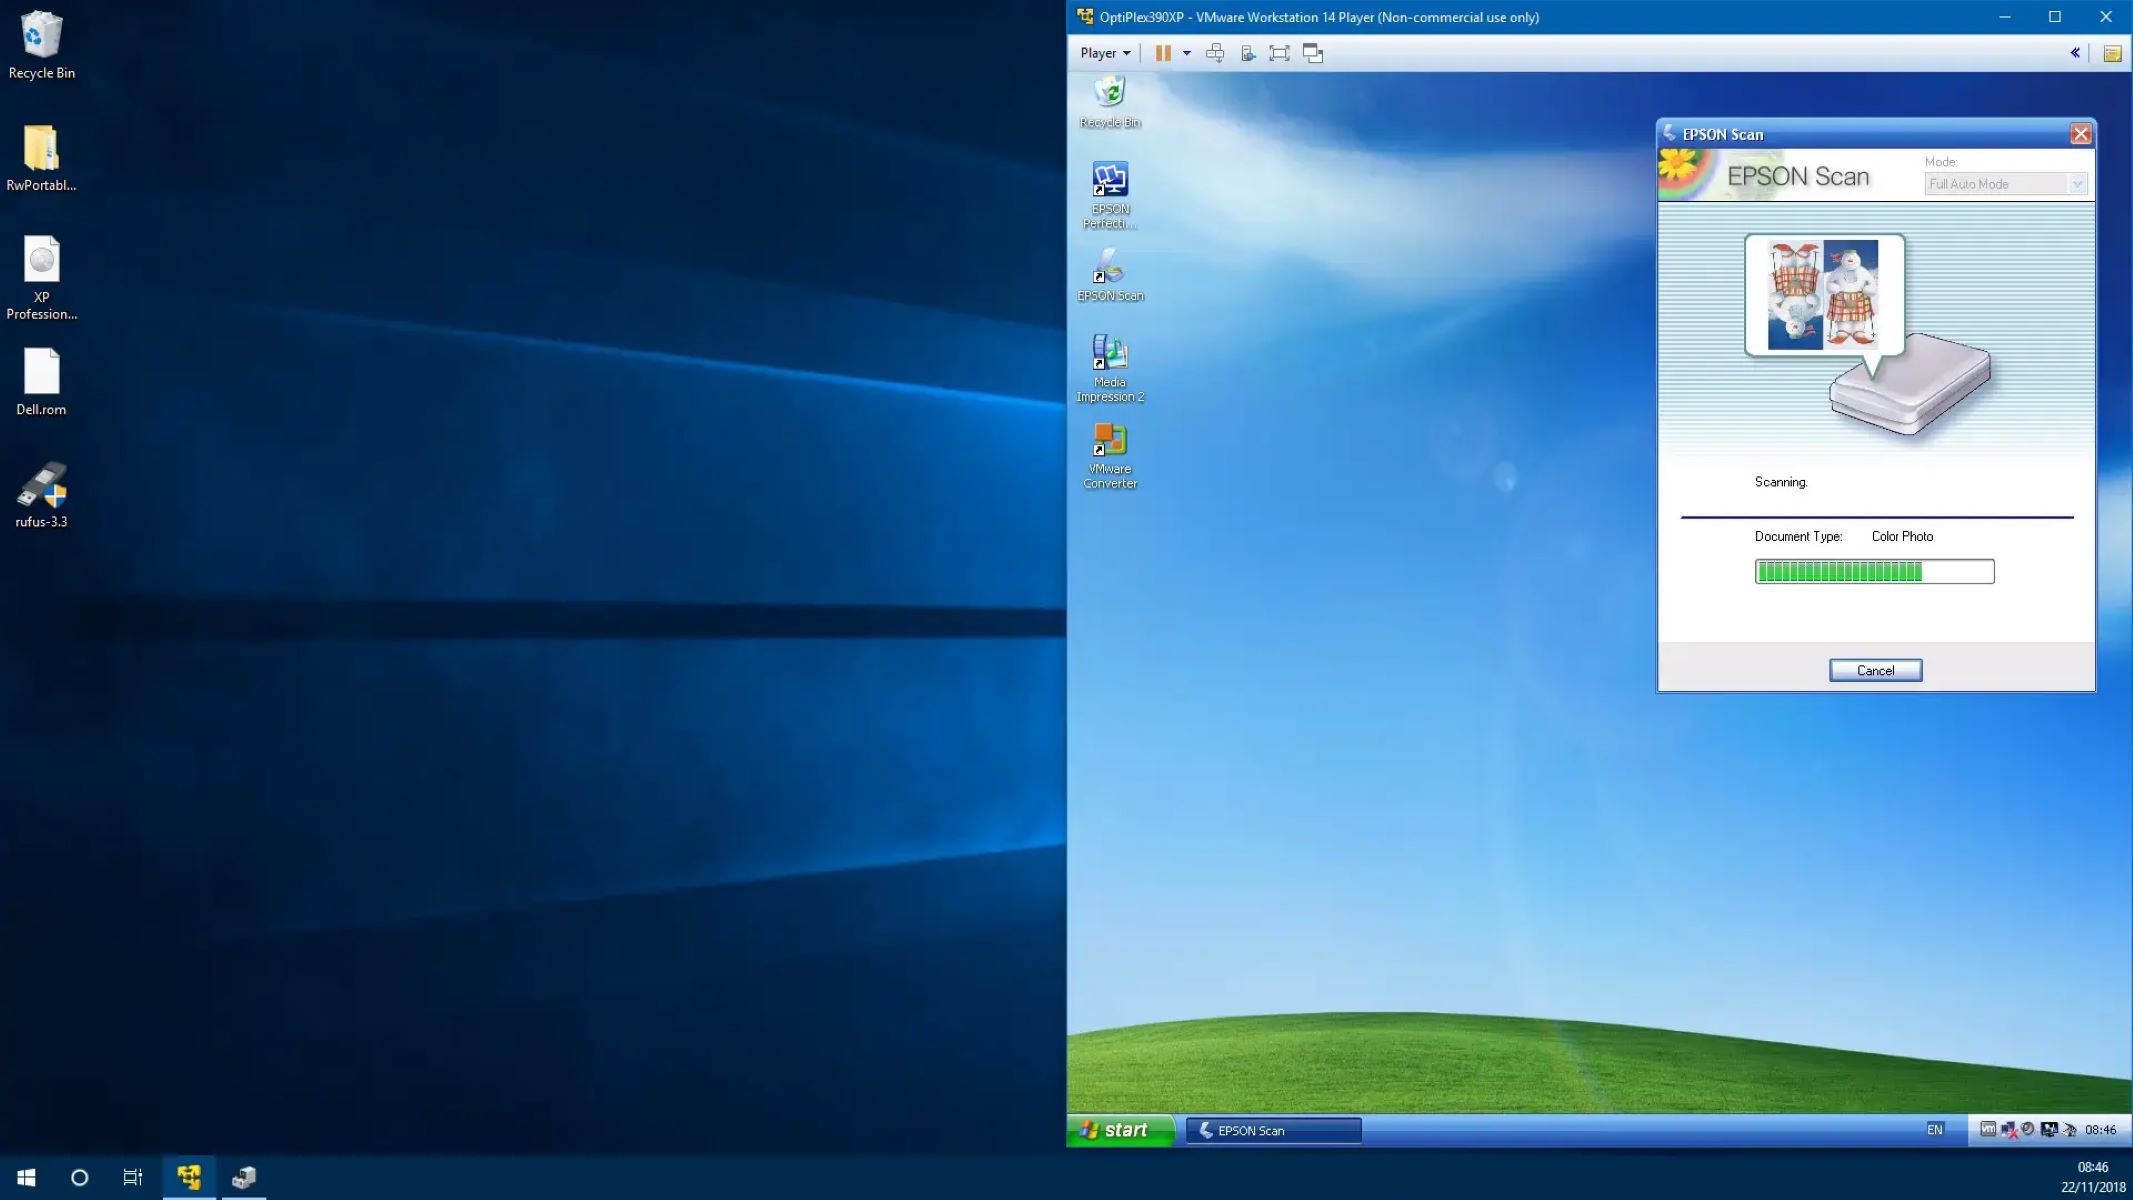
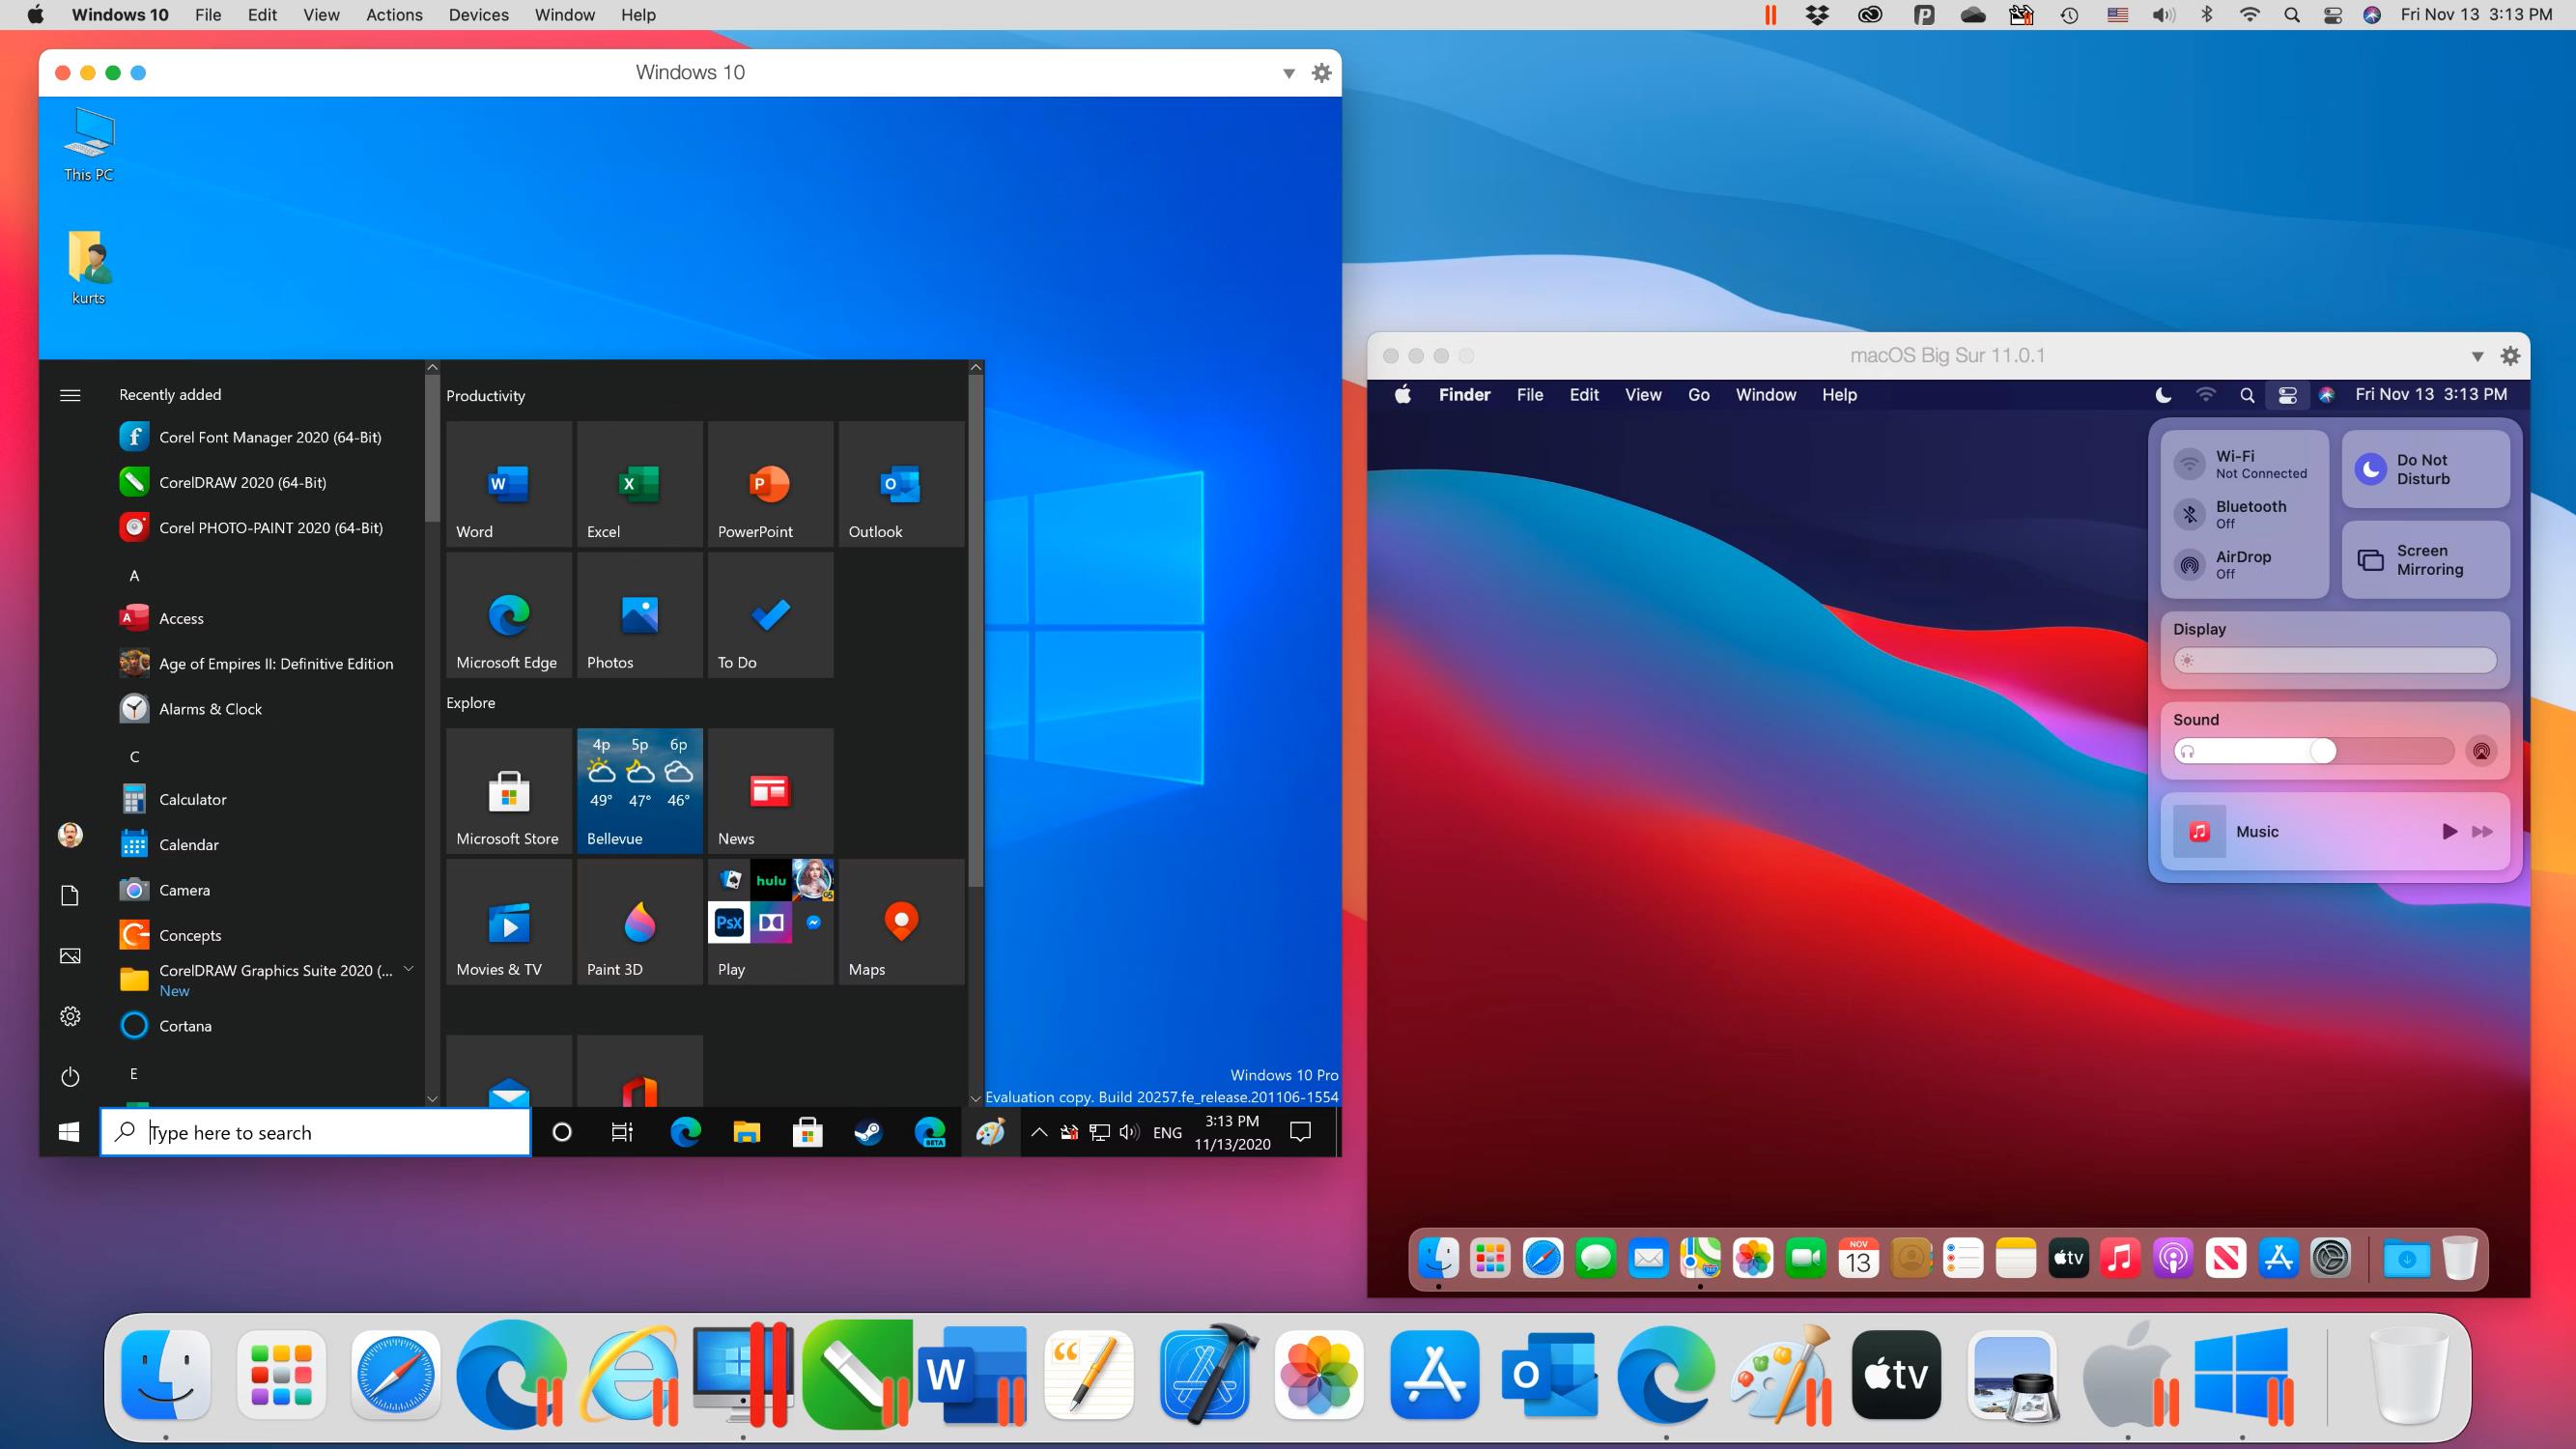
By creating virtual machines, you can have different operating systems coexist on the same physical machine without conflicts. Each virtual machine operates independently and is fully functional, with its own virtual processor, RAM, storage, and network adapters. This means you can run Windows on a Mac, Linux on a Windows machine, or even multiple instances of the same operating system with different configurations.
Virtual machines are particularly useful for several scenarios. They enable you to test new software or applications without impacting your primary operating system. You can create a virtual sandbox environment to experiment with different configurations or settings, ensuring that any potential issues are isolated to the virtual machine.
Furthermore, virtual machines are an essential tool for software developers. They provide a reproducible and consistent environment for testing applications across different operating systems and hardware configurations. Developers can easily switch between virtual machines to test their software’s compatibility or troubleshoot any cross-platform issues.
In addition to software development, virtual machines are widely used in the IT industry for server consolidation and virtualized environments. By running multiple virtual machines on a single server, organizations can optimize their hardware utilization, reduce costs, and simplify management.
Now that we have a clear understanding of what a virtual machine is, let’s explore the system requirements and the virtualization software options you can use to create your own virtual machine.
Why use virtual machines?
Virtual machines offer a myriad of advantages that make them an indispensable tool in various industries and for a wide range of purposes.
One of the main advantages of virtual machines is their ability to consolidate multiple physical servers into a single machine. By running multiple virtual machines on a single server, organizations can maximize their hardware utilization and reduce costs associated with power consumption, cooling, and physical space requirements. This approach, known as server virtualization, simplifies infrastructure management and enables scalability without the need for additional physical servers.
Another key benefit of virtual machines is their ability to isolate and segregate different environments. With virtualization, you can have separate virtual machines for development, testing, production, and disaster recovery purposes. This isolation ensures that any issues or changes in one virtual machine do not affect others, providing a safe and stable environment to carry out specific tasks.
Virtual machines also offer increased flexibility and portability. You can easily migrate virtual machines across different physical hosts without significant downtime or disruptions. This mobility allows for efficient resource allocation, increased availability, and simplified maintenance operations.
Furthermore, virtual machines enable you to run multiple operating systems on a single computer. This means you can simultaneously use applications and software that are only compatible with specific operating systems without the need for separate physical machines. For example, you can run Windows, macOS, and Linux on the same computer, making it easier to switch between different environments and leverage the strengths of each operating system.
Virtual machines also provide a safe and controlled environment for testing and experimentation. You can create snapshots of virtual machines before making any changes and easily revert back in case something goes wrong. This capability is particularly valuable for software developers and system administrators who need to test new configurations, updates, or patches without risking the stability of the production environment.
Lastly, virtual machines contribute to a greener and more sustainable IT infrastructure. By consolidating physical servers and optimizing resource utilization, organizations can significantly reduce energy consumption and their carbon footprint. This not only helps the environment but also leads to cost savings in the long run.
Overall, virtual machines offer numerous benefits, including efficient resource utilization, isolation and segregation of environments, flexibility and portability, multi-OS compatibility, safe testing and experimentation, and environmental sustainability. Now that we understand why virtual machines are valuable, let’s explore the system requirements needed to create a virtual machine.
System requirements for creating a virtual machine
Before you can create a virtual machine, it’s essential to ensure that your computer meets the necessary system requirements. The requirements may vary depending on the virtualization software you choose, but here are some general guidelines to consider.
CPU: A modern processor with hardware virtualization support is recommended. Most processors manufactured in the past several years, such as Intel’s VT-x or AMD’s AMD-V, have this capability. Enabling hardware virtualization in the computer’s BIOS settings may be necessary.
Memory (RAM): The amount of memory you allocate to the virtual machine will depend on the operating systems and applications you plan to run. As a general rule of thumb, allocate at least 4GB of RAM to each virtual machine for smooth performance. However, more memory may be required for resource-intensive tasks such as running multiple virtual machines simultaneously or running memory-intensive applications.
Storage: Sufficient storage space is necessary to accommodate the virtual machine and its virtual hard disk. The recommended size varies depending on the operating system and applications you intend to use within the virtual machine. Allocating at least 20GB of space for the virtual hard disk is a good starting point, but you may need more if you plan to install additional software or store large amounts of data within the virtual machine.
Operating System: Ensure that the host operating system is compatible with the virtualization software you plan to use. Most commonly used virtualization software supports Windows, macOS, and various Linux distributions.
Virtualization Software: Choose a reliable virtualization software that suits your requirements. Some popular options include VMware Workstation, VirtualBox, and Hyper-V. Check the system requirements of the chosen virtualization software to ensure compatibility with your computer’s hardware and operating system.
Internet Connection: While not mandatory, having an internet connection is beneficial for downloading and installing the virtualization software, as well as for downloading virtual machine images, updates, and additional software within the virtual machine.
Remember that these are general guidelines, and the specific requirements may vary depending on factors such as the complexity of the virtual machine, the number of virtual machines you plan to run simultaneously, and the resource demands of the operating systems and software you want to use within the virtual machine.
Now that you have an understanding of the system requirements for creating a virtual machine, let’s move on to selecting the virtualization software that best suits your needs.
Choosing a virtualization software
When it comes to creating virtual machines, selecting the right virtualization software is crucial. There are several options available, each with its own set of features and capabilities. Consider the following factors to help you choose the virtualization software that best suits your needs.
1. Purpose: Determine the primary purpose of your virtual machine. Are you using it for personal use, software development, or enterprise-level deployment? Different virtualization software offers varying levels of features and functionalities to accommodate different use cases.
2. Compatibility: Ensure that the virtualization software you choose is compatible with your computer’s hardware and operating system. Check the system requirements of the software and verify if your computer meets the necessary specifications.
3. Ease of use: Consider the user interface and ease of use of the virtualization software. Look for software that offers an intuitive interface with user-friendly controls and features. This will make the process of creating and managing virtual machines more efficient and enjoyable.
4. Operating system support: Verify that the virtualization software supports the operating systems you plan to run within the virtual machine. Some software may have limitations or compatibility issues with certain operating systems, so it’s important to ensure that your desired operating system is officially supported.
5. Performance: Evaluate the performance capabilities of the virtualization software. Look for software that offers efficient resource allocation, optimized virtualization technology, and minimal overhead. This will ensure that the virtual machines run smoothly and without noticeable lag or performance issues.
6. Advanced features: Consider any specific advanced features or functionalities that you require. This could include features like snapshotting, cloning, virtual networking, USB device support, or integration with cloud services. Assess if the virtualization software provides the necessary tools and features to meet your specific needs.
7. Community and support: Research the virtualization software’s community and support resources. Look for active user communities, forums, and online documentation that can provide assistance and troubleshooting tips. Additionally, check if the software has a reputable support team that can provide timely help in case of any issues or concerns.
8. Licensing and cost: Lastly, consider the licensing and cost associated with the virtualization software. Some software offers free and open-source options, while others require a paid license. Evaluate your budget and determine the best option that meets your needs without breaking the bank.
By carefully considering these factors, you can select the virtualization software that aligns with your specific requirements and provides the necessary tools and features to create, manage, and run virtual machines efficiently.
Now that we have explored the considerations for choosing virtualization software, let’s move on to the step-by-step process of creating a virtual machine.
Step 1: Download and install the virtualization software
The first step in creating a virtual machine is to download and install the virtualization software of your choice. The virtualization software serves as the platform that will enable you to create, run, and manage virtual machines. Here’s a step-by-step guide to help you through this process.
1. Research and choose the virtualization software: Consider the factors discussed earlier, such as purpose, compatibility, ease of use, and features, to make an informed decision about which virtualization software to use. Popular choices include VMware Workstation, VirtualBox, and Hyper-V.
2. Go to the official website: Visit the official website of the chosen virtualization software. Look for the section or page that provides software downloads.
3. Select the appropriate version: Choose the version of the virtualization software that corresponds to your operating system. Most virtualization software supports Windows, macOS, and various Linux distributions.
4. Download the installer: Click on the download link for the selected software version. This will initiate the download of the installer file onto your computer.
5. Run the installer: Locate the downloaded installer file and double-click on it to run the installation process. The installer will guide you through the necessary steps.
6. Accept the terms and conditions: Read and review the software’s license agreement and terms of use. If you agree, accept the terms to proceed with the installation.
7. Customize installation settings: In some cases, you may have the option to customize the installation settings. This may include choosing the installation directory or selecting additional components to install. Configure these settings according to your preferences.
8. Start the installation: Click the “Install” or “Next” button to start the installation process. This may take a few minutes to complete, depending on your computer’s performance and the virtualization software you are installing.
9. Complete the installation: Once the installation is finished, you may be prompted to restart your computer. Follow the instructions provided by the virtualization software installer.
10. Verify the installation: After the installation and any required system restarts, verify that the virtualization software is successfully installed. Look for the software’s icon in your system tray or application menu.
Now that you have the virtualization software installed on your computer, you are ready to move on to the next steps in creating your virtual machine. In the next section, we will cover the process of creating a new virtual machine.
Step 2: Create a new virtual machine
Once you have installed the virtualization software, the next step in creating a virtual machine is to actually create a new virtual machine. This involves setting up the basic configuration and defining the specifications for your virtual machine. Follow these steps to create a new virtual machine:
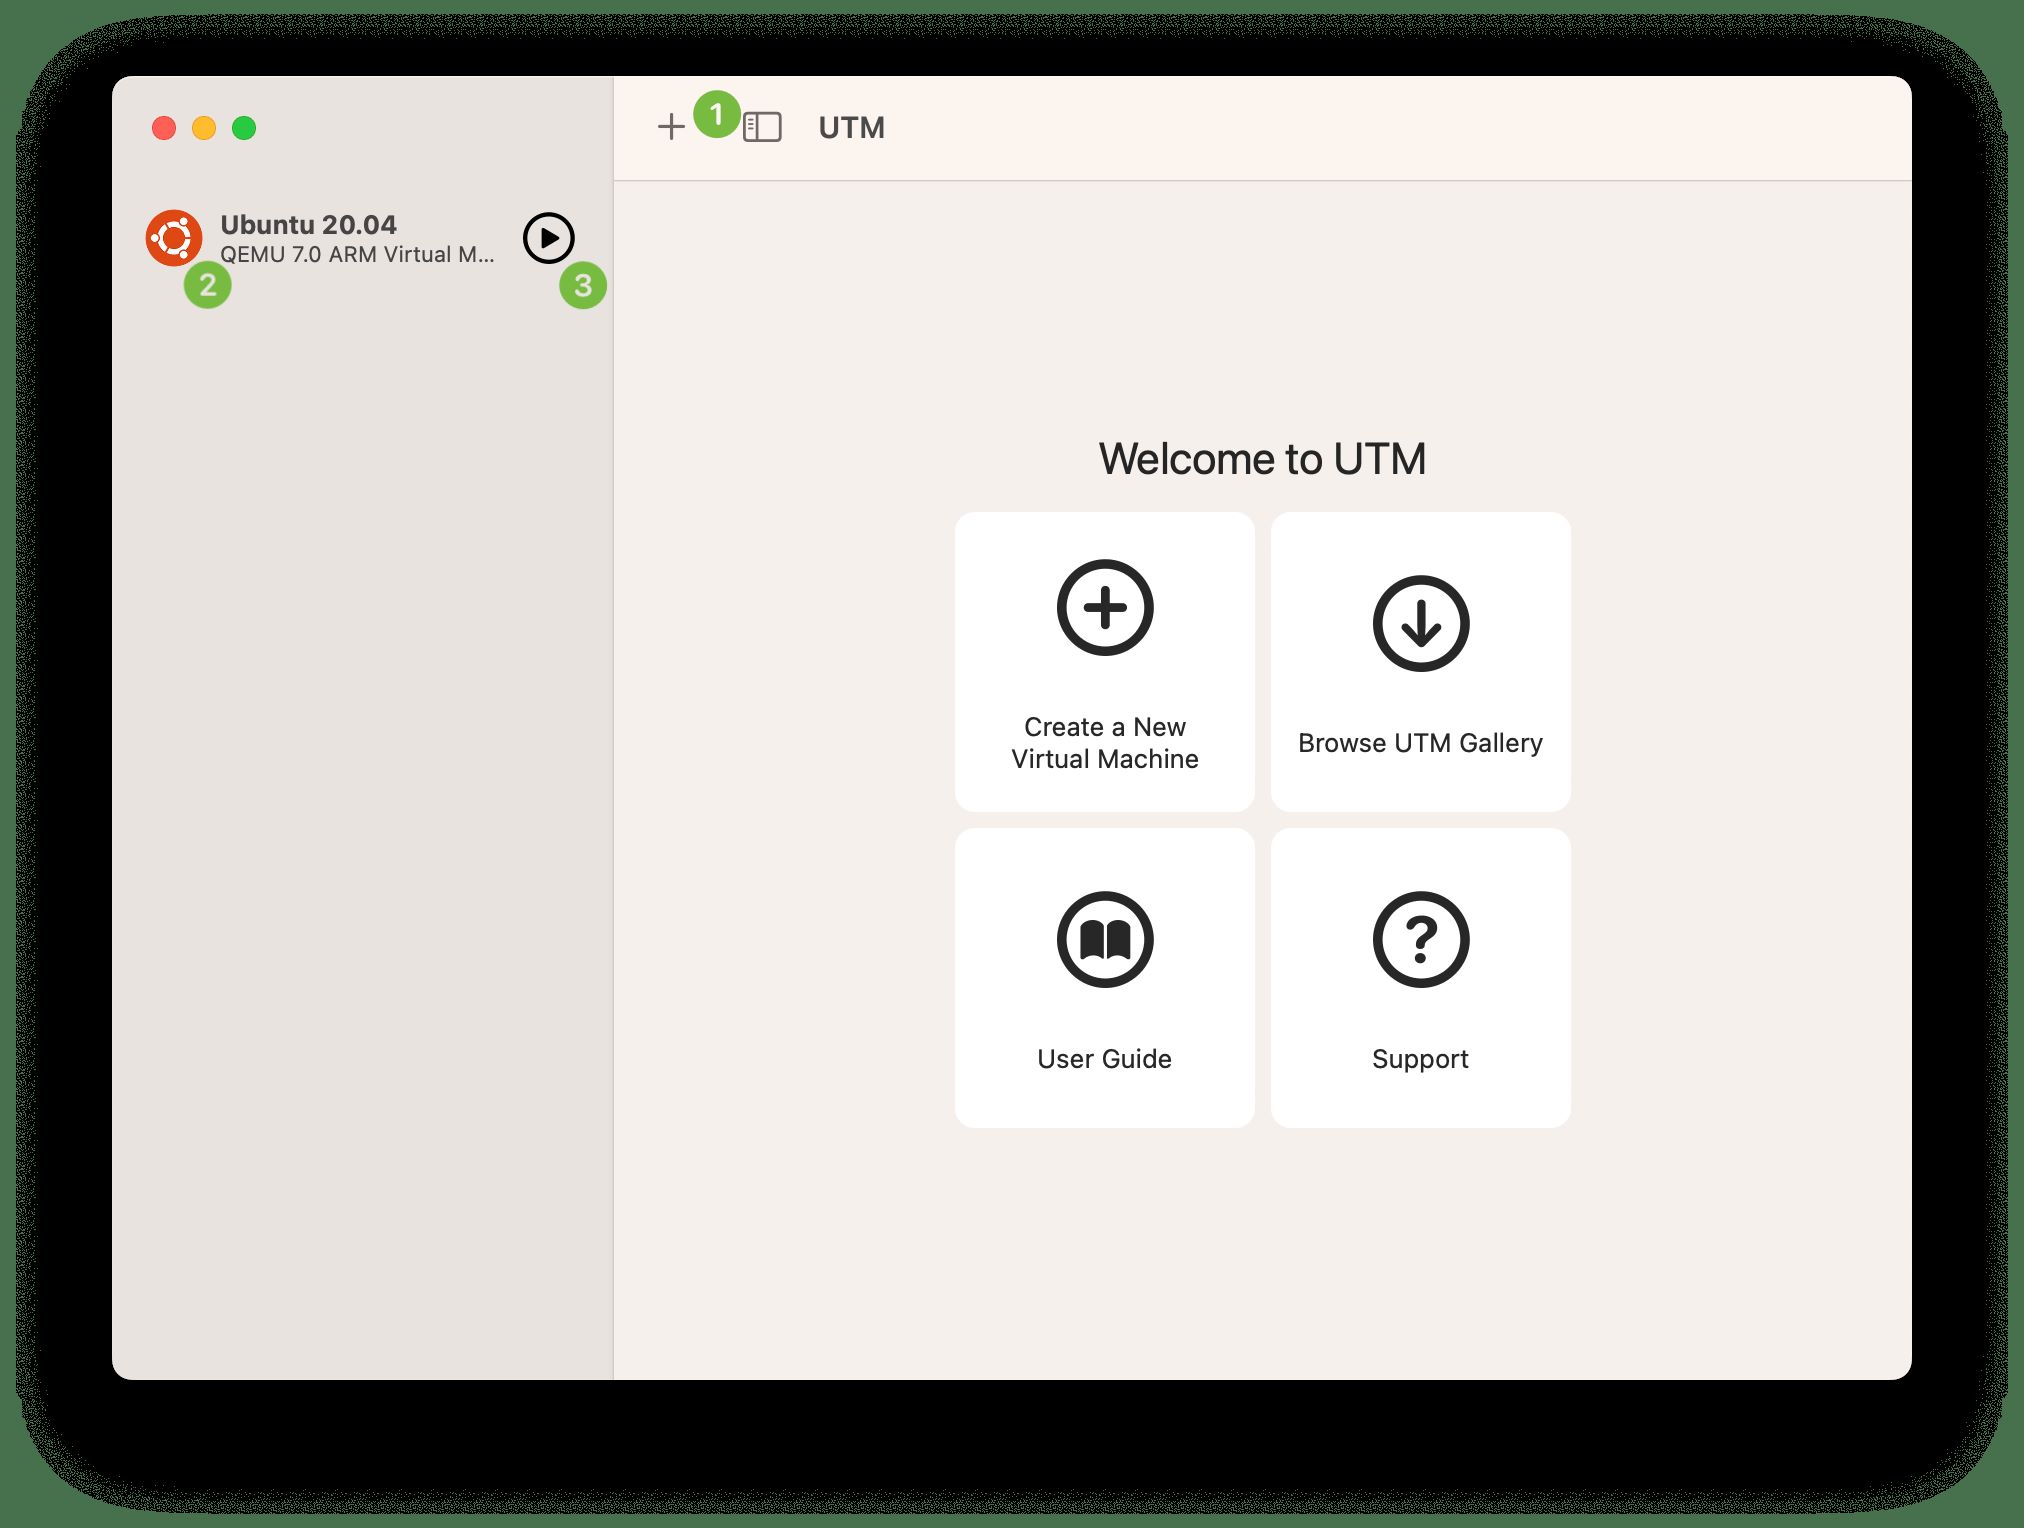
1. Open the virtualization software: Launch the virtualization software that you installed in the previous step. The application should be accessible from your system tray or application menu.
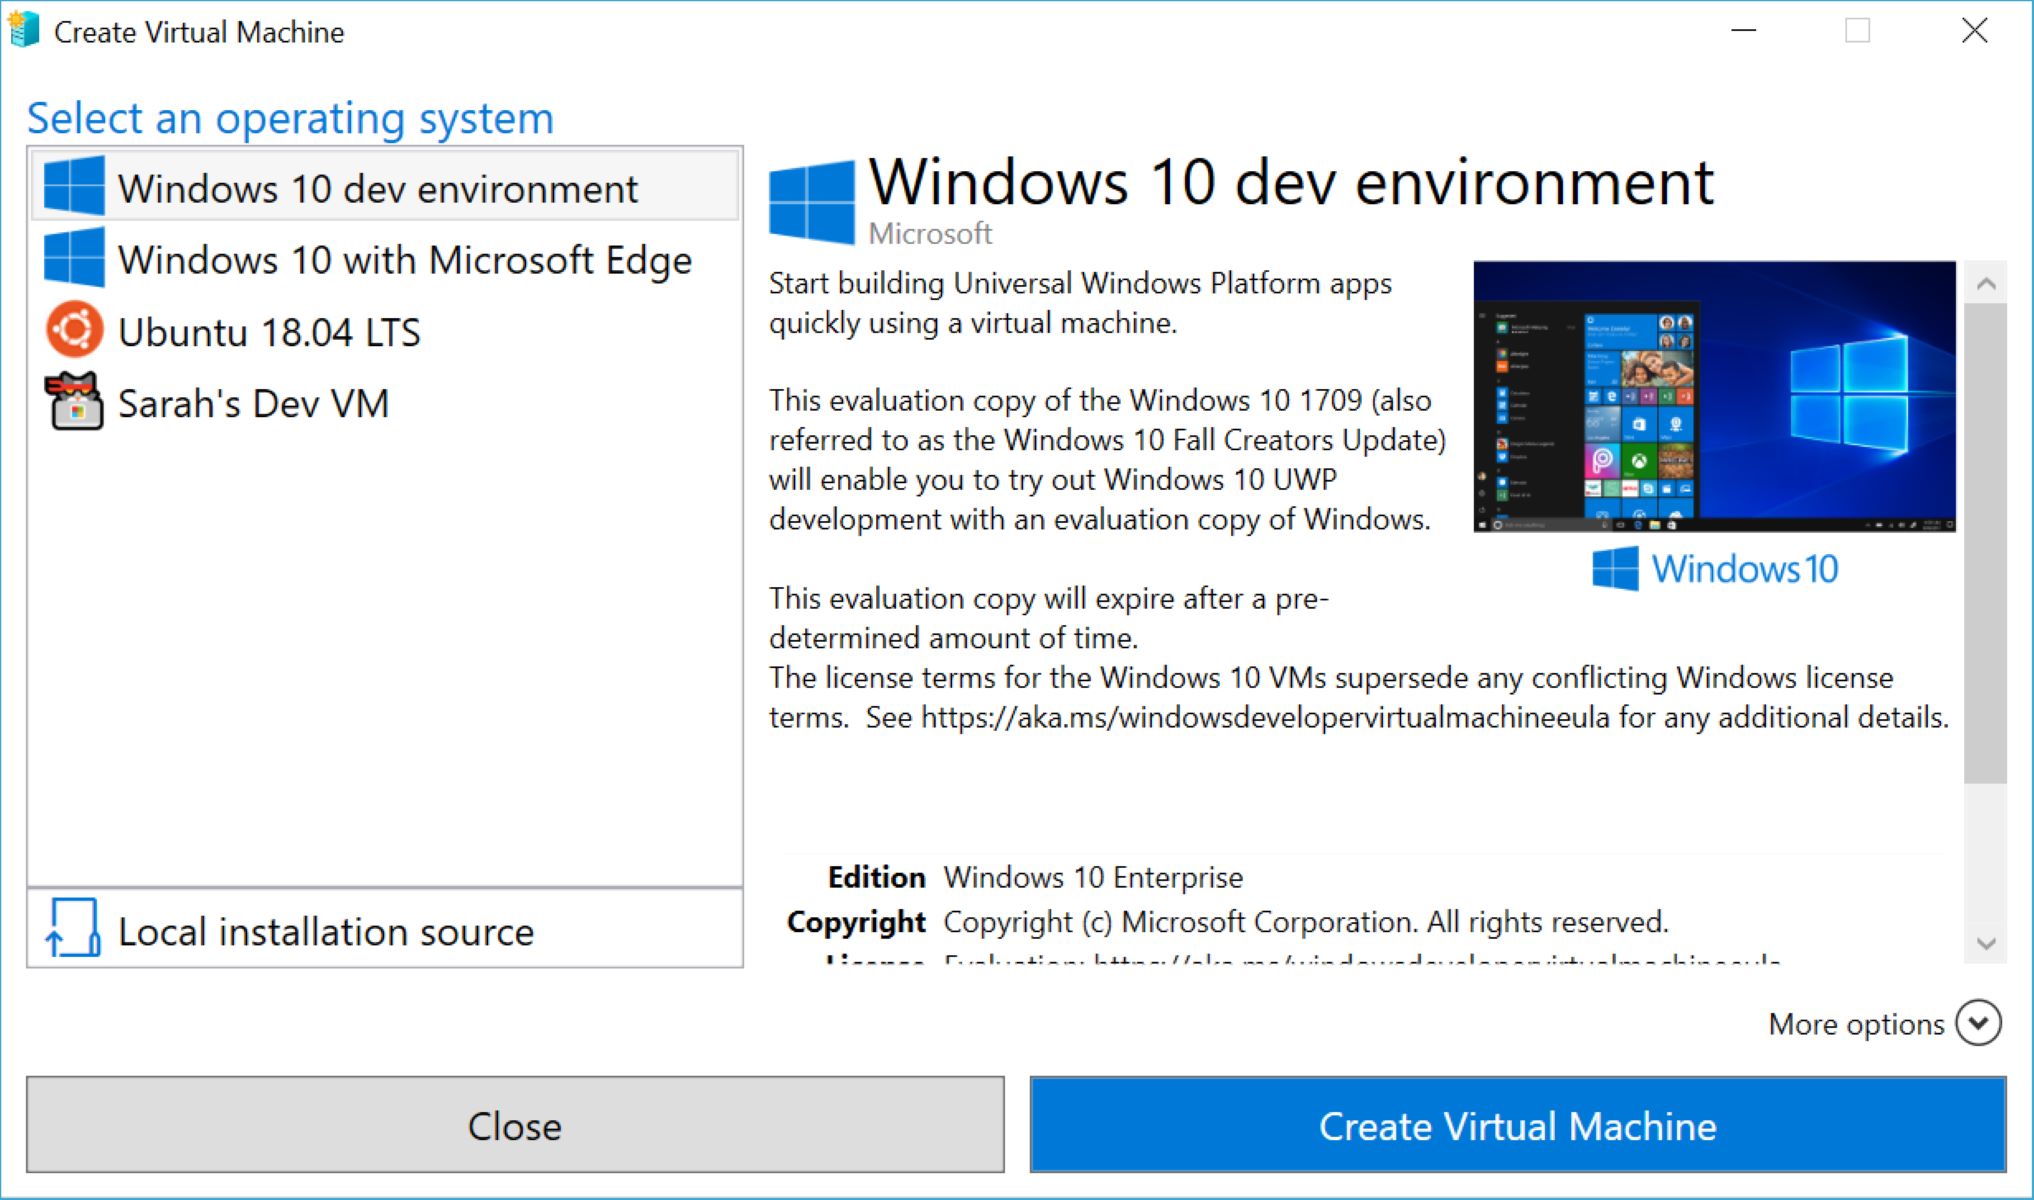
2. Click on “New” or “Create a new virtual machine”: Look for an option that allows you to create a new virtual machine. This is usually located in the main interface or listed under the “File” or “Virtual Machine” menu.
3. Choose a name and location: Specify a name for your virtual machine and select the location where the virtual machine files will be stored. Choose a descriptive name that will help you easily identify and manage your virtual machine.
4. Select the operating system: Choose the operating system you plan to install on the virtual machine. This selection helps the virtualization software optimize the virtual machine’s settings for better compatibility.
5. Allocate memory (RAM): Set the amount of memory (RAM) that will be allocated to the virtual machine. Consider the requirements of your operating system and applications when deciding the appropriate amount of memory to allocate. It is recommended to allocate a minimum of 4GB of RAM for smooth performance.
6. Configure network settings: Choose the network settings for your virtual machine. Opt for a network option that suits your needs, such as bridged, NAT, or host-only. These options determine how the virtual machine will interact with your physical network.
7. Create a virtual hard disk: Specify the storage capacity for the virtual hard disk that will be used by the virtual machine. Allocate enough space to accommodate the operating system, applications, and any data you plan to store within the virtual machine. The virtualization software may also provide options for the type of virtual hard disk (e.g., dynamically allocated or fixed size).
8. Set up installation media: Depending on the virtualization software, you may need to specify the installation media for the operating system. This could be an ISO file of the operating system or the physical installation media such as a DVD or USB drive.
9. Review and create the virtual machine: Review the configuration settings for your virtual machine and ensure they align with your desired specifications. Once you are satisfied, click on the “Create” or “Finish” button to create the virtual machine.
10. Wait for virtual machine creation: The virtualization software will now create the virtual machine based on the provided configuration. This process may take a few moments, depending on the speed of your computer and the allocated resources.
Once the virtual machine is created, you will have a new virtual machine listed within the virtualization software. You can now proceed to the next steps, such as installing the operating system on the virtual machine and customizing its settings to meet your specific requirements.
Step 3: Configure the virtual machine settings
After creating a new virtual machine, it’s important to configure its settings to optimize its performance and cater to your specific needs. Configuring the virtual machine settings involves adjusting various parameters, such as CPU, memory, storage, and network settings. Here’s a step-by-step guide to help you configure the settings of your virtual machine:
1. Open the virtual machine: Launch the virtualization software and locate your newly created virtual machine in the software’s interface. Select the virtual machine and open its settings or configuration menu.
2. Adjust the CPU settings: Specify the number of virtual CPU cores allocated to the virtual machine. Depending on your computer’s capabilities and the demands of your applications, you can adjust the CPU allocation accordingly. However, it’s recommended to start with a single virtual CPU core and increase it as needed.
3. Allocate more memory (RAM): If you find that your virtual machine requires more memory to run efficiently, go to the virtual machine’s settings and adjust the allocated RAM. Increase the memory allocation to improve the performance of resource-intensive programs within the virtual machine.
4. Manage storage and disk settings: Adjust the virtual hard disk settings to allocate additional storage, change the disk type (dynamically allocated or fixed size), or attach additional virtual hard disks if required. This allows you to meet the storage needs of the operating system and applications running within the virtual machine.
5. Customize network settings: Configure the network settings to determine how the virtual machine will connect to your physical network. You can choose options such as bridged, NAT, or host-only networking depending on your networking requirements.
6. Enable or disable hardware acceleration: Some virtualization software offers hardware acceleration options, such as enabling virtualization extensions like Intel VT-x or AMD-V. Hardware acceleration improves the overall performance of the virtual machine and enhances compatibility with certain operating systems or applications. Check the settings to ensure hardware acceleration is enabled if your computer supports it.
7. Configure peripheral devices: Virtual machines allow you to connect peripheral devices to the virtual environment. Depending on your requirements, configure settings related to USB devices, printers, sound devices, and more. Enable or disable these devices according to your needs.
8. Customize display settings: Adjust the display settings of the virtual machine, such as screen resolution, color depth, and graphics memory allocation. Customize these settings to match the requirements of your applications and ensure optimal visual experience within the virtual machine.
9. Save and apply the settings: Once you’ve adjusted the necessary configurations, save the settings and apply the changes to your virtual machine. The virtualization software will apply the changes, and your virtual machine will be configured with the updated settings.
By configuring the virtual machine settings, you can optimize its performance and tailor it to your specific requirements. These settings ensure that the virtual machine operates smoothly and efficiently, providing the desired functionality and flexibility.
Now that you have configured the settings, you’re ready to move on to the next step, which involves installing the operating system on your virtual machine.
Step 4: Install the operating system on the virtual machine
Once you have configured the settings of your virtual machine, the next step is to install the operating system. Installing an operating system on a virtual machine is similar to installing it on a physical computer, but there are a few additional steps to consider. Follow these steps to install the operating system on your virtual machine:
1. Obtain the installation media: Depending on the operating system you plan to install, acquire the installation media. This could be an ISO file, a physical DVD, or a USB drive containing the operating system installation files.
2. Start the virtual machine: Open the virtualization software and select your virtual machine. Click on the “Start” or “Power On” button to launch the virtual machine.
3. Configure the boot order: Access the virtual machine’s settings and set the boot order to prioritize the installation media. This ensures that the virtual machine will boot from the installation media rather than the virtual hard disk.
4. Insert the installation media: If using a physical DVD or USB drive, insert it into your computer. If using an ISO file, mount it within the virtual machine by navigating to the “Insert” or “Mount” option in the virtualization software.
5. Start the installation: Restart the virtual machine. It will now boot from the installation media. Follow the on-screen instructions to begin the operating system installation process.
6. Choose the installation options: During the installation process, you will be presented with various options, such as language settings, partitioning, and user account creation. Customize these options according to your preferences and specific requirements.
7. Install the operating system: Proceed with the installation by following the prompts. The operating system files will be copied to the virtual hard disk and the necessary configurations will be set up. This process may take several minutes to complete.
8. Configure network and other settings: After the installation finishes, configure the network settings and any additional settings required by the operating system. This may include setting up an internet connection, updating drivers, and configuring user accounts.
9. Install virtual machine tools: Some virtualization software provides additional tools or drivers that enhance the performance and functionality of the virtual machine. Install these tools to optimize the virtual machine’s integration with the host system.
10. Complete the installation and restart: Once you have finished setting up the operating system and installed any necessary tools, restart the virtual machine. The virtual machine will now boot into the newly installed operating system.
With the operating system successfully installed on your virtual machine, you can now proceed to customize and optimize the virtual machine to meet your specific requirements.
In the next step, we will explore how to customize and optimize the virtual machine to enhance its performance and functionality.
Step 5: Customize and optimize the virtual machine
After installing the operating system on your virtual machine, the next step is to customize and optimize it according to your specific needs. This involves adjusting various settings and configurations to enhance the virtual machine’s performance, security, and functionality. Follow these steps to customize and optimize your virtual machine:
1. Install essential software: Install any necessary software or applications within the virtual machine. This can include productivity tools, development environments, or specific software required for your intended use of the virtual machine.
2. Update the operating system: Ensure that the operating system within the virtual machine is up to date with the latest security patches and software updates. Regularly checking for updates and installing them helps keep the virtual machine secure and improves its stability.
3. Configure security settings: Adjust the security settings of the virtual machine to ensure appropriate levels of security and privacy. This includes setting up firewalls, enabling antivirus software, and implementing strong passwords and security measures.
4. Adjust resource allocation: Monitor the resource usage of the virtual machine and adjust the allocation of CPU, memory, and disk space as needed. If the virtual machine’s performance is sluggish, consider allocating more resources to improve its responsiveness.
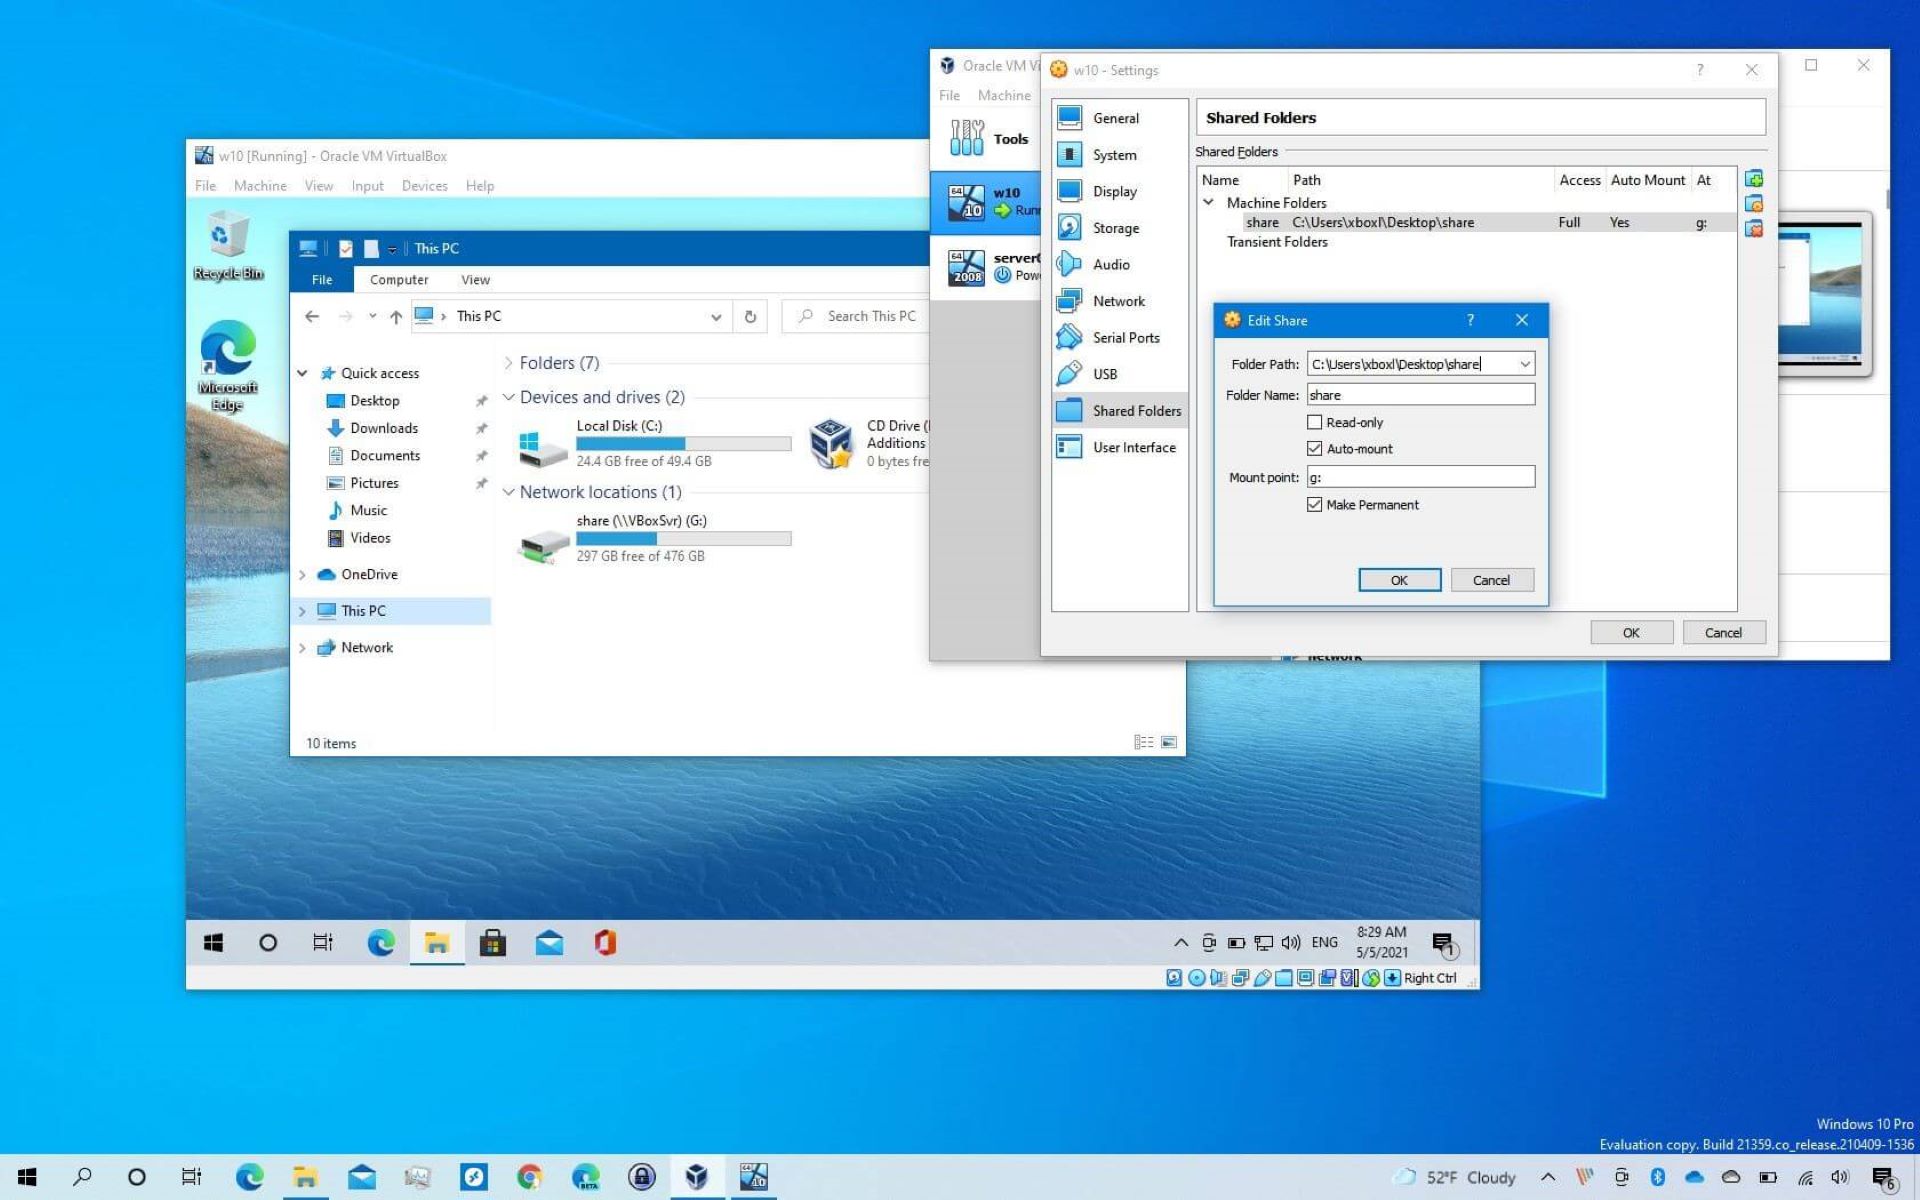
5. Set up shared folders: If supported by the virtualization software, configure shared folders between the host and virtual machine. This enables easy file transfer and seamless integration between the virtual machine and host system.
6. Configure virtual machine networking: Customize the network settings of the virtual machine to suit your requirements. This may involve configuring static or dynamic IP addressing, setting up port forwarding, or other networking configurations.
7. Enable clipboard and drag-and-drop integration: Check if your virtualization software allows clipboard and drag-and-drop integration between the virtual machine and host system. Enabling these features enables seamless sharing of text, files, and other data between the two environments.
8. Configure backup and snapshot settings: Implement backup and snapshot solutions for your virtual machine to protect against data loss and system failures. Regularly back up the virtual machine or create snapshots at critical points to easily revert to previous states if needed.
9. Optimize performance: Fine-tune the performance of the virtual machine by adjusting settings such as CPU priority, memory allocation, and disk caching. Experiment with these settings to find the optimal balance for your specific workload.
10. Document configurations: Keep a record of the virtual machine’s configurations, including settings, installed software, and any customizations made. This documentation will be helpful for future reference and when setting up new instances of the virtual machine.
By customizing and optimizing your virtual machine, you can tailor it to your specific needs, enhance its performance, and ensure a seamless user experience. Regularly review and update the configuration as your requirements evolve.
Now that your virtual machine is customized and optimized, you’re ready to explore advanced configurations to further expand its capabilities.
Step 6: Advanced configurations for the virtual machine
After customizing and optimizing your virtual machine, you may want to explore advanced configurations to further enhance its capabilities and functionality. These configurations allow you to fine-tune performance, integrate with other systems, and create more complex virtualized environments. Follow these steps to delve into advanced configurations for your virtual machine:
1. Nested virtualization: If your virtualization software supports it, enable nested virtualization. This allows you to run virtual machines within your virtual machine, creating a hierarchical virtualization structure. It’s particularly useful for testing or creating complex multi-tier development environments.
2. Virtual machine resource sharing: Explore features that allow resource sharing among virtual machines. This includes dynamically adjusting the allocation of CPU, memory, and network resources based on demand. Optimizing resource sharing enhances overall system performance and efficiency.
3. Virtual machine templates and cloning: Consider creating virtual machine templates or using cloning functionality to quickly deploy new instances of the virtual machine. Templates and cloning streamline the process of creating multiple virtual machines with similar configurations, saving time and effort.
4. Virtual machine migration: Utilize features that allow migration of virtual machines between hosts. This enables seamless movement of virtual machines from one physical machine to another without disrupting their operation. Migration supports load balancing, hardware maintenance, and system upgrades.
5. Virtual machine snapshots: Take advantage of snapshot functionality to capture the state of your virtual machine at a specific point in time. This allows you to easily revert back to a previous snapshot if changes or updates cause issues. Snapshots are particularly useful when testing or experimenting with new configurations.
6. Disaster recovery and high availability: Implement disaster recovery solutions for your virtual machine to ensure business continuity in case of system failures or disasters. This may involve replicating virtual machines to remote hosts or setting up failover clusters for high availability.
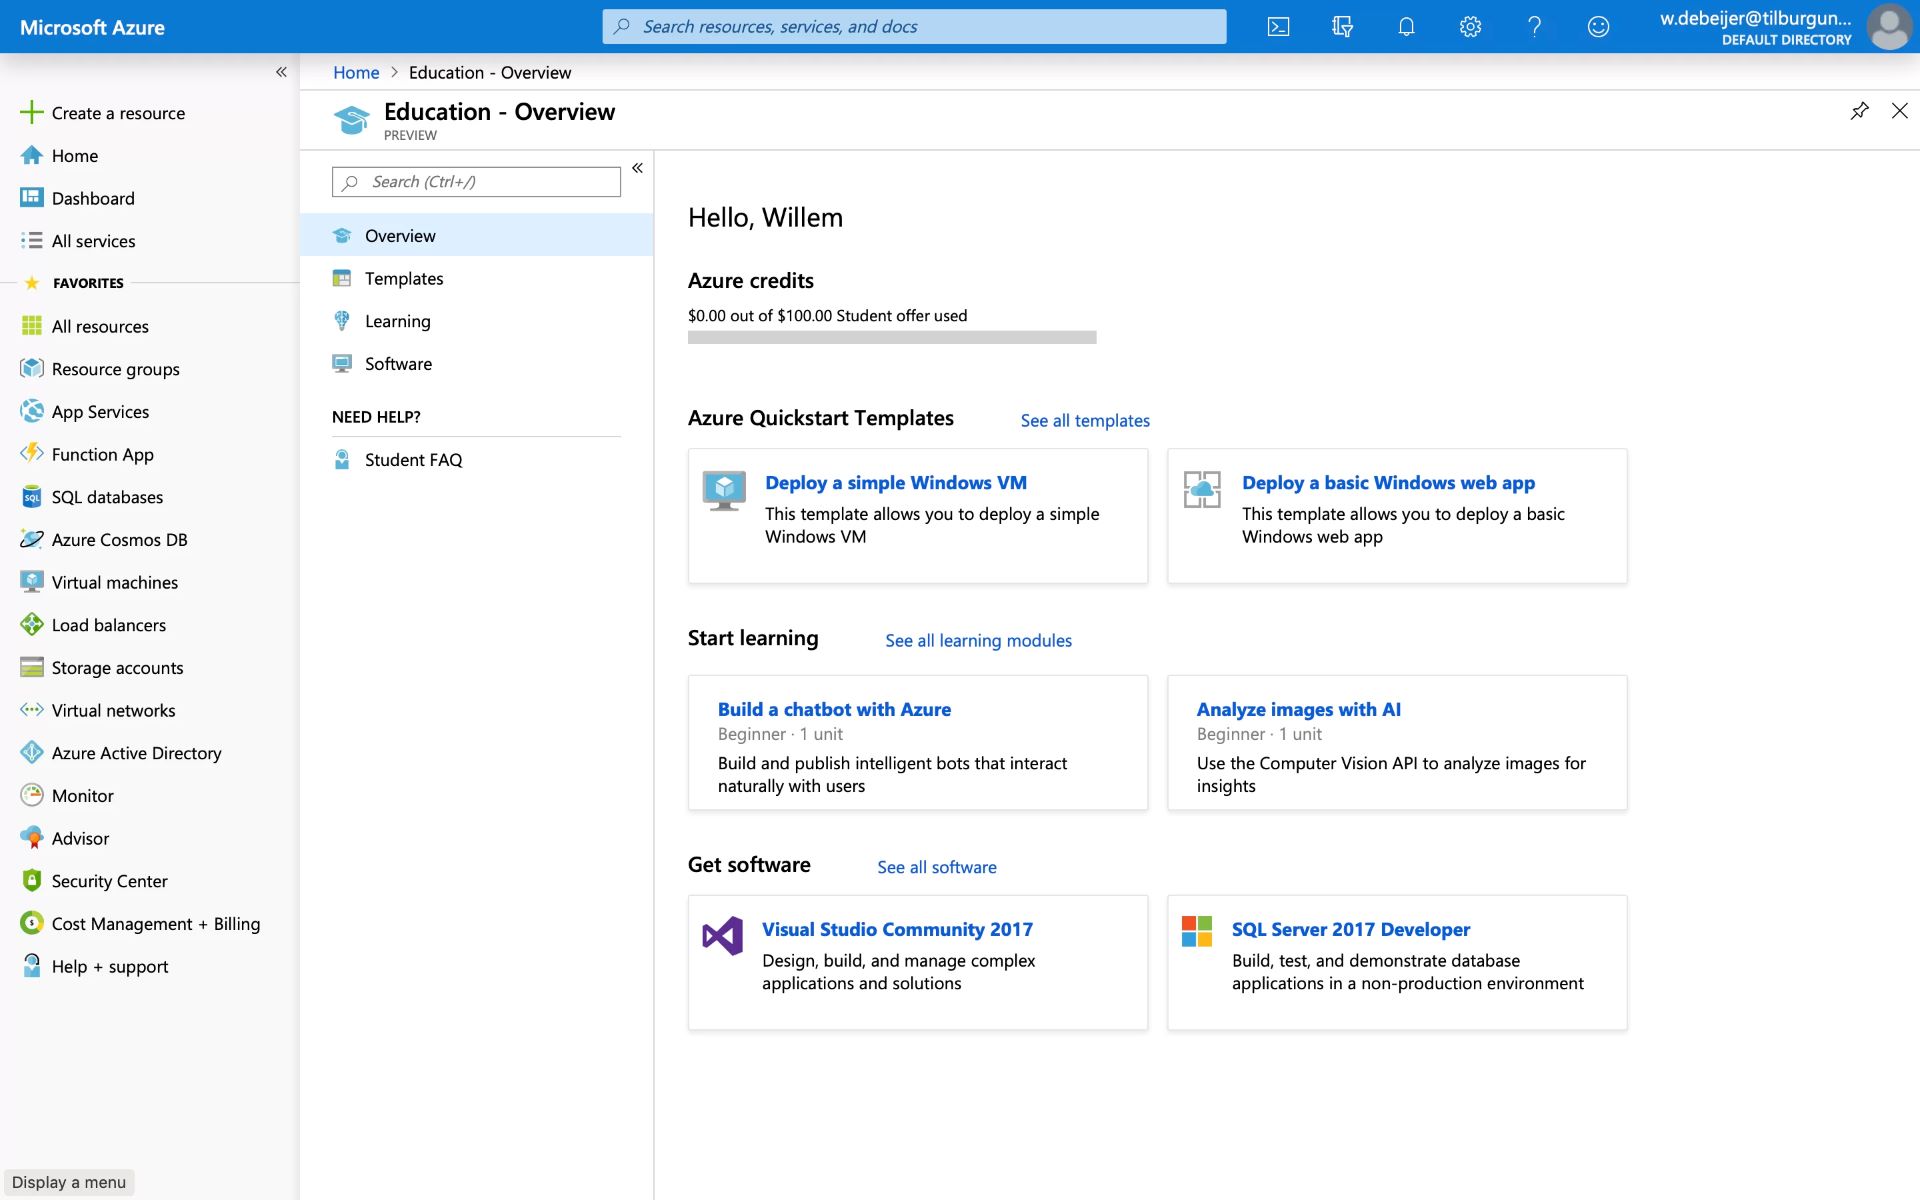
7. Integration with cloud services: Explore options to integrate your virtual machine with cloud services. Some virtualization software allows you to seamlessly move virtual machines to public or private cloud environments, providing scalability and flexibility in your deployment options.
8. Automation and scripting: Utilize scripting and automation capabilities to streamline virtual machine management tasks. This includes automating the creation, configuration, and deployment of virtual machines using scripting languages or automation tools.
9. Advanced networking configurations: Experiment with advanced networking configurations, such as virtual LAN (VLAN) setups, software-defined networking (SDN), or virtual network function (VNF) deployment. These configurations enable more intricate network designs and facilitate the creation of complex network environments.
10. Performance monitoring and optimization: Install performance monitoring tools to track the resource utilization and performance of your virtual machine. Analyze the data to identify bottlenecks and areas for improvement, then apply optimizations to enhance performance and efficiency.
Advanced configurations provide you with additional flexibility and control over your virtual machine, allowing you to create sophisticated environments and meet specific business or technical requirements. Explore these options based on your needs and experiment with different configurations to maximize the benefits of virtualization.
In the next section, we’ll wrap up the process of creating a virtual machine and summarize the key takeaways.
Conclusion
Creating a virtual machine opens up a world of possibilities, allowing you to run multiple operating systems on a single computer and leverage the benefits of virtualization. Throughout this guide, we have explored the process of creating a virtual machine, from understanding the concept and advantages of virtualization to configuring and optimizing the virtual machine to suit your needs.
Virtual machines provide numerous benefits, including efficient resource utilization, isolation of environments, flexibility, and portability. Whether you are a software developer, IT professional, or enthusiastic computer user, virtual machines can be a valuable tool in your arsenal.
We started by understanding what a virtual machine is – a software emulation of a physical computer, running multiple operating systems simultaneously. We then discussed the system requirements needed to create a virtual machine, such as a compatible CPU, sufficient memory, and storage space.
Next, we looked at the importance of choosing the right virtualization software based on factors like purpose, compatibility, and ease of use. We covered the step-by-step process of downloading and installing the virtualization software.
After installing the virtualization software, we explored how to create a new virtual machine, set up its configurations, and install the operating system. We discussed the importance of customizing and optimizing the virtual machine settings to enhance its performance, security, and functionality.
Moreover, we looked into advanced configurations such as nested virtualization, resource sharing, and disaster recovery, which allow for more intricate and advanced virtual machine setups.
By following these steps, you can create, configure, and optimize a virtual machine tailored to your specific needs, whether it is for testing applications, software development, or creating complex network environments.
Remember to regularly update your virtual machine, install the latest software updates and security patches, and maintain proper backups to safeguard your data.
Creating and managing virtual machines may initially seem daunting, but with practice and a better understanding of the process, it becomes an invaluable skill that opens up a world of possibilities in the realm of virtualization. So, roll up your sleeves, start exploring, and unleash the power of virtual machines.


