Introduction
A virtual machine (VM) is a simulated computer system that behaves like a standalone machine. It allows users to run multiple operating systems on a single physical computer. With the advancement of technology, virtualization has revolutionized the computing world by enabling greater flexibility, cost-effectiveness, and resource optimization.
Virtual machines provide a sandboxed environment where you can test software or experiment with different operating systems without impacting your primary system. They are also widely used in software development, web hosting, and server consolidation. In this article, we will explore the concept of virtual machines, discuss their benefits, and guide you through the process of setting up and using them effectively.
By utilizing virtual machines, you can run applications that are incompatible with your current operating system, isolate potentially insecure software, and streamline your computing resources. Virtual machines also offer the ability to take snapshots, allowing you to save a particular state of the system and revert back to it whenever necessary.
In this guide, we will provide step-by-step instructions for setting up a virtual machine, choosing the right virtual machine software, installing an operating system, and configuring essential settings. We will also discuss best practices for optimizing the performance of your virtual machine and troubleshooting common issues that may arise.
Whether you are a software developer, IT professional, or simply a curious user looking to explore different operating systems, understanding how to use virtual machines is a valuable skill in today’s technological landscape. So, let’s dive in and discover the exciting world of virtual machines!
What is a Virtual Machine?
A virtual machine (VM) is a software emulation of a complete physical computer system. It enables users to run multiple operating systems simultaneously on a single physical machine. By simulating the hardware components of a computer, including CPU, memory, disk storage, and network interfaces, virtual machines provide a self-contained and independent environment for running applications.
Virtual machines offer several key features that make them a powerful tool in various fields. Firstly, they provide hardware abstraction, allowing different operating systems to run on the same physical hardware without conflicts. Each virtual machine operates as a guest system within the host system, ensuring complete isolation and preventing one virtual machine from affecting others.
Virtual machines also offer the capability of running operating systems that are not compatible with the underlying physical hardware. This is particularly useful when you need to run legacy software or use specific versions of an operating system for compatibility reasons.
Moreover, virtual machines allow you to allocate specific resources such as CPU cores, RAM, and storage space to each virtual machine, ensuring optimal performance and resource utilization. This flexibility enables you to efficiently utilize the available computing resources and consolidate multiple virtual machines onto a single physical server.
Another significant advantage of using virtual machines is the ability to take snapshots. A snapshot captures the current state of a virtual machine at a particular point in time, allowing you to revert back to that state whenever needed. This feature is particularly advantageous for testing new software or performing system updates, providing a safety net in case anything goes wrong.
In summary, a virtual machine is a software emulation of a complete computer system, offering the ability to run multiple operating systems simultaneously on a single physical machine. It provides hardware abstraction, compatibility with different operating systems, resource allocation, and the option to take snapshots. These features make virtual machines a versatile solution for a wide range of applications, from software development and testing to server consolidation and system maintenance.
Benefits of Using Virtual Machines
Virtual machines offer numerous benefits that make them a valuable tool in various industries. Whether you are a software developer, IT professional, or even an average user, utilizing virtual machines can greatly enhance your productivity and efficiency. Let’s explore some of the key benefits of using virtual machines:
1. Flexibility and Compatibility: Virtual machines allow you to run multiple operating systems on a single physical machine. This flexibility is invaluable when you need to test software on different platforms or run applications that are not compatible with your current operating system. Virtual machines eliminate the need for multiple physical computers, streamlining your workflow and reducing hardware costs.
2. Isolation and Security: Virtual machines provide a sandboxed environment for running applications, isolating them from the host system and other virtual machines. This isolation ensures that if an application crashes or gets infected with malware, it will not affect the stability and security of the host system or other virtual machines. This level of isolation is especially critical when testing potentially unsafe or untrusted software.
3. Resource Optimization: With virtual machines, you can allocate specific resources, such as CPU cores, RAM, and storage space, to each virtual machine. This enables efficient utilization of available resources, preventing underutilization or overutilization of hardware. By consolidating multiple virtual machines onto a single physical server, you can minimize hardware costs and reduce power consumption.
4. Snapshot and Rollback: Virtual machines offer the ability to take snapshots, capturing the state of a virtual machine at a specific point in time. This feature is invaluable when experimenting with software configurations or performing system updates. If anything goes wrong, you can easily revert back to a previous snapshot, ensuring quick recovery and minimizing downtime.
5. Scalability and Performance: Virtual machines provide the flexibility to adjust resource allocations based on workload demands. You can easily add or remove virtual machines as needed, dynamically allocating resources to meet changing requirements. This scalability ensures optimal performance and responsiveness, even in high-demand scenarios.
6. Training and Learning: Virtual machines are ideal for creating a controlled environment for training and learning purposes. You can set up virtual machines with specific configurations, allowing users to practice new software, test network setups, or learn about different operating systems without impacting their personal machines or the network infrastructure.
With these benefits in mind, it is clear that virtual machines offer a myriad of advantages for individuals, businesses, and organizations. Whether you are seeking greater flexibility, improved security, or enhanced resource management, virtual machines provide the necessary tools to streamline your computing experience and maximize efficiency.
Setting Up a Virtual Machine
Setting up a virtual machine involves a series of steps to create a virtual environment in which you can run a guest operating system. Whether you are using a desktop virtualization solution or a server virtualization platform, the general process is similar. Follow these steps to set up a virtual machine:
1. Choose the Right Virtualization Software: There are various virtualization software options available, such as VMware Workstation, VirtualBox, and Hyper-V. Choose the one that best suits your needs based on the host operating system, features, and compatibility with the guest operating systems you plan to run.
2. Install the Virtualization Software: Download and install the chosen virtualization software on your host machine. Follow the installation instructions provided by the software vendor.
3. Create a New Virtual Machine: Open the virtualization software and create a new virtual machine. Specify the desired settings, such as the amount of RAM, number of CPU cores, and storage capacity. These settings can be adjusted later if needed.
4. Choose the Guest Operating System: Select the guest operating system that you want to install on the virtual machine. You can choose from a wide range of operating systems, including Windows, Linux, macOS, and various server platforms.
5. Allocate Resources: Allocate the necessary resources to the virtual machine, such as RAM, CPU cores, and virtual hard disk space. Ensure that you allocate sufficient resources to meet the requirements of the guest operating system and the applications you plan to run.
6. Configure Networking: Choose the networking settings for the virtual machine. You can select from options such as NAT (Network Address Translation), Bridged Networking, or Host-only Networking based on your requirements.
7. Install the Guest Operating System: Use the installation media or ISO file of the guest operating system to install it on the virtual machine. Follow the installation instructions provided by the operating system vendor.
8. Install Guest Additions/Tools: Most virtualization software provides guest additions or tools that enhance the performance and functionality of the guest operating system. Install these tools to optimize the virtual machine’s performance and enable features like file sharing and seamless mouse integration.
9. Configure Additional Settings: After the guest operating system is installed, configure additional settings such as display resolution, networking preferences, and shared folders. These settings may vary based on the virtualization software you are using.
10. Update and Secure the Virtual Machine: Once the virtual machine is set up, it is important to keep the guest operating system up to date with the latest security patches and updates. Install antivirus software and follow best practices for securing the virtual machine environment.
By following these steps, you can successfully set up a virtual machine and have it ready to run your desired operating system and applications. Remember to adjust the virtual machine’s settings as needed and maintain regular backups to ensure the smooth functioning of your virtual environment.
Choosing the Right Virtual Machine Software
When it comes to choosing virtual machine software, there are several options available, and selecting the right one depends on your specific needs and requirements. Here are some factors to consider when choosing the right virtual machine software:
1. Compatibility: Ensure that the virtual machine software you choose is compatible with your host operating system. Different virtualization software supports different host systems, such as Windows, macOS, or Linux. Verify that the software supports the operating system you are using.
2. Features and Functionality: Consider the features and functionality offered by the virtual machine software. Look for features such as the ability to allocate resources, take snapshots, create virtual networks, and support USB devices. Consider whether the software includes management tools, automation capabilities, and integration with other software solutions.
3. Performance: Evaluate the performance of the virtual machine software. Look for efficient resource utilization, minimal overhead, and good hardware acceleration support. Check for user reviews and benchmarks to get an idea of how the software performs in real-world scenarios.
4. Guest Operating System Support: Ensure that the virtual machine software supports the guest operating systems you intend to run. Different virtualization solutions have varying levels of compatibility with different operating systems. Make sure the software supports the specific versions or editions of the guest operating systems you need.
5. Community and Support: Check the availability of a supportive community and reliable technical support. Look for user forums, documentation, and online resources that can help you troubleshoot issues or find answers to your questions. Consider the reputation of the virtual machine software vendor in terms of customer support and product updates.
6. Licensing and Cost: Evaluate the licensing model and cost of the virtual machine software. Some solutions offer free or open-source options, while others have commercial licenses with different pricing models. Consider your budget and requirements to choose the most cost-effective option for your needs.
7. Integration with Existing Infrastructure: If you have an existing infrastructure or specific software requirements, consider whether the virtual machine software integrates well with those systems. Look for compatibility with software-defined networking, storage solutions, and management platforms that you already use.
8. Ease of Use: Evaluate the user interface and ease of use of the virtual machine software. Consider whether the software provides an intuitive interface, easy configuration options, and seamless integration with your workflow. Look for features such as drag-and-drop functionality, clipboard sharing, and file transfer capabilities.
By carefully assessing these factors, you can choose the virtual machine software that best meets your needs. Consider your specific requirements, budget, and the level of support and performance you expect from the software. It is also advisable to try out different virtualization solutions through trial versions or free options before making a final decision.
Installing a Virtual Machine
Installing a virtual machine involves a series of steps to set up the necessary software and configuration on your host system. Follow these steps to successfully install a virtual machine:
1. Choose the Virtualization Software: Select the virtualization software that suits your needs and is compatible with your host operating system. Options like VMware Workstation, VirtualBox, and Hyper-V are commonly used virtual machine software choices.
2. Install the Virtualization Software: Download the installation package for the selected virtualization software and run the installer on your host system. Follow the on-screen instructions to complete the installation process.
3. Configure Virtual Machine Settings: Open the virtualization software and create a new virtual machine. Specify the desired settings, including the amount of RAM, CPU cores, virtual disk size, and other parameters. These settings can be adjusted later if needed.
4. Select the Guest Operating System: Choose the guest operating system that you want to run on the virtual machine. The virtualization software will provide a list of supported operating systems. Select the appropriate one.
5. Allocate Resources: Allocate the necessary resources to the virtual machine, such as CPU, RAM, and storage space. Consider the requirements of the guest operating system and the applications you plan to run inside the virtual machine. Allocate resources accordingly.
6. Set Up Storage: Create a virtual hard disk or use an existing one to provide storage to the virtual machine. Specify the disk space allocation and choose the appropriate storage type (fixed or dynamically allocated). It is recommended to allocate sufficient disk space to accommodate the needs of the guest operating system and applications.
7. Configure Networking: Set up networking for the virtual machine. Choose the network mode that suits your requirements, such as NAT, Bridged, or Host-only. Ensure that the virtual machine can access the network and communicate with other devices as needed.
8. Install the Guest Operating System: Insert the installation media (ISO file or physical disk) for the guest operating system into the virtual machine. Start the virtual machine, and it should boot from the installation media. Follow the installation process provided by the guest operating system and install it on the virtual machine.
9. Install Virtual Machine Tools: After installing the guest operating system, install the virtual machine tools or guest additions provided by the virtualization software. These tools enhance the performance and functionality of the virtual machine, enabling features like seamless mouse integration, clipboard sharing, and improved graphics.
10. Finalize Settings: Configure any additional settings or preferences for the virtual machine, such as display resolution, shared folders, or port forwarding. These settings may vary depending on the virtualization software you are using. Make sure the virtual machine settings align with your needs.
With these steps, you can install a virtual machine on your host system. Remember to follow the instructions provided by the virtualization software for each specific step. Once the installation is complete, you can start utilizing the virtual machine to run your desired guest operating system and applications.
Configuring Virtual Machine Settings
Configuring virtual machine settings allows you to optimize the performance and functionality of your virtual machine. Depending on the virtualization software you are using, the process of configuring settings may vary slightly, but the general concepts remain the same. Here are the steps to configure virtual machine settings:
1. Adjust CPU and Memory Settings: Allocate the appropriate amount of CPU cores and memory to your virtual machine. Consider the requirements of the guest operating system and the applications you plan to run. Allocating too few resources can lead to poor performance, while allocating too many can affect the host system’s performance.
2. Customize Storage Settings: Manage the storage settings of your virtual machine. This includes adding or removing virtual hard disks, adjusting their size, selecting storage types (fixed or dynamically allocated), and configuring storage controller settings. Ensure you allocate sufficient storage space for the requirements of the guest operating system and any applications you intend to install.
3. Configure Network Settings: Set up networking for your virtual machine. Choose the appropriate network mode, such as NAT, Bridged, or Host-only, based on your networking requirements. Configure network adapters, IP addresses, and DNS settings as needed. Ensure that the virtual machine can communicate with the host system and other devices on the network.
4. Adjust Display and Graphics Settings: Customize display and graphics settings to enhance the visual experience of your virtual machine. Adjust the display resolution to match your monitor’s resolution, enable 3D graphics acceleration if available, and configure the number of video memory allocated to the virtual machine.
5. Configure Input and Sharing Options: Configure input and sharing options to improve the usability of your virtual machine. Enable features like drag-and-drop file transfer, clipboard sharing, and shared folders between the host and guest operating systems. These options make it easier to move files and share information seamlessly.
6. Set Up Virtual Machine Snapshot Settings: Virtual machine snapshots allow you to save the current state of your virtual machine and revert back to it whenever needed. Configure snapshot settings based on your requirements, including the frequency of taking snapshots, the number of snapshots retained, and naming conventions.
7. Adjust Power Management Settings: Configure power management settings for your virtual machine. Choose options for auto-starting or auto-shutting down the virtual machine with the host system. Configure settings related to power saving, hibernate, or sleep modes as per your preferences.
8. Fine-tune Other Miscellaneous Settings: Depending on the virtualization software, you may have access to additional settings that allow you to fine-tune your virtual machine. These settings could include audio configuration, USB device support, integration with host system folders, or advanced network options. Review the available options and configure them according to your needs.
By configuring these virtual machine settings, you can optimize the performance, functionality, and usability of your virtual machine. The specific configuration options available to you will depend on the virtualization software you are using. It is recommended to refer to the documentation or help resources provided by your chosen virtualization software for detailed instructions on configuring specific settings.
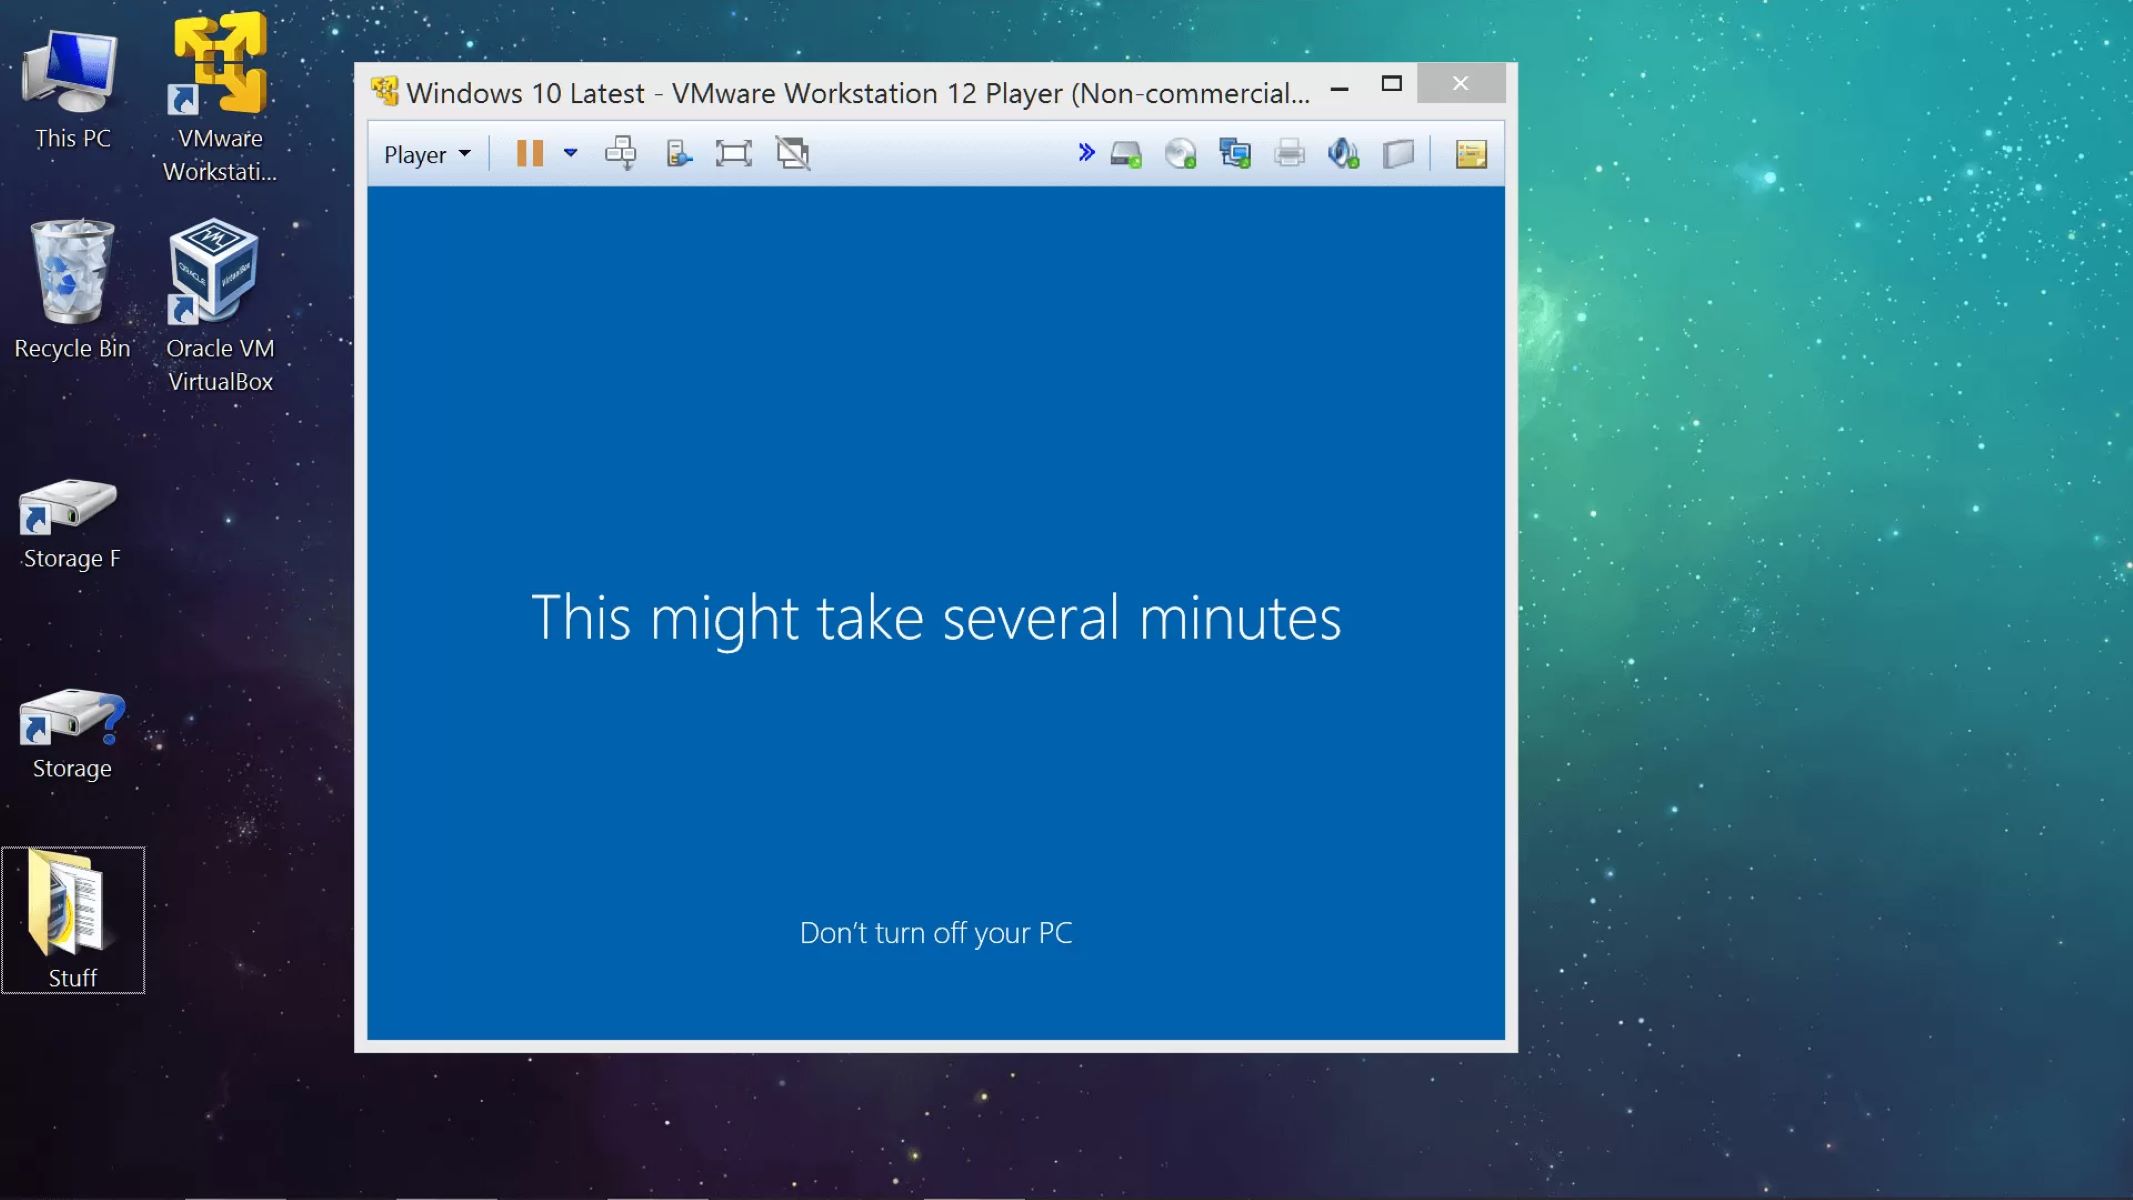
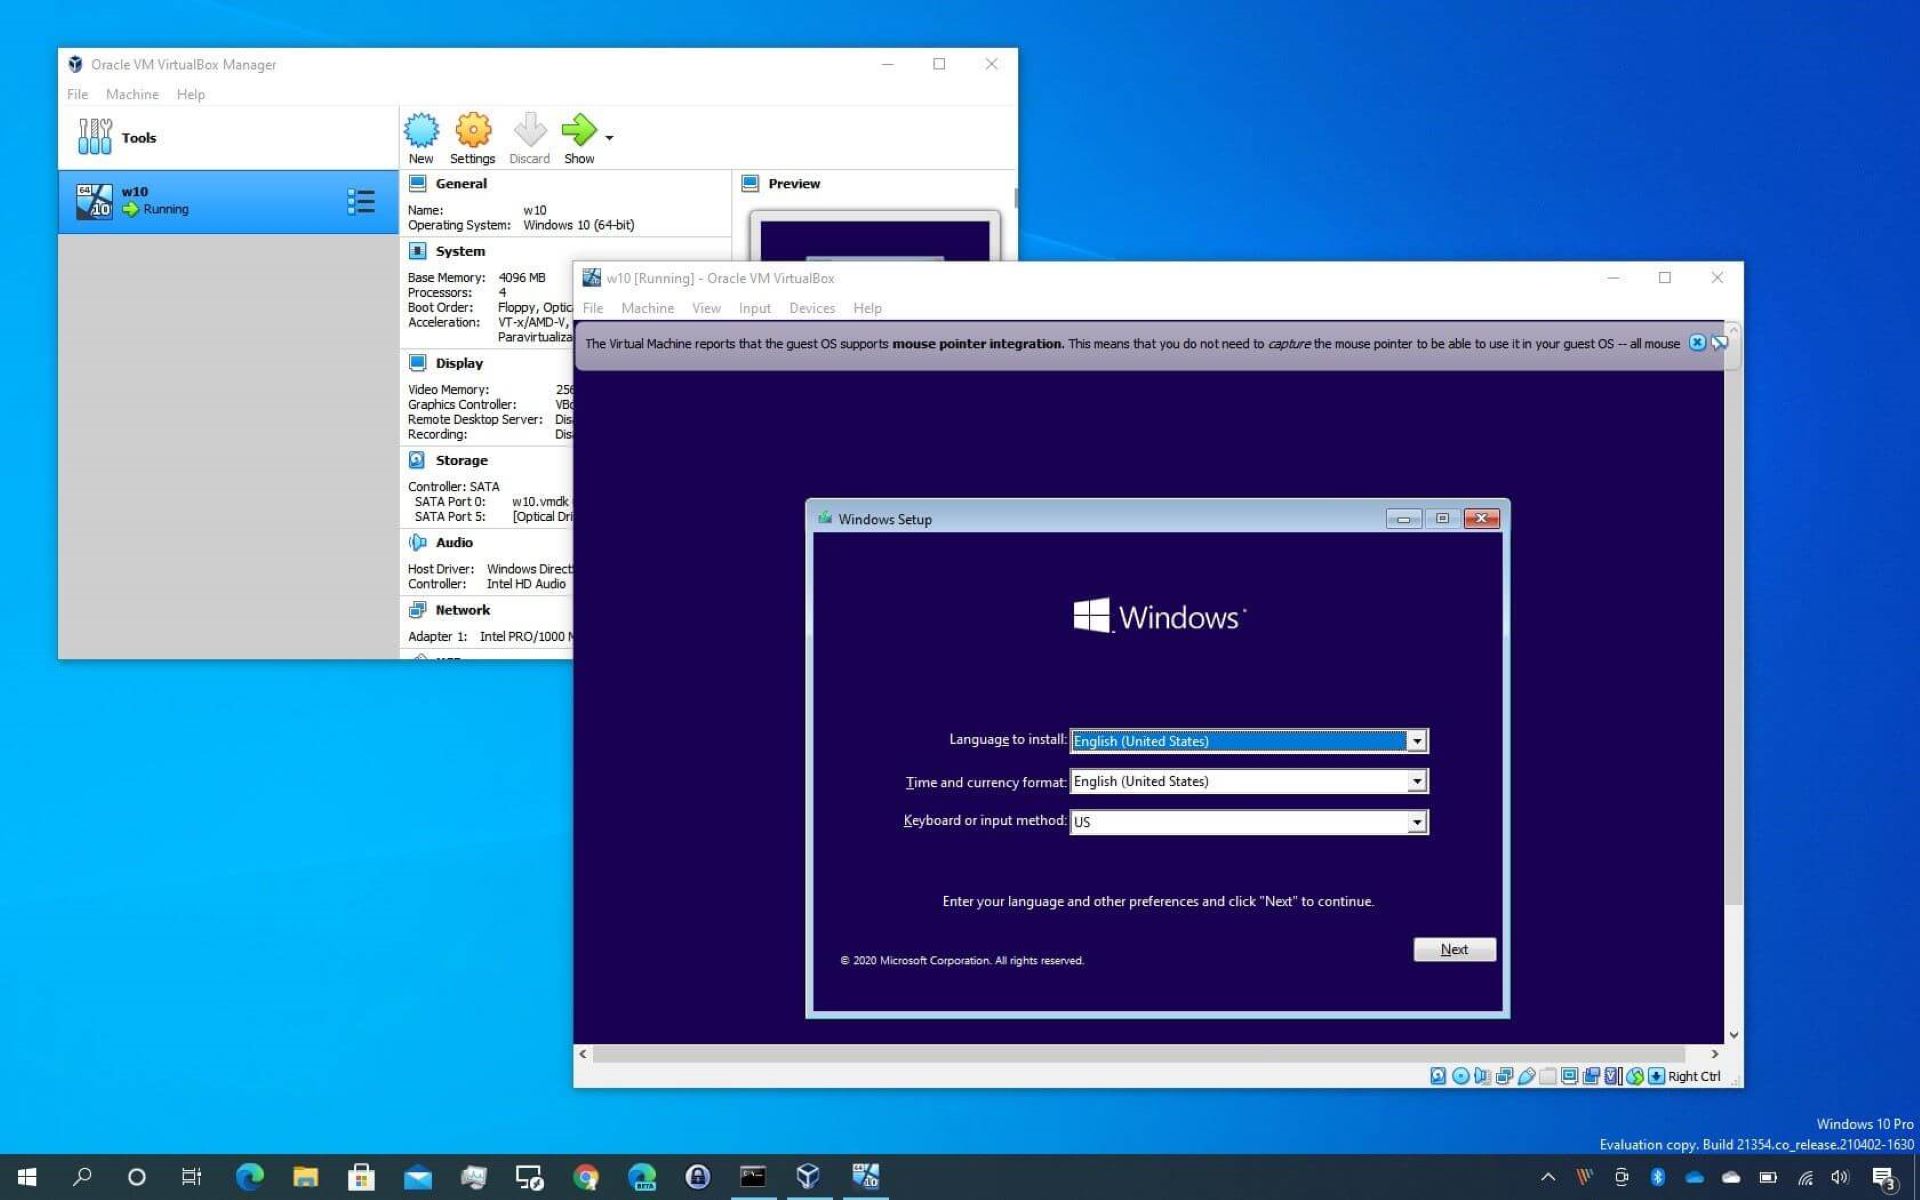
Installing an Operating System on a Virtual Machine
Installing an operating system on a virtual machine allows you to create a virtual environment where you can run and test different operating systems without affecting your host system. The process of installing an operating system on a virtual machine is straightforward and can be done by following these steps:
1. Obtain the Installation Media: Ensure you have the installation media or ISO file of the operating system you want to install on the virtual machine. You can download ISO files from official sources or use physical installation media if available.
2. Open the Virtual Machine Software: Launch the virtual machine software you are using to run the virtual machine. Create a new virtual machine or open an existing one, depending on your preference and setup.
3. Start the Virtual Machine: Power on the virtual machine to start the boot process. Most virtual machine software allows you to configure the virtual machine to boot from an ISO file or physical disk. Make sure the virtual machine is set to boot from the installation media.
4. Insert the Installation Media: If you are using physical installation media, insert it into the virtual machine’s optical drive. If you are using an ISO file, mount it to the virtual machine’s virtual optical drive.
5. Follow the Installation Process: As the virtual machine starts, it should boot from the installation media you provided. Follow the on-screen instructions to install the operating system on the virtual machine. The installation process will vary depending on the specific operating system you are installing.
6. Provide Necessary Information: During the installation, you may be prompted to provide information such as language preferences, keyboard layouts, and disk partitioning. Fill in the required details and make selections as appropriate for your setup.
7. Customize Installation Settings: Some operating systems allow you to customize installation settings, such as software packages, user accounts, and network settings. Modify these settings according to your preferences or leave them as default if you are unsure.
8. Complete the Installation: Once you have provided all the necessary information and made the required selections, proceed with the installation process. The operating system will be installed on the virtual machine, and the virtual machine will restart once the installation is complete.
9. Configure Operating System Settings: After the installation is complete, boot into the newly installed operating system on the virtual machine. Configure the operating system settings, such as language preferences, time zone, network connectivity, and any additional customization options specific to the operating system.
10. Install Virtual Machine Tools: To enhance the performance and functionality of the guest operating system, consider installing the virtual machine tools or guest additions provided by the virtualization software. These tools offer features like improved graphics, shared folders, and seamless mouse integration.
By following these steps, you can successfully install an operating system on a virtual machine. Remember to choose the appropriate installation media, configure the virtual machine to boot from it, and carefully follow the installation instructions provided by the operating system. Once installed, you can fully utilize the capabilities of the virtual machine to run and test different operating systems in a safe and isolated environment.
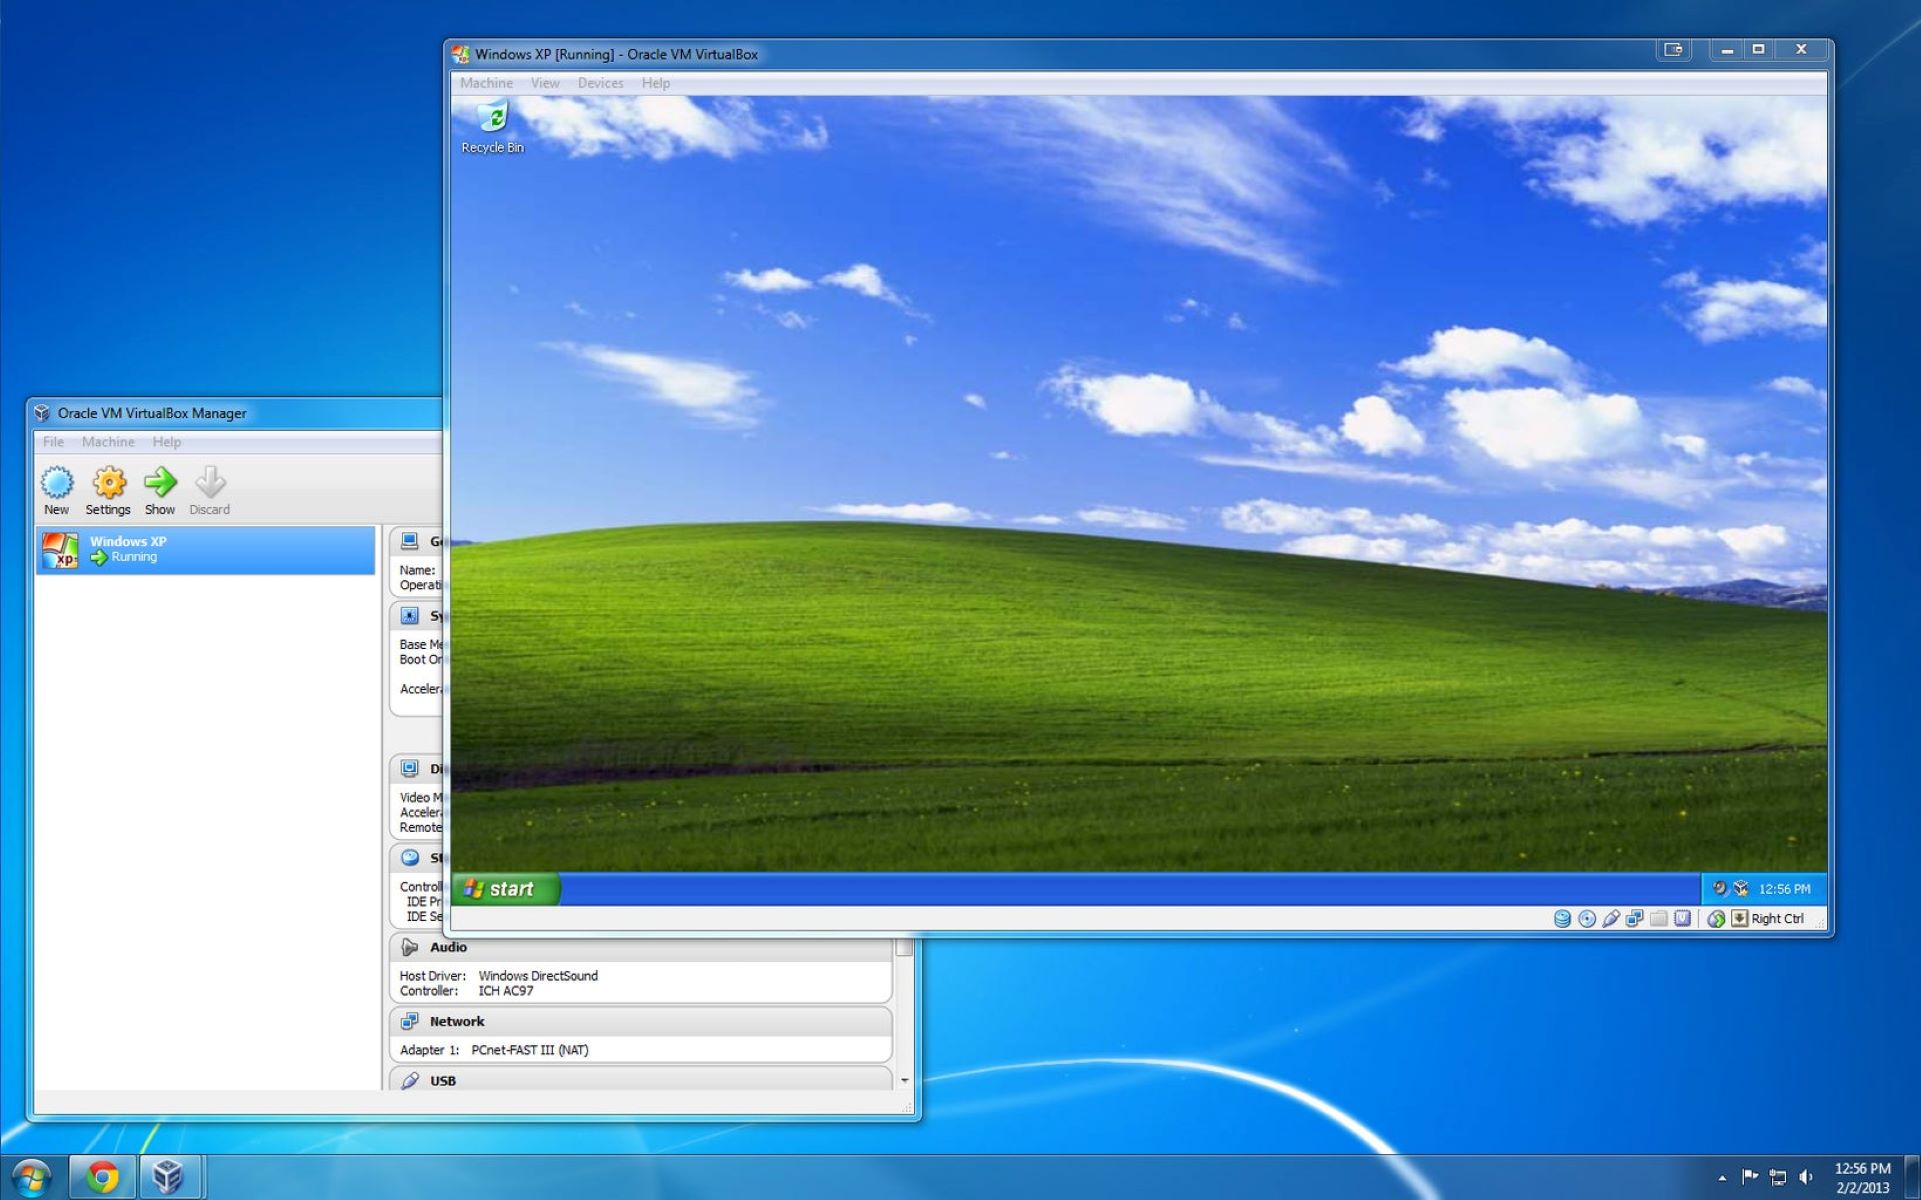
Accessing and Using the Virtual Machine
Once you have installed an operating system on your virtual machine, it’s time to access and start utilizing it. Accessing and using a virtual machine is similar to using a physical computer, with a few additional considerations. Here are the key steps to access and use your virtual machine:
1. Power On the Virtual Machine: Start the virtual machine from within the virtualization software. This will boot up the virtual machine and the guest operating system will start running.
2. Log In to the Operating System: Depending on the guest operating system you installed, you will be prompted to log in using a username and password. Enter the appropriate credentials to access the operating system.
3. Interacting with the Virtual Machine: Use the virtual machine’s console window provided by the virtualization software to interact with the guest operating system. You can use the mouse and keyboard of your host system to control and navigate within the virtual machine.
4. Install Additional Software: Install any additional software or applications that you require within the guest operating system. This could be productivity tools, development environments, or any other software relevant to your needs.
5. Transfer Files: Transfer files between the host system and the virtual machine using shared folders or file-sharing features provided by the virtualization software. This allows for easy exchange of files between the two systems.
6. Network Connectivity: Ensure that the virtual machine has network connectivity to access the internet or communicate with other devices on the network. Configure network settings within the guest operating system if necessary.
7. Run Applications: Launch and run applications within the guest operating system, just as you would on a physical computer. Install software updates, browse the web, work on documents, or perform any other tasks you would normally do on a computer.
8. Saving and Shutting Down: Save your work within the guest operating system regularly. When you are done using the virtual machine, properly shut it down using the operating system’s shutdown options. This ensures that any unsaved data is saved, and the virtual machine is gracefully powered off.
9. Reverting to Snapshots: If you have taken snapshots of the virtual machine at specific points in time, you can revert back to those snapshots when needed. This allows you to restore the virtual machine to a previous state, ideal for testing software configurations or reverting changes.
10. Managing Virtual Machine Resources: Monitor and manage the resources allocated to the virtual machine, such as CPU, memory, and storage, based on the needs of the guest operating system and the applications you are running. Adjust resource allocation as required to ensure optimal performance.
By following these steps, you can effectively access and use a virtual machine. Remember that the virtual machine runs within the virtualization software and may have different settings and configurations compared to your host system. Enjoy the benefits of a virtual environment, allowing you to run multiple operating systems and applications simultaneously on a single physical machine.
Best Practices for Using Virtual Machines
Using virtual machines efficiently and effectively requires following some best practices to ensure optimal performance, security, and reliability. Here are some key best practices to consider when using virtual machines:
1. Regularly Update the Guest Operating System: Keep the guest operating system up to date by installing the latest security patches and updates. Regular updates help prevent vulnerabilities and ensure a secure virtual environment.
2. Secure the Virtual Machine: Implement security measures, such as using strong passwords, enabling firewalls, and installing antivirus software within the guest operating system. Treat the virtual machine’s security with the same care as you would for a physical machine.
3. Take Advantage of Snapshots: Utilize snapshot capabilities to capture the state of the virtual machine before making any significant changes or installing new software. Snapshots provide a safety net by allowing you to revert back to a known stable state if something goes wrong.
4. Allocate Resources Wisely: Ensure that you allocate adequate resources to the virtual machine, such as CPU cores, memory, and storage. Monitoring resource usage and adjusting allocation as needed will help optimize performance and prevent resource contention.
5. Maintain Backups: Regularly back up important data and configurations within the virtual machine, especially if it contains critical work or valuable information. Follow proper backup procedures to protect against data loss and ensure business continuity.
6. Optimize Disk Usage: Implement best practices to optimize disk usage within the virtual machine. This includes regularly cleaning up temporary files, removing unnecessary software, and managing file storage efficiently. Proper disk management helps maintain performance and prevent unnecessary disk space usage.
7. Keep Host System Secure: Protect the host system by regularly updating the virtualization software and the host operating system. Ensure that the host system has active security measures in place to prevent unauthorized access and potential attacks on both the host and guest systems.
8. Use Virtual Network Segmentation: Consider using virtual network segmentation to isolate virtual machines from each other or from the host system. This increases security by limiting access between the virtual machines and enhancing network performance.
9. Regularly Test and Validate Backups: Periodically test and validate the integrity of your virtual machine backups to ensure that they can be successfully restored when needed. Regular testing prevents unpleasant surprises and ensures the recoverability of your virtual machines and data.
10. Have a Disaster Recovery Plan: Develop and implement a comprehensive disaster recovery plan that includes the virtual machines. This plan should outline processes for backup, restoration, and recovery to minimize downtime and mitigate risks in the event of a failure or data loss.
By following these best practices, you can optimize the performance, security, and reliability of your virtual machines. Regular updates, security measures, resource allocation, and proper backup procedures are essential for maintaining a stable and secure virtual environment.
Troubleshooting Common Issues with Virtual Machines
While virtual machines offer numerous benefits and convenience, they can also encounter common issues that may hinder their performance or functionality. Being aware of these issues and knowing how to troubleshoot them can help you quickly resolve problems and optimize your virtual machine experience. Here are some common issues you may encounter with virtual machines and tips for troubleshooting:
1. Performance Issues: If your virtual machine is experiencing slow performance, ensure that your host system has adequate resources allocated to the virtual machine. Monitor CPU, memory, and disk usage within the virtual machine and adjust resource allocation as needed. Additionally, check for any resource-hungry processes or applications running within the guest operating system.
2. Network Connectivity Problems: If your virtual machine is having network connectivity issues, verify that the virtual machine is connected to the correct network mode (NAT, Bridged, etc.) and that the network settings within the guest operating system are correctly configured. Ensure that the host system’s firewall or antivirus software is not blocking network connections to the virtual machine.
3. Virtual Machine Crashes or Freezes: If your virtual machine crashes or becomes unresponsive, first check if you have allocated sufficient resources to the virtual machine, such as CPU cores and memory. Ensure that you have installed the latest updates and patches for the virtualization software and guest operating system. If the issue persists, consider restarting the virtual machine or reverting back to a previous snapshot.
4. Incompatibility with Hardware or Software: If your virtual machine does not recognize certain hardware devices or software applications, ensure that you have installed the necessary drivers or software within the guest operating system. Verify that the virtualization software supports the specific hardware devices or software you are trying to use. If compatibility issues persist, consider seeking help from the virtualization software vendor’s support resources or community forums.
5. Disk Space Insufficiency: If your virtual machine is running out of disk space, check for any unnecessary files or applications within the guest operating system that can be removed. Consider resizing the virtual disk or allocating additional storage to the virtual machine. Ensure that disk quotas or limitations within the virtual machine are not hindering disk space availability.
6. Snapshot or Backup Failures: If you encounter issues while creating or restoring snapshots, double-check that you have enough available storage space to accommodate the snapshots. Confirm that the virtual machine software has sufficient permissions to access the specified backup locations. Also, ensure that the guest operating system or any running applications are not preventing successful snapshot or backup operations.
7. Integration Issues: If you are facing challenges with integration between the virtual machine and the host system, ensure that you have installed the virtual machine tools or guest additions provided by the virtualization software. These tools enable seamless mouse integration, shared folders, and enhanced graphics. If issues persist, verify that the virtualization software is up to date and check for any compatibility issues with the host operating system.
8. Licensing or Activation Problems: If your virtual machine is encountering licensing or activation issues with software installed within the guest operating system, ensure that you have entered the correct license key or activation details. Check that the virtual machine’s date and time settings are accurate, as improper date and time settings can cause licensing or activation failures. If the issue persists, consult the software vendor’s documentation or support resources for further guidance.
By troubleshooting these common issues, you can address performance problems, connectivity difficulties, compatibility conflicts, and other challenges that may arise when using virtual machines. Utilize the documentation and support resources provided by the virtualization software vendor and the operating system software vendor for detailed troubleshooting steps and solutions specific to your virtual machine setup.
Conclusion
Virtual machines have revolutionized the way we use and interact with computers by providing a versatile, flexible, and secure environment for running multiple operating systems on a single physical machine. They offer a range of benefits, including compatibility with different operating systems, resource optimization, security isolation, and the ability to take snapshots for easy restoration.
Setting up and using a virtual machine involves a series of steps, including choosing the right virtualization software, installing an operating system, and configuring essential settings. It is important to follow best practices such as regularly updating the guest operating system, properly allocating resources, and maintaining backups to ensure optimal performance and security.
In addition, troubleshooting common issues with virtual machines requires a systematic approach to identify and resolve performance, connectivity, compatibility, and licensing problems. By being aware of these potential issues and applying troubleshooting techniques, you can effectively resolve problems and maximize the functionality of your virtual machines.
Whether you are a software developer, IT professional, or simply an enthusiast looking to explore different operating systems, virtual machines offer a powerful tool for experimentation, development, testing, and more. Their ability to create self-contained and isolated environments allows for safer and more efficient computing experiences.
Embracing virtual machines can bring numerous benefits to individuals and organizations, including improved productivity, cost savings, enhanced security, and the ability to work with diverse software environments. By understanding the concepts, best practices, and troubleshooting techniques outlined in this article, you can confidently utilize virtual machines to meet your computing and software needs.