Introduction
Creating a virtual machine (VM) is an essential skill for any Linux administrator. Virtualization allows you to run multiple operating systems on a single physical machine, enabling efficient resource utilization and the ability to test different configurations without disrupting your main system. In this guide, we will walk you through the steps to create a virtual machine in Red Hat Linux 7 using the powerful KVM (Kernel-based Virtual Machine) technology.
Red Hat Linux is a popular choice for enterprise-level systems due to its stability, security, and extensive support. By creating a virtual machine on Red Hat Linux, you can take advantage of its robust features and easily manage your virtual infrastructure.
Before we proceed, let’s briefly discuss the prerequisites for creating a virtual machine in Red Hat Linux:
- A physical machine or server that meets the requirements for virtualization.
- Red Hat Linux 7 installed and properly configured on the host machine.
- Administrator access to the host machine and basic knowledge of Linux command line.
If you meet these requirements, you’re ready to dive into the process of creating a virtual machine. We’ll guide you through every step, from installing the necessary packages to configuring the virtual network and installing an operating system on the virtual machine.
The benefits of creating a virtual machine are numerous. It allows you to save hardware costs by consolidating multiple machines onto a single physical server. It also provides an isolated environment for testing and development, allowing you to experiment without the risk of impacting your production environment. Additionally, virtual machines can be easily replicated and deployed, making it a convenient solution for scaling your infrastructure.
In the following sections, we’ll provide a detailed walkthrough of each step involved in creating a virtual machine in Red Hat Linux 7. By the end of this guide, you’ll have a fully functional virtual machine running on your Red Hat Linux system, ready for you to customize and utilize for your specific needs.
Prerequisites
Before you begin creating a virtual machine in Red Hat Linux 7, there are a few prerequisites that must be met to ensure a smooth and successful setup. These prerequisites include:
- Hardware Requirements: Ensure that the physical machine or server you plan to use for virtualization meets the necessary hardware requirements. This includes having a sufficient amount of RAM, disk space, and processor capacity to allocate to virtual machines.
- Red Hat Linux 7 Installed: Ensure that Red Hat Linux 7 is already installed on the host machine. You will need administrator access to the host machine for the virtual machine creation process.
- Machine Compatibility: Verify that the hardware on the host machine supports virtualization. Most modern machines have this capability, but it’s always a good idea to double-check.
Once you have confirmed that these prerequisites are met, you can proceed with the process of creating a virtual machine. It is also helpful to have a basic understanding of the Linux command line, as we will be using it throughout the setup process.
By meeting these prerequisites, you are setting yourself up for a successful virtual machine setup. It’s important to ensure that your hardware is capable of handling virtualization, as it requires allocating resources from the host machine to the virtual machines. Additionally, having a working installation of Red Hat Linux 7 is essential to begin the virtual machine creation process.
Virtual machines offer a range of benefits, including increased resource utilization, easy scalability, and the ability to test and experiment with different configurations. By having the required prerequisites in place, you are preparing yourself to take advantage of these benefits and create a virtualized environment that suits your needs.
Now that we have covered the prerequisites, we are ready to move on to the step-by-step process of creating a virtual machine in Red Hat Linux 7.
Step 1: Install KVM (Kernel-based Virtual Machine) package
The first step in creating a virtual machine in Red Hat Linux 7 is to install the KVM (Kernel-based Virtual Machine) package. KVM is the virtualization technology that allows you to run multiple operating systems on a single host machine.
Here is the step-by-step process to install KVM:
- Open the terminal on your Red Hat Linux 7 system.
- Update the system’s package repository by running the following command:
sudo yum update - Install the KVM package by running the following command:
sudo yum install qemu-kvm libvirt virt-install bridge-utils - Start and enable the libvirtd service to manage virtualization on your system:
sudo systemctl start libvirtd
sudo systemctl enable libvirtd - Verify that KVM modules are loaded by running the following command:
lsmod | grep kvm
Note: If the KVM modules are not loaded, you may need to restart your system.
Once you have completed these steps, you have successfully installed the KVM package on your Red Hat Linux 7 system. KVM provides the essential components for virtualization, including the ability to create and manage virtual machines.
KVM offers numerous advantages, including excellent performance, hardware virtualization support, and seamless integration with existing Linux tools. By installing KVM, you are setting yourself up for a smooth virtual machine creation process.
Now that you have installed the KVM package, you are ready to move on to the next step in creating a virtual machine in Red Hat Linux 7.
Step 2: Verify hardware support for virtualization
Before proceeding with the creation of a virtual machine in Red Hat Linux 7, it is essential to verify that your hardware supports virtualization. Virtualization relies on hardware-level virtualization extensions, such as Intel VT-x or AMD-V, to efficiently run virtual machines.
To check if your hardware supports virtualization, follow these steps:
- Open the terminal on your Red Hat Linux 7 system.
- Enter the following command to install the CPUID tool:
sudo yum install cpuid - Run the CPUID tool on your system:
cpuid | grep -E "svm|vmx"
If the command returns any output, it means that your CPU supports virtualization. The “svm” or “vmx” flags indicate AMD-V or Intel VT-x support, respectively.
However, if the command does not produce any output, it means that your CPU does not support virtualization or the virtualization extensions are not enabled in your system’s BIOS. In this case, you may need to refer to your hardware manufacturer’s documentation and enable virtualization support in the BIOS settings.
Having hardware support for virtualization is crucial for optimal performance and functionality of virtual machines. Virtualization extensions enable the hardware to handle virtualization tasks more efficiently, resulting in better performance and stability.
Once you have verified that your hardware supports virtualization and the necessary extensions are enabled, you can confidently proceed with creating a virtual machine in Red Hat Linux 7.
In the next step, we will guide you through the process of configuring the virtualization host on your Red Hat Linux 7 system.
Step 3: Configure the virtualization host
After verifying hardware support for virtualization, the next step in creating a virtual machine in Red Hat Linux 7 is to configure the virtualization host. This involves setting up the necessary network and storage resources to ensure efficient operation of the virtual machines.
Here is a step-by-step guide to configure the virtualization host:
-
- Open the terminal on your Red Hat Linux 7 system.
- Create a bridge network interface for the virtual machines using the following command:
sudo nmcli con add type bridge ifname br0 - Assign a static IP address to the bridge interface by running the command:
sudo nmcli con mod br0 ipv4.address /24
Replace with the desired static IP address for the bridge.
-
- Add the physical network interface to the bridge interface:
sudo nmcli con add type ethernet con-name br0-slave ifname master br0
- Add the physical network interface to the bridge interface:
Replace with the name of the physical interface connected to your network.
- Enable network forwarding by editing the sysctl configuration file:
sudo vi /etc/sysctl.d/99-sysctl.conf - Add the following line to the file:
net.ipv4.ip_forward = 1 - Save and exit the file.
- Apply the changes by running the following command:
sudo sysctl -p
By following these steps, you have successfully configured the virtualization host on your Red Hat Linux 7 system. The bridge network interface allows the virtual machines to communicate with the network, while network forwarding enables network traffic to flow between the virtual machines and the external network.
It’s important to properly configure the virtualization host to ensure seamless communication and efficient utilization of resources by the virtual machines. The bridge interface acts as a gateway, connecting the virtual machines to the physical network and allowing them to access external resources.
With the virtualization host configured, you are now ready to move on to the next step and create a virtual network for your virtual machines in Red Hat Linux 7.
Step 4: Create a virtual network
After configuring the virtualization host, the next step in creating a virtual machine in Red Hat Linux 7 is to create a virtual network. A virtual network enables communication between the virtual machines and allows them to connect to the external network.
Follow these steps to create a virtual network:
- Open the terminal on your Red Hat Linux 7 system.
- Use the virt-manager command to open the Virtual Machine Manager:
virt-manager - In the Virtual Machine Manager, click on the “Edit” menu and select “Connection Details”.
- In the “Virtual Networks” tab, click on the “+” button to add a new virtual network.
- Specify the network name, such as “vm-network”, and choose the network mode to be “NAT”.
- Configure the IPv4 address and network mask for the virtual network, or leave it as automatic if you prefer DHCP.
- Click “Finish” to create the virtual network.
By following these steps, you have successfully created a virtual network for your virtual machines in Red Hat Linux 7. The virtual network allows the virtual machines to communicate with each other and with the external network, providing connectivity and network services.
The NAT (Network Address Translation) mode is commonly used for virtual networks as it allows the virtual machines to share the host’s IP address and access external resources. However, you can choose different networking modes based on your requirements.
A carefully configured virtual network ensures that your virtual machines have proper network connectivity and can seamlessly interact with the external world. It plays a crucial role in building a virtualized environment that can mimic real-world network scenarios.
Now that you have created a virtual network, you are ready to move on to the next step and create your virtual machine in Red Hat Linux 7.
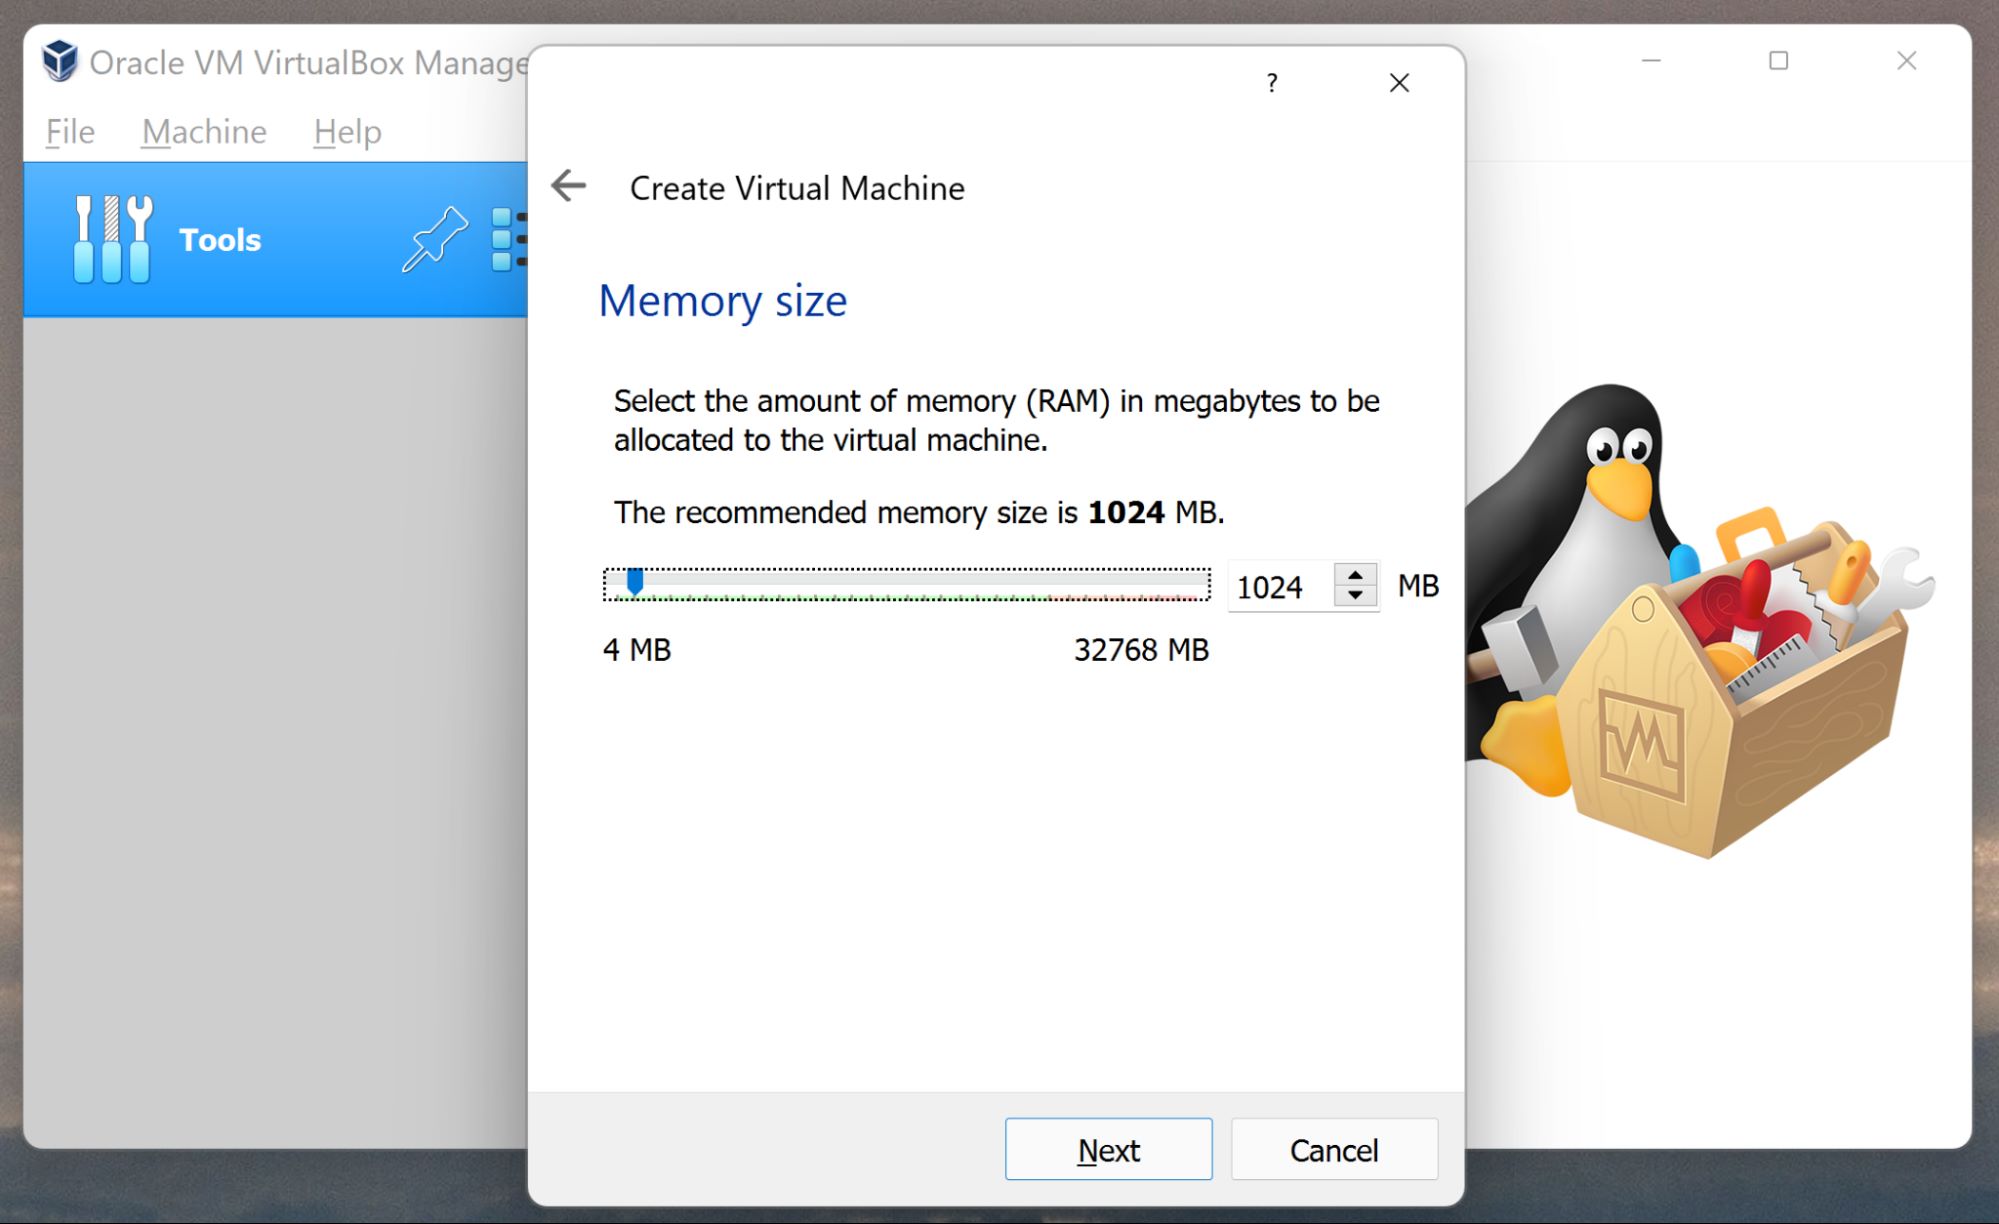
Step 5: Create a virtual machine
Now that you have set up the virtual network, it’s time to create a virtual machine in Red Hat Linux 7. A virtual machine serves as an isolated instance of an operating system within your physical machine, allowing you to run multiple operating systems simultaneously on a single host.
Follow these steps to create a virtual machine:
- Open the terminal on your Red Hat Linux 7 system.
- Launch the Virtual Machine Manager by running the following command:
virt-manager - In the Virtual Machine Manager, click on the “Create New Virtual Machine” button.
- Select “Local install media (ISO image or CDROM)” and browse to the ISO image of the operating system you want to install on the virtual machine.
- Set the name and location for the virtual machine, and choose the amount of memory (RAM) you want to allocate to it.
- Create a virtual disk or select an existing disk file as storage for the virtual machine.
- Allocate the desired number of virtual CPUs for the virtual machine.
- Configure the network options for the virtual machine, such as connecting it to the virtual network you created earlier.
- Review the summary and click “Finish” to create the virtual machine.
By following these steps, you have successfully created a virtual machine in Red Hat Linux 7. The Virtual Machine Manager will guide you through the process and prompt you for any additional information required, such as installation options for the chosen operating system.
Creating a virtual machine allows you to run multiple operating systems on a single physical machine, providing flexibility, isolation, and the ability to test different configurations without impacting your main system.
Once the virtual machine is created, you can proceed to install the operating system on it. In the next step, we will guide you through the process of installing Red Hat Linux 7 on the virtual machine.
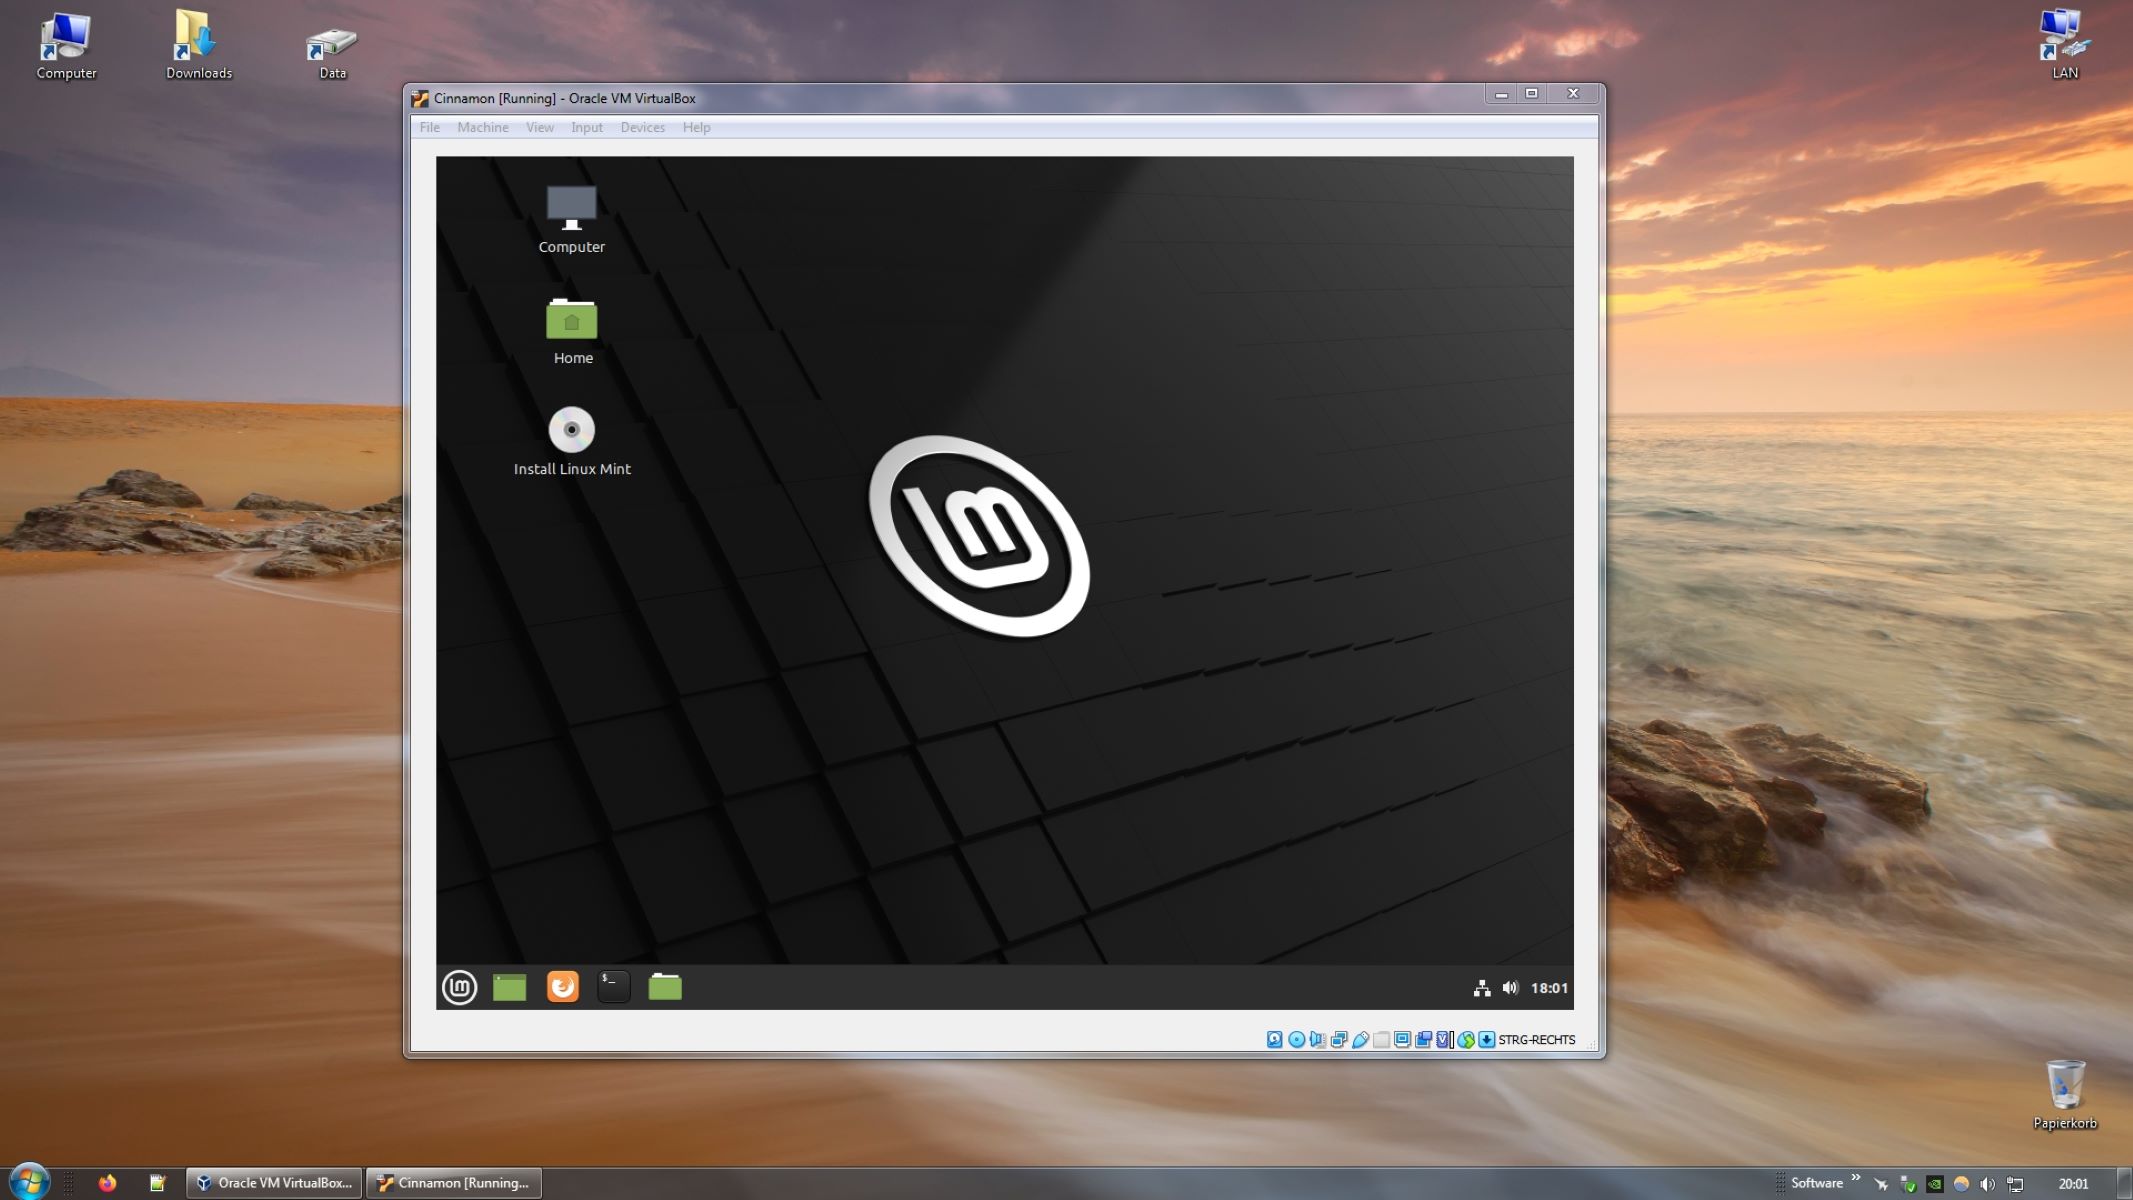
Step 6: Install Red Hat Linux 7 on the virtual machine
After creating the virtual machine, the next step is to install Red Hat Linux 7 on it. The installation process will create a fully functional operating system environment within the virtual machine.
Follow these steps to install Red Hat Linux 7 on the virtual machine:
- Launch the Virtual Machine Manager and select the virtual machine you created.
- Click on the “Open” button to start the virtual machine.
- On the virtual machine’s console, boot from the Red Hat Linux 7 installation media (ISO or CD).
- Follow the on-screen prompts to select the installation language, keyboard layout, and other preferences.
- Choose the installation destination by selecting the virtual disk created for the virtual machine.
- Configure the network settings, such as assigning an IP address and hostname, based on your network requirements.
- Select the software packages you want to install or choose from predefined installation profiles.
- Set the root password and create user accounts for the virtual machine.
- Review the installation summary and click “Begin Installation” to start the installation process.
The installation process may take some time, depending on the performance of your system and the options chosen during the installation.
Once the installation is complete, you will have a fresh installation of Red Hat Linux 7 running on your virtual machine. You can now log in to the virtual machine and start customizing it according to your needs.
Installing Red Hat Linux 7 on the virtual machine allows you to leverage the stability, security, and features of this enterprise-level operating system within a virtual environment. This enables efficient resource utilization, easy management, and the ability to test different configurations.
In the next step, we will guide you through the process of configuring the network for the virtual machine.
Step 7: Configure the virtual machine’s network
After installing Red Hat Linux 7 on the virtual machine, the next step is to configure its network settings. This will enable the virtual machine to connect to the network, access external resources, and communicate with other machines.
Follow these steps to configure the virtual machine’s network:
-
- Boot up the virtual machine and log in to the Red Hat Linux 7 operating system.
- Open the terminal on the virtual machine.
- Identify the network interface of the virtual machine using the following command:
ip link show - Edit the network configuration file using a text editor:
sudo vi /etc/sysconfig/network-scripts/ifcfg-
Replace with the name of the network interface identified in the previous step.
- Configure the network interface by setting the following parameters:
BOOTPROTO=static: Set the boot protocol to static if you want to assign a static IP address to the virtual machine.IPADDR=: Specify the IP address you want to assign to the virtual machine.NETMASK=: Set the network mask for the virtual machine’s network.GATEWAY=: Set the IP address of the gateway or router.DNS1=: Specify the IP address of the DNS server.
- Save and close the file.
- Restart the network service to apply the changes:
sudo systemctl restart network
By following these steps, you have successfully configured the network settings for the virtual machine. The virtual machine will now be able to connect to the network, access the internet, and communicate with other machines on the network.
Configuring the virtual machine’s network is crucial for seamless communication and integration with other machines and services. Setting the correct IP address, netmask, gateway, and DNS server ensures that the virtual machine can access external resources and be accessed by other machines on the network.
Now that the network is configured, you can proceed to manage and control your virtual machines using command-line tools, which we will cover in the next step.
Step 8: Manage virtual machines with command-line tools
Once you have created and configured virtual machines in Red Hat Linux 7, you can manage them using various command-line tools. These tools provide powerful capabilities for controlling and monitoring your virtual machine environment from the command line.
Here are some commonly used command-line tools to manage virtual machines:
- virsh: The virsh command-line tool allows you to control and manage virtual machines using a domain-based approach. You can start, stop, restart, suspend, and resume virtual machines, as well as view their status and resource utilization.
- virt-install: The virt-install command-line tool is used to create and install virtual machines from the command line. It provides options to specify the virtual machine’s name, memory, CPU, storage, and network settings, allowing you to automate and script the creation of virtual machines.
- virt-manager: Although primarily a graphical tool, virt-manager also provides a command-line interface called virt-manager-cli. This allows you to perform various management tasks on virtual machines, such as creating, deleting, and listing virtual machines, as well as accessing their consoles.
- libvirtd: The libvirtd service is responsible for managing the virtualization infrastructure and providing APIs for interacting with virtual machines. You can use the libvirt command-line tools to control and monitor the libvirtd service, as well as perform operations on virtual machines.
Using command-line tools for virtual machine management gives you flexibility, automation, and the ability to script repetitive tasks. It allows you to efficiently manage your virtual machine environment without relying solely on graphical interfaces.
By leveraging these command-line tools, you can monitor the performance, resource utilization, and health of your virtual machines, as well as perform administrative tasks to keep your virtual machine environment running smoothly.
Now that you are familiar with managing virtual machines using command-line tools, you have complete control over your virtualized environment in Red Hat Linux 7.
With this, you have successfully completed the process of creating, configuring, and managing virtual machines in Red Hat Linux 7. Enjoy the benefits of virtualization, such as increased efficiency, versatility, and scalability, as you utilize your virtual machine environment for various workloads.
Conclusion
Creating and managing virtual machines in Red Hat Linux 7 opens up a world of possibilities for system administrators. Virtualization allows you to run multiple operating systems on a single physical machine, providing flexibility, efficient resource utilization, and the ability to test different configurations without interfering with your main system.
In this guide, we have walked through the step-by-step process of creating a virtual machine in Red Hat Linux 7. We started by ensuring that the necessary prerequisites were met, including verifying hardware support for virtualization and configuring the virtualization host. Then, we created a virtual network to enable communication between the virtual machines and the external network.
We then proceeded to create a virtual machine, installing Red Hat Linux 7 within it. After installation, we configured the virtual machine’s network settings to ensure connectivity and integration with other machines and services. Finally, we explored command-line tools for managing virtual machines, providing powerful capabilities for controlling and monitoring the virtual machine environment.
By following the steps outlined in this guide, you can reap the benefits of virtualization, including improved resource utilization, scalability, and the ability to efficiently test and develop new environments. Whether you’re setting up a test lab, deploying production systems, or exploring new configurations, Red Hat Linux 7 provides a robust platform for your virtual machine needs.
Remember to regularly update and maintain your virtual machines to keep them secure and stable. Additionally, stay informed about new features and enhancements in Red Hat Linux 7 and virtualization technologies to leverage the latest advancements in your virtualized environment.
Virtual machines have revolutionized the way we deploy and manage systems, allowing for greater efficiency, flexibility, and cost savings. With the knowledge gained from this guide, you are equipped to create, configure, and manage virtual machines in Red Hat Linux 7, enabling you to optimize your infrastructure and streamline your operations.