Introduction
Welcome to our guide on how to make a virtual machine with VirtualBox. In this digital era, virtual machines have become a valuable tool for various purposes, from software testing to running different operating systems on a single device. VirtualBox is a powerful and popular virtualization software that allows you to create and manage virtual machines with ease.
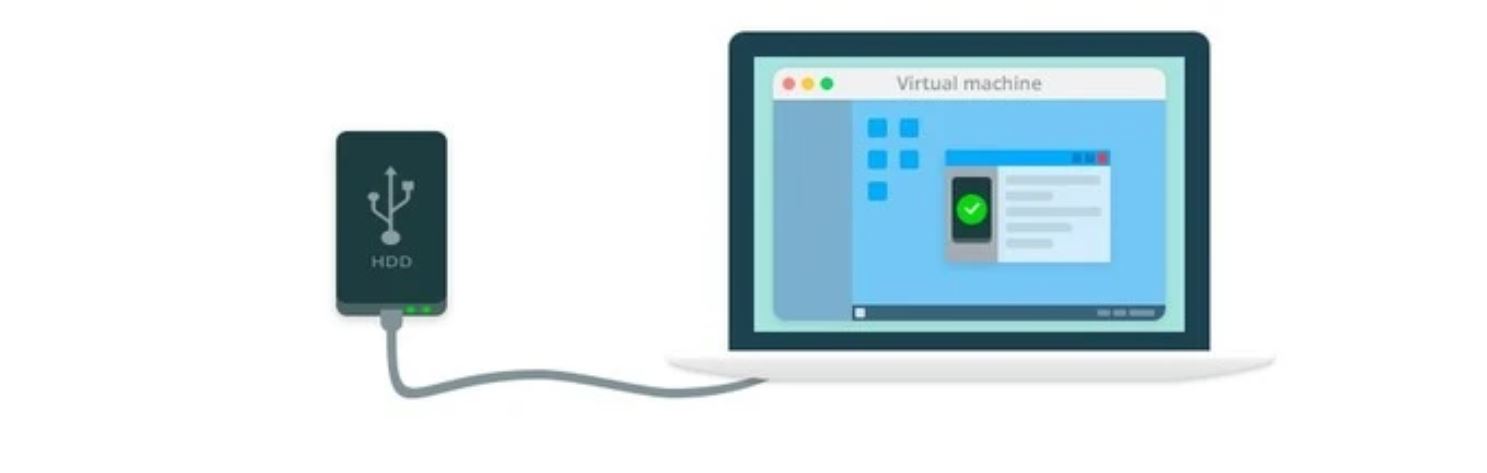
A virtual machine is essentially a software emulation of a physical computer system. It enables you to run multiple operating systems simultaneously on your computer, all within isolated environments. This means that you can have Windows, Linux, and even macOS running side by side, without needing separate physical machines for each.
Why use VirtualBox? Firstly, it is free and open-source, making it accessible to anyone. Secondly, it supports a wide range of operating systems, from Windows and Linux to macOS and Solaris. Additionally, VirtualBox provides a user-friendly interface and a robust set of features, making it suitable for both beginner and advanced users.
Before we dive into the steps of creating a virtual machine with VirtualBox, let’s go over the necessary system requirements. VirtualBox can be installed on Windows, macOS, Linux, and Solaris operating systems, so ensure that your current system is compatible. You will also need a sufficient amount of RAM, CPU power, and disk space to allocate to your virtual machine.
Now that we have covered the basics, we can proceed with the step-by-step process of creating a virtual machine using VirtualBox. This guide will walk you through each stage, from downloading and installing VirtualBox to configuring and customizing your virtual machine. So, let’s get started!
What is a Virtual Machine?
A virtual machine, often abbreviated as VM, is a software emulation of a physical computer system. It allows you to run multiple operating systems simultaneously on a single computer, providing isolated environments for each operating system. With virtualization technology, you can effectively create and manage virtual machines to suit your needs.
Virtual machines are widely used for various purposes, including software development, testing, and running legacy applications. They offer several advantages over traditional physical machines, such as improved efficiency, flexibility, and cost savings. Let’s delve deeper into the key aspects of virtual machines.
Isolation: One of the primary benefits of virtual machines is the ability to isolate different operating systems from one another. Each virtual machine operates independently with its own set of resources, such as CPU, memory, and storage. This isolation ensures that any changes or issues within one virtual machine do not impact the others.
Hardware Emulation: Virtual machines emulate hardware components, including processors, hard drives, network adapters, and more. This allows operating systems to run within the virtual environment as if they were running on physical hardware. The virtualization software, such as VirtualBox, bridges the gap between the physical host machine and the virtual machines.
Snapshot and Rollback: Another powerful feature of virtual machines is the ability to take snapshots of their current state. This allows you to save the entire system configuration, including the operating system, applications, and data, at a specific point in time. Snapshots enable you to experiment, test updates, and easily revert back to a previous state if something goes wrong.
Resource Optimization: Virtual machines optimize resource utilization by dynamically allocating CPU, memory, and storage based on demand. Multiple virtual machines can share the resources of a single physical computer, leading to improved efficiency and cost savings. This makes virtualization an excellent option for maximizing hardware utilization in data centers and enterprise environments.
With virtualization technology, you can unleash the power of running multiple operating systems on a single machine. Whether you are a developer, tester, or simply someone looking to explore different software environments, virtual machines provide a flexible and efficient solution. Now that we have a clear understanding of virtual machines, let’s continue with how to create one using VirtualBox.
Why Use VirtualBox?
When it comes to virtualization software, VirtualBox stands out as a popular and reliable choice. Here are some compelling reasons why you should consider using VirtualBox for your virtualization needs.
1. Free and Open-Source: VirtualBox is completely free to download and use. It is released under the GNU General Public License (GPL), which means anyone can access, modify, and distribute the software. This open-source nature ensures that VirtualBox remains accessible and continually improved by an active community of developers.
2. Cross-Platform Support: VirtualBox supports various operating systems, making it versatile and compatible with a wide range of host and guest systems. Whether you are using Windows, macOS, Linux, or Solaris, VirtualBox provides a consistent virtualization experience across different platforms.
3. User-Friendly Interface: VirtualBox offers a simple and intuitive interface that is easy to navigate, even for beginners. The graphical user interface (GUI) helps you manage your virtual machines effectively by providing straightforward options for creating, configuring, and managing them. It allows you to access powerful features without the need for complex command-line operations.
4. Wide Range of Operating System Support: VirtualBox supports various guest operating systems, including popular choices like Windows, Linux, and macOS. It also provides experimental support for less common systems like Solaris, BSD, and OS/2. This extensive compatibility ensures that you can run different operating systems on your virtual machines with ease.
5. Flexible Networking Options: VirtualBox provides a range of networking options to suit different requirements. You can choose between the default NAT (Network Address Translation) mode, which allows your guest operating system to share the host’s IP address, or opt for more advanced networking modes like Bridged or Host-Only. These options give you control over how your virtual machines interact with the network.
6. Snapshots and Cloning: VirtualBox offers powerful features for managing virtual machine configurations. With snapshots, you can capture the current state of your virtual machine and easily revert back to it, providing a safety net for experimentation and testing. Additionally, VirtualBox allows you to clone virtual machines, enabling you to create multiple identical copies for testing or deployment purposes.
7. Compatibility with Other Virtualization Formats: VirtualBox supports importing and exporting virtual machines in various formats, including those used by other popular virtualization software like VMWare and Hyper-V. This compatibility ensures that you can easily migrate or share virtual machines between different virtualization platforms.
Whether you are a beginner or an experienced user, VirtualBox offers a robust set of features and a user-friendly interface that makes virtualization accessible to everyone. Now that you understand why VirtualBox is a preferred choice, let’s move on to the next section, where we’ll explore the system requirements for using VirtualBox and creating a virtual machine.
System Requirements
Before diving into the process of creating a virtual machine with VirtualBox, it’s important to ensure that your system meets the necessary requirements. Although VirtualBox is a lightweight software, it still requires some resources to function properly. Here are the system requirements to consider:
1. Operating System: VirtualBox is compatible with a wide range of operating systems, including Windows, macOS, Linux, and Solaris. Ensure that your system is running a supported operating system version. It’s also essential to have the latest updates and patches installed for optimal performance and security.
2. Processor (CPU): VirtualBox utilizes the CPU resources of your host machine to run virtual machines. While there is no specific requirement, a multi-core processor with virtualization extensions (e.g., Intel VT-x or AMD-V) is recommended for better performance. This feature enables hardware-assisted virtualization, which improves the efficiency and speed of virtual machine operations.
3. Memory (RAM): The amount of memory allocated to your virtual machines will directly impact their performance. VirtualBox itself requires a minimum of 1 GB of RAM, but keep in mind that you’ll need additional RAM for each virtual machine running simultaneously. As a general guideline, allocate at least 2 GB of RAM for each virtual machine to ensure smooth operation.
4. Disk Space: VirtualBox installation requires around 200 MB of disk space. However, the more critical consideration is the storage required for your virtual machines. Each virtual machine will have its own virtual hard disk file, which can range from a few gigabytes to several tens of gigabytes, depending on your usage and the operating system installed. Ensure that you have enough free disk space to accommodate both VirtualBox and your virtual machines.
5. Graphics: Virtual machines typically use a virtual graphics adapter that supports standard VGA (Video Graphics Array) resolution. While VirtualBox is not primarily designed for high-performance graphics applications, it does offer limited support for 3D acceleration in Windows and Linux guest systems, provided that the necessary drivers are installed within the guest.
6. Internet Connection: Although not strictly required for VirtualBox itself, an internet connection is essential for downloading operating system ISO files and updates, as well as accessing online resources and software repositories within the virtual machines. Ensure that you have a stable and reliable internet connection for a seamless virtualization experience.
By verifying that your system meets these requirements, you can ensure a smooth and efficient virtualization experience with VirtualBox. Once you have confirmed compatibility, you can proceed to the next section, where we will guide you through the steps of downloading and installing VirtualBox on your system.
Step 1: Download and Install VirtualBox
In the first step of creating a virtual machine with VirtualBox, you need to download and install the VirtualBox software. Follow these steps to get started:
- Open your web browser and navigate to the official VirtualBox website at https://www.virtualbox.org/.
- On the website’s homepage, locate the “Downloads” section. Click on it to access the download page.
- On the download page, you will see a list of available download options. Choose the version suitable for your operating system. VirtualBox supports Windows, macOS, Linux, and Solaris, so select the appropriate version for your system.
- Once you have selected the correct version, click on the download link to initiate the download process.
- Depending on your web browser, you might be prompted to save the file or start the download immediately. Choose the option that suits you.
- After the download is complete, locate the installation file (e.g., “VirtualBox-x.x.x-xxxxx.exe” for Windows or “VirtualBox-x.x.x-xxxx.pkg” for macOS) and double-click on it to start the installation process.
- Follow the on-screen instructions provided by the installation wizard. Review the license agreement and accept the terms if you agree.
- Choose the installation location and select the components you want to install. Leave the default options selected unless you have specific requirements.
- Click “Install” to begin the installation process. Depending on your system’s performance and the options you selected, the installation may take a few minutes.
- Once the installation is complete, click “Finish” to exit the installation wizard.
Congratulations! You have successfully downloaded and installed VirtualBox on your system. Now, you are ready to proceed with creating your first virtual machine. In the next section, we will dive into the process of downloading a Linux distribution to use as the guest operating system for your virtual machine.
Step 2: Download a Linux Distribution
After installing VirtualBox on your system, the next step is to download a Linux distribution. A Linux distribution is an operating system based on the Linux kernel, and there are many popular distributions available, such as Ubuntu, Fedora, and Debian. Follow these steps to download a Linux distribution:
- Open your web browser and navigate to the official website of the Linux distribution you want to download. For example, if you choose Ubuntu, go to https://ubuntu.com/.
- On the website’s homepage, locate the “Downloads” or “Get Ubuntu” section. Click on it to access the download page for the Linux distribution.
- On the download page, you will usually have different versions or editions of the Linux distribution available. Choose the version that suits your needs. For beginners, it is recommended to select the LTS (Long Term Support) version, as it provides stability and support for a more extended period.
- Once you have selected the version, you will be presented with different options for downloading. Choose the appropriate option based on your system architecture (32-bit or 64-bit).
- Click on the download link to initiate the download process. Depending on the size of the Linux distribution and your internet connection speed, the download may take some time.
- While the Linux distribution is downloading, it is recommended to create a folder on your system to store all the files related to your virtual machines. This folder will serve as the location to save the virtual hard disk file and any other files associated with your virtual machine.
- After the download is complete, navigate to the folder where you saved the Linux distribution file, which is typically in the “Downloads” folder of your operating system.
- Now that you have downloaded the Linux distribution, you are ready to proceed to the next step, which is creating a new virtual machine in VirtualBox.
By following these steps, you will have a Linux distribution downloaded and ready to be installed on your virtual machine. In the next section, we will guide you through the process of creating a new virtual machine in VirtualBox.
Step 3: Create a New Virtual Machine
With VirtualBox installed and a Linux distribution downloaded, it’s time to create a new virtual machine. Follow these steps to set up a new virtual machine in VirtualBox:
- Open VirtualBox on your system. You will be greeted with the VirtualBox Manager, where you can manage your virtual machines.
- Click on the “New” button in the top-left corner of the VirtualBox Manager to start creating a new virtual machine.
- In the “Create Virtual Machine” window, enter a name for your virtual machine. Choose a descriptive name that represents the operating system you will be installing.
- Select the type of operating system you will be installing. In our case, choose “Linux” as the type.
- Choose the version of the Linux distribution you downloaded from the drop-down menu. If the exact version is not listed, choose the one that closely matches.
- Click “Next” to proceed to the memory size configuration. Allocate an appropriate amount of memory for your virtual machine, keeping in mind the recommended specifications for the Linux distribution.
- On the next screen, you will be prompted to create a virtual hard disk for your virtual machine. Ensure the “Create a virtual hard disk now” option is selected, and click “Create”.
- In the “Virtual Hard Disk Creation Wizard”, choose the file type for your virtual hard disk. The default option, “VDI (VirtualBox Disk Image)”, is recommended.
- On the next screen, select “Dynamically allocated” to create a virtual hard disk that grows in size as you use it. This option ensures efficient disk space utilization.
- Specify the size of the virtual hard disk. The size will depend on the requirements of your Linux distribution and the amount of storage you can allocate.
- Click “Create” to finalize the creation of your new virtual machine.
That’s it! You have successfully created a new virtual machine in VirtualBox. In the next section, we will guide you through the process of configuring your virtual machine before installing the Linux distribution.
Step 4: Configure your Virtual Machine
After creating a new virtual machine in VirtualBox, the next step is to configure it according to your requirements. Here are the steps to configure your virtual machine:
- With your new virtual machine selected in the VirtualBox Manager, click on the “Settings” button in the top-left corner.
- In the “Settings” window, you will find various tabs representing different aspects of your virtual machine’s configuration.
- Start with the “System” tab. Here, you can adjust the amount of base memory allocated to your virtual machine. Make sure the assigned memory is within the recommended specifications of your Linux distribution.
- Next, move to the “Storage” tab. In the “Storage Tree” section, you will see the virtual hard disk you created earlier. If you want to install the Linux distribution from an ISO file, click on the optical drive icon and choose the ISO file of the Linux distribution you downloaded.
- Proceed to the “Display” tab. Here, you can adjust the video memory and enable or disable 3D acceleration based on your requirements. Ensure that the graphics controller is set to “VBoxVGA” for better compatibility.
- Move to the “Network” tab to configure networking for your virtual machine. Choose the appropriate networking mode based on your needs, such as NAT for basic internet access or Bridged for direct network access.
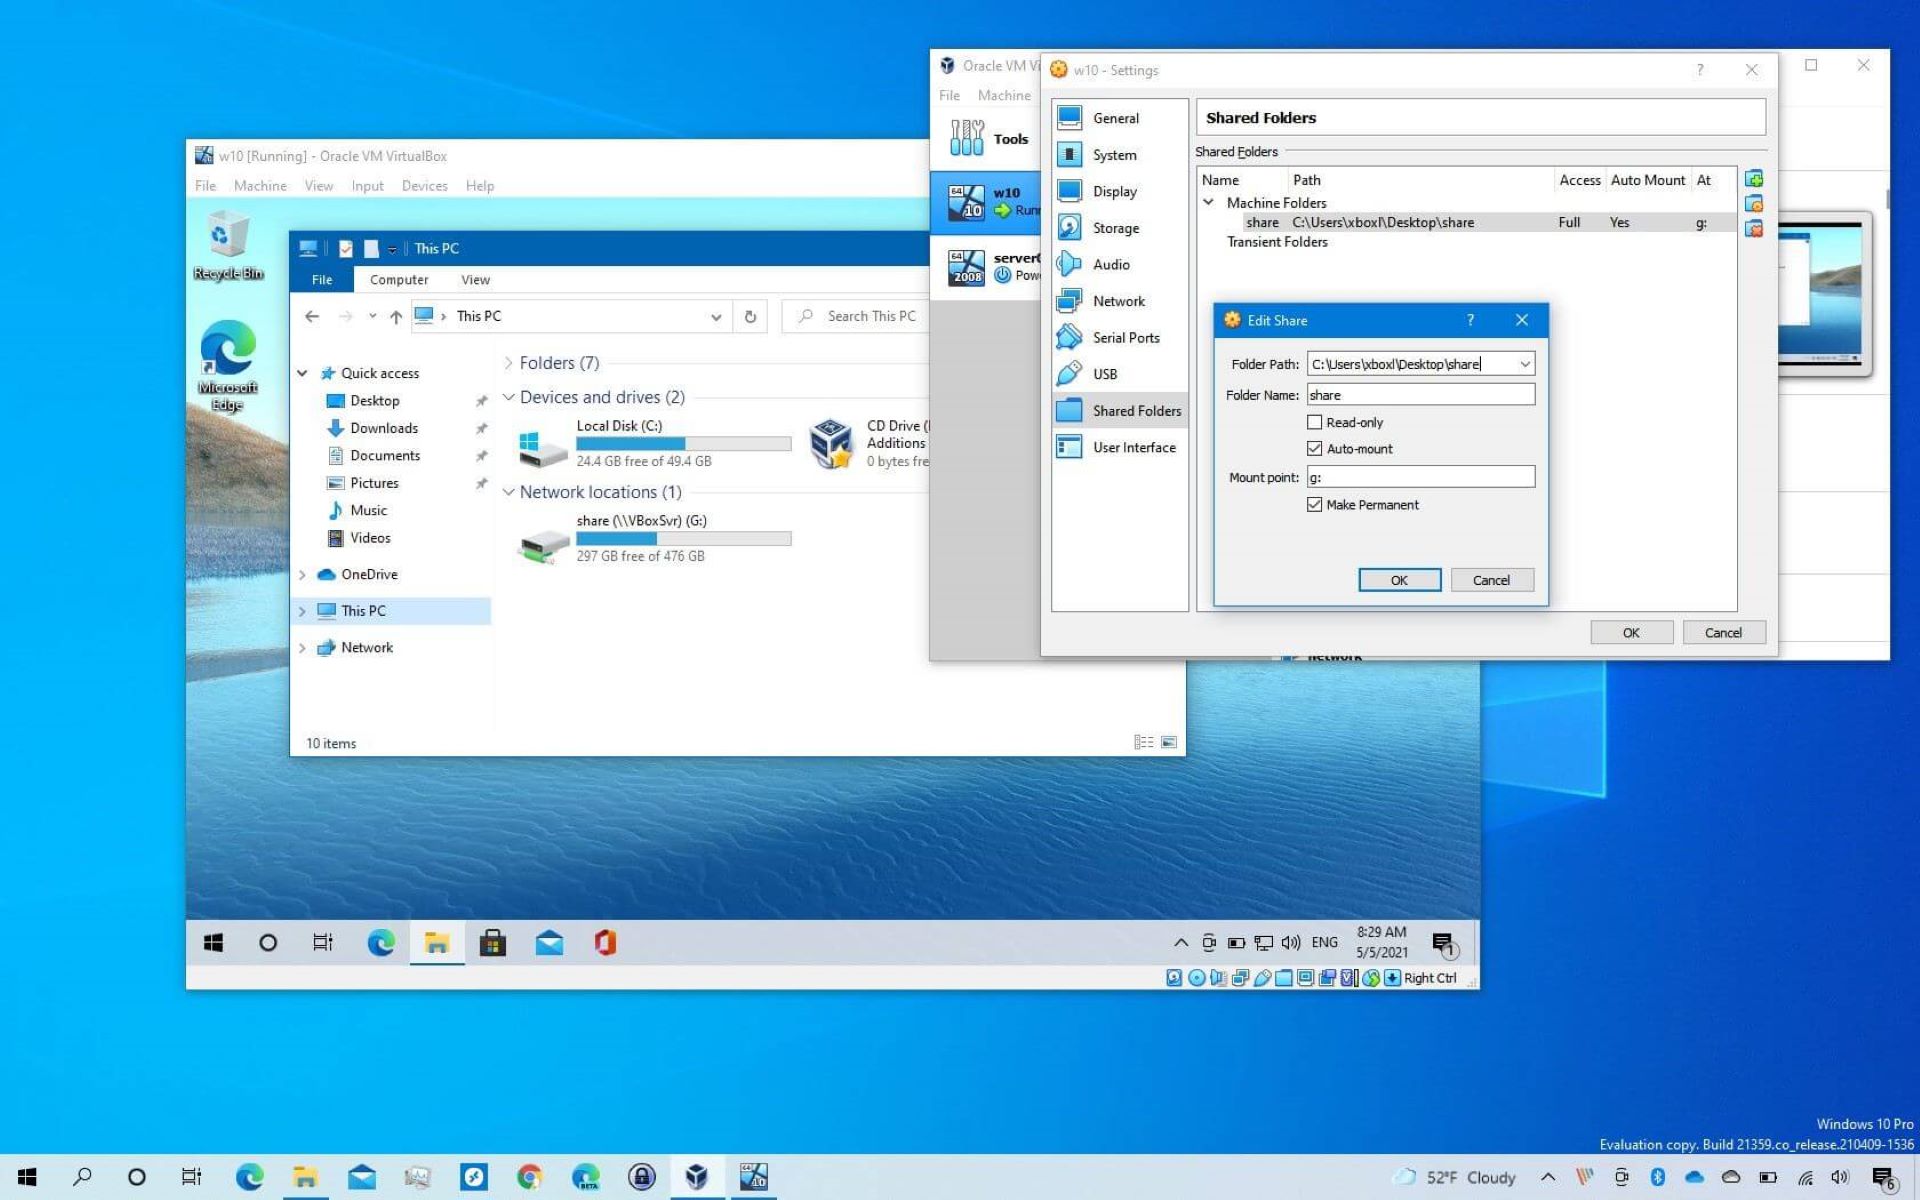
- Explore the other tabs, such as “Audio”, “USB”, and “Shared Folders”, to configure additional settings according to your preferences and virtual machine requirements.
- Once you have finished configuring your virtual machine, click “OK” to save the changes and exit the “Settings” window.
By following these steps, you can configure your virtual machine to your desired specifications in VirtualBox. In the next section, we will guide you through the process of installing the Linux distribution on your virtual machine.
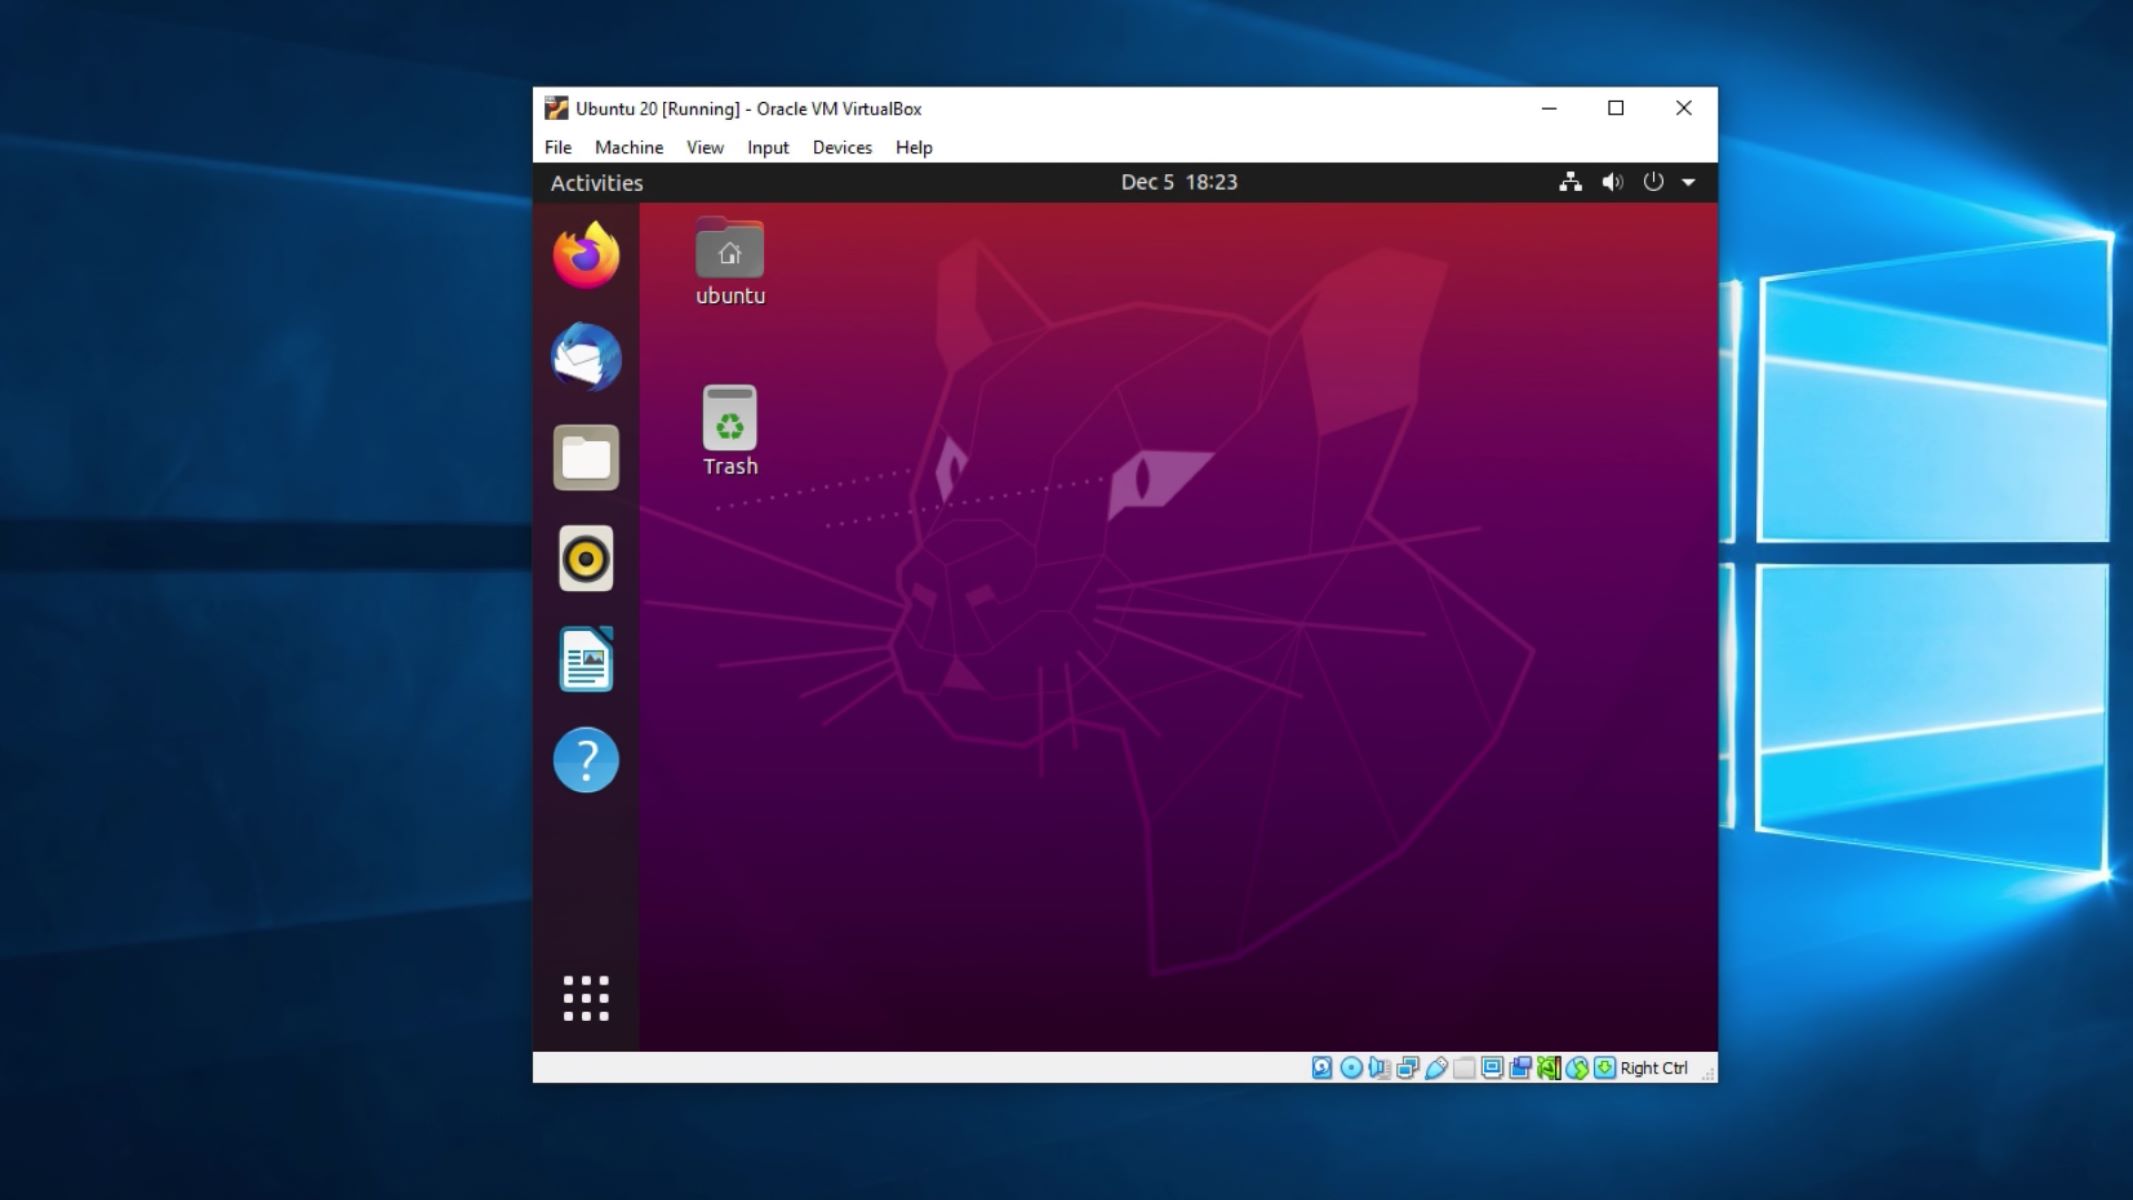
Step 5: Install the Linux Distribution
With your virtual machine configured, you are now ready to install the Linux distribution. Follow these steps to install the Linux distribution on your virtual machine:
- Ensure that the ISO file of the Linux distribution you downloaded is mounted in the virtual optical drive of your virtual machine. This will allow the virtual machine to boot from the ISO file during the installation process.
- Start your virtual machine by selecting it in the VirtualBox Manager and clicking on the “Start” button.
- The virtual machine will boot and display the initial boot screen. Press Enter or follow the on-screen instructions to begin the installation process.
- Follow the Linux distribution’s installation wizard, which will guide you through the necessary steps such as selecting the language, time zone, and keyboard layout. These settings can usually be accepted with the default options, but feel free to customize them as needed.
- Choose the installation type. You can typically opt for a standard installation or select advanced options depending on your preferences and requirements.
- Specify the partitioning scheme for the installation. You can generally choose guided partitioning to let the installation process handle the partitions automatically, or advanced partitioning if you want more control over the disk layout.
- Select the target disk to install the Linux distribution on. Ensure that you choose the virtual hard disk associated with your virtual machine.
- Follow the remaining steps of the installation process, such as setting up a username and password, configuring network settings, and selecting software packages to install. These steps may vary slightly depending on the Linux distribution you are installing.
- Allow the installation process to complete, and once finished, your virtual machine will restart.
- After the virtual machine restarts, you will be prompted to log in with the username and password you specified during the installation process.
That’s it! You have successfully installed the Linux distribution on your virtual machine. You can now explore and use the Linux operating system within VirtualBox. In the next section, we will guide you through the process of customizing your virtual machine to enhance its functionality.
Step 6: Customizing your Virtual Machine
After installing the Linux distribution on your virtual machine, you can customize it to enhance its functionality and tailor it to your requirements. Here are some steps to consider when customizing your virtual machine:
- Install Guest Additions: Guest Additions is a set of drivers and utilities that enhance the performance and integration of your virtual machine with VirtualBox. This includes features like seamless mouse integration, improved display resolution, and shared clipboard functionality. To install Guest Additions, start your virtual machine and select “Devices” from the VirtualBox menu, then click on “Insert Guest Additions CD Image” and follow the on-screen instructions.
- Update and Install Software: Just like with a physical machine, it is essential to keep your virtual machine up to date. Use the package manager of your Linux distribution to update the system and install any additional software or packages you need for your projects or tasks.
- Configure Networking: Depending on your network requirements, you may want to set up networking options such as port forwarding, bridged networking, or configuring a static IP address. Refer to the documentation of your Linux distribution or consult online resources for guidance on network configuration.
- Create Snapshots: Snapshots allow you to capture the current state of your virtual machine and easily revert back to it if needed. Before making significant changes or experimenting with different configurations, take a snapshot to ensure you can roll back if something goes wrong.
- Allocate Resources: You can adjust the allocated resources for your virtual machine after installation, depending on your requirements. This includes adjusting the amount of memory, CPU cores, and disk space allocated to the virtual machine. Once again, refer to the VirtualBox documentation or online resources for guidance on resource allocation.
- Customize Appearance and Settings: Explore the settings and preferences within your Linux distribution to customize the appearance, desktop environment, and other settings. This can include themes, wallpapers, keyboard shortcuts, and other personalization options.
By customizing your virtual machine, you can optimize its performance, improve integration with your host system, and tailor it to your preferences. Experiment with different configurations and find the setup that works best for your needs. With VirtualBox and a Linux distribution, you now have a powerful virtual environment to run applications, test software, and explore new technologies.
Congratulations! You have completed the steps to create, configure, and customize a virtual machine with VirtualBox. Enjoy using your virtual machine for your desired purposes, and don’t forget to regularly back up your important files and configurations.
Conclusion
Creating a virtual machine with VirtualBox opens up a world of possibilities for software development, testing, and exploring different operating systems. Throughout this guide, we have covered the step-by-step process of creating a virtual machine, from downloading and installing VirtualBox to configuring and customizing your virtual machine.
Virtual machines provide a flexible and efficient solution to run multiple operating systems on a single computer. With VirtualBox’s user-friendly interface and robust feature set, anyone can create and manage virtual machines with ease. By following the steps outlined in this guide, you can set up a virtual machine and start exploring different software environments in no time.
Remember to ensure that your system meets the necessary requirements to run VirtualBox and allocate sufficient resources to your virtual machine for optimal performance. Customizing your virtual machine, installing guest additions, and updating software will enhance its functionality and improve integration with your host system.
VirtualBox’s compatibility with various operating systems, its extensive networking options, and its ability to create snapshots and clones make it a versatile virtualization software. Whether you are a developer, tester, or simply someone looking to experiment with different operating systems, VirtualBox provides a powerful platform to meet your virtualization needs.
We hope that this guide has been helpful in assisting you in creating your virtual machine with VirtualBox. Now, it’s time to unleash your creativity, explore new technologies, and make the most out of your virtual machine.