Introduction
Welcome to the world of virtualization and the opportunity to run a virtual machine on your Windows 11 operating system. Whether you’re a tech enthusiast, a software developer, or someone who simply wants to explore different operating systems, running a virtual machine opens up a whole new realm of possibilities.
A virtual machine allows you to create a self-contained environment within your existing operating system, where you can install and run a different operating system or even multiple operating systems simultaneously. This can be incredibly useful for testing new software, running legacy applications, or experimenting in a safe and isolated environment.
Windows 11 provides built-in support for virtualization, making it easier than ever to set up and manage a virtual machine. In this guide, we will walk you through the step-by-step process of running a virtual machine on your Windows 11 PC. We will cover everything from enabling virtualization in your BIOS settings to installing a virtualization software and configuring the virtual machine.
By the end of this guide, you’ll have the knowledge and skills to successfully set up and run a virtual machine on your Windows 11 PC. So, let’s get started on this exciting journey into the world of virtualization!
System Requirements
Before you dive into setting up a virtual machine on your Windows 11 PC, it’s important to ensure that your system meets the necessary requirements. Running a virtual machine can be resource-intensive, so having a capable hardware setup is essential for optimal performance.
Here are the minimum system requirements for running a virtual machine on Windows 11:
- Processor: Your processor must support virtualization technology. Most modern processors, including Intel’s VT-x and AMD’s AMD-V, come with virtualization support. You can check your processor’s specifications to verify if it supports virtualization.
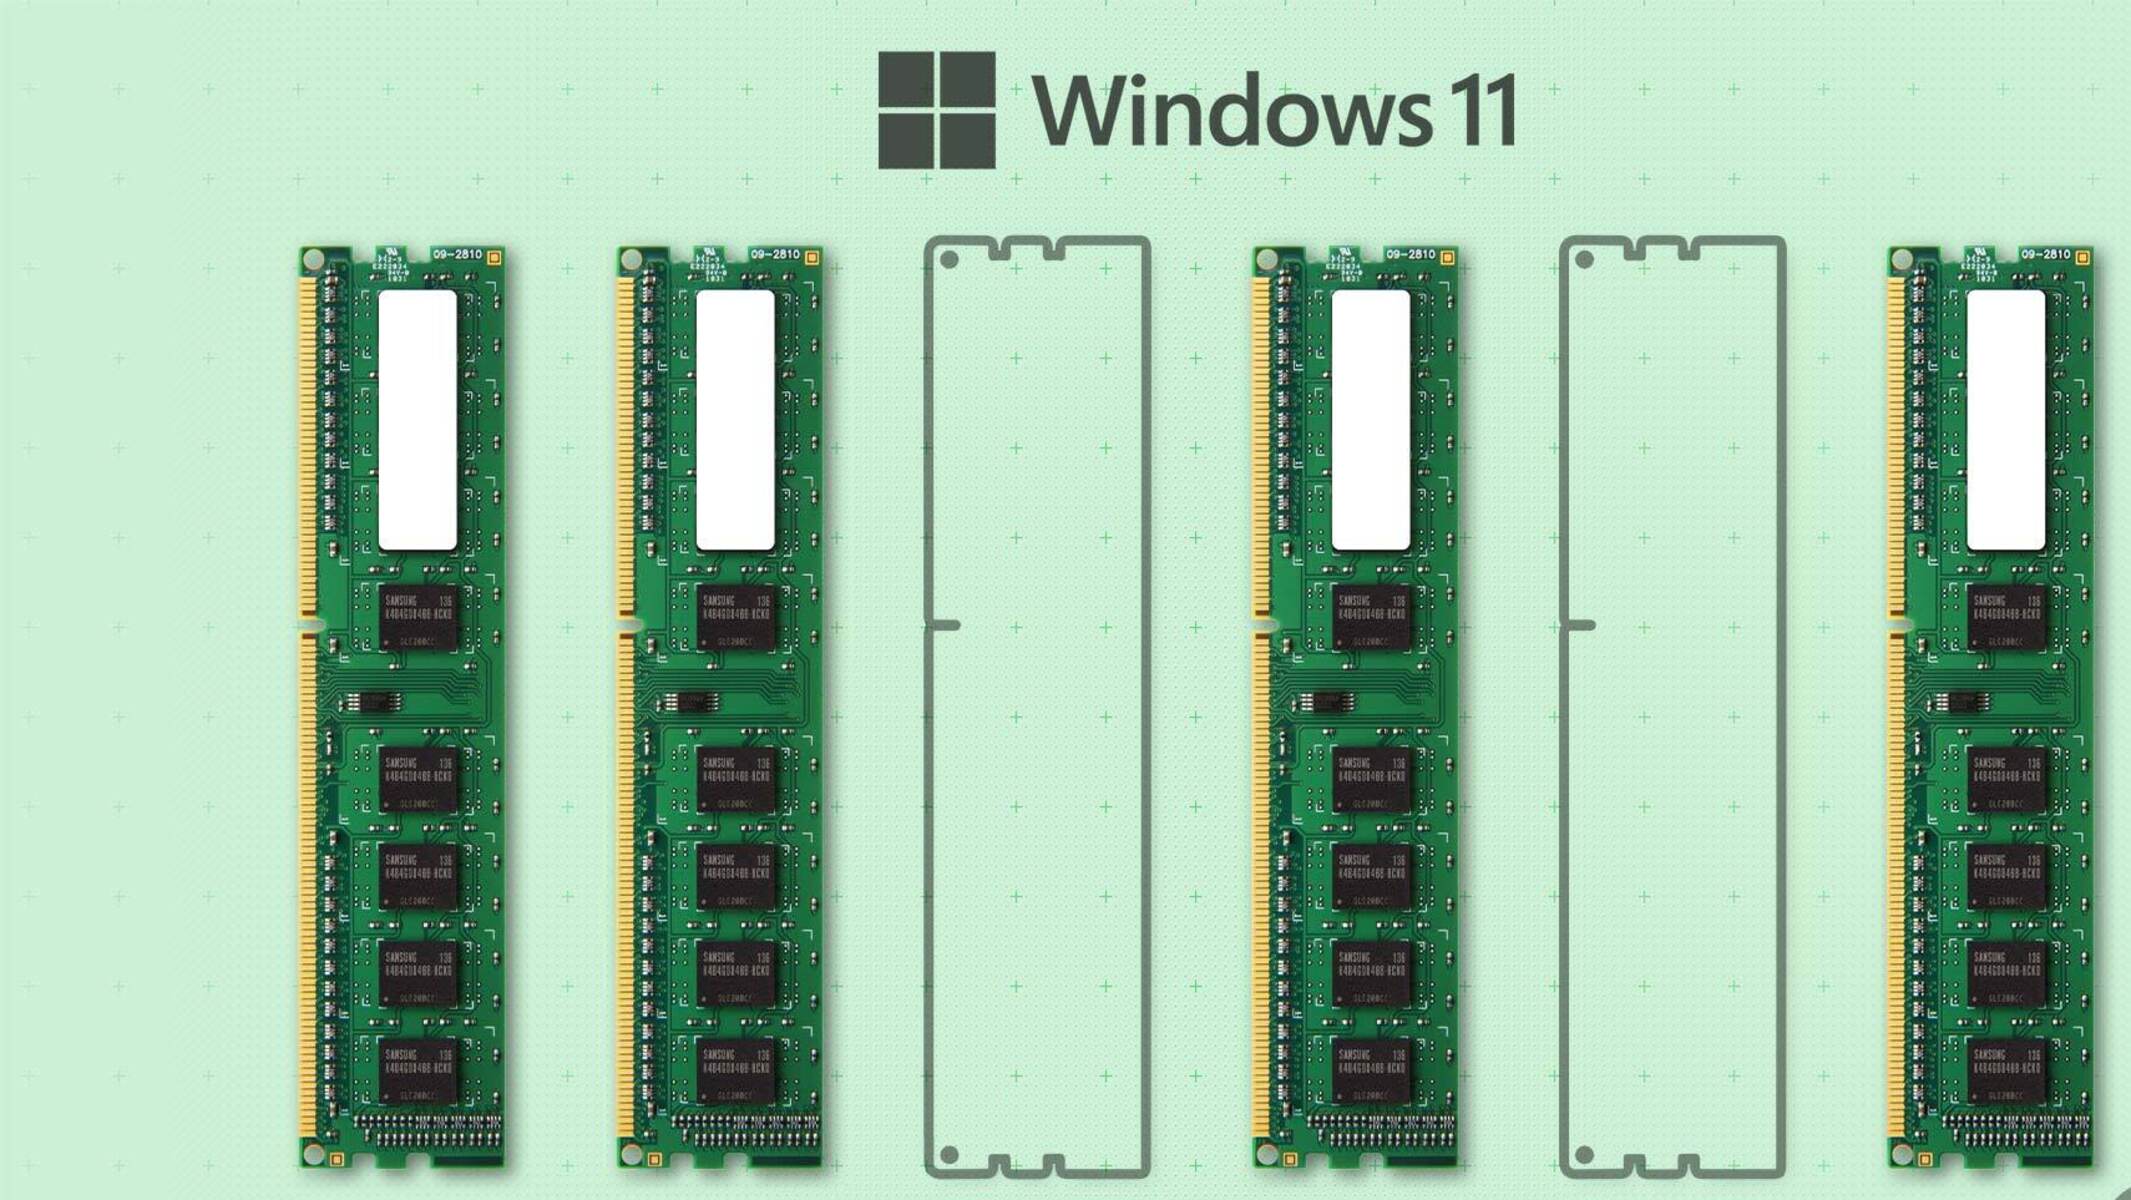
- Memory (RAM): The more RAM you have, the better. It’s recommended to have at least 8 GB of RAM for running a virtual machine. However, if you plan to run multiple virtual machines simultaneously or work with resource-intensive applications, you should consider having more RAM, ideally 16 GB or higher.
- Storage: You will need sufficient storage space to allocate to the virtual machine. The exact amount of storage required depends on the size of the virtual machine image and the applications you plan to install inside it. A minimum of 20 GB of free space is recommended, but it’s advisable to allocate more if you have the available storage capacity.
- Operating System: You should have a licensed copy of Windows 11 installed on your PC, as it is your host operating system.
- Virtualization Software: To run a virtual machine, you will need virtualization software such as Oracle VM VirtualBox, VMware Workstation, or Microsoft Hyper-V. Make sure to download and install the latest version of the virtualization software compatible with Windows 11.
It’s worth noting that the performance of your virtual machine will depend not only on your hardware but also on the demands of the guest operating system and the applications running inside it. So, keep in mind the system requirements specified by the operating system and software you plan to install within the virtual machine.
Now that you know the system requirements, you can proceed to the next steps of enabling virtualization and installing the virtualization software.
Step 1: Enabling Virtualization in BIOS
Before you can start running a virtual machine on your Windows 11 PC, you need to ensure that virtualization is enabled in your BIOS settings. Virtualization technology allows your processor to create and manage virtual machines effectively. Follow the steps below to enable virtualization in your BIOS:
- Restart your computer and access your BIOS or UEFI settings. The key combination to enter the BIOS may vary depending on your computer manufacturer. Common keys include F2, Del, or Esc. Refer to your computer’s documentation or look for on-screen prompts during startup to find the correct key.
- Navigate to the System Configuration or Advanced tab in your BIOS settings.
- Look for an option labeled “Virtualization,” “Intel Virtualization Technology,” or “AMD-V.” The exact name may differ based on your motherboard manufacturer and BIOS version.
- Enable the virtualization option by selecting it and changing the value to “Enabled.” Use the arrow keys on your keyboard to navigate and the Enter key to make the selection.
- Save your changes and exit the BIOS settings. Typically, you can do this by pressing the F10 key and confirming the changes.
Once you have enabled virtualization in your BIOS, your computer is now ready to run virtual machines. However, keep in mind that not all computers support virtualization, especially older models. If you do not find a virtualization option in your BIOS settings, it could indicate that your hardware does not support virtualization.
Enabling virtualization in your BIOS is a crucial step to ensure the smooth operation of virtual machines. It allows your processor to efficiently handle the hardware virtualization requirements needed by the virtualization software. Now that you have enabled virtualization, you can proceed to the next step of installing a virtualization software on your Windows 11 PC.
Step 2: Installing a Virtualization Software
Now that you have enabled virtualization in your BIOS, it’s time to install a virtualization software on your Windows 11 PC. The virtualization software acts as a platform to create and manage virtual machines. There are several popular options available, such as Oracle VM VirtualBox, VMware Workstation, and Microsoft Hyper-V. Follow the steps below to install a virtualization software:
- Visit the official website of the virtualization software you have chosen.
- Download the installer file for the latest version of the software compatible with Windows 11.
- Run the installer file and follow the on-screen instructions to install the virtualization software on your PC.
- Once the installation is complete, launch the virtualization software from the Start menu or desktop shortcut.
Each virtualization software may have its own interface and set of features. However, the basic functionalities remain the same. The software provides a user-friendly interface where you can create, configure, and manage virtual machines.
It’s worth mentioning that some virtualization software requires additional configuration, such as enabling specific features or extensions to ensure optimal performance. Refer to the software documentation or online resources for any additional steps or settings specific to the virtualization software you have installed.
By installing a virtualization software, you have taken an important step towards running a virtual machine on your Windows 11 PC. The software provides the necessary tools and resources to create and manage virtual machines, allowing you to explore different operating systems and run applications in an isolated environment.
Now that you have installed the virtualization software, let’s move on to the next step of downloading a virtual machine image.
Step 3: Downloading a Virtual Machine Image
After installing the virtualization software, the next step is to download a virtual machine image. A virtual machine image contains the complete setup of an operating system, including all the necessary files and configurations. There are various sources where you can find pre-built virtual machine images for different operating systems, such as OSBoxes, Microsoft Developer Tools, or the official website of the operating system.
Here’s how you can download a virtual machine image:
- Open your web browser and navigate to a reliable source for virtual machine images.
- Browse through the available options and select the desired operating system and version you want to run in your virtual machine.
- Download the virtual machine image file in a compatible format, such as OVA (Open Virtualization Format) or VHD (Virtual Hard Disk).
- Choose a location on your computer where you want to save the virtual machine image file.
Make sure to select an image that is compatible with your virtualization software. Different virtualization software may require specific image formats. For example, Oracle VM VirtualBox uses OVA files, while Microsoft Hyper-V prefers VHD files. Refer to the virtualization software’s documentation for guidance on supported image formats.
Downloading a virtual machine image saves you the time and effort of manually installing an operating system from scratch. These images are often pre-configured with the necessary settings and drivers, making the setup process much more convenient.
Once you have downloaded the virtual machine image, you’re ready to proceed to the next step of setting up the virtual machine in the virtualization software.
Step 4: Setting Up the Virtual Machine
Now that you have downloaded a virtual machine image, it’s time to set up the virtual machine in your virtualization software. The process may vary slightly depending on the software you are using, but the general steps are as follows:
- Launch your virtualization software and look for an option to create a new virtual machine.
- Select the option to create a new virtual machine and choose the operating system type and version that matches the virtual machine image you have downloaded.
- Specify the amount of memory (RAM) to allocate to the virtual machine. It’s recommended to allocate sufficient memory based on the requirements of the guest operating system and the applications you plan to run.
- Create a new virtual hard disk or attach the virtual machine image file you have downloaded. This will serve as the primary storage for the virtual machine.
- Configure additional settings such as network connectivity, storage options, and display settings based on your preferences or the requirements of the virtual machine image.
- Review the settings and confirm the creation of the virtual machine.
The virtualization software will then create the virtual machine using the specified settings. This process may take a few moments depending on your computer’s performance and the complexity of the virtual machine image.
Once the virtual machine is created, it will appear as a separate entity within your virtualization software. You can then power on the virtual machine and start exploring the installed operating system or installing additional software inside the virtual machine.
Remember that the virtual machine operates independently from your host operating system, providing a safe and isolated environment for testing, development, or running specific applications.
Setting up the virtual machine is a crucial step in preparing it for use. Now that you have created the virtual machine, you’re ready to proceed to the next steps of running the virtual machine and customizing its settings to meet your needs.
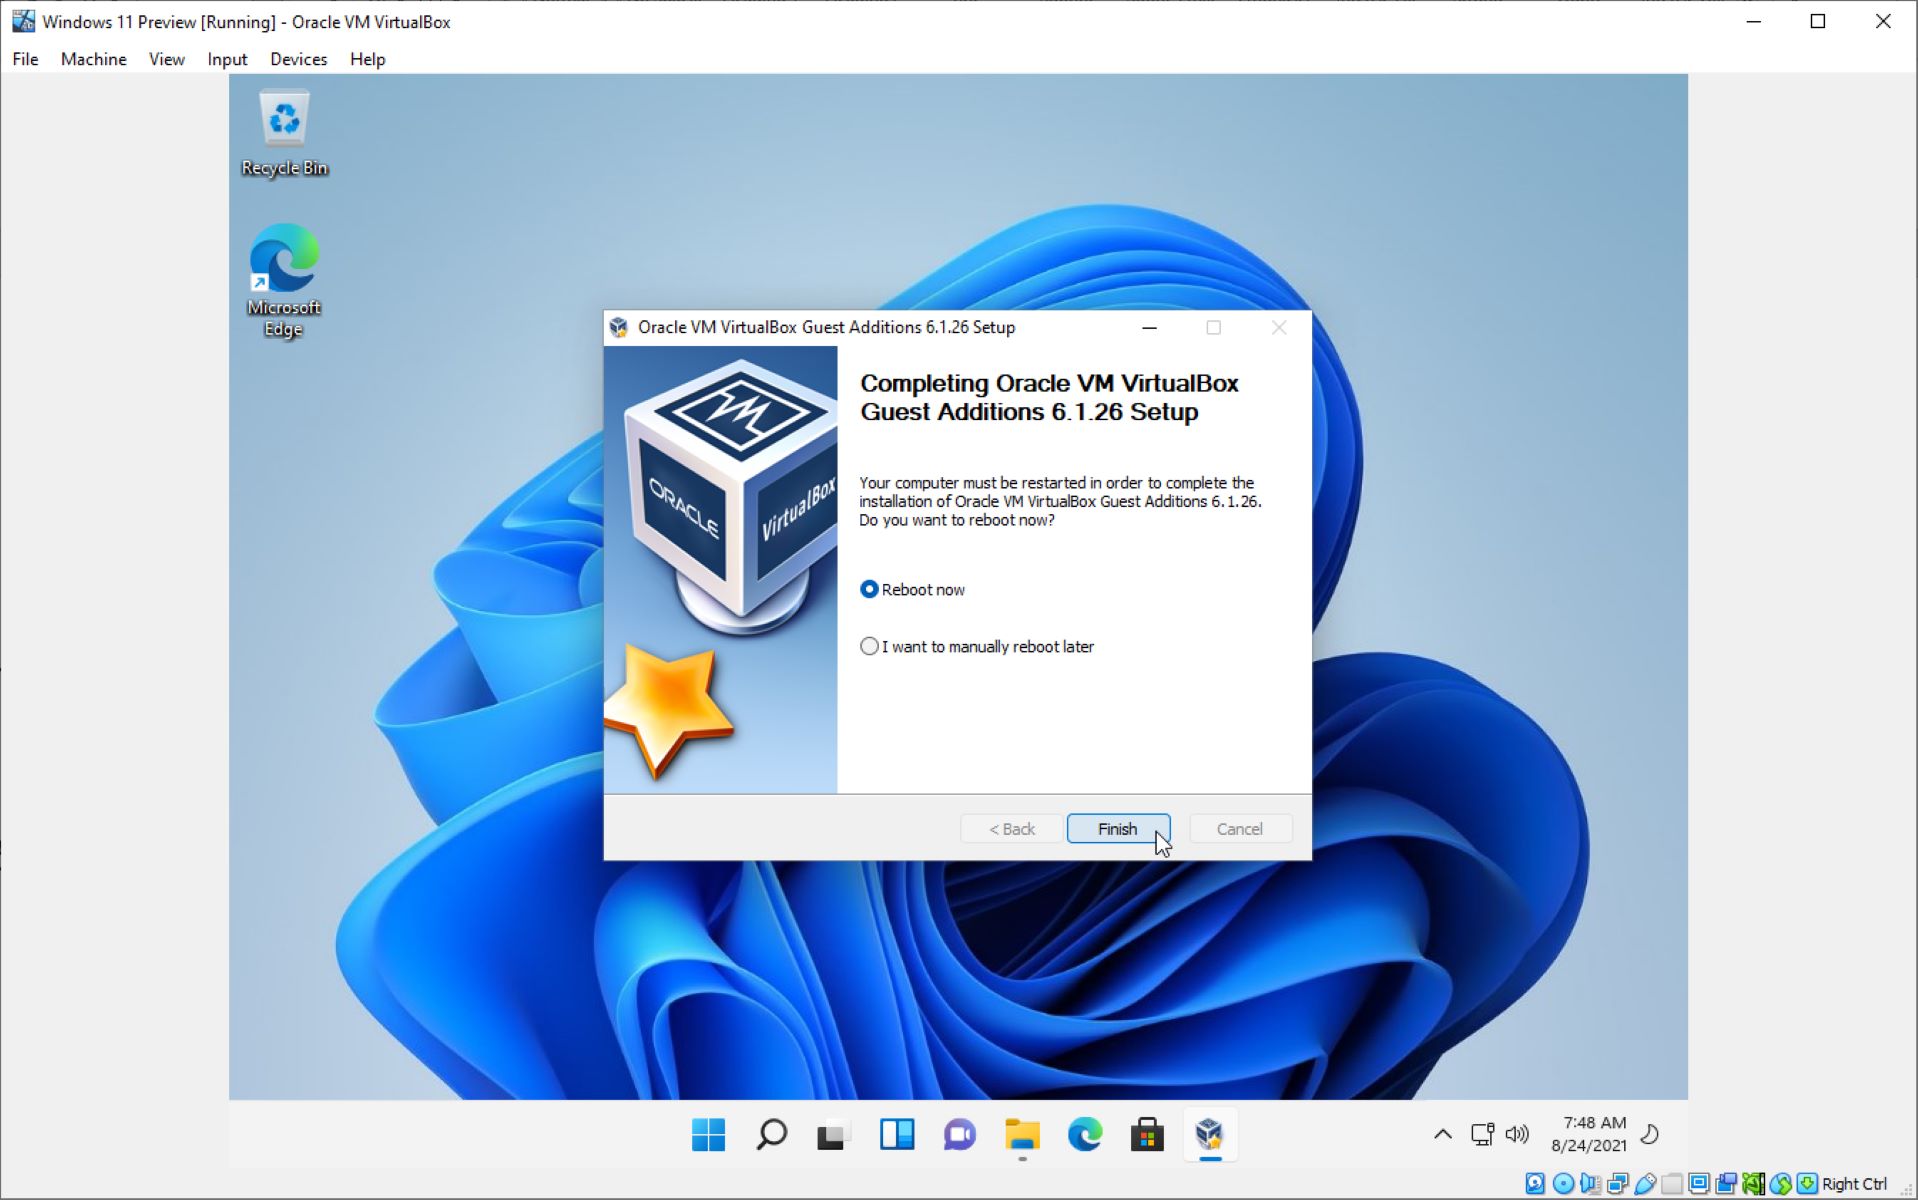
Step 5: Running the Virtual Machine
After setting up the virtual machine, it’s time to power on and run the virtual machine in your virtualization software. Running the virtual machine will boot up the guest operating system and allow you to interact with it. The steps to run the virtual machine may vary depending on the virtualization software you are using, but the general process is as follows:
- Open your virtualization software and locate the virtual machine you created.
- Select the virtual machine and click on the “Start” or “Power On” button. Alternatively, you can right-click on the virtual machine and choose the “Start” or “Power On” option.
- The virtual machine will begin to boot up, displaying the boot-up screen of the guest operating system.
- Follow the on-screen instructions to set up the guest operating system, just as you would with a physical computer.
- Once the guest operating system has loaded, you can interact with it just like you would with a regular computer.
Running the virtual machine gives you the freedom to explore and use the guest operating system within a controlled environment. You can install software, configure settings, and perform tasks just as you would on a physical computer.
Remember that the virtual machine operates separately from your host operating system, ensuring that any changes made within the virtual machine do not impact your host system. This allows you to experiment and test without the fear of affecting your primary operating system.
When you’re finished using the virtual machine, you can shut it down to save resources and free up system memory.
Now that you’ve successfully powered on and run the virtual machine, you can move on to the next step of customizing the virtual machine settings to suit your needs.
Step 6: Customizing Virtual Machine Settings
Once you have successfully run the virtual machine, you may want to customize its settings to optimize its performance or tailor it to your specific needs. Virtualization software provides a range of options to customize various aspects of the virtual machine. Here are some common settings you can customize:
- Memory Allocation: You can adjust the amount of memory allocated to the virtual machine based on the requirements of the guest operating system and the applications you plan to run. Adding more memory can improve performance, but be mindful of the total memory available on your host system.
- Virtual Processor Configuration: You can configure the number of virtual processors assigned to the virtual machine. Increasing the virtual processors can improve performance, especially when running resource-intensive applications or multi-threaded processes.
- Network Settings: Virtualization software allows you to configure network settings for the virtual machine. You can choose between bridged, NAT, or host-only networking modes depending on your requirements. Bridged mode allows the virtual machine to connect directly to the network, while NAT and host-only modes provide more isolated network environments.
- Storage Configurations: You can customize storage options by adding or removing additional virtual hard disks or adjusting the virtual disk size. This allows you to allocate more storage space to the virtual machine or attach additional virtual disks for specific purposes.
- Display Settings: Virtualization software provides options to adjust the display settings of the virtual machine, including screen resolution, color depth, and graphics acceleration. You can optimize these settings to achieve the desired visual experience within the virtual machine.
- Shared Folders and File Sharing: Some virtualization software allows you to set up shared folders between the host and guest operating systems. This enables seamless file transfer and sharing between the two environments.
Customizing the virtual machine settings provides flexibility and control over its performance and functionality. You can modify these settings while the virtual machine is powered off or, in some cases, even while it is running. You may need to refer to the documentation or help resources of your specific virtualization software for detailed instructions on customizing settings.
By customizing the virtual machine settings, you can optimize its performance, enable specific features, and create a more tailored environment for your needs. Experiment with different settings to find the balance that works best for your virtual machine usage.
Once you have customized the virtual machine settings, you can proceed with transferring files, running applications, or performing any other tasks within the virtual machine.
Step 7: Transferring Files to and from the Virtual Machine
Transferring files between your host operating system and the virtual machine is a common requirement when working with virtual machines. Luckily, most virtualization software provides mechanisms to facilitate file transfer. Here are a few methods you can use to transfer files to and from the virtual machine:
- Shared Folders: Virtualization software often supports shared folders, which allow you to designate specific folders on your host operating system that can be accessed from within the virtual machine. This makes it easy to transfer files by simply copying and pasting between the shared folder and the virtual machine’s file system.
- Drag and Drop: Some virtualization software supports drag and drop functionality, allowing you to drag files from your host operating system and drop them directly into the virtual machine’s file system, and vice versa.
- Clipboard Integration: Virtualization software can also provide clipboard integration, which enables you to copy text or files from your host operating system and paste them directly into the virtual machine’s environment.
- Network File Transfer: Alternatively, you can set up network file transfer protocols, such as FTP or SSH, to transfer files between your host and the virtual machine. This method can be useful when dealing with large files or when other transfer methods are not available.
It’s important to note that the availability of these file transfer methods may vary depending on the virtualization software you are using. Consult the documentation or help resources of your specific virtualization software to learn more about the file transfer options available to you.
When transferring files, be mindful of the security implications and ensure that any transferred files do not pose a risk to the virtual machine or the host system. It’s also recommended to use up-to-date antivirus software to scan any files before transferring them to the virtual machine.
By utilizing these file transfer methods, you can easily share documents, media, or any other files between your host operating system and the virtual machine. This streamlines your workflow by eliminating the need for external storage devices or email transfers.
Now that you have learned how to transfer files to and from the virtual machine, you can proceed with running applications and performing tasks within the virtualized environment.
Step 8: Shutting Down the Virtual Machine
When you are finished using the virtual machine, it’s important to properly shut it down to save resources and ensure the integrity of your virtual machine’s operating system. Shutting down the virtual machine is similar to turning off a physical computer. Here’s how you can shut down the virtual machine:
- Ensure that you have saved any open files or completed any tasks within the virtual machine.
- Inside the virtual machine, navigate to the Start menu or equivalent, and select the option to shut down or power off the virtual machine.
- Wait for the virtual machine to complete the shut down process. This may take a few moments as the guest operating system shuts down its processes and closes applications.
- Once the virtual machine has completely shut down, you can close the virtual machine window or exit the virtualization software.
It’s important to shut down the virtual machine properly to ensure that any changes or updates made within the virtual machine are saved. The improper shutdown of a virtual machine can lead to data corruption or loss.
In some cases, the virtualization software may provide an option to suspend or save the virtual machine’s state. This option allows you to pause the virtual machine at its current state and resume it later without losing any work or open applications. While suspending the virtual machine can be useful for short breaks, it’s still advisable to perform a proper shutdown if you don’t plan to use the virtual machine for an extended period of time.
By shutting down the virtual machine when you’re done using it, you free up system resources, such as memory and processing power, for your host operating system and other applications. It’s a good practice to shut down virtual machines that are not actively in use to maximize resource allocation on your computer.
Congratulations! You have successfully learned how to shut down the virtual machine. Now you can power on the virtual machine again whenever you need to use it.
Conclusion
Running a virtual machine on your Windows 11 PC opens up a world of possibilities for testing software, exploring different operating systems, and creating isolated development environments. Throughout this guide, we’ve walked through the step-by-step process of setting up and running a virtual machine on Windows 11.
We began by ensuring that your system meets the necessary requirements for running a virtual machine and enabling virtualization in the BIOS settings. Then, we installed a virtualization software to serve as the platform for creating and managing virtual machines. We downloaded a virtual machine image and set up the virtual machine within the virtualization software.
Customizing the virtual machine settings allowed us to optimize its performance and tailor it to our specific needs. We also learned how to transfer files between the host operating system and the virtual machine, making it convenient to share and access files seamlessly.
Finally, we discussed the importance of shutting down the virtual machine properly to save resources and maintain data integrity. By following these steps, you now have the knowledge and skills to embark on your virtualization journey and explore various operating systems and software in a safe and controlled environment.
Virtual machines provide a flexible and versatile solution for a range of purposes, including software testing, development, or simply satisfying your curiosity about different operating systems. As you continue to work with virtual machines, feel free to experiment, explore new features, and discover additional capabilities offered by the virtualization software.
Enjoy your virtualization experience on Windows 11 and make the most out of the countless opportunities it presents!