Introduction
Welcome to the world of virtualization with VMware Workstation 11! If you’re looking to set up port forwarding in VMware Workstation 11, you’ve come to the right place. Port forwarding is a crucial aspect of networking that allows you to direct incoming traffic from one port to another, enabling communication between external devices and virtual machines running on your VMware Workstation.
Whether you’re a developer testing applications in a virtual environment or a network professional simulating scenarios, port forwarding in VMware Workstation 11 will be an invaluable tool in your toolkit. By following a few simple steps, you can effectively configure your network to enable seamless connectivity and access to your virtual machines.
In this guide, we will walk you through the process of setting up port forwarding in VMware Workstation 11, from configuring the network adapter to testing the port forwarding configuration. By the end of this tutorial, you will have a solid understanding of how port forwarding works in VMware Workstation 11 and be ready to leverage its power for your virtual networking needs.
So, whether you’re hosting a virtual web server, setting up a secure SSH connection, or accessing remote services on your virtual machine, understanding and implementing port forwarding in VMware Workstation 11 is essential.
Before we dive into the step-by-step process, let’s briefly explore what port forwarding is and why it is important in the context of VMware Workstation 11.
What is Port Forwarding?
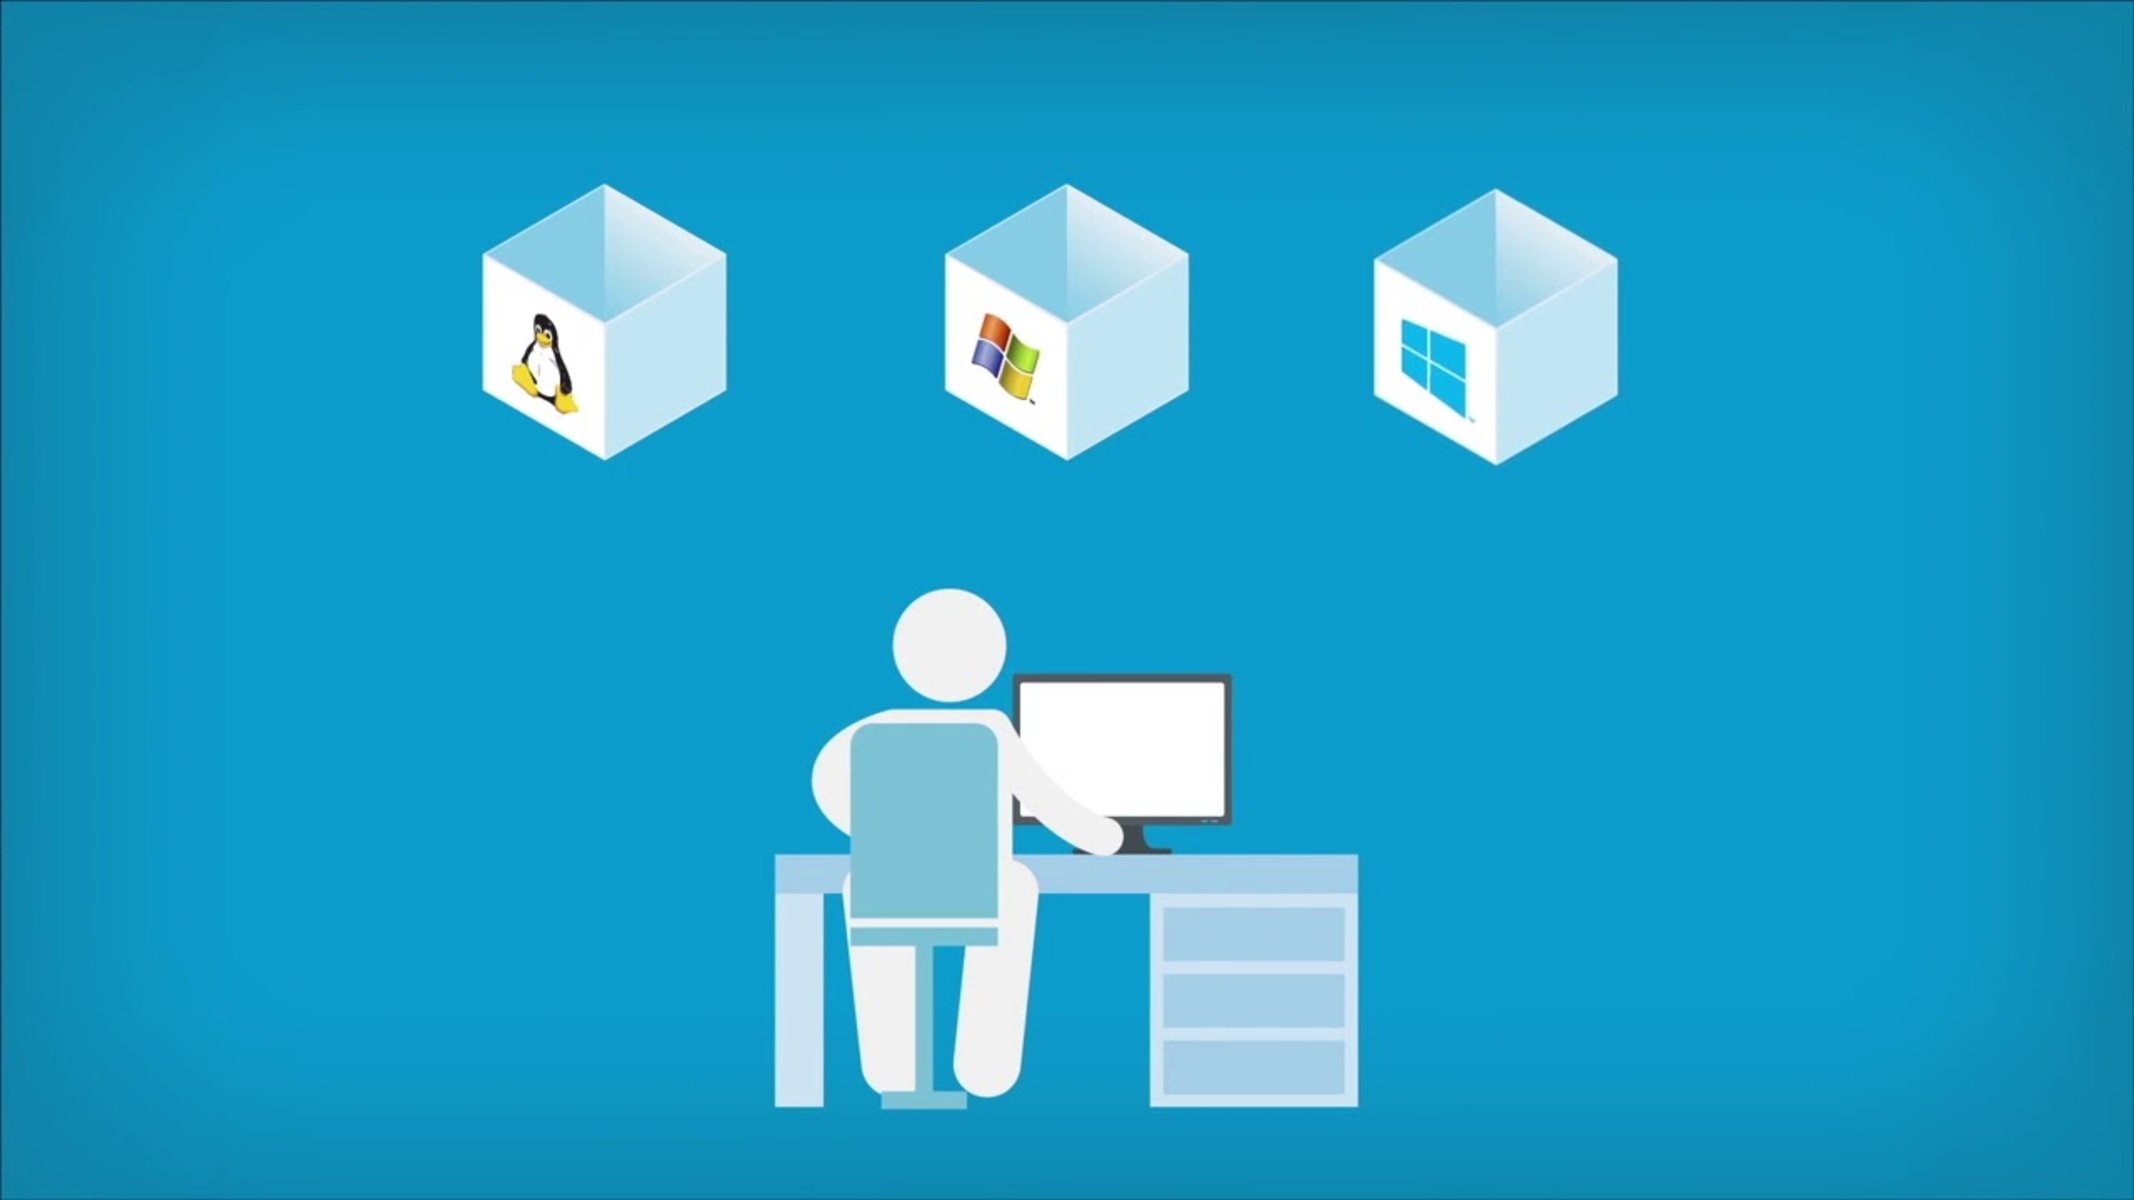
Port forwarding is a networking technique that enables communication between devices connected to different networks. It allows incoming traffic from an external network to be redirected to a specific port on a device or virtual machine within a local network. Essentially, port forwarding establishes a pathway for external devices to access services running on specific ports of a machine.
Every networked device, whether it is a physical machine or a virtual machine, has a unique IP address and multiple ports associated with it. Ports act as endpoints for communication channels, allowing data packets to be sent and received over a network.
One common example of when port forwarding becomes necessary is when you want to access a web server running on a virtual machine within VMware Workstation 11 from your host machine or another device outside your local network. By forwarding the incoming traffic from the host machine’s port to the virtual machine’s port, you can establish a connection and access the web server’s services.
Port forwarding serves as a crucial technique in various scenarios, such as:
- Remote access: By forwarding ports, you can remotely connect to your virtual machines or devices from anywhere in the world.
- Web hosting: If you’re hosting a website on a virtual machine, port forwarding allows external users to access it over the internet.
- File sharing: With port forwarding, you can share files between your host machine and virtual machine or enable access to specific services like file transfer protocols (FTP).
- Network testing: Port forwarding is a valuable tool for network professionals to simulate different network configurations and test connectivity.
By understanding the concept of port forwarding and its applications, you can harness its power to enhance the functionality and accessibility of your virtual machines within VMware Workstation 11.
Why do you need Port Forwarding in VMware Workstation 11?
Port forwarding is a critical feature in VMware Workstation 11 that enables seamless communication between virtual machines and external devices. Without port forwarding, the virtual machines within your VMware Workstation would be isolated within their own network, limiting their accessibility and functionality.
Here are a few reasons why port forwarding is essential in VMware Workstation 11:
- Remote access: Port forwarding allows you to establish remote access to your virtual machines. By forwarding specific ports to the virtual machines running in VMware Workstation 11, you can remotely connect and manage them from anywhere in the world. This is particularly useful for developers and network administrators who need to access and control their virtual machines remotely.
- Web development and testing: If you’re a web developer, you might have virtual machines set up for developing and testing websites or web applications. Port forwarding in VMware Workstation 11 enables you to access these websites or applications from your host machine or any other device on your local network. It allows you to test the functionality and responsiveness of your websites without the need for external hosting or complicated network configurations.
- Service accessibility: Port forwarding allows you to expose services running on your virtual machines to the external network. For example, if you’re running a web or FTP server on a virtual machine, you can forward the corresponding ports to make these services accessible over the internet. This way, users from outside your local network can access the services hosted on your virtual machines.
- Network testing and simulations: Port forwarding in VMware Workstation 11 is a valuable tool for network professionals and IT administrators. It enables them to simulate complex network configurations and test connectivity between virtual machines as well as between virtual and physical machines. With port forwarding, you can create virtual networks with specific port configurations, helping you troubleshoot and optimize network setups in a safe and controlled environment.
Overall, port forwarding in VMware Workstation 11 enhances the flexibility, accessibility, and functionality of your virtual machines. It enables seamless communication between your virtual machines and external devices, making it an indispensable feature for a wide range of use cases, from remote access and web development to network testing and service accessibility.
Step 1: Launch VMware Workstation 11
The first step towards setting up port forwarding in VMware Workstation 11 is to ensure that you have the software installed and running on your host machine. Launching VMware Workstation 11 is straightforward, and here’s how you can do it:
- Locate the VMware Workstation 11 shortcut icon on your desktop or search for it in the Start menu or Applications folder.
- Double-click on the VMware Workstation 11 icon to launch the software.
- Once launched, you will see the home screen of VMware Workstation 11, which provides an overview of your virtual machines and various configuration options.
Before proceeding with port forwarding, it’s essential to ensure that you have a virtual machine already created within VMware Workstation 11. If you haven’t set up a virtual machine yet, you can do so by following the instructions provided in the VMware Workstation 11 documentation or by referring to our beginner’s guide on creating a virtual machine.
Once you have VMware Workstation 11 up and running and a virtual machine set up, you’re ready to move on to the next step, which involves configuring the network adapter. Configuring the network adapter correctly is crucial for establishing network connectivity and enabling port forwarding within VMware Workstation 11.
Note that the specific steps for launching VMware Workstation 11 may vary slightly depending on your operating system. However, the general process remains the same, and you can refer to the VMware Workstation 11 documentation for detailed instructions if needed.
Step 2: Configure the Network Adapter
Once you have launched VMware Workstation 11 and have a virtual machine set up, the next step in setting up port forwarding is to configure the network adapter within the virtual machine. The network adapter is responsible for establishing network connectivity between the virtual machine and the host machine, as well as facilitating communication with external devices.
Here’s how you can configure the network adapter in VMware Workstation 11:
- Select the virtual machine for which you want to configure the network adapter. In the VMware Workstation 11 home screen, locate the virtual machine and click on it to select it.
- Go to the “Edit” menu and select “Virtual Machine Settings”. Alternatively, you can right-click on the virtual machine and choose “Settings”.
- In the “Virtual Machine Settings” window, click on the “Network Adapter” option in the left panel.
- In the right panel, you will see the various network adapter options. Select the type of network connection that best suits your requirements. You can choose from options like “Bridged”, “NAT”, “Host-only”, or “Custom”. The specific choice depends on your networking needs and the desired level of connectivity between the virtual machine and external devices.
- Once you have selected the network adapter type, you can further customize the settings by clicking on the “Advanced” button. Here, you can specify the MAC address, connect the adapter at power on, and adjust other advanced network settings if necessary.
- Click “OK” to save the changes and close the “Virtual Machine Settings” window.
By configuring the network adapter, you establish the foundation for network connectivity within the virtual machine. The specific network adapter type you choose, such as bridged, NAT, or host-only, will determine how the virtual machine interacts with external devices and the internet.
Now that you’ve successfully configured the network adapter, you can proceed to the next step and assign a static IP address to the virtual machine. Assigning a static IP address is necessary for proper port forwarding and maintaining consistent network connectivity.
Step 3: Assign a Static IP Address to the Virtual Machine
After configuring the network adapter in VMware Workstation 11, the next step in setting up port forwarding is to assign a static IP address to the virtual machine. Assigning a static IP address ensures that the virtual machine always has the same IP assigned, allowing for consistent communication and port forwarding configurations.
Here’s a step-by-step guide on how to assign a static IP address to your virtual machine:
- Start the virtual machine within VMware Workstation 11 by selecting it in the home screen and clicking “Power On”.
- Once the virtual machine has booted up, log in to the operating system within the virtual machine.
- In the virtual machine’s operating system, access the network settings. The location of these settings may vary depending on the operating system you are using within the virtual machine.
- Within the network settings, locate the option to configure the IP address or network adapter settings.
- Change the IP address setting from “Dynamic” or “Obtain automatically” to “Static” or “Manual”.
- Enter the desired static IP address along with the subnet mask and default gateway. Make sure to choose an IP address that is within the same network range as your host machine and other devices on your local network.
- Save the changes and restart the virtual machine to apply the new static IP address.
By assigning a static IP address to the virtual machine, you ensure that the IP remains consistent even when the virtual machine is powered off and on again. This is crucial for port forwarding as it allows external devices to establish a reliable connection with services hosted on the virtual machine.
With the static IP address successfully assigned, you can now proceed to the next step, which involves enabling port forwarding in VMware Workstation 11.
Step 4: Enable Port Forwarding in VMware Workstation 11
Enabling port forwarding in VMware Workstation 11 is a crucial step that allows you to direct incoming traffic to specific ports on your virtual machine. By configuring port forwarding, you enable external devices to communicate with services running on the virtual machine, such as web servers or remote desktop connections.
Follow these steps to enable port forwarding in VMware Workstation 11:
- Ensure that the virtual machine for which you want to enable port forwarding is powered off.
- Select the virtual machine in the VMware Workstation 11 home screen.
- Go to the “Edit” menu and choose “Virtual Machine Settings”.
- In the “Virtual Machine Settings” window, click on the “Options” tab at the top.
- From the left panel, select “Advanced” and then click on the “Port Forwarding” button.
- In the “Port Forwarding” dialog box, click on the “Add” button.
- Specify the necessary details for the port forwarding rule, including the “Host IP” (your host machine’s IP address), “Host Port” (the port number on your host machine), “Guest IP” (the static IP address assigned to the virtual machine), and “Guest Port” (the port number on the virtual machine).
- Once you have entered the details, click “OK” to save the port forwarding rule.
- Repeat the above steps to add additional port forwarding rules as needed.
- Click “OK” to close the “Virtual Machine Settings” window.
With port forwarding enabled in VMware Workstation 11, any incoming traffic to the specified host IP and port on your host machine will be automatically redirected to the corresponding guest IP and port on the virtual machine. This allows external devices to access services running on the virtual machine as if they were directly connected to it.
Once you have set up the port forwarding rules, you can move on to the next step, which involves testing the port forwarding configuration to ensure that it is working correctly.
Step 5: Test the Port Forwarding Configuration
Once you have enabled port forwarding in VMware Workstation 11, it is crucial to test the configuration to verify that incoming traffic is properly redirected to the desired ports on the virtual machine. Testing the port forwarding configuration ensures that external devices can successfully access services hosted on the virtual machine.
Follow these steps to test the port forwarding configuration:
- Ensure that the virtual machine and the corresponding services you want to access are running within VMware Workstation 11.
- From an external device, such as another computer or a mobile device, launch a web browser or the desired application to access the services on the virtual machine.
- In the address bar or connection settings, enter the external IP address of your host machine, followed by the port number specified in the port forwarding rule.
- Initiate the connection or access request to the specified IP address and port.
- If the port forwarding configuration is successful, the connection should be established, and you should be able to access the services on the virtual machine. For example, if you set up port forwarding for a web server, you should be able to access the web server’s content through the external device’s web browser.
- If the connection fails or you are unable to access the service, double-check the port forwarding configuration, ensuring that the IP addresses, ports, and protocols are correctly specified.
- If necessary, you can troubleshoot further by checking the firewall settings on your host machine or virtual machine to ensure they are not blocking incoming connections.
By thoroughly testing the port forwarding configuration, you can ensure that external devices can effectively communicate with services running on the virtual machine within VMware Workstation 11.
Once you have confirmed that the port forwarding configuration is working as intended, you can begin leveraging the power of port forwarding to access your virtual machine’s services remotely or test network connectivity in various scenarios.
Conclusion
Setting up port forwarding in VMware Workstation 11 allows you to establish seamless communication between your virtual machines and external devices. By following the step-by-step guide outlined in this article, you can successfully configure port forwarding, enabling you to access services hosted on your virtual machines from anywhere in the world.
We started by introducing the concept of port forwarding and its importance in VMware Workstation 11. Port forwarding plays a crucial role in enabling remote access, facilitating web development and testing, ensuring service accessibility, and supporting network testing and simulations.
We then walked through the steps necessary to set up port forwarding. Starting with launching VMware Workstation 11, we proceeded to configure the network adapter, assigning a static IP address to the virtual machine. We then enabled port forwarding within VMware Workstation 11 and tested the configuration to ensure its effectiveness.
By successfully implementing port forwarding in VMware Workstation 11, you can unlock a wide range of possibilities for your virtual machines. Remote access, web hosting, file sharing, network testing, and more become easily achievable, enhancing the functionality and accessibility of your virtualized environment.
Remember to always double-check your port forwarding configurations and ensure that appropriate firewall settings are in place to protect your network and virtual machines from unauthorized access.
Now that you have a solid understanding of how to set up port forwarding in VMware Workstation 11, you are well-equipped to optimize your virtual networking experience and leverage the full potential of your virtual machines.