Introduction
Setting up a virtual machine allows you to run multiple operating systems on a single computer, providing a convenient and isolated environment for different tasks. If you’re looking to install Windows 10 on a virtual machine, you’ve come to the right place. In this guide, we’ll walk you through the step-by-step process of installing Windows 10 on a virtual machine using VirtualBox.
VirtualBox is a widely-used, open-source virtualization software that enables users to create and manage virtual machines. It supports a variety of operating systems, making it a popular choice among developers, testers, and individuals who want to experiment with different software configurations without making changes to their primary system.
By running Windows 10 in a virtual machine, you can explore the features of the operating system, test software compatibility, and even run applications that may not be available on your native operating system. This allows for greater flexibility and accessibility, particularly for developers and IT professionals who need to work with multiple systems.
In this tutorial, we’ll cover the necessary prerequisites before proceeding with the installation. We’ll then guide you through downloading and installing VirtualBox, configuring a new virtual machine, and finally, installing Windows 10 on the virtual machine using an ISO file. Whether you’re a beginner or an experienced user, this guide will provide you with the necessary steps to get Windows 10 up and running on a virtual machine.
Please note that while installing Windows 10 on a virtual machine is a straightforward process, it does require a certain level of technical knowledge. It’s essential to carefully follow each step and ensure that you have sufficient system resources available for smooth operation.
Prerequisites
Before you begin the installation process, there are a few prerequisites that you need to fulfill. These include:
- A computer with sufficient resources: Make sure your computer has enough RAM, CPU, and storage to run both VirtualBox and Windows 10. While the exact requirements may vary depending on your specific setup, it’s generally recommended to have at least 4GB of RAM and 20GB of free disk space available.
- Virtualization support: Verify that your computer’s processor supports virtualization technology, such as Intel VT-x or AMD-V. This is necessary for running virtual machines. You can check if virtualization is enabled in your computer’s BIOS settings.
- Windows 10 ISO file: Obtain a copy of the Windows 10 ISO file. You can either download it from the official Microsoft website or use an existing ISO file you have obtained elsewhere. Ensure that you have the appropriate license for Windows 10.
- VirtualBox software: Download the latest version of Oracle VirtualBox from the official website. VirtualBox is available for Windows, macOS, Linux, and Solaris, so choose the appropriate version for your operating system.
- An active internet connection: While not mandatory, having an active internet connection during the installation process can be beneficial for downloading updates and accessing additional resources.
Once you have met these prerequisites, you’re ready to proceed with the installation process. It’s important to have a clear understanding of these requirements to ensure a smooth and successful installation of Windows 10 on your virtual machine. By having the necessary resources and software in place, you’ll be able to fully leverage the capabilities of VirtualBox and experience the functionalities of Windows 10 in a virtual environment.
Step 1: Downloading VirtualBox
The first step in installing Windows 10 on a virtual machine is to download the VirtualBox software. VirtualBox is available for free from the official Oracle website and is compatible with various operating systems. Follow these steps to download VirtualBox:
- Open a web browser and go to the official VirtualBox website at https://www.virtualbox.org/.
- Click on the “Downloads” link in the navigation menu to access the downloads page.
- On the downloads page, you’ll find the latest version of VirtualBox listed. Choose the appropriate version for your operating system by clicking on the corresponding link.
- Once you click on the download link, the installation file will start downloading. The file size may vary depending on your operating system and version.
- Once the download is complete, locate the installation file in your downloads folder or the specified location, and double-click on it to start the installation process.
- Follow the on-screen instructions to complete the installation of VirtualBox. The installation wizard will guide you through the process, and you can choose the default settings or configure advanced options as per your preference.
After the installation is complete, you’ll have VirtualBox installed on your computer. This software will provide the necessary platform for creating and managing virtual machines. In the next step, we’ll explore how to set up a new virtual machine in VirtualBox to install Windows 10.
Step 2: Installing VirtualBox
Now that you have downloaded the VirtualBox software, it’s time to install it on your computer. Follow these steps to install VirtualBox:
- Locate the installation file you downloaded in the previous step. Double-click on the file to start the installation process.
- Depending on your operating system, you may need to provide administrative privileges to proceed with the installation. If prompted, click “Yes” or enter your administrator password.
- The VirtualBox installation wizard will launch. Click “Next” to begin the installation.
- Review the license agreement and click “I Agree” to accept the terms and proceed.
- Choose the components you want to install. It is recommended to leave the default options selected unless you have specific requirements.
- Choose the installation location for VirtualBox. You can either accept the default location or choose a different directory.
- On the next screen, you may be prompted to install device drivers. Follow the on-screen instructions to complete this step.
- Once the installation is complete, click “Finish” to exit the installation wizard.
Congratulations! You have successfully installed VirtualBox on your computer. Now you can proceed to the next step and start setting up a virtual machine to install Windows 10.
Step 3: Creating a New Virtual Machine
With VirtualBox successfully installed, you can now create a new virtual machine to install Windows 10. Follow these steps to create a new virtual machine:
- Open VirtualBox by locating the software in your applications or running it from the Start menu.
- Click on the “New” button in the VirtualBox Manager window to start the new virtual machine creation process.
- In the “Name and operating system” window, enter a descriptive name for your virtual machine. Choose “Microsoft Windows” as the type and select “Windows 10 (64-bit)” as the version. If you have a different Windows 10 version or architecture, choose the appropriate option accordingly. Click “Next” to proceed.
- Allocate memory to the virtual machine. It’s recommended to assign at least 2048MB (2GB) of RAM for optimal performance. Adjust the slider or manually enter the desired amount and click “Next”.
- In the “Hard disk” window, select “Create a virtual hard disk now” and click “Create”.
- Choose the hard disk file type. The default option, VDI (VirtualBox Disk Image), should be selected. Click “Next”.
- Next, choose between dynamically allocated or fixed size storage. The dynamic allocation option allows the virtual hard disk to grow as needed, while the fixed size option reserves the full amount of allocated space immediately. Select the option that best suits your needs and click “Next”.
- Specify the location and maximum size for the virtual hard disk file. The default values are usually fine, but you can change them if desired. Click “Create” to proceed.
- Once the virtual machine is created, it will be listed in the VirtualBox Manager. Select the virtual machine and click “Settings” to configure additional options if needed.
Congratulations! You have now created a new virtual machine in VirtualBox. In the next step, we will configure the virtual machine settings to prepare for the installation of Windows 10.
Step 4: Configuring the Virtual Machine
After creating a new virtual machine, it’s important to configure its settings to optimize the installation and performance of Windows 10. Follow these steps to configure your virtual machine:
- Open VirtualBox and select the virtual machine you created in the previous step.
- Click on the “Settings” button in the VirtualBox Manager window to access the virtual machine settings.
- In the “System” tab, you can adjust the base memory allocation if needed. It’s recommended to keep at least 2048MB (2GB) for Windows 10.
- Navigate to the “Storage” tab and click on the empty optical drive icon under the “Controller: IDE” section.
- In the “Attributes” section of the right panel, click on the disk icon to browse and select the Windows 10 ISO file you downloaded earlier.
- Go to the “Display” tab and adjust the video memory as necessary. Increasing it to 128MB or higher is recommended for a better visual experience.
- Click on the “Network” tab and choose the desired network settings. The default NAT setting should work for most scenarios, allowing your virtual machine to access the internet.
- Review and configure any other settings according to your requirements and hardware capabilities.
- Once you have adjusted the settings, click “OK” to save the changes.
By configuring the virtual machine settings appropriately, you can ensure that Windows 10 will run smoothly within the virtual environment. It’s essential to allocate sufficient resources, such as memory and video memory, to provide a seamless experience when using the operating system on the virtual machine. In the next step, we will proceed with the installation of Windows 10 on the virtual machine.
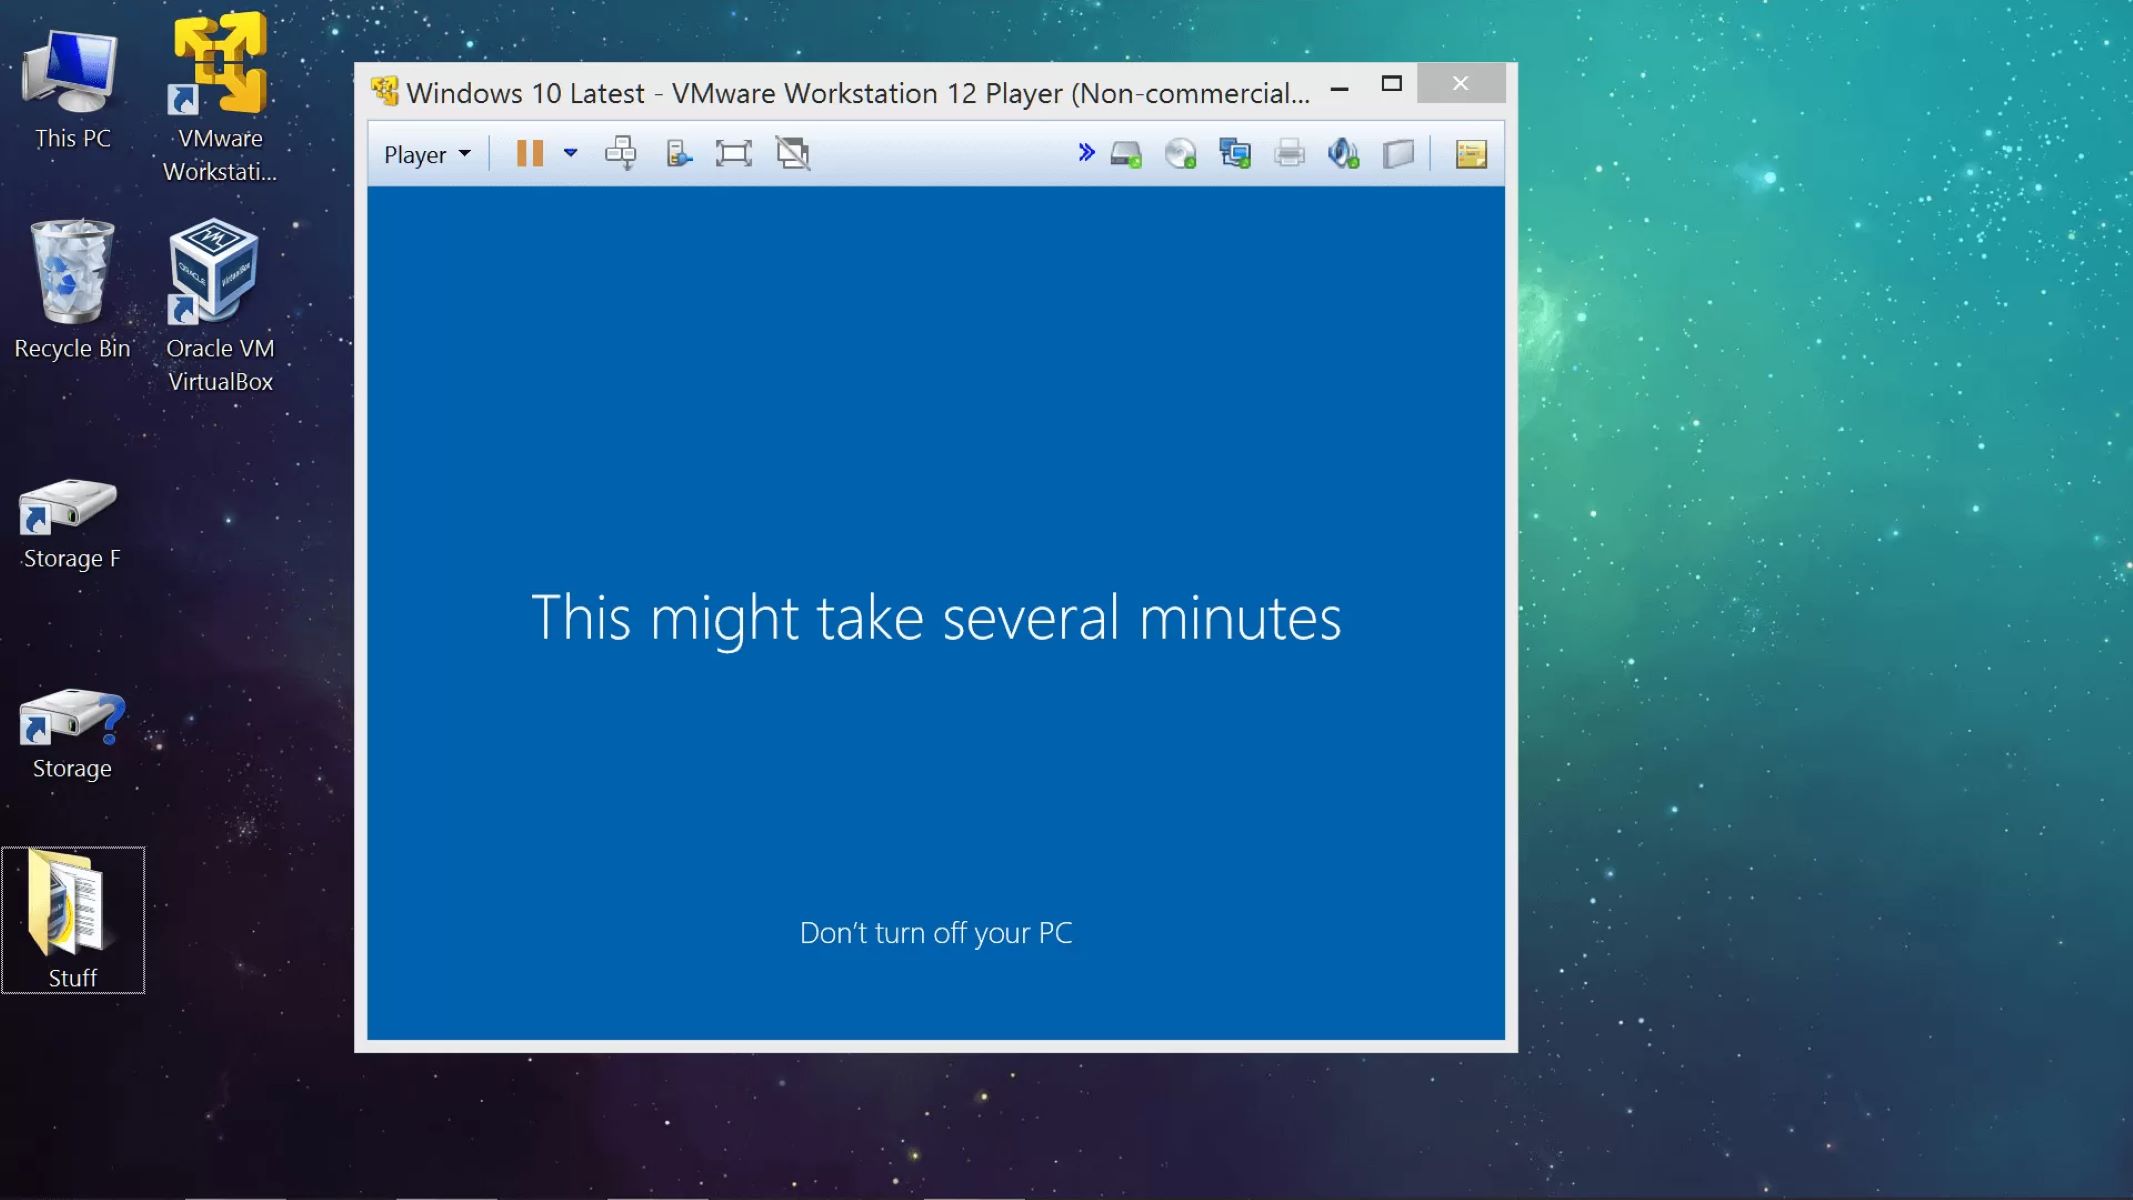
Step 5: Installing Windows 10 ISO
Now that you have configured the virtual machine settings, it’s time to install Windows 10 on the virtual machine using the ISO file you downloaded. Follow these steps to proceed with the installation:
- Ensure that the virtual machine is selected in the VirtualBox Manager.
- Click on the “Start” button to launch the virtual machine.
- The virtual machine will start and display a black screen with the VirtualBox logo. Press any key to boot from the virtual optical drive.
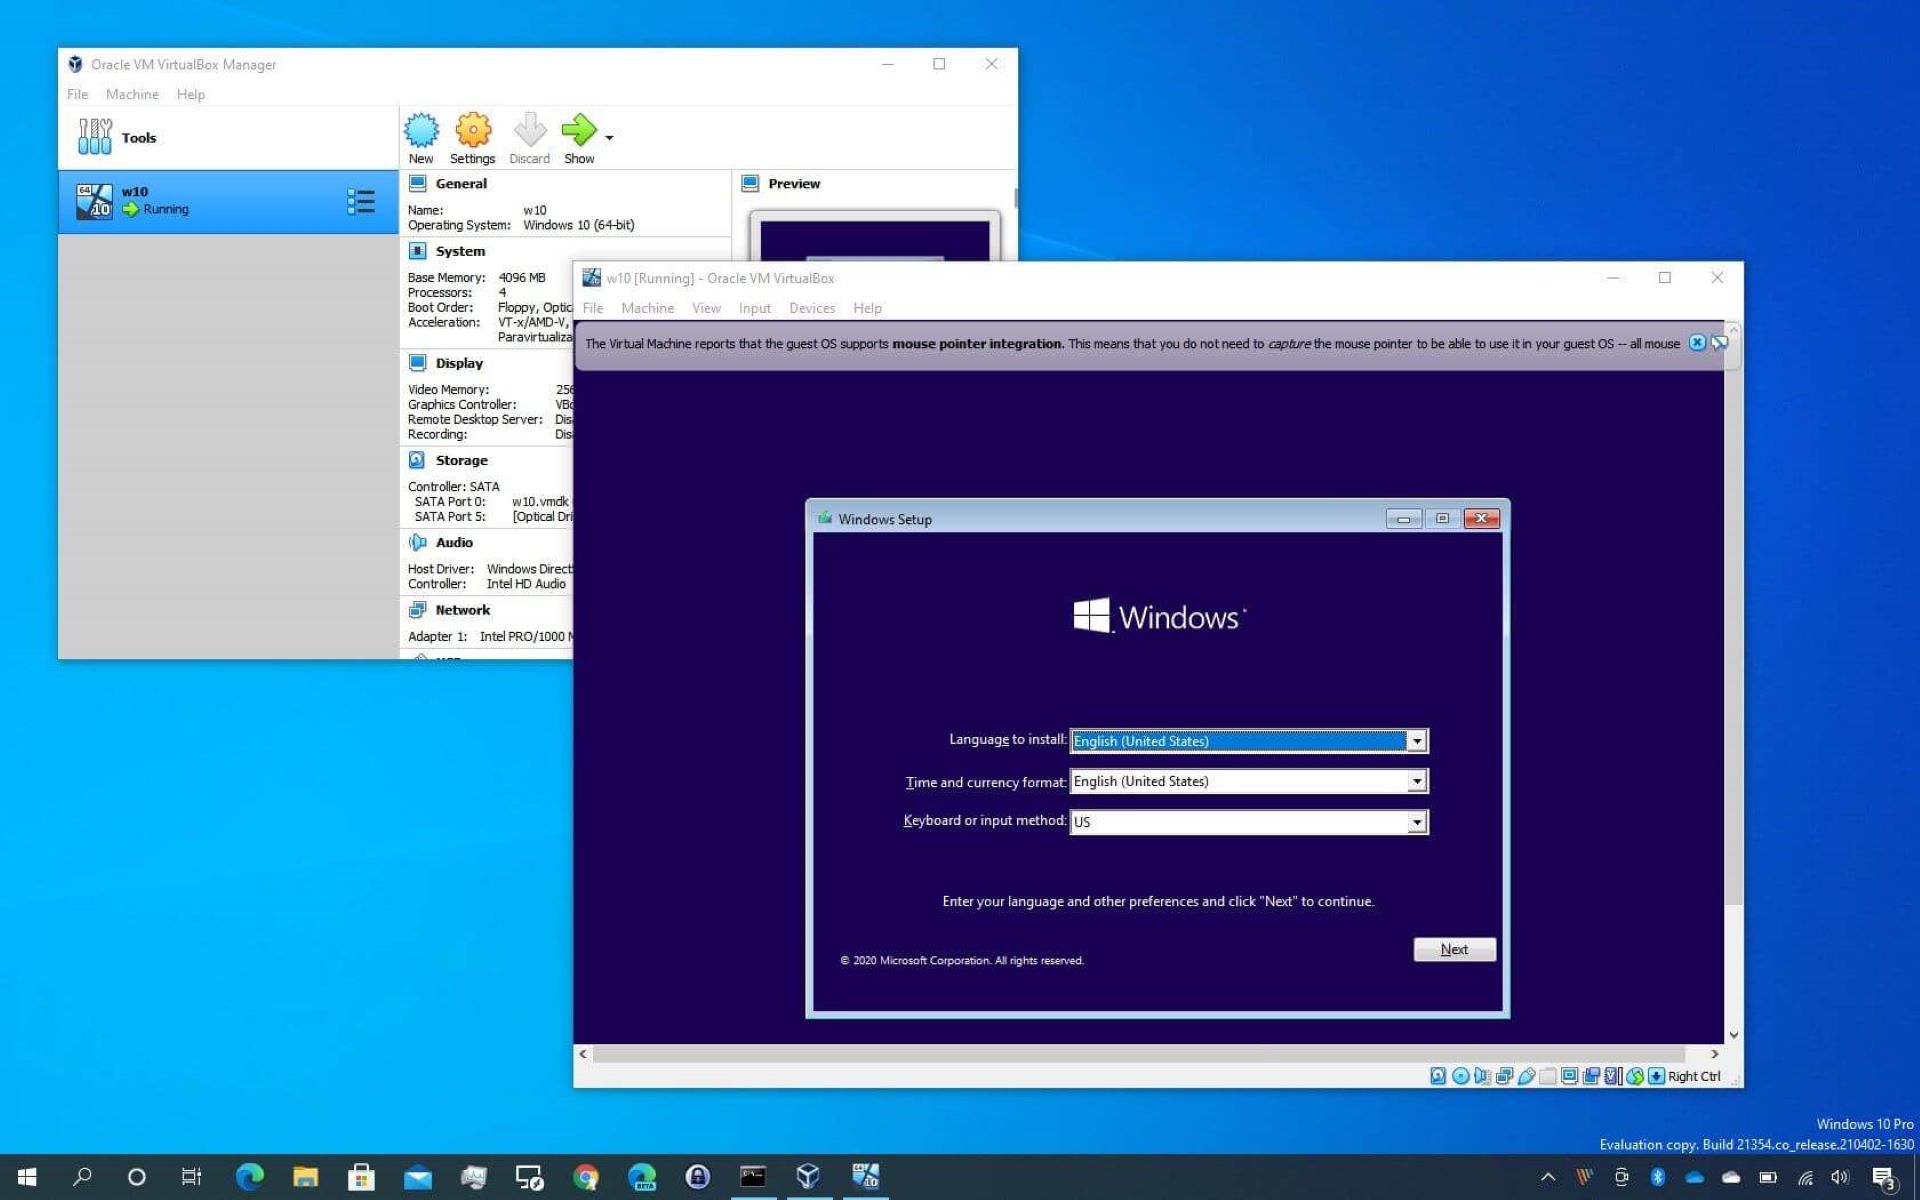
- The Windows 10 installation process will begin. Select the desired language, time, and currency format, then click “Next”.
- Click on the “Install now” button to start the installation.
- Enter the product key if prompted, or choose the option to skip this step.
- Read and accept the license terms, then click “Next”.
- Choose the installation type. For a clean installation, select “Custom: Install Windows only (advanced)”.
- On the next screen, select the virtual hard disk that you created during the virtual machine setup and click “Next”.
- The installation process will begin, during which the virtual machine will restart several times. Simply follow the on-screen prompts and wait for the process to complete.
- Once the installation is finished, the virtual machine will reboot.
- Follow the on-screen instructions to set up Windows 10, such as choosing a username, password, and privacy settings.
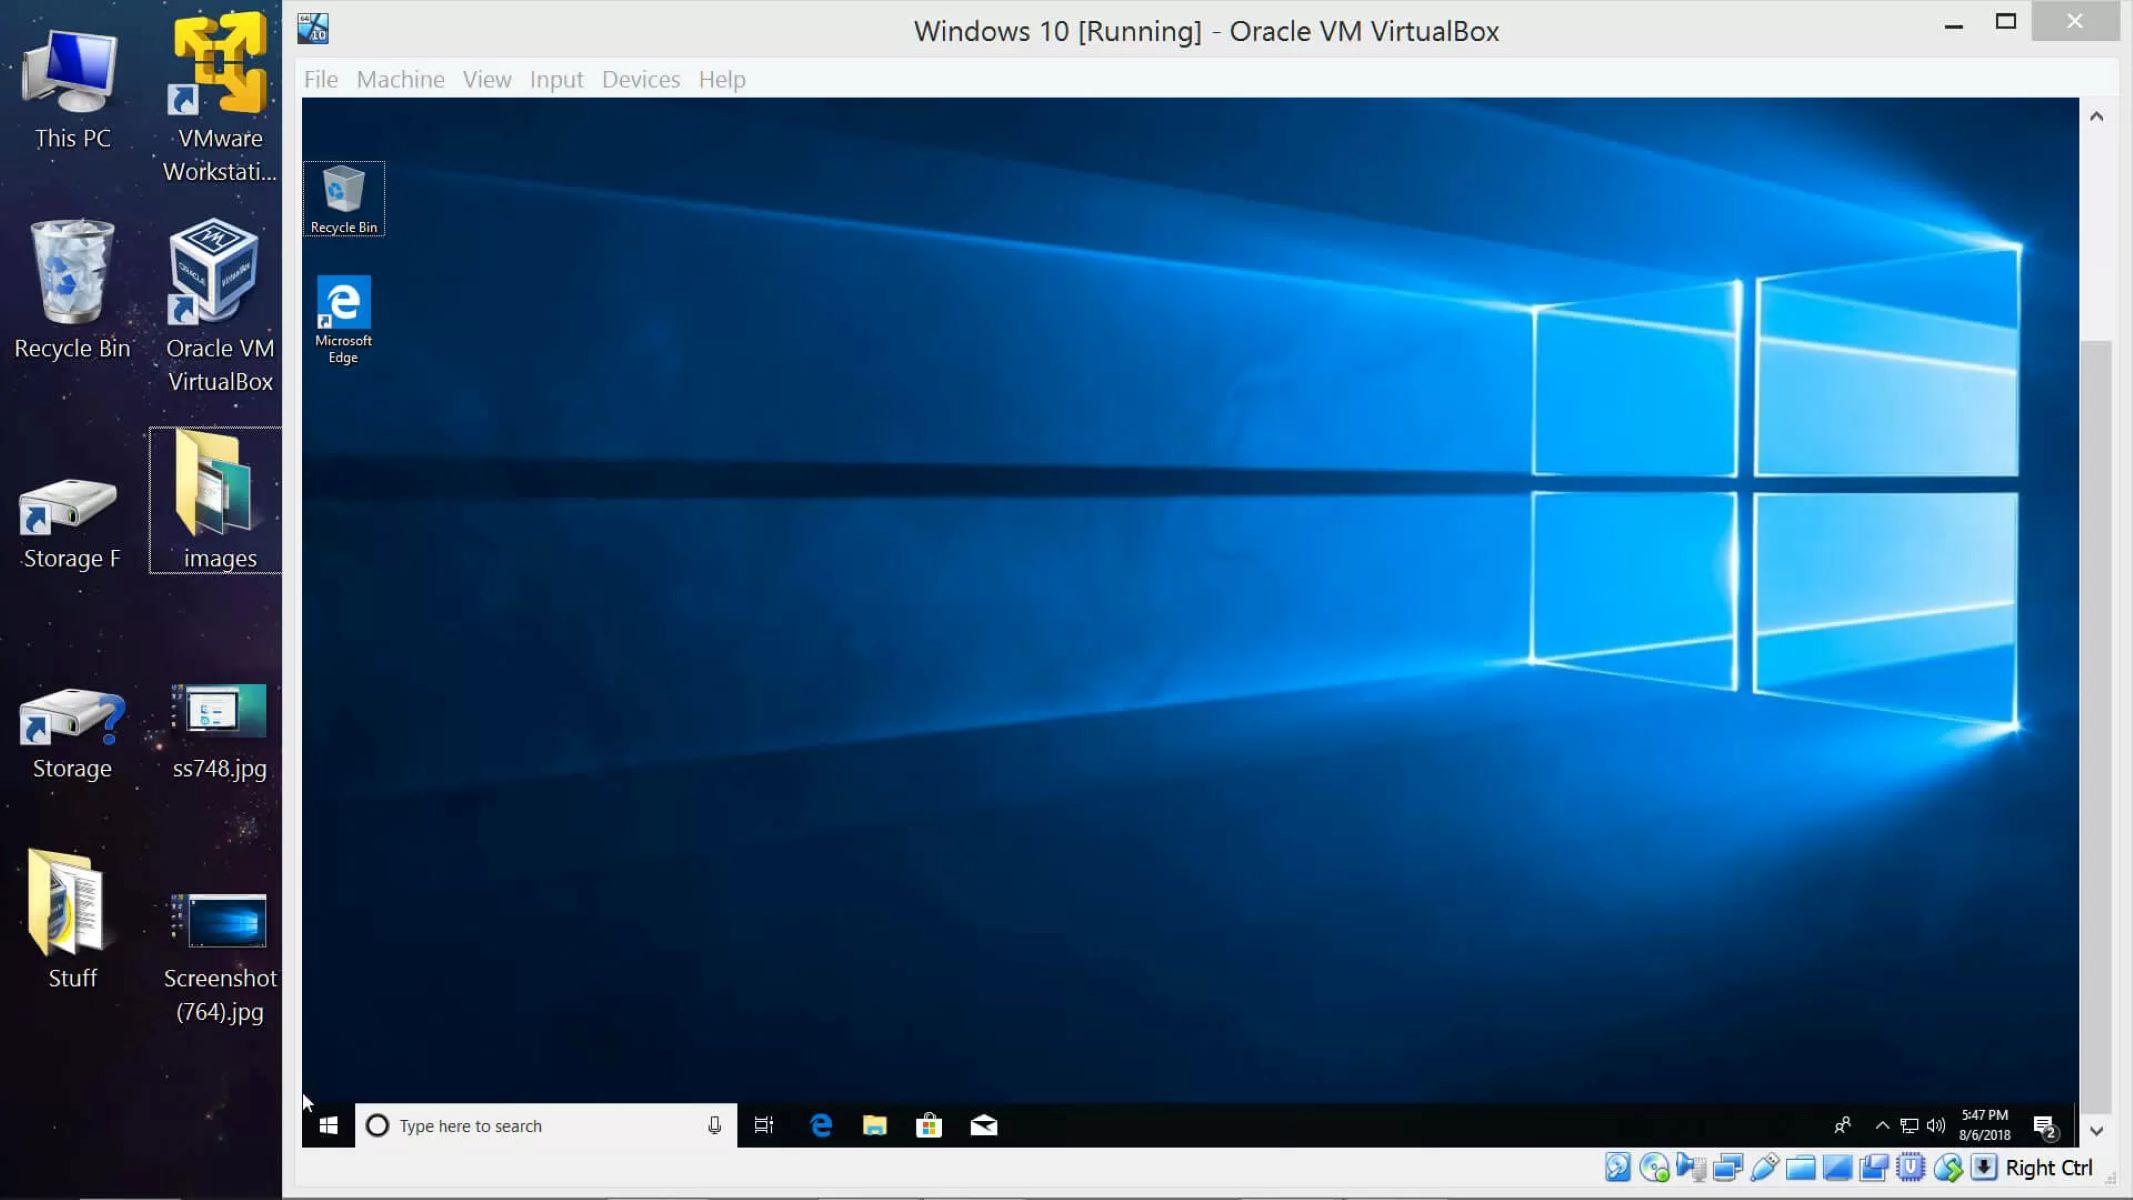
- After completing the initial setup, you will be greeted with the Windows 10 desktop within the virtual machine.
Congratulations! You have successfully installed Windows 10 on your virtual machine. You can now explore and utilize all the features and functionalities of Windows 10 within this isolated virtual environment. It’s important to remember that the virtual machine may not have access to all the hardware features of your physical computer, so certain functionalities may be limited. In the next step, we will conclude the installation process.
Step 6: Installing Windows 10 on Virtual Machine
In this final step, we will complete the installation process by configuring Windows 10 and finalizing the setup on your virtual machine. Follow these steps to complete the installation:
- Once you have reached the Windows 10 desktop within the virtual machine, you may be prompted to personalize your settings. Choose the desired settings and click “Next” to continue.
- Connect to a network by clicking on the network icon in the system tray. Select your desired network and enter the appropriate credentials, if required.
- Windows 10 will automatically search for and install any available updates. This will ensure that your virtual machine is up to date with the latest security patches and features.
- Set up a Microsoft account if desired, or choose to create a local account. Follow the on-screen instructions to complete the account setup process.
- Customize the privacy settings according to your preferences. You can choose to accept the default settings or customize them to your liking.
- Once the initial setup is complete, you can start using Windows 10 within the virtual machine. Install any necessary drivers or software as per your requirements.
Congratulations! You have successfully installed and set up Windows 10 on your virtual machine. Now you can make the most of the features and capabilities of Windows 10, test software compatibility, and perform various tasks within this virtual environment. Remember to allocate sufficient system resources to the virtual machine to ensure optimal performance. Enjoy using Windows 10 in a virtualized environment, and make the most of its functionalities without affecting your primary operating system.
Conclusion
In this guide, we have walked through the step-by-step process of installing Windows 10 on a virtual machine using VirtualBox. By following these instructions, you have successfully created a virtual machine, configured its settings, and installed Windows 10 on it using an ISO file. This gives you the flexibility to explore and utilize Windows 10 without making changes to your primary operating system.
Running Windows 10 on a virtual machine offers numerous benefits. It allows you to test software compatibility, experiment with different configurations, and work with multiple operating systems on a single computer. VirtualBox, an open-source virtualization software, provides a user-friendly platform for creating and managing virtual machines.
Before diving into the installation process, it’s important to ensure that your computer meets the necessary prerequisites, including sufficient resources and virtualization support. It’s also essential to have a Windows 10 ISO file and the VirtualBox software downloaded and installed.
Throughout the installation process, we have covered each step in detail, from downloading VirtualBox to configuring the virtual machine and installing Windows 10. By following these instructions carefully, you can successfully set up Windows 10 on a virtual machine and take advantage of its features in an isolated and convenient environment.
Remember to allocate sufficient system resources to the virtual machine, such as memory and video memory, to ensure smooth performance. Additionally, keep your virtual machine up to date by installing any available updates and installing necessary drivers or software for a seamless experience.
By installing Windows 10 on a virtual machine, you have expanded your possibilities for testing, development, and exploration. Enjoy using Windows 10 on your virtual machine and discover the versatility it offers, while maintaining the integrity of your primary operating system.