Introduction
Welcome to the world of Windows 10! If you’re considering installing this operating system on your computer, you might be wondering how long the installation process will take. While there isn’t a one-size-fits-all answer, as installation times can vary depending on various factors, in this article, we will explore the different factors that may affect the installation time for Windows 10 and provide some guidelines to help you prepare for a smooth installation experience.
Windows 10 is Microsoft’s flagship operating system, known for its user-friendly interface, enhanced security features, and improved performance. As with any software installation, the time it takes to install Windows 10 will depend on several factors, including your computer’s hardware specifications, the installation method you choose, and any additional customizations you make.
Before we dive into the specifics, it’s important to note that the installation time for Windows 10 can range from 20 minutes to several hours. However, the majority of installations typically take anywhere from 30 minutes to an hour.
Now, let’s explore some of the factors that can impact the installation time of Windows 10:
Factors Affecting Installation Time
Several factors can influence the time it takes to install Windows 10 on your computer. Understanding these factors can help set realistic expectations and ensure a smooth installation process. Here are the key factors to consider:
- Hardware Specifications: The specifications of your computer play a significant role in determining the installation time. Computers with faster processors, more RAM, and solid-state drives (SSDs) tend to install Windows 10 more quickly compared to older or less powerful machines.
- Internet Connection Speed: If you are installing Windows 10 via an online upgrade or downloading updates during the installation, the speed of your internet connection will impact the overall installation time. A faster internet connection will allow for quicker downloads and updates.
- Installation Method: The method you choose to install Windows 10 can also affect the installation time. Upgrading from a previous version of Windows usually takes less time compared to a clean installation, as the upgrade process preserves existing files and settings.
- Customization Choices: During the installation process, you may have the option to customize certain settings. These choices, such as selecting the language, region, and privacy settings, may add some additional time to the installation process.
- Software and Drivers: Compatibility with your existing software and drivers can impact the installation time. If Windows 10 needs to update or replace certain software or drivers, it may take additional time to complete the installation.
It’s important to note that these factors are not exhaustive and may vary from system to system. While some of these factors are beyond your control, there are proactive steps you can take to ensure a smoother and faster installation process.
Next, let’s explore the minimum system requirements for installing Windows 10 to ensure that your computer meets the necessary specifications.
Minimum System Requirements for Windows 10
Before you proceed with installing Windows 10, it’s important to ensure that your computer meets the minimum system requirements. Meeting these requirements will not only ensure smooth installation but also provide optimal performance once the operating system is installed. Here are the minimum system requirements for Windows 10:
- Processor: Windows 10 requires a minimum 1 GHz or faster processor. However, a faster processor will result in better performance.
- Memory (RAM): The minimum RAM requirement for Windows 10 is 1 GB for 32-bit systems and 2 GB for 64-bit systems. However, Microsoft recommends having at least 4 GB of RAM for a better experience.
- Storage Space: Windows 10 requires at least 32 GB of free space on your hard drive for the 64-bit version, or 16 GB for the 32-bit version. However, if you plan to install additional software and store files, it’s advisable to have more storage space available.
- Graphics Card: For basic functionality, a DirectX 9 or later graphics card with a WDDM 1.0 driver is required. However, if you intend to use advanced graphics features or play graphics-intensive games, a more powerful graphics card is recommended.
- Display: Windows 10 requires a minimum display resolution of 800×600 pixels, but a resolution of 1366×768 pixels or higher is recommended for an optimal experience.
These are the minimum system requirements to install Windows 10. However, keep in mind that these requirements are the bare minimum, and for a smoother and more enjoyable experience, it’s advisable to exceed these specifications whenever possible. Upgrading your hardware, especially your processor, memory, and storage, can significantly enhance the overall performance of Windows 10.
Once you’ve confirmed that your computer meets the minimum requirements, you can proceed with preparing your computer for the installation process.
Preparing Your Computer for Installation
Before you begin the installation of Windows 10, it’s crucial to prepare your computer to ensure a smooth and successful installation. Taking the time to complete these necessary steps will help minimize potential issues and ensure a hassle-free experience. Here are some essential tasks to consider:
- Backup Your Data: It’s always a good practice to back up your important files and documents before performing any major software installation. This way, if anything goes wrong during the installation process, you won’t risk losing valuable data.
- Remove Unnecessary Files: Take this opportunity to clean up your computer by removing any unnecessary files or programs. This will not only free up space on your hard drive but also optimize the performance of your system.
- Update Drivers: Ensure that all your hardware drivers, such as graphics, audio, and network drivers, are up to date. Updated drivers help ensure compatibility and improve system stability.
- Disable Antivirus Software: Temporarily disable any antivirus software or third-party security programs on your computer. Some antivirus programs may interfere with the installation process, so it’s best to disable them temporarily to avoid any potential conflicts.
- Connect to Power Source: Make sure your computer is connected to a reliable power source throughout the installation process. Power interruptions during the installation can lead to errors or incomplete installations.
Following these preparation steps will help create an optimal environment for the installation of Windows 10. Taking the time to complete these tasks can save you from potential headaches and ensure a smoother installation experience.
Next, we’ll discuss the process of downloading and creating installation media for Windows 10.
Downloading and Creating Installation Media
Once you have prepared your computer, the next step is to download and create the installation media for Windows 10. The installation media will serve as a bootable USB drive or DVD that you will use to install the operating system on your computer. Here’s how you can do it:
- Download the Media Creation Tool: Visit the official Microsoft website and download the Media Creation Tool. This tool will help you download the latest version of Windows 10 and create the installation media.
- Choose the Edition and Architecture: When running the Media Creation Tool, you will be prompted to select the edition and architecture of Windows 10 you want to install. Choose the appropriate options based on your requirements.
- Select the Installation Media: Next, you will have the option to choose between creating a USB flash drive or downloading an ISO file. Select the USB flash drive option if you want to create a bootable USB drive. Alternatively, choose the ISO file option if you plan to create a bootable DVD or use the ISO file for virtual machines.
- Insert a USB Drive or Insert a Blank DVD: If you have selected the USB flash drive option, make sure you have a USB drive with sufficient storage capacity inserted into your computer. If you chose the ISO file option, insert a blank DVD into your DVD drive.
- Follow the Setup Wizard: Once you have selected the installation media and inserted the necessary storage device, follow the instructions provided by the Media Creation Tool. It will download the Windows 10 files and create the bootable media for you.
After the creation of the installation media is complete, you are now ready to proceed with the installation of Windows 10. Having the installation media on hand will allow you to install Windows 10 on your computer easily and conveniently.
Next, let’s explore the step-by-step process of installing Windows 10.
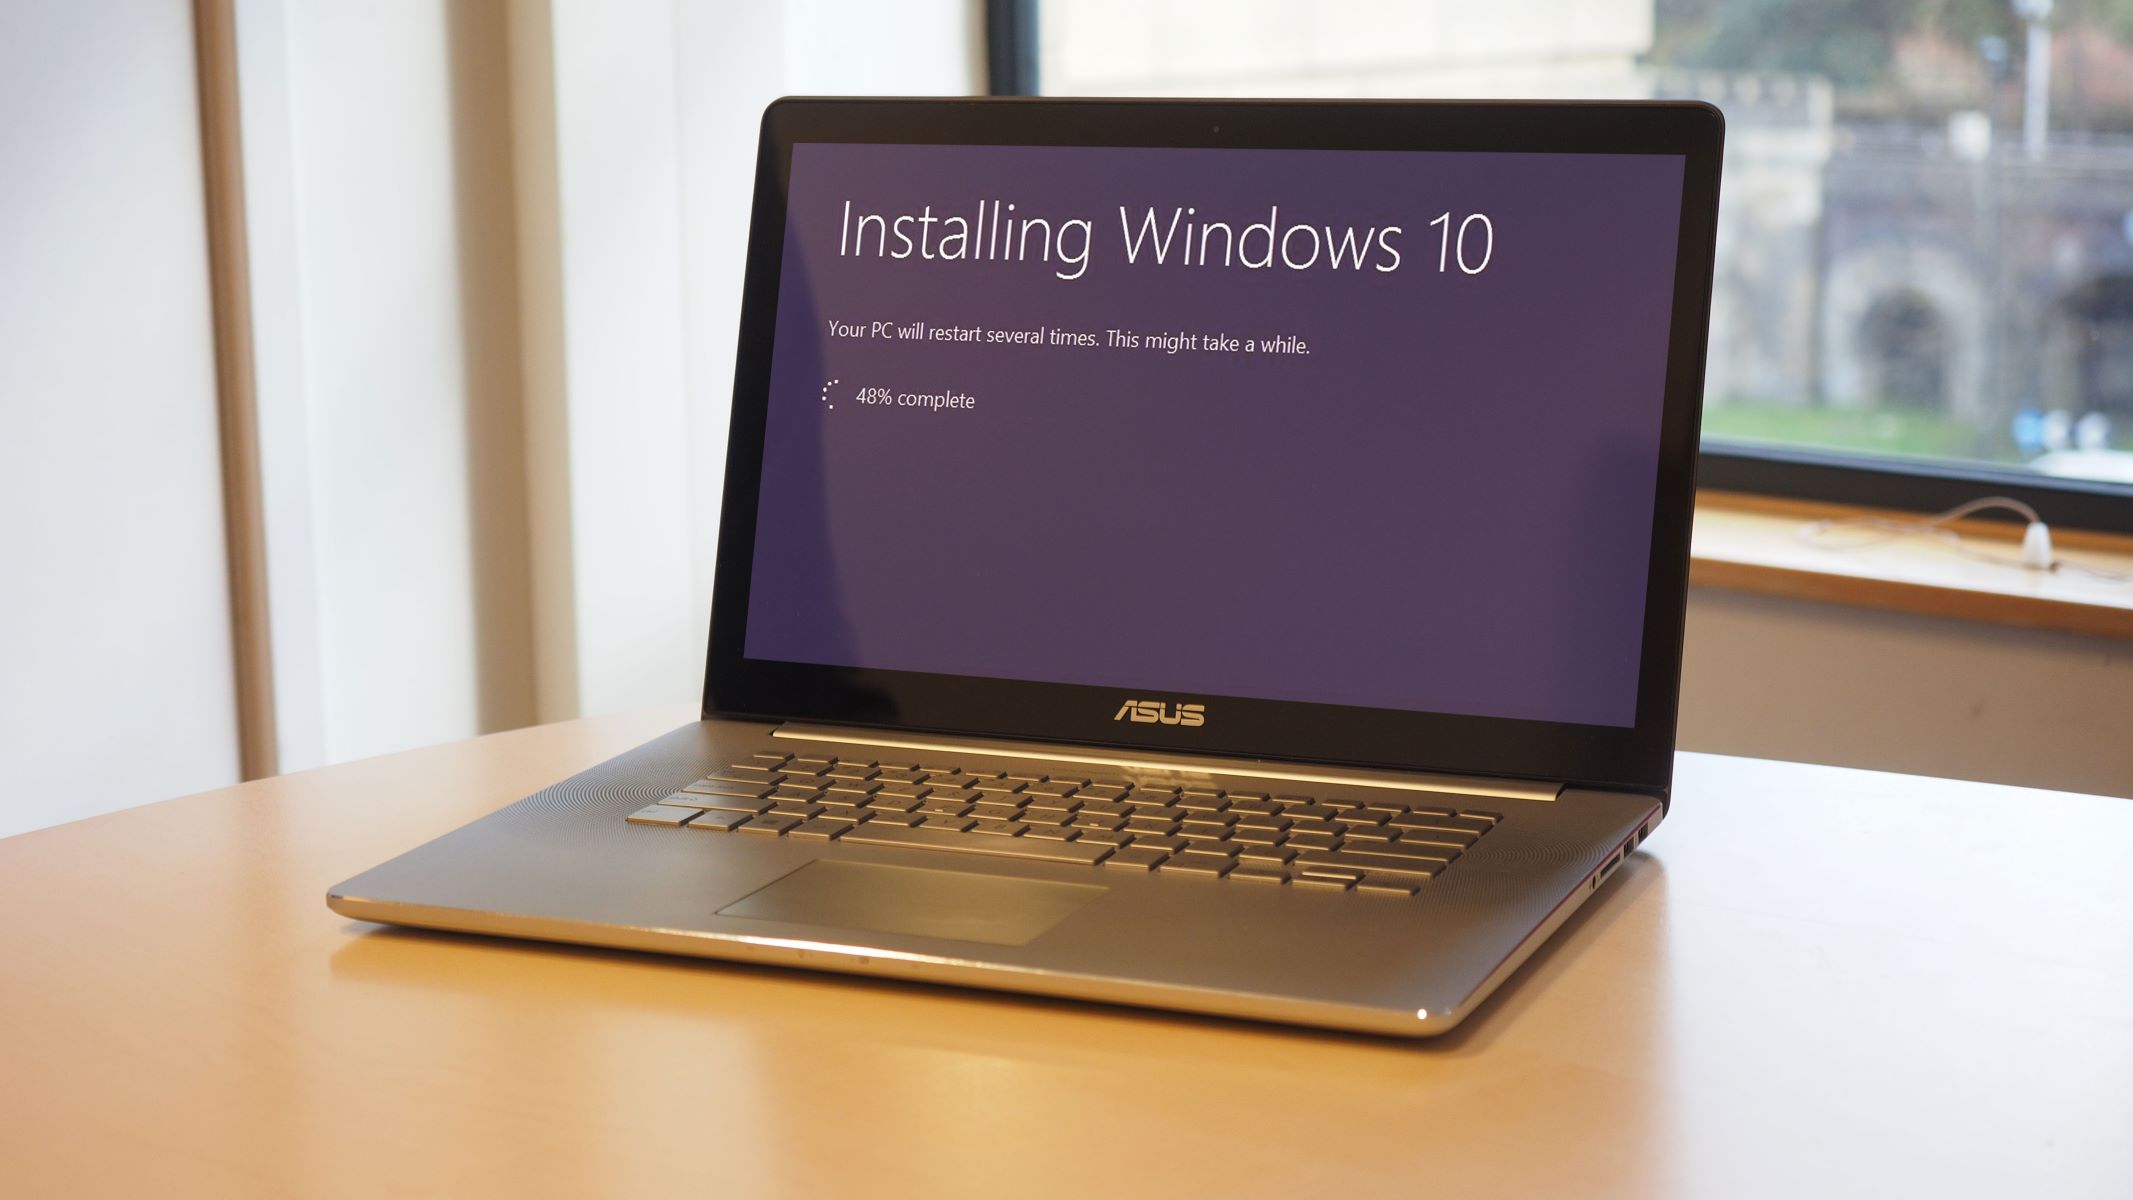
Installing Windows 10
Now that you have the installation media prepared, it’s time to proceed with the actual installation of Windows 10. Follow these step-by-step instructions to install the operating system on your computer:
- Connect the Installation Media: If you created a bootable USB drive, connect it to a USB port on your computer. If you created a bootable DVD, insert the DVD into your computer’s DVD drive.
- Restart Your Computer: Restart your computer and enter the boot menu. The key to access the boot menu may vary depending on your computer’s manufacturer. Common keys include F2, F12, or Del. Consult your computer’s documentation or search online for the specific key for your computer.
- Select the Installation Media: In the boot menu, select the installation media (USB drive or DVD) as the boot device. Once selected, press Enter to continue.
- Choose Language and Keyboard Layout: On the Windows Setup screen, select your preferred language, time, keyboard layout, and other regional preferences. Click “Next” to proceed.
- Install Now: Click on the “Install Now” button to start the installation process. If prompted, enter your product key or proceed without a key by selecting the appropriate option.
- Accept the License Terms: Read and accept the license terms to proceed with the installation. Check the box next to “I accept the license terms” and click “Next”.
- Choose Installation Type: Select the installation type that suits your needs. If you are performing a clean install, choose the “Custom: Install Windows only (advanced)” option. If you are upgrading from a previous version of Windows, choose the “Upgrade: Install Windows and keep files, settings, and applications” option.
- Select a Partition: If you chose the custom installation option, select a partition or create a new partition where you want to install Windows 10. Follow the on-screen instructions to complete the partitioning process.
- Install Windows: Click “Next” to begin the installation process. Windows will now copy the necessary files, install updates, and configure the settings.
- Finalize the Installation: Once the installation process is complete, your computer will restart. Follow the prompts to personalize your settings, set up a Microsoft account if desired, and choose privacy options.
After completing these steps, you will have successfully installed Windows 10 on your computer. Congratulations!
Next, let’s explore the initial setup and configuration process after the installation of Windows 10.
Initial Setup and Configuration
After successfully installing Windows 10, there are a few important steps to take during the initial setup and configuration process to personalize your experience and ensure optimal performance. Here are the key steps to follow:
- Select Region and Language: During the initial setup, you will be prompted to choose your region and language preferences. Select the appropriate options and click “Next”.
- Connect to a Network: Establish an internet connection by selecting your Wi-Fi network or connecting via Ethernet cable. If you prefer, you can skip this step and connect later.
- Sign in with a Microsoft Account: You have the option to sign in with a Microsoft account, which provides access to additional features and services. Alternatively, you can choose to create a local account or sign in later.
- Set Privacy and Diagnostic Settings: Customize your privacy and diagnostic settings based on your preferences. You can choose the recommended settings or review and adjust individual settings as needed.
- Personalize Your PC: Customize the appearance and theme of Windows 10 by selecting your desired colors, background, and other personalization options. You can also opt to use the default settings.
- Configure Additional Settings: Review and configure additional settings related to Cortana, Microsoft Edge, and other features. Adjust these settings according to your preferences.
- Set up OneDrive: If you use OneDrive, Microsoft’s cloud storage service, sign in to your OneDrive account or set up a new account to sync your files and access them across devices.
- Explore the Start Menu and Apps: Take some time to familiarize yourself with the Start Menu and explore the pre-installed apps and features. Customize the Start Menu layout and pin your frequently used apps for easy access.
- Install Updates: After the initial setup, it’s essential to install any available Windows updates. Updates often include bug fixes, security patches, and performance improvements.
By completing these initial setup and configuration steps, you will have personalized Windows 10 according to your preferences and ensured that your computer is up to date. Now, you can enjoy the full functionality and features of Windows 10.
Next, let’s discuss some essential post-installation steps you may want to consider.
Post-Installation Steps
After completing the initial setup and configuration of Windows 10, there are a few post-installation steps you can take to further optimize your experience and ensure the smooth functioning of your system. Here are some essential post-installation steps to consider:
- Activate Windows: If you haven’t already done so during the installation process, activate your copy of Windows to ensure that it is genuine and to unlock all the features and updates.
- Install Essential Software: Install any essential software and applications you need for your work, entertainment, or personal use. This may include productivity tools, media players, web browsers, and antivirus software.
- Update Drivers: Check for any pending driver updates and install the latest versions available. Updated drivers can improve hardware performance and resolve compatibility issues.
- Run Windows Update: Run Windows Update to download and install the latest updates for Windows 10. Regular updates contain security patches, bug fixes, and new features, ensuring a smoother and more secure system.
- Configure Windows Security: Review and configure Windows Security settings, including Windows Defender, firewall settings, and antivirus preferences. Ensure that your computer remains protected from malware and other threats.
- Backup Your System: Set up a regular backup schedule to protect your important data. Consider utilizing Microsoft’s built-in backup tool or third-party backup software to create system backups or incremental backups of your files.
- Optimize Startup Programs: Review the programs that automatically start when you boot up your computer and disable any unnecessary startup items. This helps to improve boot time and overall system performance.
- Customize Settings: Take the time to explore and customize the various settings in Windows 10 according to your personal preferences. This includes display settings, power options, notification preferences, and more.
- Organize Files and Folders: Create a well-organized file and folder structure to easily locate and access your files. Consider categorizing them into logical groups and using folders, libraries, and shortcuts for efficient file management.
- Regularly Maintain Your System: Perform regular system maintenance tasks such as disk cleanup, disk defragmentation, and system optimization to keep your computer running smoothly and efficiently.
By following these post-installation steps, you can ensure that your system is optimized, secure, and personalized to meet your specific needs. Taking the time to complete these tasks will help you make the most out of your Windows 10 experience.
Next, let’s explore some common issues you may encounter during or after the installation and how to troubleshoot them.
Common Issues and Troubleshooting
While installing or using Windows 10, you may encounter some common issues that can hinder your experience. Fortunately, many of these issues can be resolved with troubleshooting steps. Here are a few common problems and their possible solutions:
- Installation Errors: If you encounter errors during the installation process, ensure that your computer meets the minimum system requirements for Windows 10. Check for any incompatible software or drivers and try disabling them before the installation.
- Driver Compatibility Issues: Some hardware may not have compatible drivers available for Windows 10. Visit the manufacturer’s website to check for updated drivers that are compatible with the operating system.
- Blue Screen of Death (BSOD): If your computer encounters a BSOD error, it may indicate a hardware or software problem. Update your drivers, run a system scan for malware, and check for faulty hardware components.
- Slow Performance: If your system is running slowly after the installation, check for background processes or applications consuming excessive resources. Disable unnecessary startup programs and consider upgrading your hardware, such as adding more RAM or using a faster storage drive.
- Wi-Fi or Network Connectivity Issues: If you’re experiencing connectivity problems, ensure that your Wi-Fi or Ethernet drivers are up to date. Reset your network settings, check for any physical issues with your network devices, and restart your router if necessary.
- Software Compatibility: Some older software or applications may not be compatible with Windows 10. Check with the software developer for updates or alternative solutions. You can also try running the software in compatibility mode or consider using virtualization software.
- Update Problems: If you’re having trouble installing Windows updates, ensure that your internet connection is stable and try running the Windows Update Troubleshooter. If the issue persists, manually downloading and installing updates from the Microsoft website may help resolve the problem.
- Data Loss: Accidental deletion or data loss can occur during the installation process. Regularly back up your important files and documents to prevent data loss. If you mistakenly delete files, use data recovery software immediately to increase the chances of successful recovery.
If you encounter any other issues during or after the installation of Windows 10, consult Microsoft’s official documentation, community forums, or seek assistance from their support team. Thorough troubleshooting and patience can often resolve most problems and ensure a smooth operating system experience.
Now that we have explored common issues and their solutions, let’s conclude our guide to installing Windows 10.
Conclusion
Installing Windows 10 is an exciting step towards enjoying the latest features and improvements that Microsoft’s flagship operating system has to offer. While the installation time can vary depending on factors such as hardware specifications, installation method, and customization choices, following the right steps and being prepared can help ensure a smooth and successful installation process.
In this guide, we covered the factors that can affect installation time, the minimum system requirements for Windows 10, preparing your computer for installation, downloading and creating installation media, step-by-step installation instructions, initial setup and configuration, post-installation steps, as well as common issues and troubleshooting techniques.
By understanding the factors that impact installation time and meeting the minimum system requirements, you can set appropriate expectations and optimize your computer’s performance. Preparing your computer, creating installation media, and following the installation process ensures a smooth transition to Windows 10 with minimal disruptions.
After the installation, taking the time to personalize your settings, install essential software, and perform regular maintenance can enhance your Windows 10 experience. By troubleshooting common issues, you can overcome any obstacles that may arise, allowing you to enjoy the benefits of a stable and efficient operating system.
Remember to stay informed by referring to Microsoft’s official documentation and seeking assistance from their support channels if you encounter any problems beyond what this guide covers. Embrace the possibilities and potential that Windows 10 offers, and enjoy your journey in the world of Microsoft’s innovative operating system!