Introduction
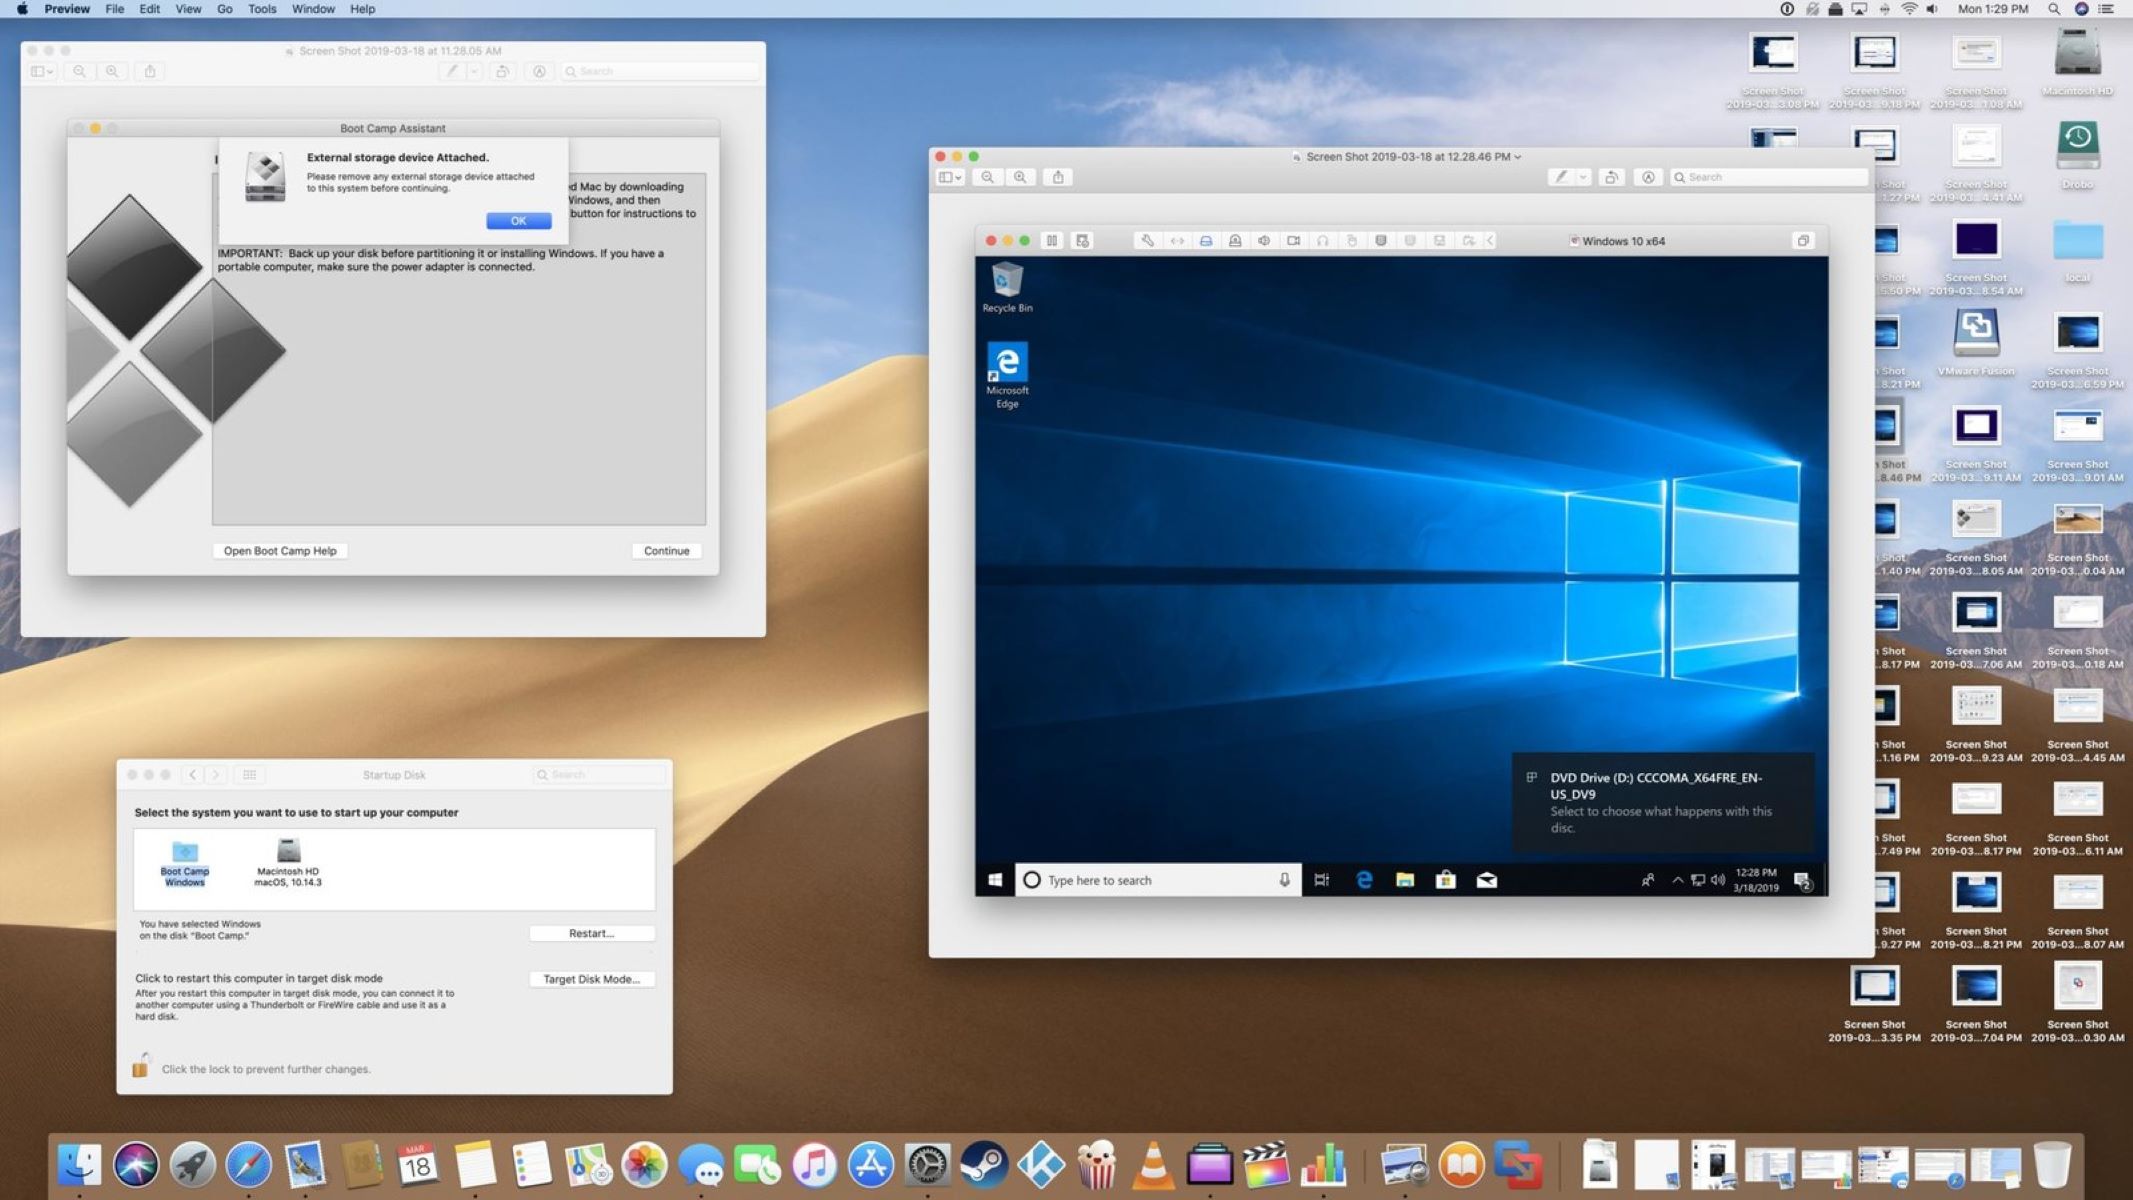
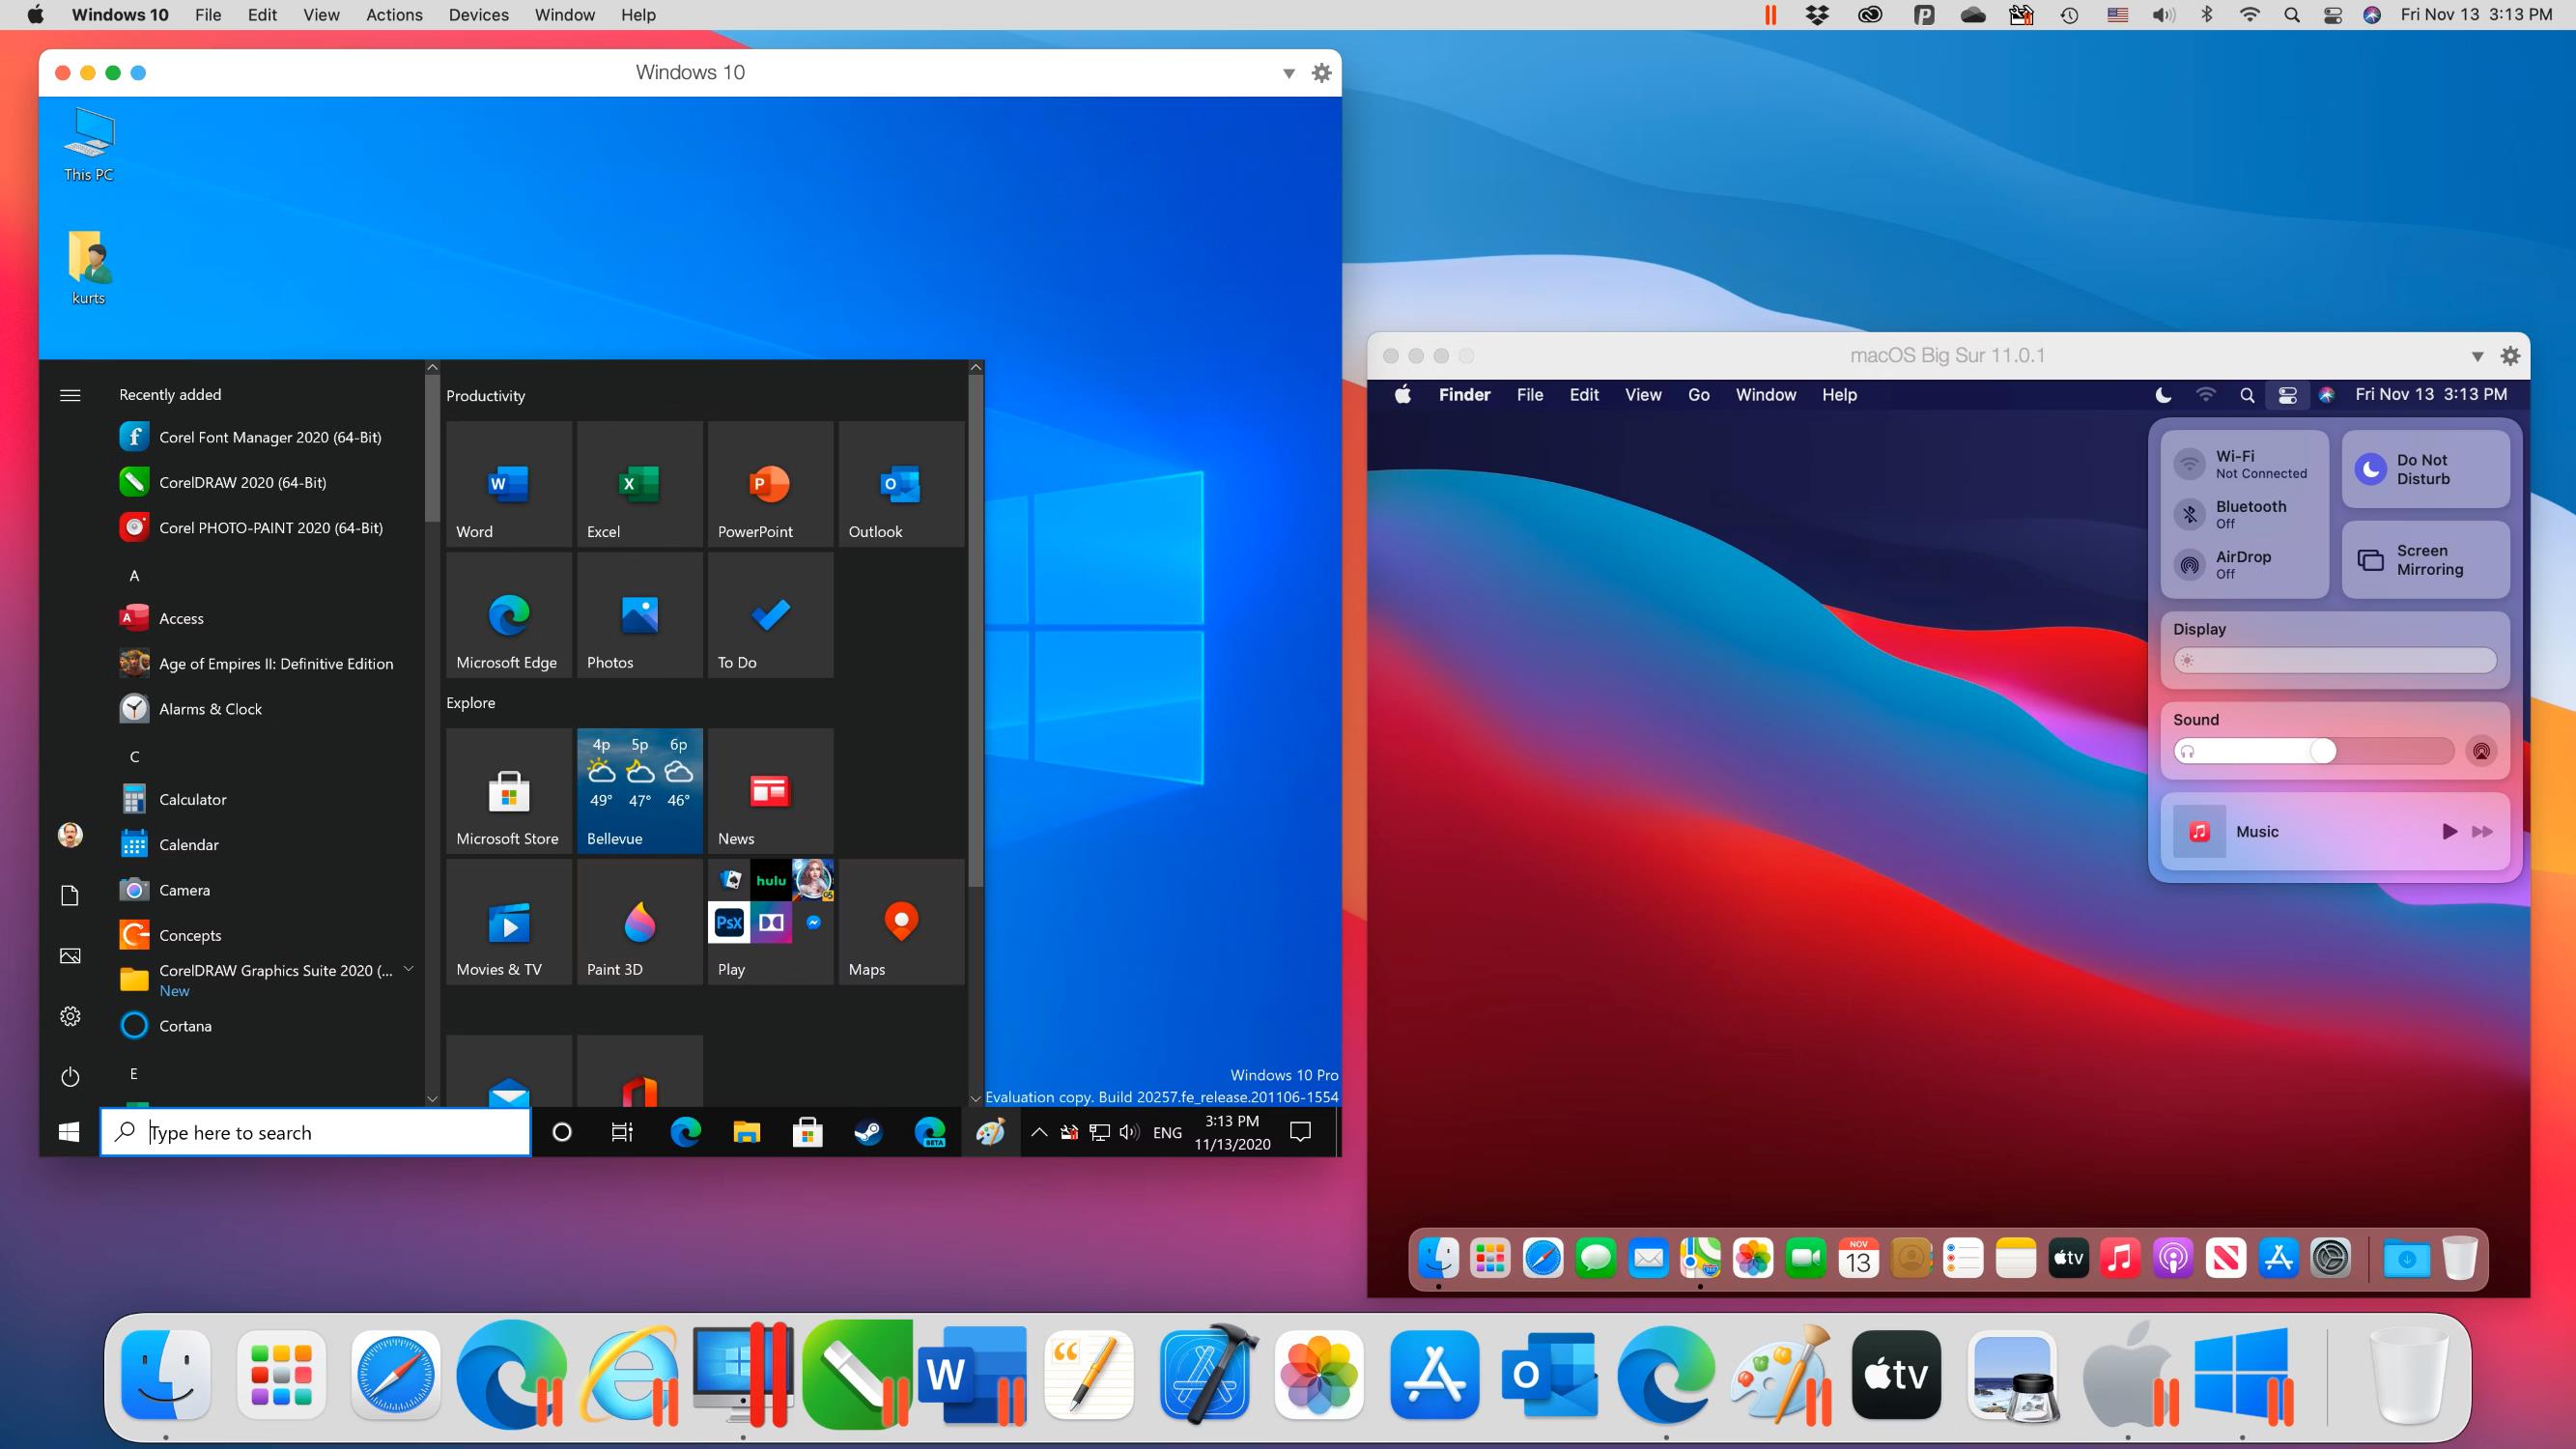
Installing a Windows virtual machine on your Mac allows you to enjoy the best of both worlds—a seamless experience of macOS along with the ability to run Windows applications. Whether you need to test software, run specific applications, or simply explore a different operating system, setting up a Windows virtual machine on your Mac is a practical solution.
Virtualization software enables you to create a virtual environment within your Mac, allowing you to install and run an operating system like Windows without interfering with your macOS installation. With just a few simple steps, you can have a fully functional Windows virtual machine up and running on your Mac in no time.
In this guide, we will walk you through the process of installing a Windows virtual machine on your Mac. We will discuss the necessary software, the steps involved in creating a new virtual machine, and the installation of Windows. Additionally, we will cover customizing Windows settings and installing essential tools to improve the performance and functionality of your virtual machine.
Before we begin, it is important to note that you will need a legitimate copy of Windows and a product key to install and activate it on the virtual machine. Furthermore, be sure to allocate sufficient resources, such as memory and storage, to ensure optimal performance.
Now, let’s dive into the steps required to install a Windows virtual machine on your Mac and explore the possibilities that this versatile setup can offer!
Step 1: Install a Virtualization Software
The first step in installing a Windows virtual machine on your Mac is to install virtualization software. This software creates a virtual environment that allows you to run multiple operating systems simultaneously. There are several virtualization software options available for macOS, including Parallels Desktop, VMware Fusion, and VirtualBox. In this guide, we will focus on using VirtualBox, which is a free and open-source option.
To begin, visit the VirtualBox website (www.virtualbox.org) and download the latest version of VirtualBox for macOS. Once the download is complete, double-click the installation package to start the installation process. Follow the on-screen instructions to complete the installation, including accepting the license agreement and entering your administrator password.
After VirtualBox is successfully installed, it’s advisable to check for updates to ensure you have the latest features and bug fixes. Open VirtualBox from your Applications folder and navigate to the “Help” menu. Select “Check for Updates” and follow the prompts to update VirtualBox if a newer version is available.
VirtualBox requires additional system extensions to run the virtual machines smoothly. During the installation process, you might be prompted to enable these extensions. Follow the instructions to grant the necessary permissions and enable the extensions. If you encounter any issues during this step, refer to the VirtualBox documentation or seek assistance from the VirtualBox community.
Once you have successfully installed VirtualBox and any necessary updates, you are ready to proceed to the next step—downloading a Windows ISO file. Make sure you have a stable internet connection as the size of the Windows ISO file can vary depending on the version you choose.
In this section, we covered the importance of virtualization software in setting up a Windows virtual machine on your Mac. We discussed the installation process for VirtualBox, a popular free option for macOS. In the next step, we will guide you through downloading a Windows ISO file, a necessary prerequisite for creating the virtual machine.
Step 2: Download a Windows ISO File
To install Windows on your virtual machine, you will need to download a Windows ISO file. The ISO file contains the installation files for the Windows operating system. Depending on your requirements, you can download different versions of Windows, such as Windows 10, Windows 8.1, or Windows 7. It is important to note that you will need a valid Windows license key to activate your virtual machine.
There are various ways to obtain a Windows ISO file. If you already have a physical copy of Windows, you can use software like ImgBurn to create an ISO file from the installation disc. Alternatively, you can download the ISO file directly from the Microsoft website or through authorized resellers.
To download the Windows ISO file, visit the Microsoft website (www.microsoft.com) and navigate to the Windows Download page. Select the desired Windows version and choose the appropriate edition (such as Home, Pro, or Enterprise) and language. Once you make the selection, the website will provide the download link for the ISO file. Ensure that you’re downloading the correct version and edition, as installing an incorrect version may lead to compatibility issues.
The download process may take some time depending on your internet connection speed and the size of the ISO file. It is recommended to use a stable and high-speed internet connection to ensure a smooth download experience.
Once the download is complete, verify the integrity of the ISO file to ensure its authenticity and prevent any issues during installation. You can do this by comparing the SHA-1 or MD5 hash checksum of the downloaded file with the one provided on the Microsoft website. There are various third-party checksum utilities available online that can help you perform this verification.
In this section, we discussed the importance of downloading a Windows ISO file for the installation of the virtual machine. We covered the different methods of obtaining the ISO file, including creating it from a physical Windows installation disc or downloading it from the Microsoft website. In the next step, we will guide you through the process of creating a new virtual machine using VirtualBox and the downloaded Windows ISO file.
Step 3: Create a New Virtual Machine
Now that you have the Windows ISO file ready, it’s time to create a new virtual machine in VirtualBox.
Open VirtualBox on your Mac and click on the “New” button in the toolbar. This will launch the virtual machine creation wizard. Give your virtual machine a descriptive name that reflects the Windows version and edition you will be installing. Select the type as “Microsoft Windows” and the version as the corresponding Windows version you downloaded.
Next, allocate the amount of memory (RAM) you want to assign to the virtual machine. It is recommended to allocate at least 2GB of RAM for optimal performance, but you can adjust this based on the available resources on your Mac.
In the next step, you will be prompted to create a virtual hard disk for the virtual machine. Select the “Create a virtual hard disk now” option and click “Create”. Choose the VDI (VirtualBox Disk Image) option as the hard disk file type and proceed with the default options for the storage type.
You will then be asked to specify the virtual hard disk size. The recommended size is at least 20GB to ensure enough space for the installation and future updates. However, you can adjust the size based on your requirements and available storage space.
After configuring the hard disk, click on the “Create” button to create the virtual machine. You will be returned to the main VirtualBox interface, where you can see the newly created virtual machine listed.
In the final step of creating the virtual machine, you need to configure some additional settings. Select the virtual machine from the list and click on the “Settings” button in the toolbar. Here, you can modify various settings such as the number of processors, enable or disable virtualization features, and adjust video memory settings to enhance the virtual machine’s performance.
In this section, we discussed the process of creating a new virtual machine in VirtualBox. We covered naming the virtual machine, selecting the Windows version, allocating memory, creating a virtual hard disk, and configuring additional settings. In the next step, we will guide you through allocating resources for the virtual machine to ensure optimal performance.
Step 4: Allocate Resources for the Virtual Machine
Now that you have created a new virtual machine, it’s crucial to allocate the appropriate resources to ensure optimal performance. By adjusting settings such as CPU, memory, and storage, you can customize the virtual machine according to your needs and the specifications of your Mac.
Start by selecting the virtual machine in the VirtualBox manager and clicking on the “Settings” button in the toolbar. In the settings menu, navigate to the “System” tab.
In the “System” tab, you can allocate the number of processors or CPU cores to be used by the virtual machine. Allocating multiple processors can significantly improve the performance of resource-intensive applications. However, keep in mind that allocating too many processors may impact the performance of your host machine. It’s generally recommended to allocate one or two processors for most scenarios.
Next, navigate to the “Display” tab. Here, you can adjust the video memory allocated to the virtual machine. Increasing the video memory improves graphics performance and allows for a smoother experience. However, avoid allocating too much video memory, as it may impact the available resources for other applications on your Mac.
The next important resource to consider is memory or RAM. In the “System” tab, click on the “Motherboard” option. Here, you can allocate the amount of RAM to be used by the virtual machine. Allocating sufficient memory is crucial for ensuring smooth performance. Depending on the available resources on your Mac and the requirements of the Windows version you installed, allocate at least 2GB or more of memory to the virtual machine.
After allocating resources, navigate to the “Storage” tab to configure the storage settings for the virtual machine. Click on the empty disk and then on the small CD icon to the right. From the dropdown menu, select the Windows ISO file you downloaded in Step 2.
In this section, we discussed the importance of allocating resources for the virtual machine. We covered adjusting the CPU, video memory, RAM, and storage settings to ensure optimal performance. In the next step, we will guide you through the installation of Windows on the virtual machine.
Step 5: Install Windows on the Virtual Machine
With the virtual machine and resources allocated, it’s time to install Windows on the virtual machine you created in VirtualBox. Follow these steps to proceed with the installation:
1. Start the virtual machine by selecting it in the VirtualBox manager and clicking on the “Start” button in the toolbar.
2. The virtual machine will boot up and prompt you to select the installation media. Choose the Windows ISO file you downloaded earlier and click “Start”.
3. The Windows installation process will begin. Follow the on-screen instructions to select the language, time zone, and keyboard layout.
4. When prompted to select the installation type, choose “Custom: Install Windows only (advanced)”.
5. Select the virtual hard drive you created earlier as the destination for the installation. If you don’t see the virtual hard drive listed, click on “Load Driver” to install the necessary drivers for VirtualBox storage.
6. Continue with the installation, allowing Windows to copy files and configure settings. You may be prompted to create a user account and provide other necessary information during the setup process.
7. Once the installation is complete, the virtual machine will restart. Remove the Windows ISO file from the virtual machine’s virtual optical drive to prevent the installation from starting again.
8. Now you will see the Windows login screen within the virtual machine. Enter your credentials to log in and access your newly installed Windows operating system.
In this section, we discussed the process of installing Windows on the virtual machine using VirtualBox. By following these steps, you should now have Windows successfully installed and ready to use within the virtual machine. In the next step, we will guide you through customizing Windows settings to enhance your virtual machine experience.
Step 6: Customize Windows Settings
After installing Windows on your virtual machine, it’s time to customize the settings to optimize your virtual machine experience. Here are some key steps to consider:
1. Update Windows: Start by checking for and installing any available Windows updates. This will ensure that your virtual machine has the latest security patches, bug fixes, and performance improvements.
2. Install Drivers: VirtualBox provides additional tools called “VirtualBox Guest Additions” to enhance the functionality of the virtual machine. These tools include drivers for seamless mouse integration, improved video performance, shared folders, and more. To install the Guest Additions, go to the “Devices” menu in the virtual machine’s window and select “Insert Guest Additions CD image”. Follow the on-screen prompts to complete the installation.
3. Adjust Display Settings: In the virtual machine, right-click on the desktop and select “Display settings”. Here, you can adjust the screen resolution, orientation, and scaling options to ensure a comfortable and visually pleasing experience within the virtual machine.
4. Customize User Preferences: Explore the Windows settings to personalize your virtual machine experience. You can change the desktop background, theme, taskbar settings, and more. Additionally, you may want to configure power settings, privacy settings, and notifications according to your preferences.
5. Install Applications: Now that you have Windows up and running in the virtual machine, you can install the necessary applications and software according to your needs. Whether it’s productivity tools, development environments, or media players, install the applications within the virtual machine to keep your host Mac environment clutter-free.
Remember, the virtual machine operates independently of your Mac, so any changes made within the virtual machine will not affect your Mac’s settings or installed applications.
In this section, we discussed the importance of customizing the Windows settings within the virtual machine. We covered updating Windows, installing VirtualBox Guest Additions, adjusting display settings, customizing user preferences, and installing necessary applications. In the next step, we will guide you through the installation of Virtual Machine Tools to further enhance the performance and functionality of your virtual machine.
Step 7: Install Virtual Machine Tools
To further enhance the performance and functionality of your Windows virtual machine, it’s recommended to install Virtual Machine (VM) Tools. These tools are specific to the virtualization software you are using and provide additional features and optimizations for seamless integration between the host and virtual machine. In this guide, we will focus on installing VirtualBox Guest Additions as the VM Tools for VirtualBox.
1. Start your Windows virtual machine and ensure that it is running.
2. In the VirtualBox menu, go to “Devices” and click on “Insert Guest Additions CD image”. This action will mount the Guest Additions ISO file to your virtual machine.
3. Navigate to “This PC” in File Explorer and open the optical drive corresponding to the Guest Additions CD.
4. Run the “VBoxWindowsAdditions” executable file within the CD. Depending on your system’s security settings, you may need to confirm the action or provide administrative privileges.
5. Follow the on-screen instructions to install the VirtualBox Guest Additions. It may require you to reboot your virtual machine, so save any unsaved work before proceeding.
6. After the installation is complete and you have rebooted your virtual machine, you can enjoy the enhanced features provided by the VirtualBox Guest Additions. These features include seamless mouse integration, automatic resizing of the virtual machine window, shared clipboard between the host and virtual machine, and improved video performance.
Keep in mind that the installation process may vary slightly depending on the version of VirtualBox and the Guest Additions. If you encounter any issues during the installation, refer to the VirtualBox documentation or seek assistance from the VirtualBox community.
In this section, we discussed the importance of installing Virtual Machine Tools to enhance the performance and functionality of your virtual machine. We specifically focused on installing VirtualBox Guest Additions for VirtualBox. With the completion of this step, your Windows virtual machine is now fully equipped with the necessary tools to ensure a seamless and efficient virtualized experience.
Conclusion
Congratulations! You have successfully installed a Windows virtual machine on your Mac using VirtualBox. By following the steps outlined in this guide, you have gained the ability to run Windows applications alongside your macOS environment, providing you with the best of both worlds.
Through the installation process, you learned how to install virtualization software, download a Windows ISO file, create a new virtual machine, allocate resources, install Windows, customize settings, and install virtual machine tools. These steps have allowed you to create a fully functional Windows environment within your Mac, opening up a world of possibilities for software testing, application compatibility, and exploring different operating systems.
Remember to keep your Windows virtual machine up to date with the latest security patches and updates to ensure a secure and reliable computing experience. Additionally, make use of the customization options to personalize your virtual machine and install the necessary applications to meet your specific needs.
Virtualization technology, such as running a Windows virtual machine on your Mac, has become an invaluable tool for individuals and businesses looking to leverage the benefits of multiple operating systems. Whether you’re a developer testing software across different platforms, a student needing access to Windows-specific applications, or a professional requiring a seamless integration between macOS and Windows environments, a virtual machine provides a flexible and efficient solution.
Now that you have successfully set up a Windows virtual machine on your Mac, take some time to explore its capabilities, experiment with different applications, and make the most of this versatile technology. Enjoy the convenience and productivity that comes with having both macOS and Windows at your fingertips.
Thank you for following this guide, and we hope it has been helpful in your journey to install and utilize a Windows virtual machine on your Mac. Should you have any questions or encounter any difficulties, feel free to consult the documentation provided by VirtualBox or seek assistance from the virtualization community.


