Introduction
Welcome to this step-by-step guide on how to remove a virtual machine. Whether you’re a seasoned virtualization software user or just starting out, knowing how to properly remove a virtual machine is essential. Removing a virtual machine not only frees up valuable resources on your system but also ensures that no unnecessary files or configurations are left behind.
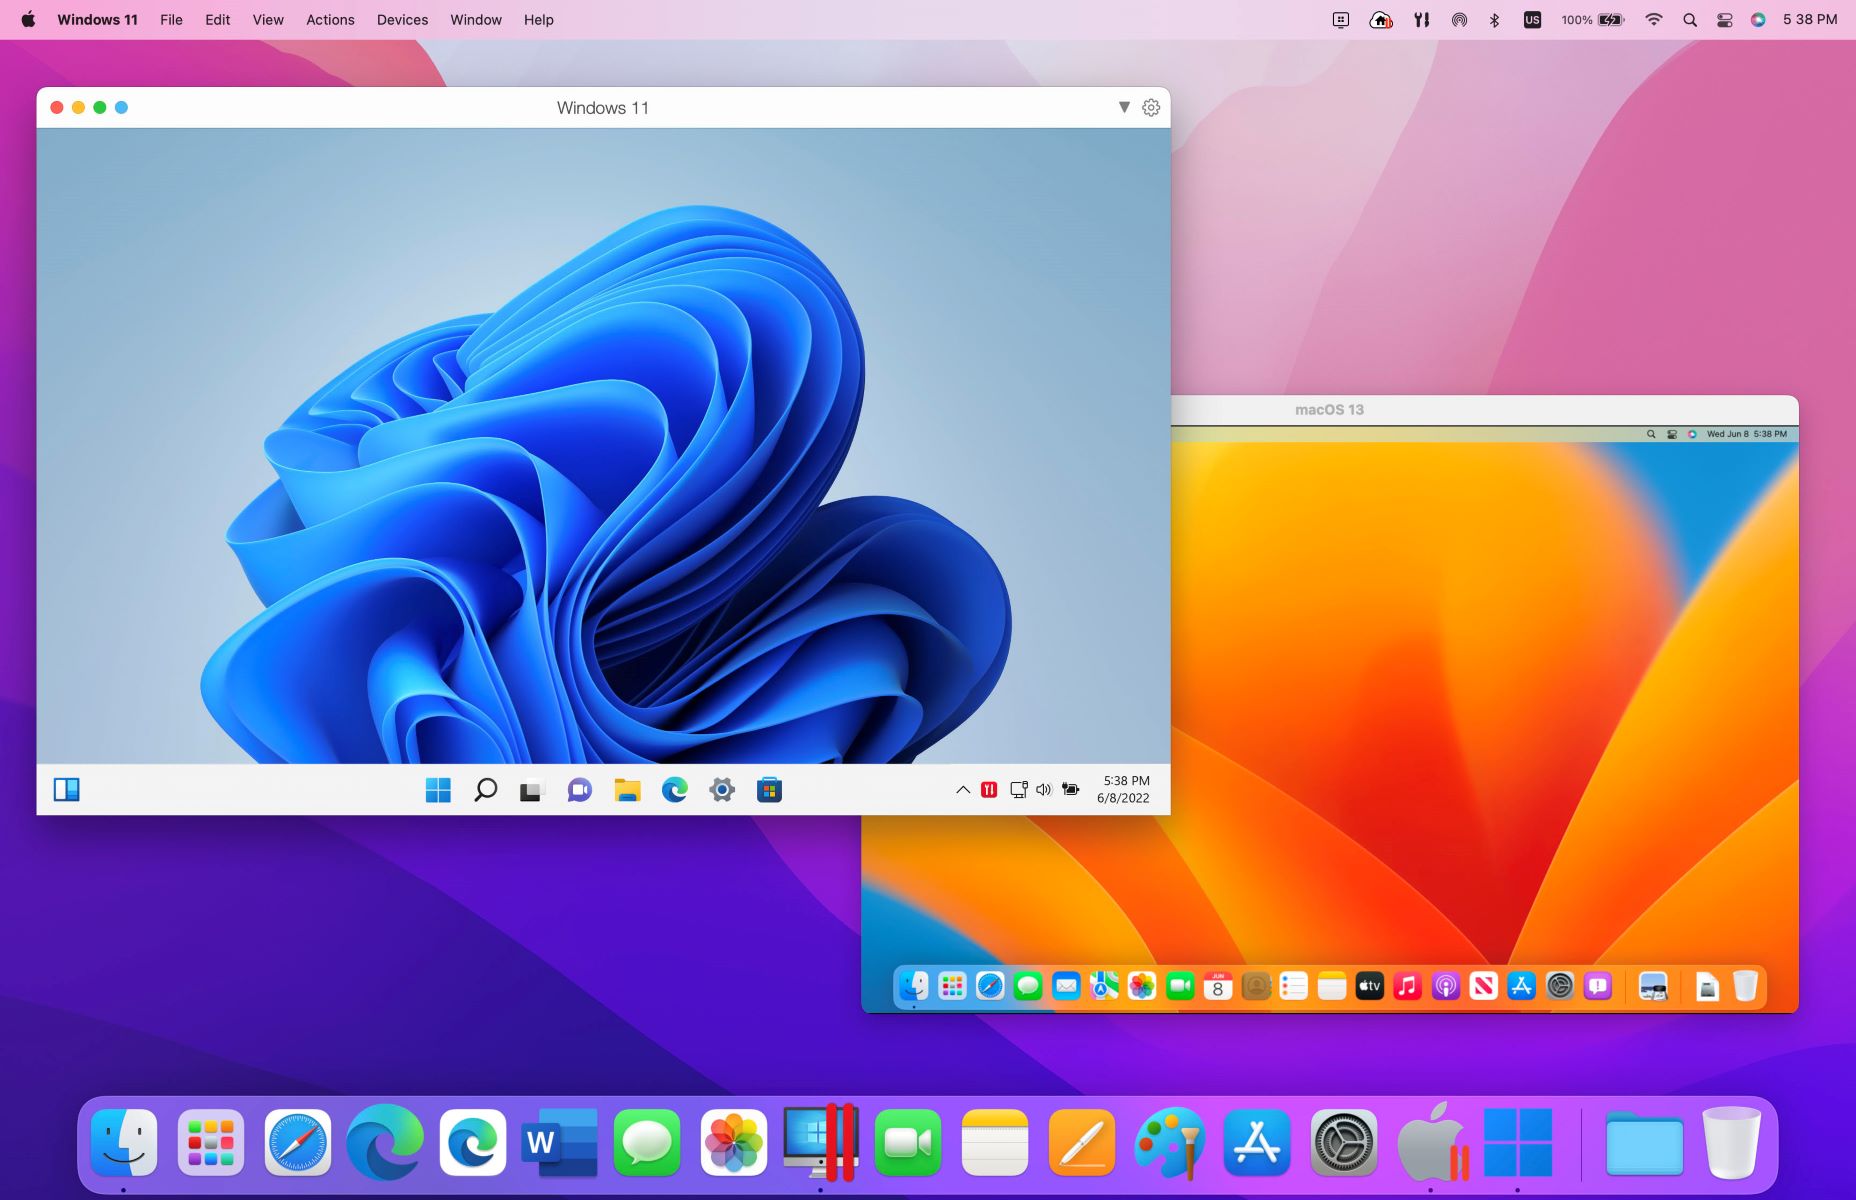
A virtual machine is a software emulation of a physical computer, capable of running its own operating system and applications. It’s often used for testing, development, or running multiple operating systems on a single physical machine. However, there may come a time when you no longer need a particular virtual machine and want to remove it from your system.
In this guide, we will walk you through the necessary steps to safely remove a virtual machine. We’ll cover shutting down the virtual machine, backing up important files, exporting the virtual machine, removing it from your virtualization software, deleting the virtual machine files, and clearing any remaining virtual machine configurations.
It’s important to note that the steps may vary slightly depending on the virtualization software you are using, such as VMware, VirtualBox, or Hyper-V. However, the overall concept remains the same.
This guide assumes you have basic knowledge of virtualization concepts and have already created and used a virtual machine. If you’re completely new to virtual machines, it may be helpful to familiarize yourself with the basics before proceeding.
Now that we have a general understanding, let’s dive into the step-by-step process of removing a virtual machine.
Step 1: Shutting down the virtual machine
The first step in removing a virtual machine is to ensure that it is properly shut down. This allows for a clean disconnection from any running processes and ensures that data is saved correctly.
To shut down a virtual machine, you can follow these general steps:
- Open your virtualization software and locate the virtual machine you want to remove.
- Select the virtual machine and look for an option to shut down or power off.
- Click on the shut down or power off option to initiate the process.
- Wait for the virtual machine to gracefully shut down. This may take a few moments, depending on the operating system and applications running on the virtual machine.
- Verify that the virtual machine is fully powered off before proceeding to the next step. You can check this by ensuring the virtual machine window is closed or by checking the virtualization software’s interface.
It’s important to note that abruptly turning off the virtual machine, such as by closing the virtualization software window or by forcing a power-off, can lead to data loss or corruption. To prevent any potential issues, it is highly recommended to always shut down the virtual machine using the proper procedure.
By following these steps, you have successfully shut down the virtual machine, which is an important prerequisite for its removal. Now, let’s move on to the next step of backing up important files before removing the virtual machine.
Step 2: Backing up important files
Before removing a virtual machine, it’s crucial to back up any important files or data associated with it. This ensures that you have a copy of your valuable information in case you need it later.
To back up important files from the virtual machine, you can follow these steps:
- Access the virtual machine’s file system by opening the virtualization software.
- Navigate to the location where the virtual machine’s files are stored.
- Identify the files or directories that contain important data you want to back up. This may include documents, databases, configurations, or any other files specific to your virtual machine.
- Copy or export the selected files to a secure location on your physical machine or an external storage device.
- Verify that the backup process is complete and that all important files have been successfully copied.
Keep in mind that the location of the virtual machine files may vary depending on the virtualization software you are using. Commonly, they are stored in a specific directory created during the virtual machine’s creation.
By backing up your important files, you have added an extra layer of protection to preserve your data. Now, let’s proceed to the next step of exporting the virtual machine.
Step 3: Exporting the virtual machine
Exporting the virtual machine is an important step in the process of removing it. Exporting allows you to create a compact and portable package of the virtual machine, which can be used for backup purposes or transferred to another system if needed.
To export a virtual machine, you can follow these general steps:
- Open your virtualization software and locate the virtual machine you want to export.
- Select the virtual machine and look for an option to export or create an appliance.
- Choose a destination where you want to save the exported file. This can be a local directory or an external storage device.
- Specify any additional export settings, such as file format or compression options, if available.
- Start the export process and wait for it to complete. The time taken may vary depending on the size of the virtual machine and the chosen export settings.
- Verify that the export process has finished successfully and that you have the exported file in the specified destination.
Exporting the virtual machine ensures that you have a self-contained package that includes all the necessary files and configurations. This enables easy restoration or usage of the virtual machine in the future, if required.
It’s worth noting that the exact steps for exporting a virtual machine may differ based on the virtualization software you are using. Refer to the software’s documentation or help resources for specific instructions.
Now that you have successfully exported the virtual machine, let’s move on to the next step of removing it from your virtualization software.
Step 4: Removing the virtual machine from the virtualization software
Once you have backed up your important files and exported the virtual machine, it’s time to remove it from the virtualization software. This step ensures that the virtual machine is no longer listed or accessible within the software interface.
To remove a virtual machine from the virtualization software, you can follow these general steps:
- Open your virtualization software and locate the list of virtual machines.
- Select the virtual machine you want to remove.
- Look for an option to remove, delete, or unregister the virtual machine.
- Click on this option and confirm the removal when prompted.
- Wait for the virtual machine to be removed from the software’s interface. The time taken may vary depending on the virtualization software and the size of the virtual machine.
- Verify that the virtual machine is no longer listed within the software.
Removing the virtual machine from the virtualization software ensures that it no longer consumes system resources and frees up space for other usage. However, note that removing the virtual machine does not delete its files from your system. We will address that in the next step.
Keep in mind that the specific steps for removing a virtual machine may vary depending on the virtualization software you are using. If you encounter any difficulties, refer to the software’s documentation or seek assistance from their support channels.
With the virtual machine successfully removed from the virtualization software, let’s proceed to the next step of deleting the virtual machine files from your system.
Step 5: Deleting the virtual machine files
After removing the virtual machine from the virtualization software, it’s time to delete the associated virtual machine files from your system. This step ensures that all the resources allocated to the virtual machine are fully released and no longer take up storage space on your computer.
To delete the virtual machine files, you can follow these general steps:
- Open your file explorer or terminal and navigate to the location where the virtual machine files are stored.
- Identify the directory or folder that corresponds to the virtual machine you want to delete.
- Right-click on the virtual machine folder and select the option to delete or move it to the recycle bin or trash. Alternatively, you can use the command line to remove the directory recursively.
- If prompted for confirmation, proceed with the deletion. Note that the deletion process is usually irreversible, so make sure you have backed up any necessary files before proceeding.
- Wait for the deletion process to complete. The time taken depends on the size of the virtual machine files.
Deleting the virtual machine files permanently removes the associated virtual machine’s data and configurations from your system. Be cautious when deleting files and double-check that you’ve selected the correct virtual machine folder to avoid accidentally deleting important files.
It’s important to note that the location and structure of the virtual machine files may vary depending on the virtualization software you are using. If you are unsure where the files are stored, refer to the software’s documentation or help resources for specific instructions.
With the virtual machine files successfully deleted, let’s move on to the final step of clearing any remaining virtual machine configurations.
Step 6: Clearing any remaining virtual machine configurations
Even after deleting the virtual machine files, there may still be some residual configurations or settings associated with the virtual machine. It’s important to clean up these remaining configurations to ensure a complete removal of the virtual machine.
To clear any remaining virtual machine configurations, you can follow these general steps:
- Open your virtualization software and navigate to the settings or configurations section.
- Look for any references or listings of the virtual machine you have deleted.
- Select and remove these references or listings from the software interface.
- Check for any additional configuration files or registry entries associated with the virtual machine and delete them if necessary.
- Verify that all traces of the virtual machine have been removed from the virtualization software’s settings and configuration.
Clearing the remaining virtual machine configurations ensures that there are no leftover settings or references that could potentially cause conflicts or confusion in the future. It helps maintain a clean and organized virtualization environment.
The exact steps to clear the remaining virtual machine configurations may vary depending on the virtualization software you are using. If you encounter any difficulties or are unsure about certain settings, consult the software’s documentation or seek assistance from their support channels.
With the remaining virtual machine configurations cleared, you have successfully completed the process of removing a virtual machine from your system. Congratulations!
In this guide, we discussed the steps for shutting down the virtual machine, backing up important files, exporting the virtual machine, removing it from the virtualization software, deleting the virtual machine files, and clearing any remaining virtual machine configurations. By following these steps, you can effectively remove a virtual machine from your system and free up valuable resources.
Remember to always exercise caution when performing these actions and ensure you have proper backups of any important data. If you have any doubts or concerns, reach out to the virtualization software’s support team for additional assistance.
Thank you for following along with this guide. We hope it has been helpful in your virtual machine management journey!
Conclusion
In this comprehensive guide, we have walked you through the step-by-step process of removing a virtual machine from your system. Whether you need to reclaim resources, declutter your virtualization software, or simply no longer require a specific virtual machine, following these steps will ensure a clean and efficient removal.
We began by shutting down the virtual machine properly to avoid any data loss or corruption. Next, we emphasized the importance of backing up important files before proceeding with the removal process. By doing so, you can safeguard your valuable data and have a copy available for future use if needed.
We then explored the process of exporting the virtual machine, creating a portable package that includes all the necessary files and configurations. This export ensures easy restoration or transfer of the virtual machine in the future.
Moving forward, we learned how to remove the virtual machine from the virtualization software itself. This step effectively frees up system resources and removes the virtual machine from the software’s interface.
Afterwards, we covered the crucial step of deleting the virtual machine files from your system. This ensures that no unnecessary files or data associated with the virtual machine occupy storage space on your computer.
Lastly, we discussed the importance of clearing any remaining virtual machine configurations. This step ensures a clean and complete removal of the virtual machine, minimizing any potential conflicts or confusion in the virtualization environment.
By following these steps, you can confidently remove a virtual machine from your system, making way for new projects or optimizing the performance of your virtualization software.
Remember to always exercise caution and ensure you have backups of important files before proceeding with the removal process. If you encounter any difficulties or have specific questions, refer to the documentation or seek assistance from the support channels of your virtualization software.
We hope that this guide has provided you with the guidance and knowledge you need to successfully remove a virtual machine. Thank you for reading, and happy virtual machine management!