Introduction
Adding USB capabilities to a Hyper-V virtual machine can greatly enhance its functionality and allow for seamless integration with USB devices. Whether you need to connect a USB drive, printer, or any other USB-powered device, this guide will walk you through the steps to make it happen.
Hyper-V is a virtualization platform developed by Microsoft that allows users to create and manage virtual machines on Windows operating systems. By default, Hyper-V does not provide direct access to USB devices within virtual machines. However, with a few simple configurations, you can enable USB support and connect USB devices to your virtual machines.
Before we dive into the steps, it’s important to note that the process may vary depending on the version of Windows you are using and the edition of Hyper-V installed. However, the general steps outlined in this guide should be applicable to most scenarios.
So, if you’re ready to unleash the power of USB devices within your Hyper-V virtual machines, let’s get started with the prerequisites.
Prerequisites
Before you can add USB support to your Hyper-V virtual machine, ensure that you have the following prerequisites in place:
- A computer running a version of Windows that supports Hyper-V. This includes Windows 10 Pro, Enterprise, or Education editions, or Windows Server editions.
- Hyper-V enabled on your computer. If it is not already enabled, you can do so by going to Control Panel > Programs > Turn Windows features on or off, and then selecting the Hyper-V option.
- Administrator privileges on the host machine to make the necessary configuration changes.
- A USB device that you want to connect to the virtual machine and its associated drivers installed on the host machine, if applicable.
Keep in mind that adding USB support to a virtual machine requires the Enhanced Session Mode feature, which is available in certain versions of Windows. Ensure that your Windows version and edition support this feature before proceeding.
It’s also important to note that the virtual machine must be shut down before making any configuration changes related to USB support. Take a moment to save your work and properly shut down the virtual machine before proceeding with the following steps.
With the prerequisites in place, let’s move on to the steps to enable USB support in Hyper-V and add USB devices to your virtual machines.
Step 1: Enable Enhanced Session Mode
The first step in adding USB support to your Hyper-V virtual machine is to enable Enhanced Session Mode. This mode allows for better integration between the host machine and the virtual machine, including enhanced USB device support.
Here’s how to enable Enhanced Session Mode:
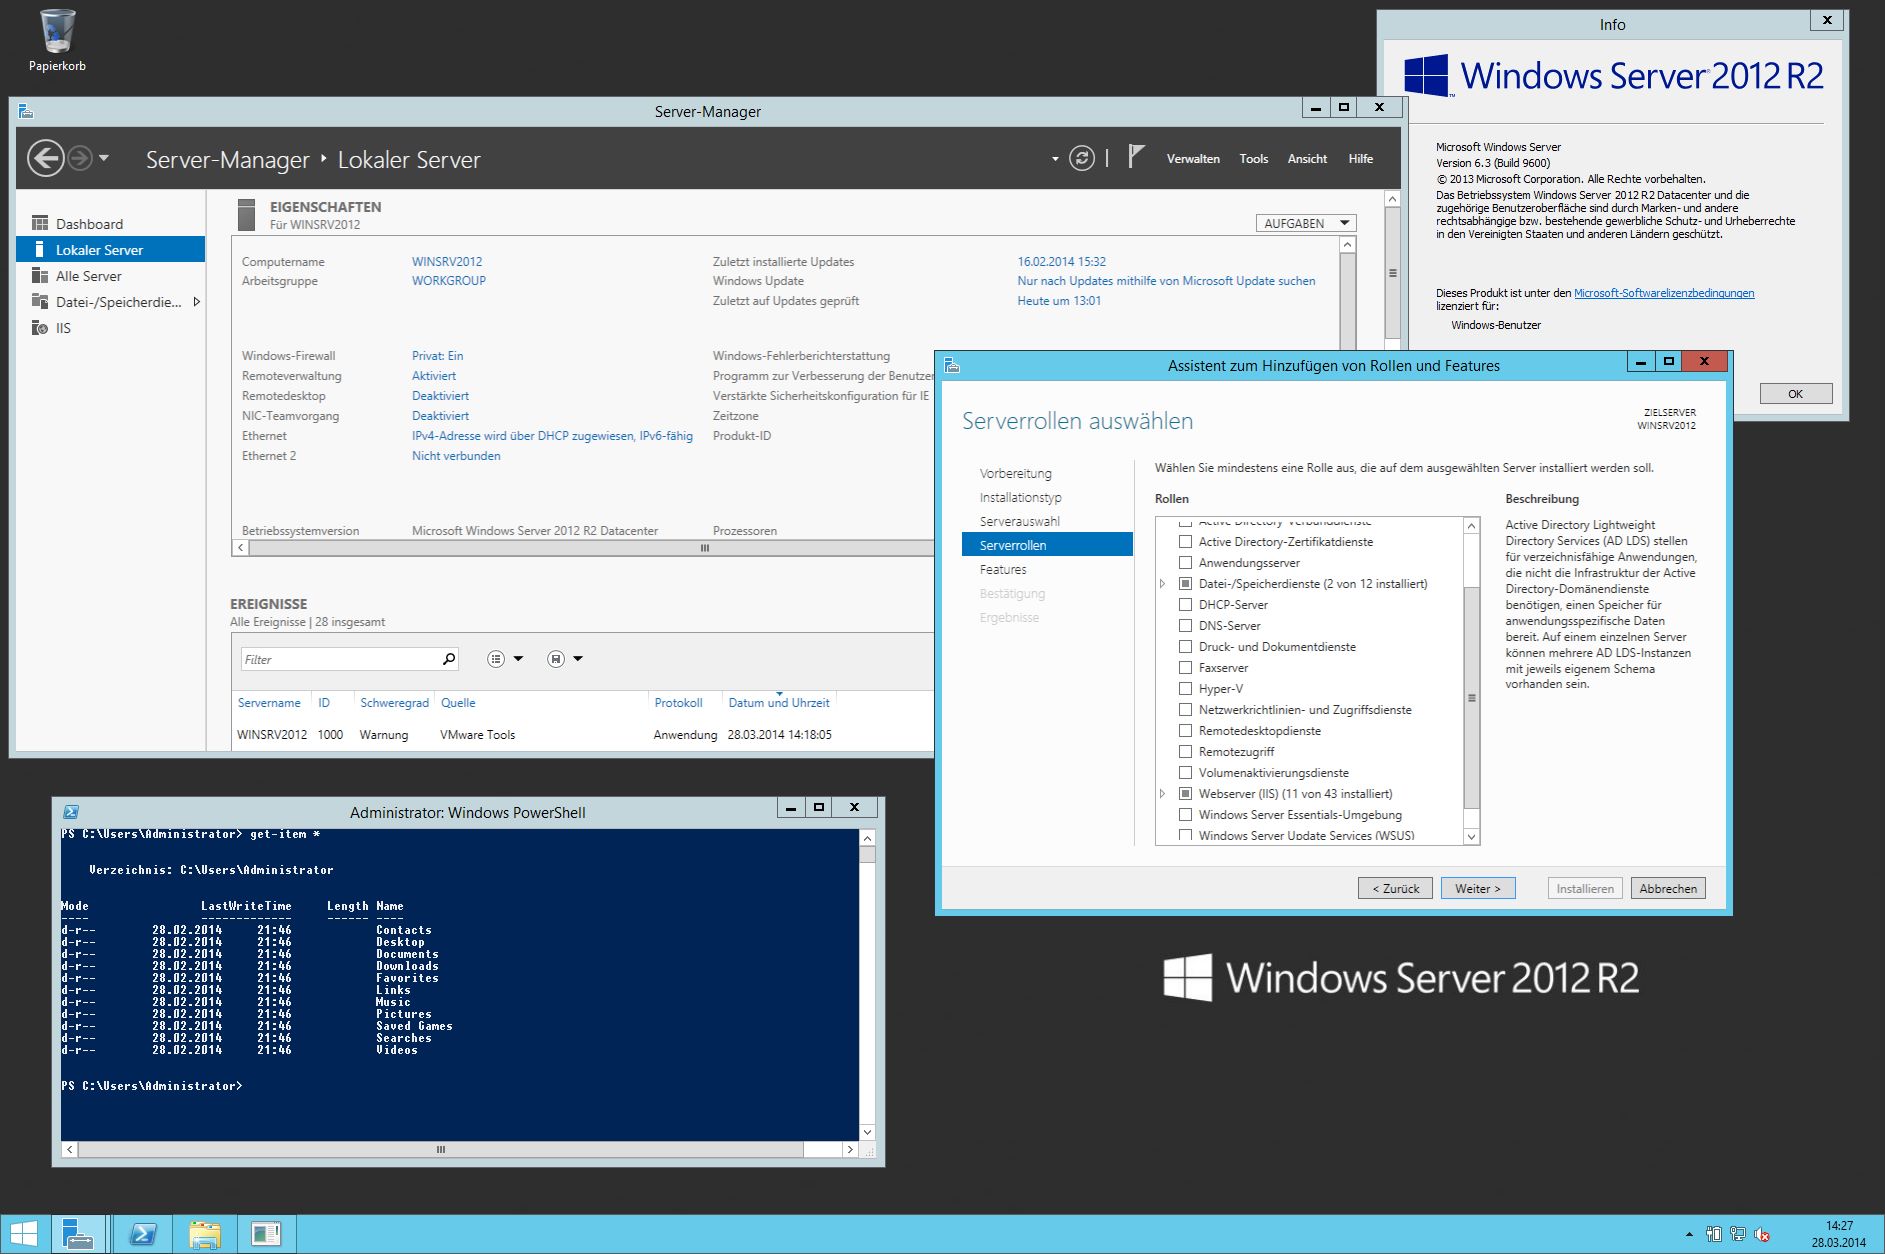
- Open the Hyper-V Manager on your host machine. You can do this by searching for “Hyper-V Manager” in the Start menu.
- In the Hyper-V Manager, select the virtual machine you want to configure for USB support.
- On the right-hand side, under the Actions section, click on “Hyper-V Settings.”
- In the left-hand pane of the Hyper-V Settings window, click on “Enhanced Session Mode.”
- Check the box that says “Enhanced Session Mode” to enable it, and then click “OK” to save the changes.
- Restart the virtual machine for the changes to take effect.
Once you’ve enabled Enhanced Session Mode, you’re ready to proceed to the next step, which is installing Integration Services. Integration Services are essential for better integration between the host machine and the virtual machine, including improved USB device support.
Keep in mind that enabling Enhanced Session Mode might require administrative privileges on the host machine. Make sure you have the necessary permissions before making any changes.
Now that you’ve enabled Enhanced Session Mode, let’s move on to the next step:
Step 2: Install Integration Services
In order to fully leverage USB support within your Hyper-V virtual machine, it is crucial to install Integration Services. These services enhance the communication and functionality between the host machine and the virtual machine.
Here’s how to install Integration Services:
- Ensure that the virtual machine is running and that you are logged into the virtual machine using administrative privileges.
- In the Hyper-V Manager on the host machine, select the virtual machine for which you want to install Integration Services.
- In the Actions section on the right-hand side of the Hyper-V Manager, click on “Insert Integration Services Setup Disk.”
- This action will mount the setup disk inside the virtual machine.
- Go to My Computer or This PC within the virtual machine and open the mounted disk.
- Run the “Setup.exe” file to start the Integration Services installation process.
- Follow the on-screen instructions to complete the installation.
- Once the installation is complete, restart the virtual machine to apply the changes.
Installing Integration Services is crucial as it enables features such as time synchronization, mouse integration, and enhanced display resolutions. Additionally, it improves the overall performance and enhances USB device support within the virtual machine.
Keep in mind that the installation process may vary slightly depending on the version of Windows and edition of Hyper-V you are using. Nonetheless, the general steps outlined above should help you install Integration Services successfully.
With Integration Services installed, you’re ready to move on to the next step, which is connecting the USB device to the host machine.
Step 3: Connect USB Device to the Host Machine
Before you can add a USB device to your Hyper-V virtual machine, you need to connect it to the host machine. This ensures that the USB device is recognized and available for use within the virtual machine.
Follow these steps to connect the USB device to the host machine:
- Ensure that the USB device you want to connect is properly plugged into a USB port on the host machine.
- Wait for the host machine to detect the USB device and install any necessary drivers.
- If required, follow the instructions provided by the manufacturer to install any specific drivers for the USB device.
- Confirm that the USB device is working correctly on the host machine by testing its functionality (e.g., opening files on a USB drive, printing a test page with a USB printer).
Once the USB device is connected and confirmed to be working on the host machine, you’re ready to proceed to the next step, which is adding the USB device to the virtual machine.
It’s important to note that not all USB devices are compatible with Hyper-V. Certain devices, such as USB dongles or devices that require a direct hardware connection, may not work as expected in a virtual machine environment. However, most USB devices like USB drives, keyboards, mice, printers, and scanners should be fully functional.
Now that your USB device is connected and tested on the host machine, let’s move on to the next step and add it to the virtual machine.
Step 4: Add USB Device to the Virtual Machine
Now that your USB device is connected to the host machine, the next step is to add it to the virtual machine in Hyper-V. This will allow the virtual machine to detect and utilize the USB device as if it were directly connected to it.
Follow these steps to add the USB device to your virtual machine:
- Ensure that the virtual machine is powered off.
- In the Hyper-V Manager on the host machine, select the virtual machine to which you want to add the USB device.
- In the Actions section on the right-hand side of the Hyper-V Manager, click on “Settings.”
- In the left-hand pane of the Settings window, click on “USB Controller.”
- Check the box that says “Enable USB Controller.”
- Click on the “Add” button to add the USB device to the virtual machine.
- From the list of available USB devices, select the USB device you connected to the host machine.
- Click on “OK” to save the changes.
Once the USB device has been added to the virtual machine, you can power it on and the virtual machine will detect and recognize the USB device as if it were directly connected to it. You can now use the USB device within the virtual machine just as you would on a physical machine.
It’s important to note that the USB device can only be used by either the host machine or the virtual machine at a given time. If you have the USB device connected to the virtual machine, it will not be available for use on the host machine. Similarly, if the USB device is being used by the host machine, it will not be accessible within the virtual machine.
Now that the USB device has been added to the virtual machine, let’s move on to the next step and configure it within the virtual machine.
Step 5: Configure USB Device within the Virtual Machine
After adding the USB device to your Hyper-V virtual machine, the final step is to configure the device within the virtual machine. This will allow the virtual machine to interact with and utilize the USB device effectively.
Follow these steps to configure the USB device within the virtual machine:
- Power on the virtual machine.
- Login to the virtual machine with administrative privileges.
- Wait for the virtual machine to recognize and install any necessary drivers for the connected USB device. This process may happen automatically or require manual intervention, depending on the device.
- Once the USB device is recognized and installed, you can start using it within the virtual machine.
- If the USB device requires any specific configuration or settings, such as assigning it as the default printer or adjusting its properties, you can do so within the virtual machine’s operating system using the appropriate settings or control panel.
It’s important to note that the configuration process may vary depending on the operating system running within the virtual machine. However, most operating systems provide a straightforward way to access and configure USB devices within their settings or control panel.
By properly configuring the USB device within the virtual machine, you’ll be able to fully utilize its features and functions as if it were connected directly to a physical machine.
With the USB device configured within the virtual machine, you’ve successfully enabled USB support and connected a USB device to your Hyper-V virtual machine. You can now enjoy the benefits of seamless integration and enhanced functionality with your USB devices within the virtual machine.
Remember, when you no longer need the USB device within the virtual machine, you can remove it by going back to the Hyper-V Manager and removing the USB device from the virtual machine’s settings. This will allow the USB device to be used by the host machine once again.
Conclusion
Adding USB support to your Hyper-V virtual machine can greatly expand its capabilities and allow for seamless integration with USB devices. By following the steps outlined in this guide, you can enable USB support, connect USB devices to the host machine, and configure them within the virtual machine.
Remember to ensure that you have met the prerequisites before proceeding with the steps. This includes having a compatible version of Windows and Hyper-V, administrative privileges, and the necessary USB device drivers installed on the host machine.
Enabling Enhanced Session Mode and installing Integration Services are crucial steps for improving USB device support and overall performance within the virtual machine. Additionally, connecting the USB device to the host machine and adding it to the virtual machine are essential for the device to be recognized and utilized properly.
Finally, configuring the USB device within the virtual machine allows you to take full advantage of its features and functionality. Whether it’s a USB drive, printer, or any other USB-powered device, you can use it seamlessly within the virtual machine as if it were connected directly to a physical machine.
Remember that USB devices can only be used by either the host machine or the virtual machine at a given time. When a USB device is connected to the virtual machine, it won’t be accessible on the host machine and vice versa.
Now that you have successfully enabled USB support within your Hyper-V virtual machine, you can enjoy the convenience and flexibility of using USB devices within your virtualized environment.
Thank you for following this guide, and happy virtualization!