Introduction
Welcome to this guide on how to enable USB in a virtual machine. Virtual machines have become increasingly popular and play a key role in modern computing. They allow users to run multiple operating systems on a single physical machine, which provides flexibility, convenience, and enhanced productivity.
However, using USB devices in a virtual machine may not be straightforward. By default, virtual machines do not have USB support enabled. This can be frustrating if you need to connect USB devices such as flash drives, external hard drives, or even printers to your virtual environment.
In this article, we will explore different methods to enable USB in popular virtual machine software such as VMWare, VirtualBox, and Hyper-V. Whether you are a developer testing applications, a system administrator managing multiple virtual machines, or a casual user wanting to transfer files between your physical and virtual environment, this guide is for you.
Before we dive into the specific methods, let’s take a closer look at what a virtual machine is and why enabling USB support is important for efficient virtual machine usage.
What is a Virtual Machine?
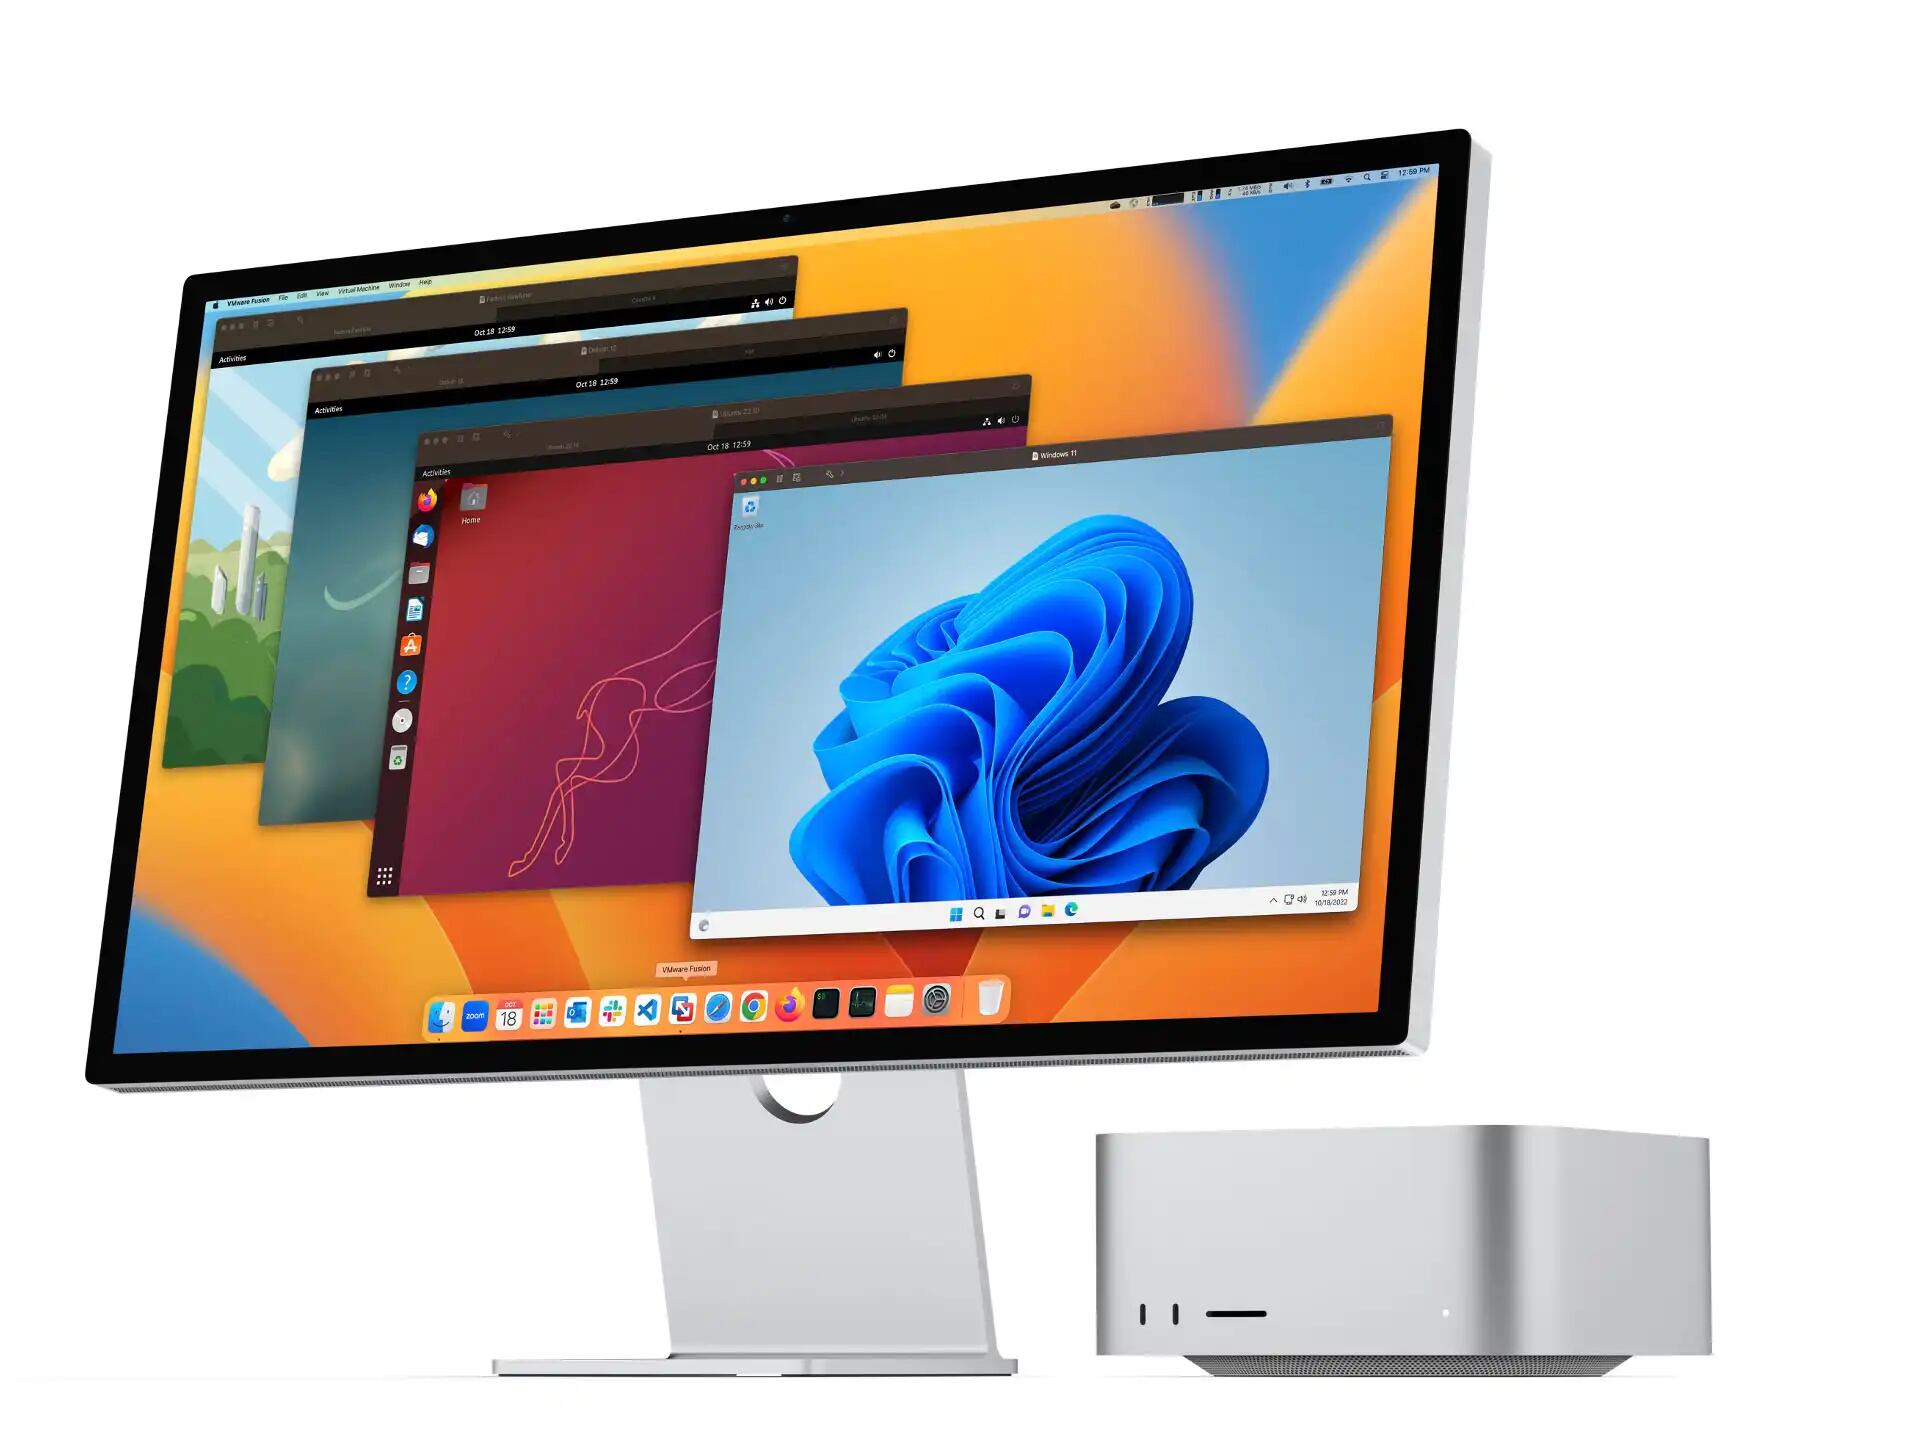
A virtual machine (VM) is a software emulation of a physical computer system. It allows you to create and run multiple virtual instances of various operating systems on a single physical machine.
Virtual machines work by utilizing software called a hypervisor, which enables the sharing of hardware resources between the physical host machine and the virtual machines. The hypervisor abstracts the underlying physical hardware, allowing each virtual machine to have its own isolated and independent environment.
Each virtual machine has its own virtual hardware, including a virtual CPU, memory, storage, and network interfaces. This allows you to install and run different operating systems, such as Windows, Linux, or macOS, on the same physical machine without interference.
Virtual machines offer several benefits:
- Hardware Consolidation: By running multiple virtual machines on a single physical server, you can maximize the utilization of hardware resources, reducing the need for multiple physical machines.
- Isolation: Each virtual machine operates independently, providing a secure and isolated environment. This is particularly useful for testing software, experimenting with different configurations, and running applications with varying dependencies.
- Flexibility and Portability: Virtual machines can be easily moved or copied to different physical machines or cloud environments, allowing for seamless migration and deployment.
- Simplified Development Environments: Virtual machines provide a consistent development environment, ensuring that software works seamlessly across different setups.
Overall, virtual machines have revolutionized the way we use and manage computing resources. They provide a cost-effective and efficient solution for running multiple operating systems, enabling users to achieve higher productivity and efficiency in their computing tasks.
Why Enable USB in a Virtual Machine?
Enabling USB support in a virtual machine is essential for various reasons. Here are a few key motivations for enabling USB in your virtual environment:
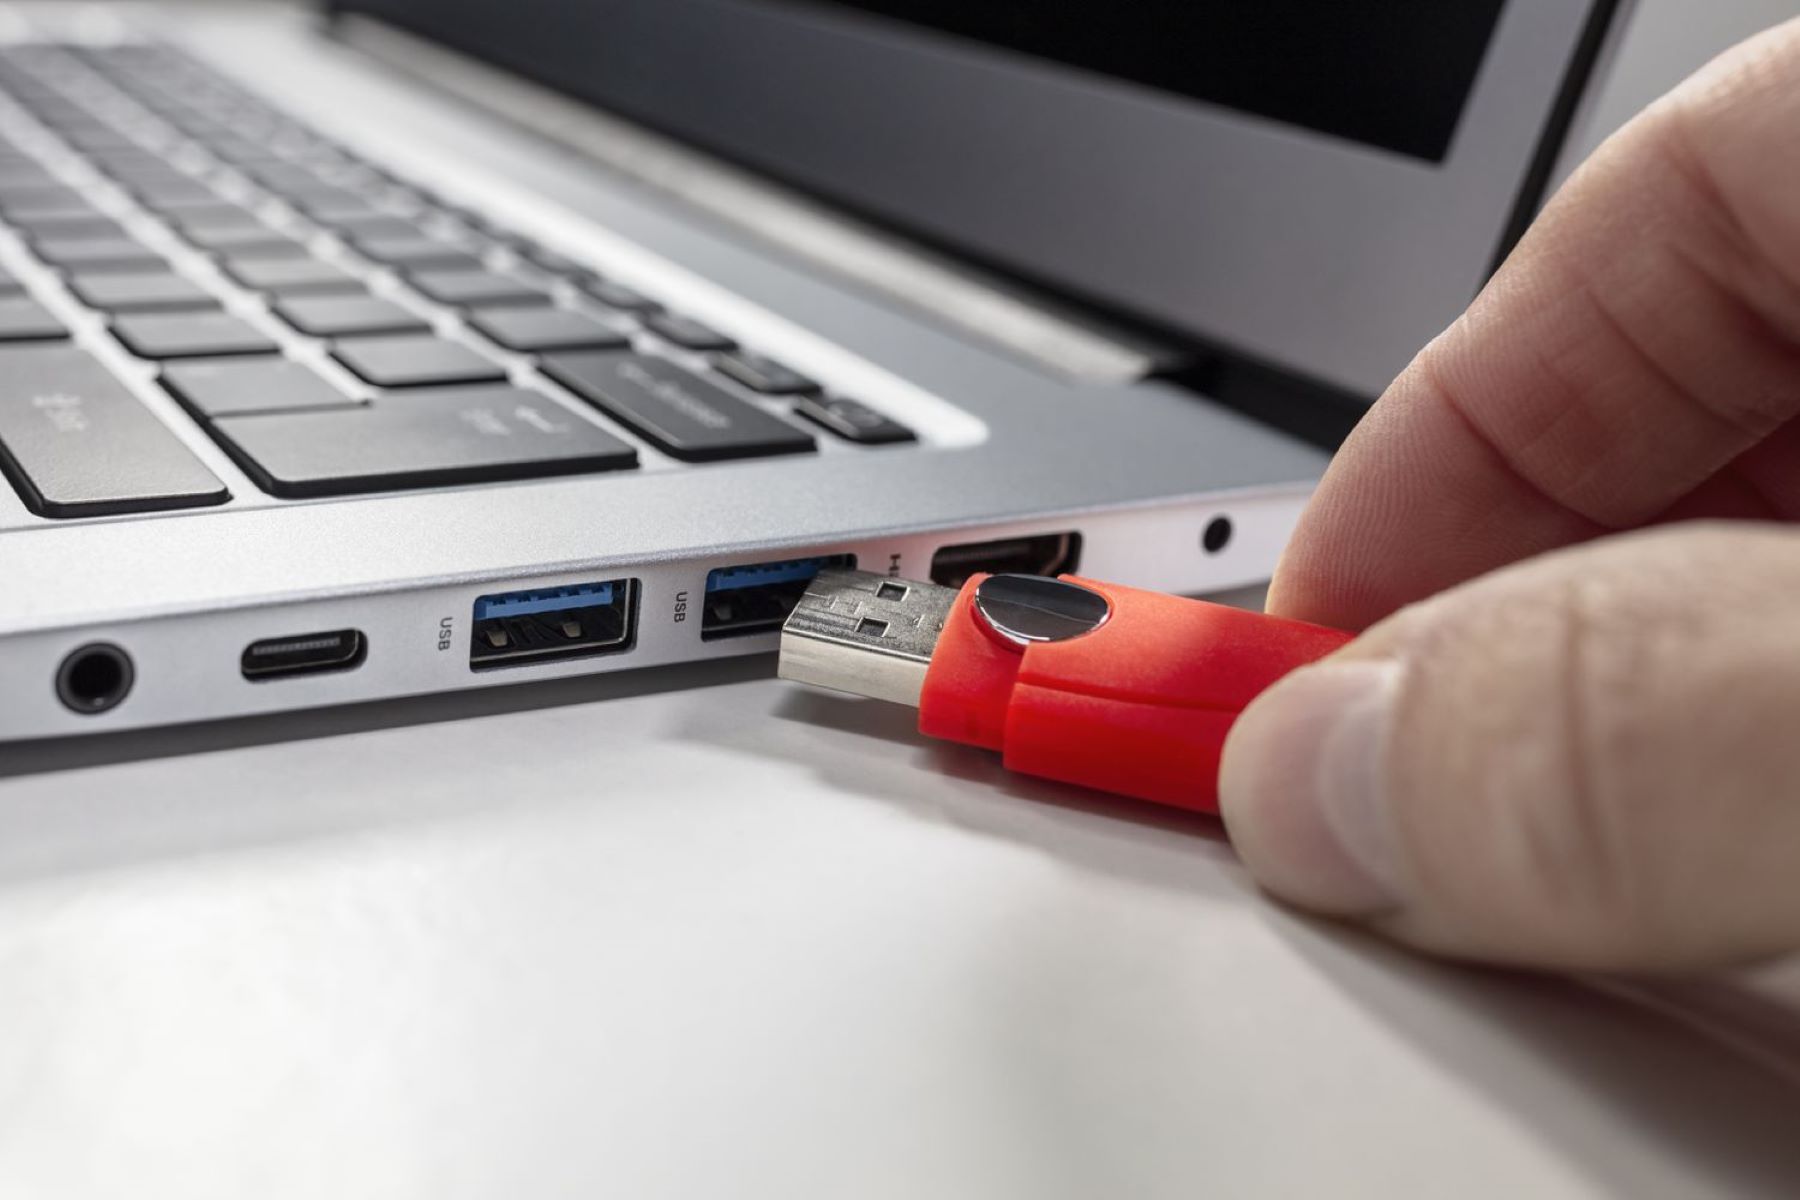
- Device Connectivity: USB ports are widely used for connecting a variety of peripheral devices, including flash drives, external hard drives, printers, scanners, digital cameras, and more. Enabling USB in a virtual machine allows you to utilize these devices within the virtual environment, facilitating seamless data transfer and interaction.
- File Sharing: USB devices are commonly used for transferring files between different systems. By enabling USB support in a virtual machine, you can easily share files between the host machine and the virtual machine, eliminating the need for complex network configurations or cloud storage.
- Hardware Dongles and License Keys: Certain software applications and hardware devices require the presence of USB dongles or license keys for proper operation. Enabling USB in a virtual machine ensures that these devices can be recognized and utilized, allowing you to run specialized software or access licensed features.
- Peripheral Testing: For developers and QA professionals, testing software compatibility and performance with various USB devices is crucial. By enabling USB support in a virtual machine, you can test your applications with different USB devices without the need for multiple physical machines.
- Printer and Scanner Access: Enabling USB in a virtual machine allows you to connect printers and scanners directly to the virtual environment. This enables printing documents or scanning images from within the virtual machine, providing a seamless workflow without the need to switch between physical and virtual systems.
By enabling USB support in your virtual machine, you can enhance the functionality and versatility of your virtual environment. It opens up new possibilities for device connectivity, file sharing, testing, and more, improving overall productivity and convenience.
Prerequisites
Before you can enable USB in a virtual machine, there are a few prerequisites that you need to have in place. Here are the key things you need to consider:
- Virtualization Software: You will need to have virtualization software installed on your host machine. Popular options include VMWare, VirtualBox, and Hyper-V. Ensure that you have the latest version of the software installed to access the USB functionality.
- Host System: Make sure that the host system, which is the physical machine running the virtualization software, has functional USB ports. This is essential for connecting USB devices to the virtual machine.
- Guest Operating System: The virtual machine will be running a guest operating system inside the virtualization software. Ensure that the guest operating system has the necessary drivers and support for USB devices. Check the documentation or the manufacturer’s website for instructions on installing USB drivers for your guest operating system.
- USB Devices: Obviously, you will need USB devices that you want to connect to the virtual machine. Ensure that the devices are working correctly and have the necessary drivers installed on the host system. Some devices may require additional drivers within the guest operating system as well.
- Administrator Privileges: Depending on the virtualization software and guest operating system, you may need administrator privileges to enable USB support in the virtual machine.
By ensuring that you have the necessary requirements in place, you will be ready to proceed with enabling USB in your virtual machine. Take the time to check each prerequisite and resolve any issues before proceeding, as it will contribute to a smoother implementation of USB support in your virtual environment.
Method 1: Enabling USB in VMWare
VMWare is one of the most popular virtual machine software that allows you to run multiple operating systems on a single physical machine. Here’s how you can enable USB support in VMWare:
- Step 1: Launch the VMWare software and ensure that your virtual machine is powered off.
- Step 2: Go to the “Edit Virtual Machine Settings” option for the specific virtual machine you want to enable USB for. This can usually be found in the VMWare menu or toolbar.
- Step 3: In the virtual machine settings window, navigate to the “USB Controller” option. Check the box to enable the USB controller if it is not already enabled.
- Step 4: Select the desired USB compatibility version. Typically, choosing the latest available version is recommended for optimal compatibility and performance.
- Step 5: Click on the “Add” button to add USB devices to the virtual machine. A list of available USB devices on the host machine will be displayed.
- Step 6: Select the USB devices you want to connect to the virtual machine and click on the “OK” button to confirm your selection.
- Step 7: Power on your virtual machine, and the USB devices should now be recognized and accessible within the guest operating system.
With these steps, you can easily enable USB support in your VMWare virtual machine. Remember to select the appropriate USB devices you want to connect to the virtual machine to ensure seamless usage.
It’s worth noting that VMWare may have slight variations in its user interface and settings depending on the version you are using. Refer to the VMWare documentation or the manufacturer’s website for specific instructions based on your VMWare version.
Method 2: Enabling USB in VirtualBox
VirtualBox is a widely used virtualization software that allows you to create and manage virtual machines. Enabling USB support in VirtualBox is a straightforward process. Here’s how you can do it:
- Step 1: Open VirtualBox and select the virtual machine for which you want to enable USB support. Ensure that the virtual machine is powered off.
- Step 2: Go to the “Settings” option for the selected virtual machine. This can usually be found in the toolbar or the right-click menu.
- Step 3: In the settings window, navigate to the “USB” tab.
- Step 4: Check the box next to “Enable USB Controller” to activate USB support for the virtual machine.
- Step 5: Choose the desired USB version from the USB Controller dropdown menu. Selecting the latest version is recommended for optimal compatibility.
- Step 6: Click on the “Add” button to add USB filters. USB filters allow specific USB devices to be automatically connected to the virtual machine when plugged into the host machine. This step is optional but can provide convenience for regularly used USB devices.
- Step 7: Start the virtual machine, and the USB devices should now be recognized and accessible within the guest operating system.
By following these steps, you can easily enable USB support in VirtualBox and seamlessly connect USB devices to your virtual machine.
Note that the options and settings in VirtualBox may slightly vary depending on the version you are using. Refer to the VirtualBox documentation or the manufacturer’s website for specific instructions based on your VirtualBox version.
Method 3: Enabling USB in Hyper-V
Hyper-V is a hypervisor-based virtualization platform developed by Microsoft. If you are using Hyper-V as your virtualization software, you can follow these steps to enable USB support:
- Step 1: Open the Hyper-V Manager and select the virtual machine for which you want to enable USB support.
- Step 2: Click on the “Settings” option in the right-hand panel to access the virtual machine settings.
- Step 3: In the settings window, select the “Add Hardware” option.
- Step 4: Choose “USB Controller” from the list of available hardware options and click on the “Add” button.
- Step 5: Click on the newly added “USB Controller” option and check the box next to “Enable USB Redirect”.
- Step 6: By default, Hyper-V will redirect all USB devices to the virtual machine. If you want to enable specific USB devices only, you can uncheck the “Automatically connect supported devices” box and manually select the desired USB devices from the list.
- Step 7: Click on the “OK” button to save the settings and apply the changes.
After following these steps, you should be able to use USB devices within your Hyper-V virtual machine. The USB devices will be redirected to the virtual machine, allowing you to interact with them as if they were connected directly to the virtual machine.
Please note that the options and settings in Hyper-V may slightly vary depending on the version and edition you are using. Refer to the Hyper-V documentation or the Microsoft website for specific instructions based on your Hyper-V version.
Conclusion
Enabling USB support in a virtual machine is crucial for seamless connectivity and enhanced functionality. Whether you’re using VMWare, VirtualBox, or Hyper-V, the process of enabling USB is relatively straightforward and can greatly improve your virtual machine experience.
In this article, we explored three popular virtualization software options and outlined the steps to enable USB in each of them. VMWare, VirtualBox, and Hyper-V all provide options to activate USB support, allowing you to connect and use USB devices within your virtual machines. By following the specific methods outlined in this guide, you can ensure that USB devices like storage drives, printers, scanners, and others are recognized and fully accessible.
Remember to have the necessary prerequisites in place, such as a working USB port on the host machine, functional USB devices, and the appropriate drivers installed both on the host and guest operating systems. These prerequisites will ensure a smooth USB enablement process and uninterrupted usage of your USB devices within the virtual environment.
Whether you’re a developer, IT professional, or casual user, enabling USB in your virtual machine opens up a world of possibilities, including data transfer, peripheral connectivity, testing, and more. It provides flexibility, convenience, and productivity enhancements, allowing you to make the most of your virtualization setup.
Now that you have a clear understanding of how to enable USB in a virtual machine, you can confidently make use of this feature and fully use USB devices within your virtual environment.


