Introduction
Virtual machines have become an essential component of modern computing, allowing users to create multiple operating systems on a single physical computer. These virtual machines offer a convenient and efficient solution for various tasks, such as software development, testing, and running different applications.
One common challenge that users may encounter when working with virtual machines is transferring files into them. Whether it’s important documents, software installations, or media files, being able to easily move files between your host machine and the virtual environment is crucial for seamless workflow and productivity.
In this article, we will explore various methods to transfer files into a virtual machine, providing you with the knowledge and tools to effortlessly move your files across the host and virtual environments. From shared folders and USB drives to remote desktop and cloud storage solutions, we will cover a range of options that cater to different needs and scenarios.
By following these methods, you’ll be equipped with the know-how to efficiently transfer files, saving you time and effort while working with virtual machines.
Understanding Virtual Machines
Before delving into the specifics of transferring files into a virtual machine, it is essential to have a clear understanding of what a virtual machine actually is.
A virtual machine is a software emulation of a physical computer, allowing you to run multiple operating systems simultaneously on a single machine. It creates an isolated environment within your host operating system, enabling you to install and use different operating systems, such as Windows, Linux, or macOS, without the need for separate physical hardware.
Each virtual machine functions as an independent entity, complete with its own virtual hardware, including CPU, RAM, storage, and network adapters. This independence allows the virtual machine to operate in isolation from the host system, ensuring that any changes or modifications made within the virtual environment do not affect the host.
Virtual machines provide numerous benefits, such as:
- Hardware consolidation: Instead of using multiple physical machines, you can run several virtual machines on a single physical server, saving space and reducing hardware costs.
- Isolation: Each virtual machine is isolated from the host and other virtual machines, providing stability and security. This way, if one virtual machine crashes or encounters an issue, it won’t affect the others.
- Compatibility: With virtualization technology, you can run multiple operating systems and applications on a single machine, making it easier to test software compatibility or run legacy applications.
- Easy migration: Virtual machines can be migrated to different physical hosts seamlessly, allowing for flexible resource allocation and easy scaling.
Overall, virtual machines offer a flexible and efficient solution for various tasks, from running multiple operating systems side by side to creating isolated environments for development and testing purposes.
Now that we have a basic understanding of virtual machines, let’s move on to setting up a virtual machine and exploring the different methods of transferring files into it.
Setting up a Virtual Machine
Before we can start transferring files into a virtual machine, we need to have a virtual machine set up and ready to go. The process of setting up a virtual machine may vary depending on the virtualization software you are using, but the general steps are similar.
Here are the key steps to follow when setting up a virtual machine:
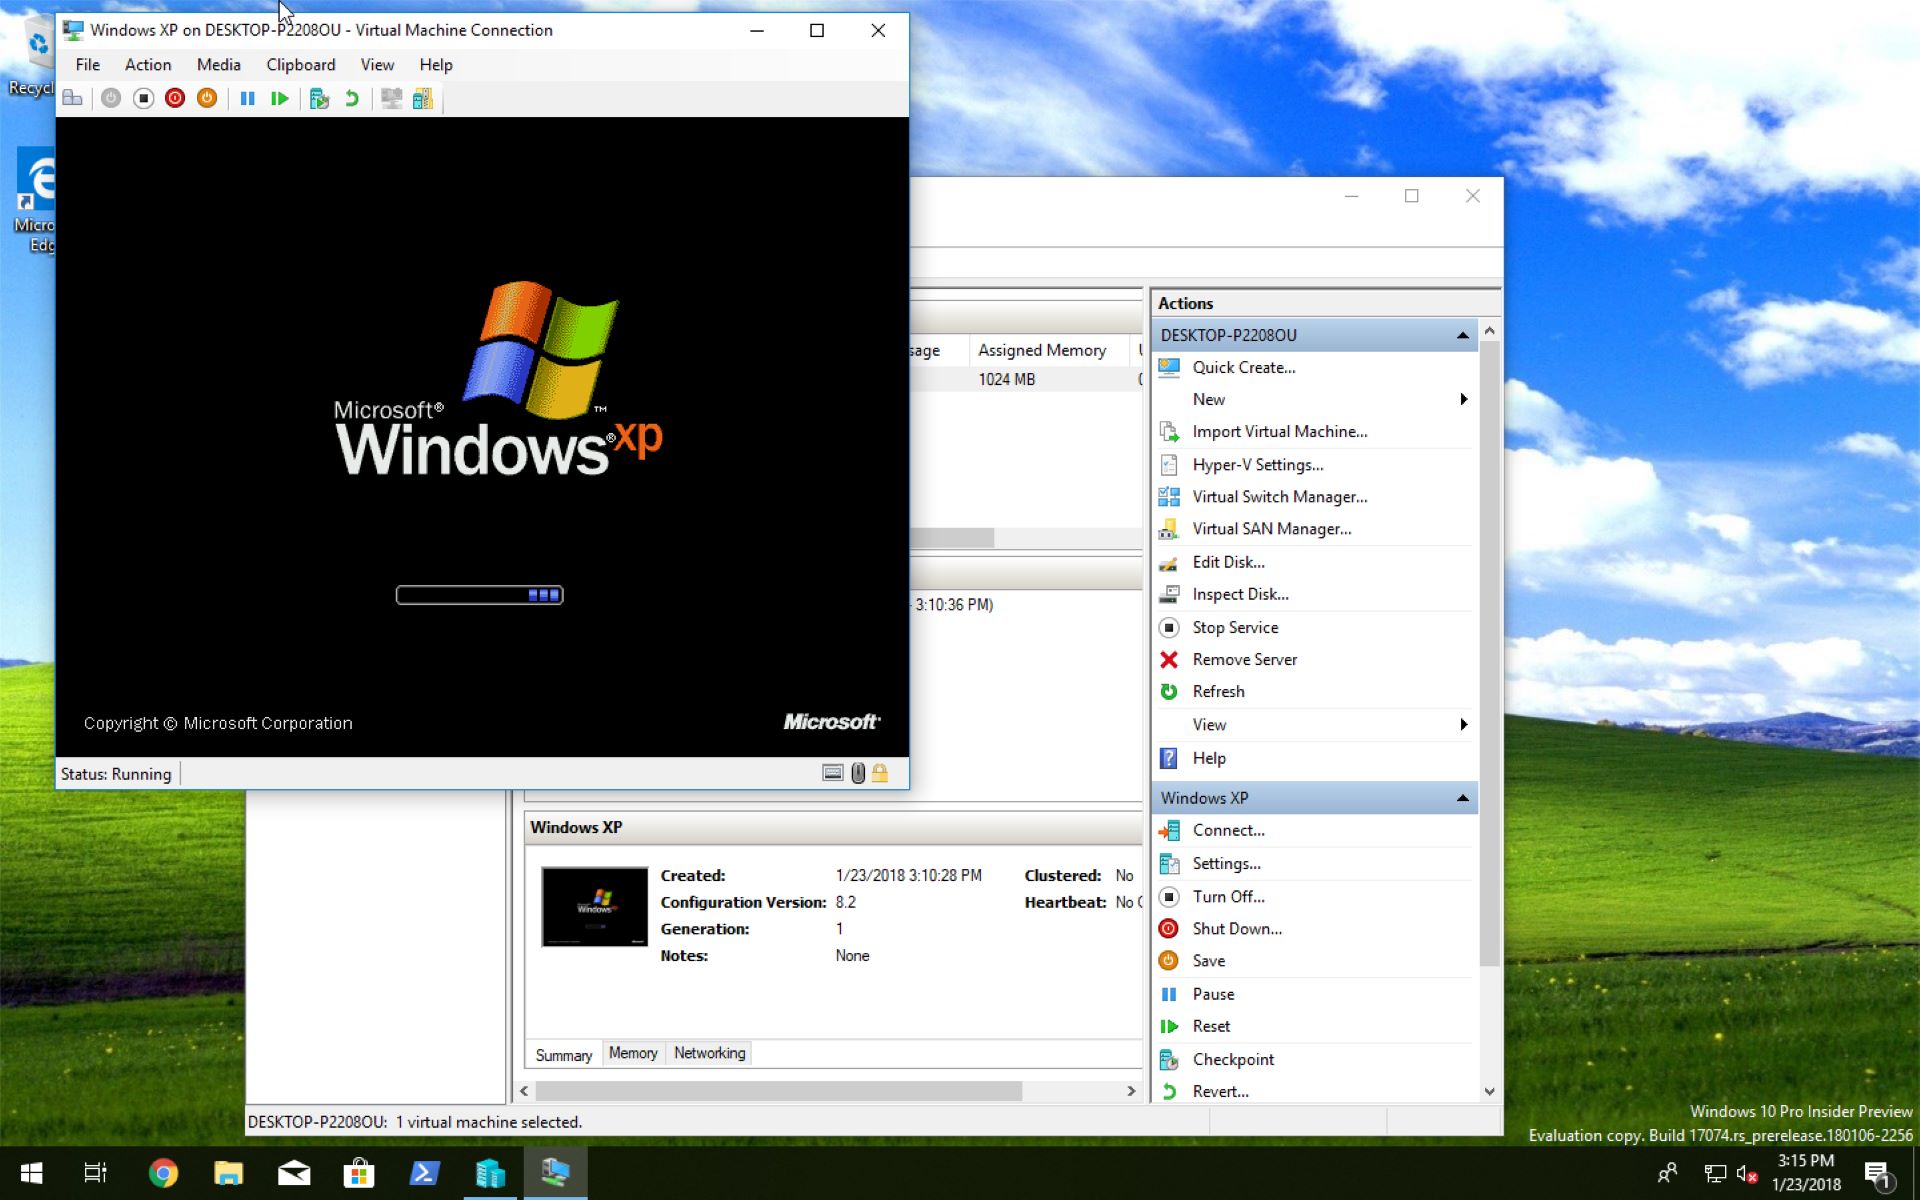
- Choose a virtualization software: There are several virtualization software options available, including VMWare, VirtualBox, and Hyper-V. Select the software that best suits your needs and install it on your host machine.
- Create a new virtual machine: Launch the virtualization software and create a new virtual machine. Specify the operating system you want to install, assign resource allocations such as CPU, memory, and storage, and customize any additional settings as needed.
- Install the operating system: Insert the installation media (ISO file or physical disk) for the operating system you want to install into the virtual machine. Follow the on-screen instructions to install the operating system within the virtual machine.
- Configure network settings: Determine how you want the virtual machine to connect to the network. You can choose between bridged, NAT (Network Address Translation), or host-only networking, depending on your requirements.
- Install virtualization tools: Install the virtualization tools provided by the virtualization software within the virtual machine. These tools enhance the integration between the host and virtual machine, enabling features like file sharing and seamless mouse movement between the two environments.
Once you have completed these steps, your virtual machine is ready for use. Keep in mind that the exact steps and terminology may vary slightly depending on the virtualization software you are using. It’s always a good idea to consult the official documentation or online resources specific to your chosen virtualization software for detailed instructions.
Now that your virtual machine is up and running, let’s explore the different methods of transferring files into it.
Ways to Transfer Files into a Virtual Machine
Transferring files between your host machine and a virtual machine is crucial for seamless workflow and productivity. Fortunately, there are several ways to achieve this, each catering to different needs and scenarios. Let’s explore some of these methods:
- Method 1: Shared Folders: Many virtualization software, such as VMWare and VirtualBox, allow you to set up shared folders between the host and virtual machine. This enables you to easily transfer files by simply copying and pasting them between the shared folder and the virtual machine’s file system.
- Method 2: Using a USB Drive: If your virtual machine has USB support enabled, you can connect a USB drive to the host machine and pass it through to the virtual machine. This allows you to directly access the contents of the USB drive within the virtual machine and transfer files back and forth.
- Method 3: Using Remote Desktop or SSH: If you have set up remote desktop or SSH (Secure Shell) access to your virtual machine, you can use these remote protocols to transfer files. Simply connect to the virtual machine using remote desktop software or an SSH client and use file transfer capabilities within the remote access software to transfer files.
- Method 4: Through the Network: If both the host machine and the virtual machine are on the same network, you can transfer files through network-sharing protocols. This can be done by setting up shared folders, using file transfer protocols (such as FTP or SMB), or utilizing network file-sharing services like NFS (Network File System).
- Method 5: Using Cloud Storage Services: Another convenient option is to leverage cloud storage services like Dropbox, Google Drive, or OneDrive. Upload the files from the host machine to your cloud storage account and then access them from within the virtual machine by installing the respective cloud storage client or using the web interface.
Each method has its own advantages and considerations. Some methods might be more suitable for small file transfers, while others might be better for transferring large amounts of data or maintaining synchronization between the host and virtual machine.
Consider your specific requirements, the nature of the files you need to transfer, and the available resources to determine which method works best for you.
Now that we have explored the different ways to transfer files into a virtual machine, let’s dive deeper into the specifics of each method to understand how to implement them effectively.
Method 1: Shared Folders
Shared folders are a convenient and straightforward method for transferring files between your host machine and a virtual machine. This method allows you to set up a folder that is accessible from both the host and virtual machine, enabling easy file transfer through simple copy and paste operations. Shared folders are supported by popular virtualization software, such as VMWare and VirtualBox. Here’s how to set up and use shared folders:
- Step 1: Install Virtualization Tools: Before setting up shared folders, make sure you have installed the virtualization tools provided by your virtualization software. These tools enhance the integration between the host and virtual machine, including support for shared folders.
- Step 2: Configure Shared Folders: In your virtualization software’s settings, navigate to the options for shared folders. Add a new shared folder and specify the folder path on your host machine that you want to share. You can also set additional options, such as read-only access or the ability to automatically mount the shared folder at virtual machine startup.
- Step 3: Mount the Shared Folder: Within the virtual machine’s operating system, locate the shared folder and mount it. This process varies depending on the operating system, but it typically involves accessing the settings or utilities specific to the virtualization software and selecting the shared folder to mount.
- Step 4: Transfer Files: Once the shared folder is mounted within the virtual machine, you can easily transfer files by copying and pasting them between the shared folder and the virtual machine’s file system. This can be done using the standard file explorer or command line tools within the virtual machine’s operating system.
Shared folders offer a seamless way to transfer files between your host machine and a virtual machine, without the need for external devices or complex network configurations. However, keep in mind that shared folders may have limitations in terms of file size or specific file system compatibility. It’s always a good practice to check the documentation of your virtualization software for any specific considerations or troubleshooting steps related to shared folders.
Now that you understand how to set up shared folders, let’s explore another method for transferring files into a virtual machine – using a USB drive.
Method 2: Using a USB Drive
If your virtual machine has USB support enabled, using a USB drive is a straightforward and efficient method for transferring files. This method allows you to connect a USB drive to your host machine and pass it through to the virtual machine, giving you direct access to the drive’s contents within the virtual machine’s operating system. Here’s how to utilize a USB drive for file transfer:
- Step 1: Set up USB Support: In your virtualization software’s settings, make sure that USB support is enabled for the virtual machine. This may involve selecting USB compatibility options or configuring USB device passthrough settings.
- Step 2: Connect the USB Drive: Plug the USB drive into a USB port on your host machine. The virtualization software should detect the USB drive as a connected device.
- Step 3: Pass the USB Drive to the Virtual Machine: Within the virtualization software, find the option to pass the USB drive to the virtual machine. This may involve locating the USB device in the virtual machine’s settings or using a dedicated USB device toolbar or menu.
- Step 4: Access and Transfer Files: Once the USB drive is passed through to the virtual machine, you can access its contents within the virtual machine’s operating system as if it were directly connected. Copy and paste or drag and drop files between the USB drive and the virtual machine’s file system to transfer the files.
Using a USB drive offers a fast and direct method for transferring files into a virtual machine, without the need for network configurations or shared folders. It is particularly useful when you need to transfer large files or a substantial amount of data. However, keep in mind that USB support in virtual machines may have compatibility limitations or require additional drivers or software installations within the virtual machine’s operating system.
It’s important to note that the virtualization software may require the USB drive to be connected directly to the host and not through a USB hub or extension cables for proper detection and passthrough. Additionally, ensure that the virtual machine’s USB device permissions are set correctly to allow access to the passed-through USB drive.
Now that you have learned how to use a USB drive for file transfer, let’s explore another method – transferring files through remote desktop or SSH.
Method 3: Using Remote Desktop or SSH
If you have set up remote desktop or SSH (Secure Shell) access to your virtual machine, you can leverage these remote protocols to transfer files easily. Remote desktop allows you to access the virtual machine’s desktop environment remotely, while SSH provides secure command-line access to the virtual machine’s terminal. Here’s how to transfer files using remote desktop or SSH:
- Step 1: Set Up Remote Desktop or SSH: Ensure that your virtual machine is configured to allow remote desktop or SSH connections. This may involve enabling the corresponding services or installing necessary software within the virtual machine’s operating system.
- Step 2: Connect to the Virtual Machine: Use a remote desktop client or an SSH client to connect to the virtual machine. Enter the IP address or hostname of the virtual machine, along with the appropriate credentials, to establish the remote connection.
- Step 3: Use File Transfer Capabilities: Once connected, most remote desktop and SSH clients provide file transfer capabilities within the remote session. Use these built-in file transfer features to transfer files between the host machine and the virtual machine. Simply select the files you want to transfer and specify the destination location.
- Step 4: Follow On-Screen Prompts: Depending on the remote desktop or SSH client you’re using, you may need to follow additional on-screen prompts or use specific commands to initiate the file transfer process. Refer to the documentation or help resources for your chosen client for guidance.
Transferring files through remote desktop or SSH is a versatile method that works well for both graphical and command-line environments. It provides a secure and efficient way to transfer files between the host and virtual machine, even when they are located in different physical locations. However, keep in mind that file transfer speeds may depend on the network connection and the size of the files being transferred.
It’s worth noting that some remote desktop or SSH clients may have limitations on file sizes or restrictions on certain file types. Additionally, ensure that you have the necessary permissions and access rights within the virtual machine’s operating system to perform file transfers.
Now that you have learned how to transfer files using remote desktop or SSH, let’s explore another method – transferring files through the network.
Method 4: Through the Network
Transferring files through the network provides a versatile and scalable method for moving files between your host machine and a virtual machine. This method allows you to leverage network-sharing protocols, such as FTP (File Transfer Protocol), SMB (Server Message Block), or NFS (Network File System), to establish communication and transfer files. Here’s how you can transfer files through the network:
- Step 1: Set Up Network Sharing: Ensure that both the host machine and virtual machine are on the same network or subnet. Configure network-sharing settings on both machines, allowing them to communicate and share files.
- Step 2: Setup Shared Folders or Network File Servers: Depending on the network-sharing protocol you choose, you can either set up shared folders on the host machine or configure network file servers. Shared folders can be created by right-clicking on a folder on the host machine and enabling sharing. For network file servers, specific software or configurations may be required.
- Step 3: Access the Shared Folders or Network File Servers: From within the virtual machine’s operating system, access the shared folders or network file servers by navigating to the designated network path or server. This may involve mappings or mounting of network drives.
- Step 4: Transfer Files: Once the network connection is established and the shared folders or network file servers are accessible within the virtual machine, you can transfer files by simply copying and pasting or dragging and dropping files between the network locations and the virtual machine’s file system.
Transferring files through the network provides a convenient and flexible method for transferring files between the host machine and the virtual machine. It allows for seamless integration between the two environments and supports file transfers of any size. However, keep in mind that network transfer speeds may vary depending on the network infrastructure and the size of the files being transferred.
Additionally, ensure that you have the necessary network permissions and access rights to read and write files in the shared folders or network file servers. Security considerations, such as firewalls and encryption, should also be addressed to protect the transferred files and maintain data integrity.
Now that you know how to transfer files through the network, let’s explore another convenient method – using cloud storage services.
Method 5: Using Cloud Storage Services
Using cloud storage services offers a flexible and convenient method for transferring files between your host machine and a virtual machine. Cloud storage services like Dropbox, Google Drive, and OneDrive allow you to upload your files to the cloud and access them from any device with an internet connection. Here’s how you can transfer files using cloud storage services:
- Step 1: Sign Up for a Cloud Storage Service: Choose a cloud storage service that suits your needs and sign up for an account. Most services offer free storage space, with options to upgrade for additional features and storage capacity.
- Step 2: Install Cloud Storage Client: Install the cloud storage client for your chosen service on both your host machine and virtual machine. The client software allows for easy synchronization and access to your cloud storage account.
- Step 3: Upload Files to the Cloud: On your host machine, simply drag and drop or select the files you want to transfer and upload them to your cloud storage account. Ensure that the files are fully uploaded and synced before proceeding to the next step.
- Step 4: Access Files from the Virtual Machine: On the virtual machine, install and sign in to the cloud storage client using the same account details. The client will synchronize and download the uploaded files to the virtual machine, making them easily accessible within the virtual machine’s file system.
- Step 5: Transfer Files: Once the files are downloaded to the virtual machine, you can work with them as if they were stored locally. Make edits, copy, and move the files within the virtual machine’s file system as needed.
Using cloud storage services simplifies the process of file transfer by eliminating the need for direct connection or device compatibility. It also enables easy collaboration and access to files across multiple devices. However, ensure that you have a stable internet connection for seamless uploading and downloading of files, especially for larger files or slower internet connections.
It’s important to note that some cloud storage services may have file size limitations or bandwidth restrictions, so be mindful of the storage and transfer limitations of your chosen cloud storage service. Additionally, consider the security and privacy policies of the cloud storage service to protect your files during the transfer process.
Now that we have explored various methods for transferring files into a virtual machine, let’s discuss some additional considerations and tips to enhance your file transfer experience.
Other Considerations and Tips
When transferring files into a virtual machine, there are a few additional considerations and tips that can enhance the process and improve your overall experience. Let’s explore some of these considerations and tips:
- File Compression: If you have a large number of files or need to transfer a large amount of data, consider compressing the files into a single archive. This can make the file transfer process faster and more efficient.
- File Permissions: Be aware of file permissions and access rights when transferring files. Ensure that the virtual machine’s operating system has the necessary permissions to read and write files from the shared folders, USB drives, or network locations.
- Network Speed and Bandwidth: Depending on the file transfer method you choose, the network speed and available bandwidth can impact the transfer speed. Consider factors like network congestion and internet connection speeds to optimize file transfer performance.
- Antivirus and Security Software: Keep your virtual machine’s antivirus and security software up to date and ensure that it doesn’t interfere with file transfer processes. Temporarily disabling any scanning or protection features during file transfer may improve performance.
- Backup Important Files: Before initiating any file transfer, it’s always a good practice to back up important files. This ensures that you have a copy of the files in case of any unforeseen issues or data loss during the transfer process.
- Consider Network Firewalls: If you encounter any difficulties in establishing network connections or accessing shared folders, ensure that your network firewalls allow the necessary ports and protocols for the file transfer methods you’re employing.
- Monitor Transfer Progress: Keep an eye on the file transfer progress to ensure that files are transferring correctly and no errors occur. This can be done through progress indicators or log files provided by the file transfer method or client software.
- Regularly Clean Up and Organize Files: As you transfer files between the host machine and the virtual machine, it’s important to regularly clean up and organize your files. Remove any unnecessary files, properly categorize and store files, and maintain a well-structured file system in both environments.
By considering these additional tips and factors, you can streamline the file transfer process and ensure the successful transfer of files between your host machine and the virtual machine.
Now that we have covered various methods, considerations, and tips for transferring files into a virtual machine, let’s summarize the key points before concluding.
Summary
Transferring files into a virtual machine is an essential aspect of working with virtual environments. In this article, we explored various methods for accomplishing this task. We discussed shared folders, which provide a convenient way to transfer files through direct integration between the host and virtual machine. USB drives allow for fast and direct file transfers, while remote desktop and SSH provide secure remote access to the virtual machine for file transfers. Network file-sharing protocols offer flexibility for transferring files through the network, and cloud storage services enable easy access to files from anywhere with an internet connection.
When transferring files, it’s important to consider factors such as file compression, file permissions, network speed, antivirus software, and regular file organization. These considerations help ensure smoother and more efficient file transfer processes.
By utilizing the appropriate method for your needs and following the tips outlined in this article, you can easily transfer files between your host machine and a virtual machine, enhancing productivity and streamlining your workflow.
Remember to refer to the documentation and resources specific to your virtualization software or file transfer methods for further guidance and troubleshooting steps.
Now that you have a solid understanding of different file transfer methods into a virtual machine, you’re well-equipped to seamlessly move files between your host machine and virtual environment. Explore the methods discussed in this article, experiment with the best approach for your specific needs, and enjoy the benefits of hassle-free file transfer within your virtual machine.