Introduction
When working with virtual machines, one common task is to share folders between the host machine and the virtual machine. This can be particularly useful for transferring files, accessing shared data, or testing applications in a simulated environment.
In this guide, we will walk you through the process of sharing a folder with a virtual machine. Whether you are using VirtualBox, VMware, or any other virtualization software, the steps are generally similar. By following these instructions, you will be able to seamlessly share files and folders between your host machine and the virtual environment.
Sharing folders with a virtual machine offers several advantages. It allows you to easily transfer files between the host and virtual machine without the need for external storage devices or network transfers. It also provides a convenient way to access shared data or collaborate on projects within the virtual environment.
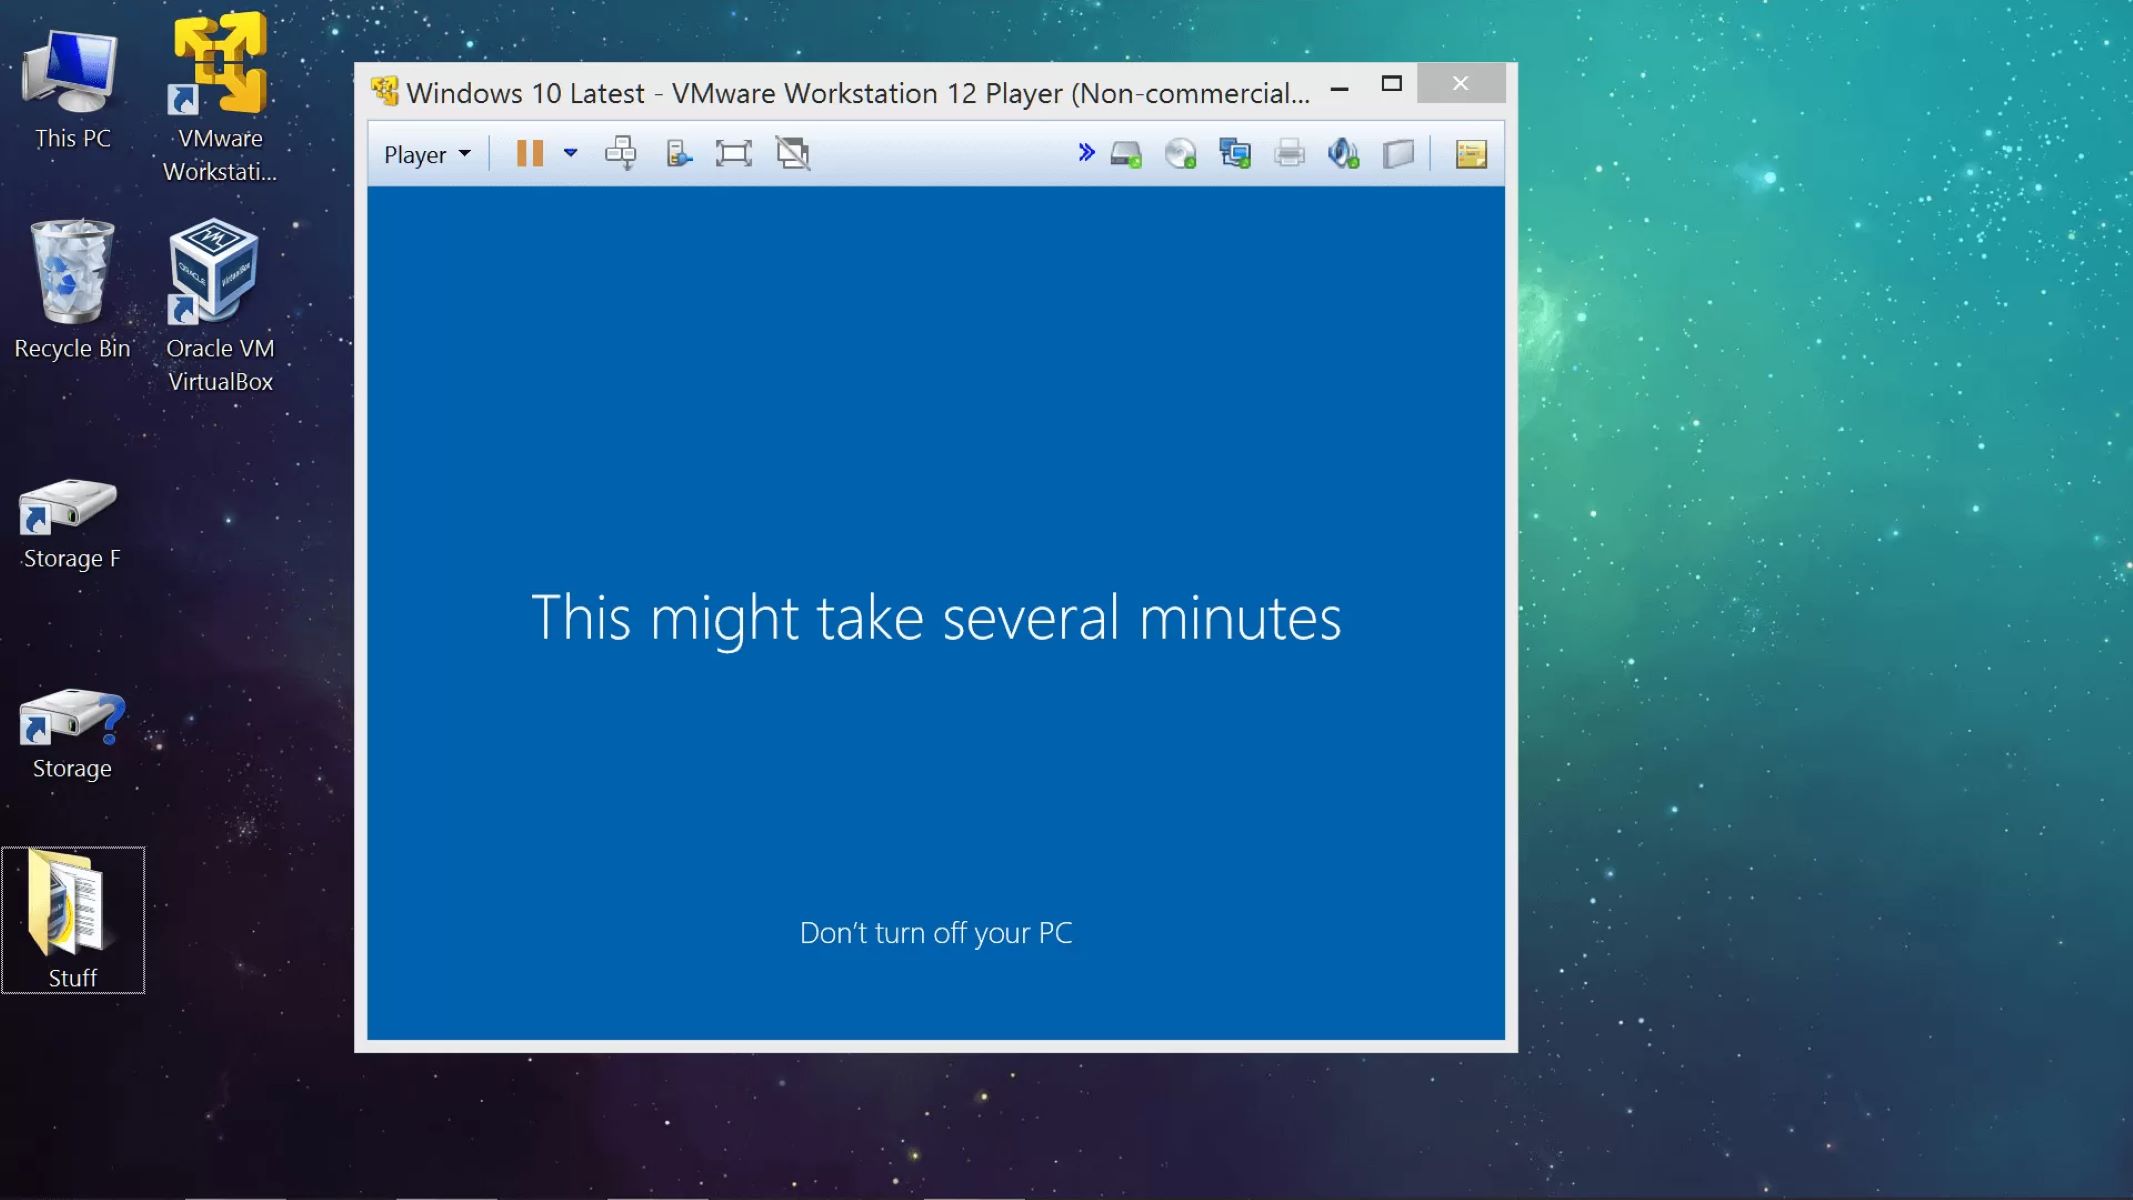
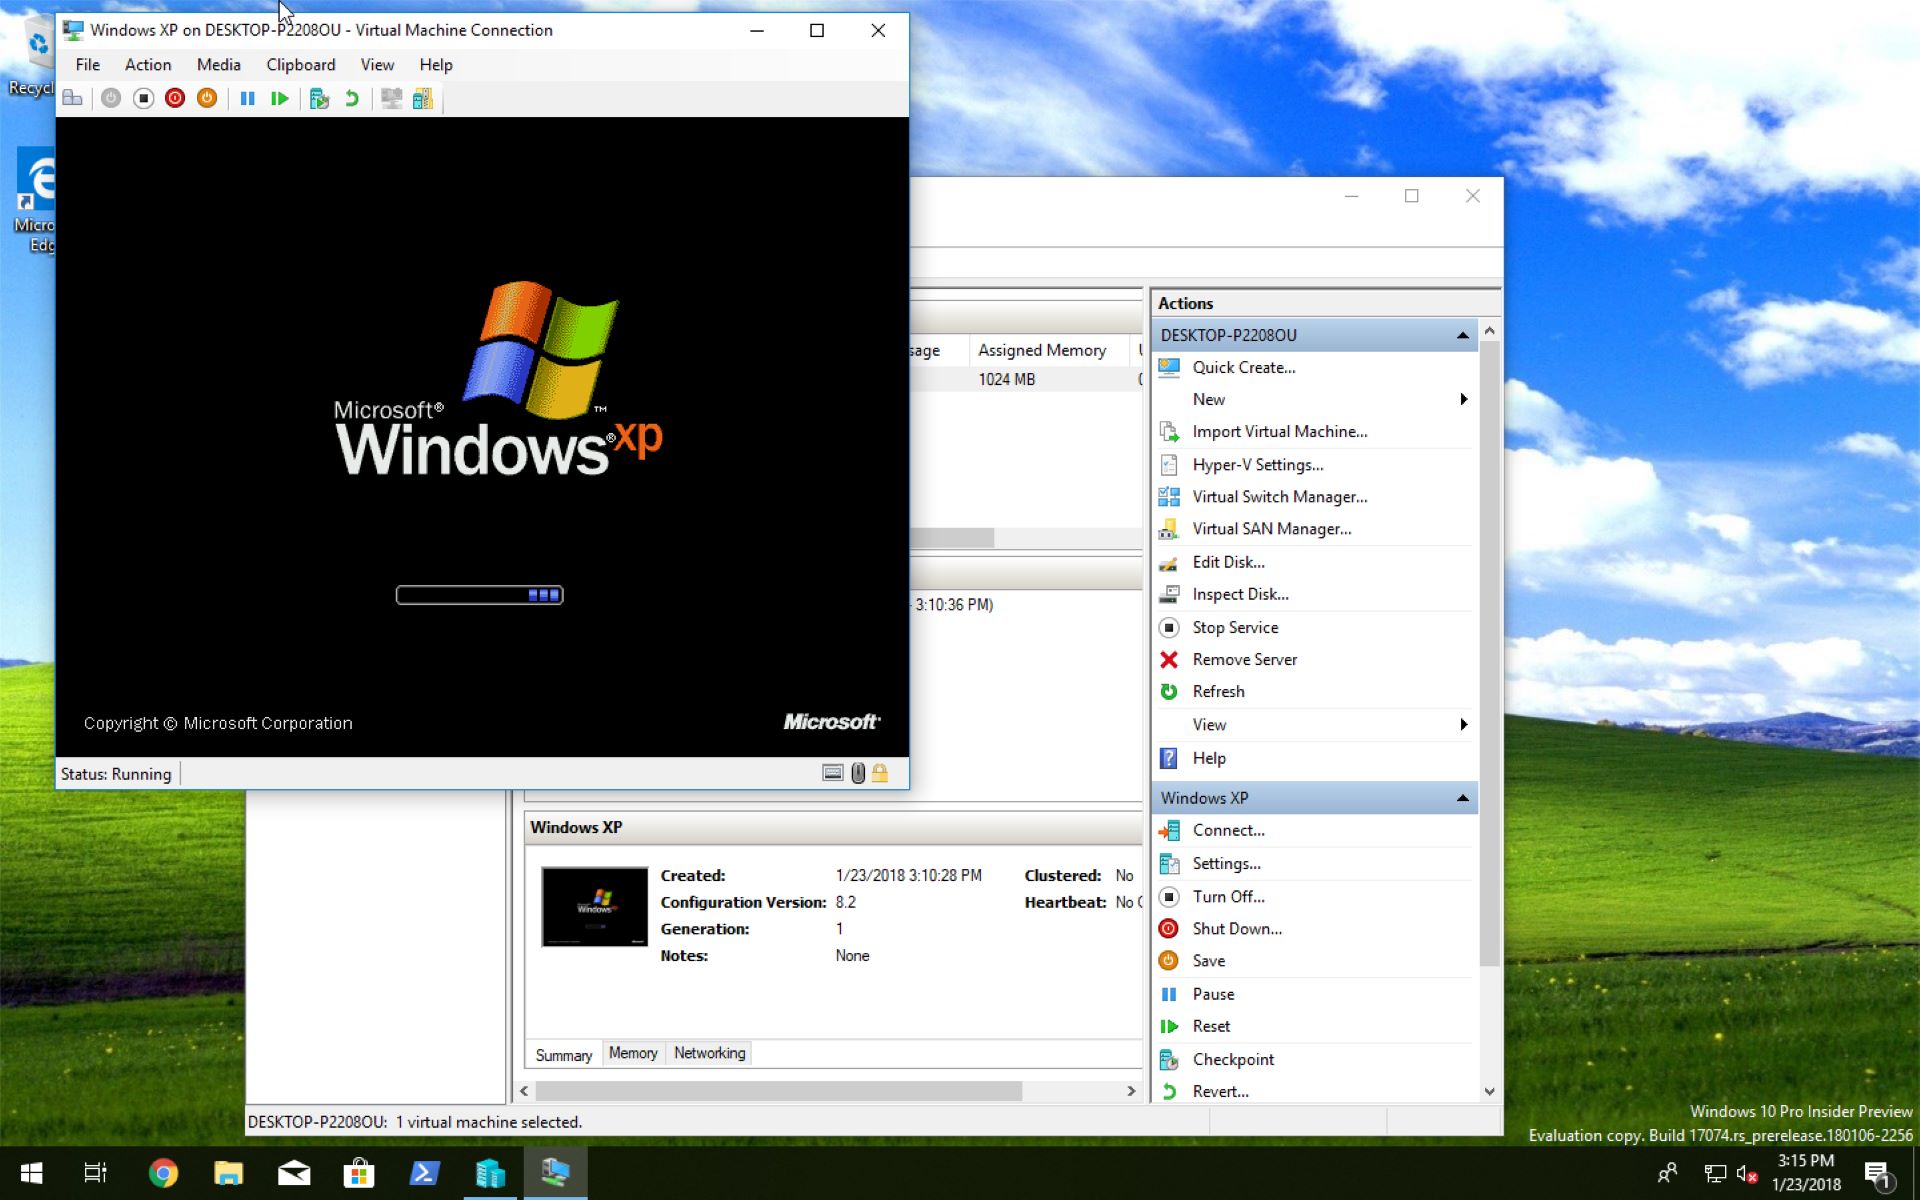
Before we dive into the details of setting up folder sharing, it is important to ensure that you have a virtual machine installed and running on your system. Setting up a virtual machine involves creating a virtualized environment that emulates a physical machine. This can be easily done using software such as VirtualBox, VMware Workstation, or Hyper-V, depending on your operating system and requirements.
Now that you have a virtual machine up and running, let’s move on to the next step, which is installing the guest additions. The guest additions package provides additional drivers and software that enhance the functionality and performance of the virtual machine. It also enables features like shared folders that allow for seamless integration between the host and virtual machine.
Setting up a Virtual Machine
Before you can share folders with a virtual machine, you need to have a virtual machine set up and running on your system. Here are the steps to get started:
- Choose a Virtualization Software: Select the virtualization software that best suits your needs. There are several options available, including VirtualBox, VMware Workstation, and Hyper-V. Consider factors such as compatibility with your operating system and the specific features you require.
- Download and Install the Virtualization Software: Once you have chosen your preferred virtualization software, download it from the official website and follow the installation instructions provided.
- Create a New Virtual Machine: Open the virtualization software and click on the option to create a new virtual machine. You will need to specify parameters such as the operating system, memory, storage, and other configuration details.
- Configure Hardware Settings: After creating the virtual machine, you can customize its hardware settings. This includes allocating RAM, adjusting the number of CPU cores, configuring network settings, and enabling additional hardware components as needed.
- Install an Operating System: Mount the installation media of the operating system you wish to install on the virtual machine. Start the virtual machine and follow the on-screen instructions to install the operating system.
- Install Essential Software: Once the operating system is installed, it is advisable to install essential software such as antivirus, drivers, and any other tools you may require within the virtual environment.
- Test the Virtual Machine: Finally, ensure that the virtual machine is working correctly by performing basic operations, such as opening applications, connecting to the internet, and verifying that all hardware is functioning properly.
Once you have set up your virtual machine, you are ready to proceed to the next step, which involves installing the guest additions to enable folder sharing and other enhanced features.
Installing the Guest Additions
The guest additions package is a set of drivers and software provided by the virtualization software to optimize the performance and functionality of the virtual machine. To enable folder sharing and other enhanced features, you need to install the guest additions. Here’s how to do it:
- Start the Virtual Machine: Power on your virtual machine and wait for the operating system to fully load.
- Mount the Guest Additions ISO: In the virtual machine’s menu, look for an option to mount the guest additions ISO. This ISO file is typically included with the virtualization software or can be downloaded from their official website.
- Run the Installer: Open the mounted ISO file in the virtual machine and run the installer. The steps may vary depending on the virtualization software you are using. Follow the on-screen instructions to complete the installation process.
- Restart the Virtual Machine: After the installation is complete, it is recommended to restart the virtual machine to ensure that the guest additions take effect.
Once the guest additions are installed and the virtual machine has restarted, you can move on to the next step, which is enabling shared folders to start sharing files and folders between the host machine and the virtual environment.
Enabling Shared Folders
Enabling shared folders is a crucial step in the process of sharing files and folders between the host machine and the virtual machine. Here’s how you can enable shared folders:
- Open the Virtual Machine Settings: In your virtualization software, locate the virtual machine you want to enable shared folders for and open its settings.
- Navigate to the Shared Folders Section: Look for the shared folders section within the settings. This section may be named differently depending on the virtualization software you are using, but it is typically labeled “Shared Folders” or “Shared Drives”.
- Add a Shared Folder: Click on the option to add a shared folder. You will be prompted to specify the folder path on the host machine that you want to share.
- Configure the Shared Folder Settings: Customize the shared folder settings as needed. You can choose whether the folder should be read-only or read-write in the virtual machine, set the folder name, and select the auto-mount option.
- Apply the Changes: Save the settings and apply the changes to enable the shared folder.
Once the shared folder is enabled, the host machine folder will be accessible within the virtual machine, allowing you to transfer files seamlessly between the two environments. However, before you can access the shared folder, you need to mount it within the virtual machine. Let’s move on to the next step to learn how to do that.
Creating a Shared Folder
Before you can start using shared folders between the host machine and the virtual machine, you need to create a shared folder on the host machine. Here’s how you can create a shared folder:
- Locate the Folder: Choose the folder on the host machine that you want to share with the virtual machine. It can be an existing folder or a new folder that you create specifically for sharing.
- Right-Click on the Folder: Right-click on the folder and select the option to access its properties or settings. The exact options may vary depending on your operating system.
- Enable Sharing: Look for the sharing options within the folder properties or settings. There should be an option to enable sharing for the folder.
- Configure Sharing Settings: Customize the sharing settings for the folder. You can choose the name of the shared folder, set permissions for accessing the folder, and specify whether it should be read-only or read-write in the virtual machine.
- Apply the Changes: Save the settings and apply the changes to create the shared folder.
Once the shared folder is created on the host machine, you can proceed to mount it within the virtual machine to access its contents. This will allow you to transfer files and folders back and forth between the host machine and the virtual environment. Let’s move on to the next step to learn how to mount the shared folder in the virtual machine.
Mounting the Shared Folder in the Virtual Machine
Once you have created a shared folder on the host machine and enabled sharing, you can now mount the shared folder within the virtual machine to access its contents. Here’s how you can mount the shared folder:
- Start the Virtual Machine: Power on your virtual machine and wait for the operating system to fully load.
- Install Required Packages: In some cases, you may need to install additional packages or drivers within the virtual machine to support shared folder functionality. Consult the documentation or user guide specific to your virtualization software for any required steps to install these packages.
- Mount the Shared Folder: In the virtual machine’s menu, look for an option to mount the shared folder. This option can usually be found in the “Devices” or “Shared Folders” menu.
- Specify the Folder Path: Enter the path of the shared folder on the host machine. This path should match the folder you previously created on the host machine.
- Assign a Mount Point: Choose a directory or folder within the virtual machine where you want to mount the shared folder. This mount point will serve as the access point for the shared folder’s contents.
- Mount the Shared Folder: Click on the option to mount or connect the shared folder. The shared folder will now be accessible within the virtual machine.
Once the shared folder is mounted within the virtual machine, you can access its contents as if they were located directly within the virtual environment. You can copy files to and from the shared folder, edit files, and perform any necessary operations on the shared data.
Troubleshooting Common Issues
While configuring shared folders between the host machine and the virtual machine is typically a straightforward process, you may encounter some common issues along the way. Here are a few troubleshooting tips to help you resolve any potential issues:
- Verify Guest Additions: Ensure that the guest additions are properly installed and up-to-date in the virtual machine. Outdated or incompatible guest additions can cause issues with shared folder functionality.
- Check Folder Permissions: Make sure that the folder you are trying to share on the host machine has the appropriate permissions set. Ensure that the virtual machine’s user or group has the necessary access rights to the shared folder.
- Restart the Virtual Machine: If you are unable to see the shared folder within the virtual machine after configuring it, try restarting the virtual machine. This can often resolve any temporary issues or conflicts.
- Verify Network Connectivity: Ensure that the host machine and the virtual machine are on the same network and can communicate with each other. Network connectivity issues can prevent the shared folder from being accessible.
- Check Firewall Settings: Review the firewall settings on both the host machine and the virtual machine. Ensure that the necessary ports are open and that the firewall is not blocking the shared folder communication.
If you have followed these troubleshooting steps and are still encountering issues with shared folders, it is recommended to consult the official documentation or support resources provided by your virtualization software. They may have specific instructions or additional troubleshooting steps for resolving shared folder issues.
By addressing these common issues, you can ensure a smooth and seamless experience when sharing folders between the host machine and the virtual machine.
Conclusion
Sharing folders between the host machine and a virtual machine is a fundamental capability that allows for seamless file transfer and collaboration in a virtualized environment. In this guide, we have covered the essential steps to enable and configure shared folders in a virtual machine. By setting up a virtual machine, installing guest additions, enabling shared folders, creating shared folders on the host machine, and mounting the shared folders within the virtual machine, you can easily exchange files and access shared data between the two environments.
However, it is important to note that the specific steps and options may vary depending on the virtualization software you are using. It is recommended to consult the official documentation or user guides provided by your virtualization software vendor for detailed, software-specific instructions.
While the process of sharing folders may be straightforward, you may encounter issues along the way. Troubleshooting common issues such as verifying guest additions, checking folder permissions, restarting the virtual machine, ensuring network connectivity, and reviewing firewall settings can help resolve any challenges you may face during the sharing process.
By following the steps outlined in this guide and addressing any potential issues, you can effectively share folders between the host machine and a virtual machine, facilitating seamless collaboration, file transfer, and data access in your virtualized environment.