Introduction
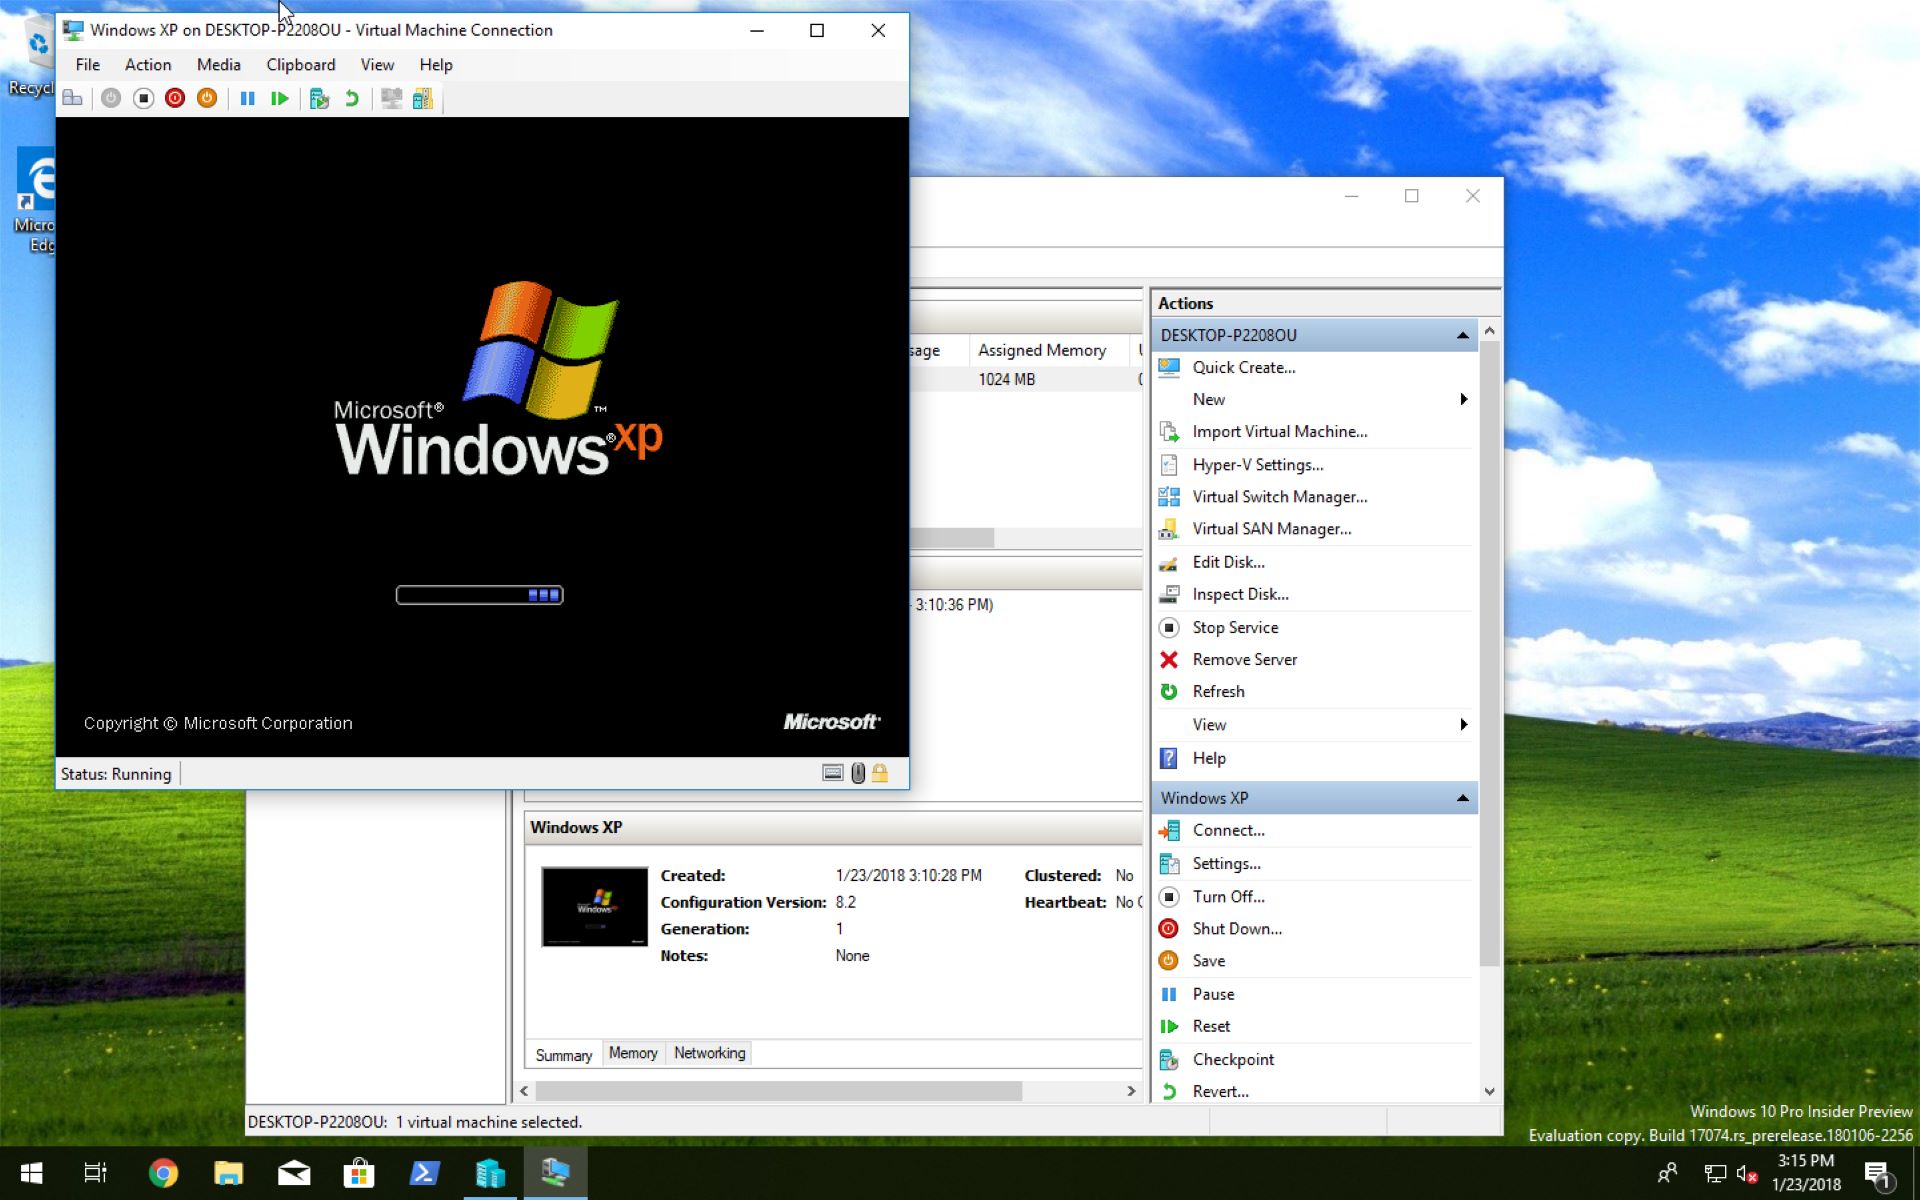
Setting up a Windows XP virtual machine can be a practical solution for various reasons. Whether you need to run legacy software, test new applications, or simply experience the nostalgia of the early 2000s, having a virtual machine allows you to run Windows XP on modern hardware.
In this guide, we’ll walk you through the steps of setting up a Windows XP virtual machine using VirtualBox, a popular and user-friendly virtualization software. With VirtualBox, you can create a virtual environment that emulates the Windows XP operating system, providing you with the ability to install and run Windows XP seamlessly on your computer.
Please note that Windows XP is an outdated operating system, and Microsoft no longer provides support or updates for it. It is important to remember that running Windows XP on a virtual machine should not be used for any activities that require secure or sensitive information.
Before we dive into the setup process, you will need to ensure you have the necessary software requirements:
- VirtualBox: Download and install the latest version of VirtualBox from the official website (https://www.virtualbox.org).
- Windows XP ISO: Obtain a legitimate copy of the Windows XP ISO file.
Once you have these requirements ready, let’s move on to the step-by-step guide on setting up your Windows XP virtual machine using VirtualBox.
Software Requirements
Before you begin setting up your Windows XP virtual machine, make sure you have the following software requirements:
- VirtualBox: VirtualBox is a free and open-source virtualization software that allows you to run different operating systems on your computer simultaneously. You can download VirtualBox from the official website (https://www.virtualbox.org) and install it according to the instructions provided.
- Windows XP ISO: You will need a legitimate copy of the Windows XP ISO file to install the operating system on your virtual machine. The ISO file contains the complete installation package of Windows XP. You can obtain a Windows XP ISO file from various sources, such as old installation CDs or legal online sources.
- Computer with Sufficient Resources: Ensure that your computer meets the minimum system requirements to run VirtualBox and Windows XP. Virtual machines require a significant amount of memory, disk space, and processing power. Make sure you have enough RAM, storage, and processing capabilities to allocate to your virtual machine for optimal performance.
Note: It is essential to mention that Windows XP is an outdated operating system, and Microsoft no longer provides support or updates for it. Running Windows XP on a virtual machine should not be used for any activities that require secure or sensitive information, as it may expose your system to potential security risks.
Now that you have prepared the necessary software requirements, it’s time to move on to the step-by-step process of creating and configuring a Windows XP virtual machine using VirtualBox.
Step 1: Downloading and Installing VirtualBox
The first step to setting up your Windows XP virtual machine is to download and install VirtualBox. Follow these instructions to get started:
- Open your web browser and visit the official VirtualBox website (https://www.virtualbox.org).
- On the website’s homepage, locate the “Downloads” section and click on it.
- On the Downloads page, you will see different versions of VirtualBox available for various operating systems. Choose the appropriate version for your operating system and click on the download link to start the download.
- Once the download is complete, locate the installer file in your downloads folder (or the location where you chose to save it) and run the installer.
- Follow the on-screen instructions provided by the VirtualBox installer. You will need to agree to the terms and conditions and select the desired installation options.
- During the installation process, you may be asked to install additional network adapters. Leave the default options selected unless you have specific requirements.
- Once the installation is complete, you can launch VirtualBox from your computer’s start menu or desktop shortcut.
Now that VirtualBox is installed on your computer, you are ready to move on to the next step, which involves obtaining a Windows XP ISO file to install on your virtual machine. Please note that you will need a legitimate copy of the Windows XP ISO file for this purpose, which you can obtain from various sources.
In the following steps, we will guide you on how to set up the Windows XP virtual machine using the VirtualBox software.
Step 2: Downloading a Windows XP ISO
After installing VirtualBox, the next step is to obtain a legitimate copy of the Windows XP ISO file. The ISO file contains the complete installation package of Windows XP that you will need to install on your virtual machine. Here are the steps to download a Windows XP ISO:
- Search for a reputable source that provides Windows XP ISO files. Ensure that the source is legitimate and trustworthy to avoid downloading any malicious or pirated versions of the operating system.
- Once you have found a reliable source, navigate to the website and look for the Windows XP ISO download. Choose the version you prefer, such as Windows XP Home Edition or Windows XP Professional.
- Click on the download link for the Windows XP ISO file you have selected. The download process may take some time, depending on the size of the ISO file and the speed of your internet connection.
- Once the download is complete, verify the integrity of the downloaded ISO file to ensure that it has not been tampered with. Some websites provide checksums or hashes for the ISO file, which you can compare to verify its authenticity.
- Now that you have successfully downloaded the Windows XP ISO file, proceed to the next step to create a new virtual machine in VirtualBox and start the installation process.
It is crucial to obtain a legitimate copy of the Windows XP ISO file to comply with software licensing requirements and ensure the security and stability of your virtual machine. Using unauthorized or pirated copies of operating systems is not only illegal but also puts your system at risk of malware and other security threats.
In the next step, we will guide you through the process of creating a new virtual machine in VirtualBox for your Windows XP installation.
Step 3: Creating a New Virtual Machine
Now that you have downloaded a Windows XP ISO file, it’s time to create a new virtual machine in VirtualBox. Follow these steps to get started:
- Open VirtualBox on your computer. You can find the VirtualBox application in your start menu or launch it from the desktop shortcut if you have created one during installation.
- In the VirtualBox Manager window, click on the “New” button located at the top-left corner of the window.
- In the Create Virtual Machine dialog box, enter a name for your virtual machine. Choose a name that is descriptive and easy to identify, such as “Windows XP”.
- Select “Microsoft Windows” as the operating system type.
- Choose “Windows XP (32-bit)” as the version. If you have downloaded a 64-bit version of Windows XP, select the appropriate option.
- Click on the “Next” button to proceed.
- In the Memory Size dialog box, choose the amount of RAM to allocate to your virtual machine. It is recommended to have at least 512MB of RAM, but you can allocate more if your system resources allow.
- Click on the “Next” button.
- In the Hard Disk dialog box, select the option to “Create a virtual hard disk now”.
- Click on the “Next” button.
- Choose the hard disk file type. The default option of “VDI (VirtualBox Disk Image)” should be selected.
- Click on the “Next” button.
- Choose the storage type for the virtual hard disk file. It is recommended to select the “Dynamically allocated” option, which allows the virtual hard disk to expand as needed.
- Click on the “Next” button.
- In the File Location and Size dialog box, enter a name and location for the virtual hard disk file. You can keep the default location or choose a different folder.
- Specify the size of the virtual hard disk. It is recommended to allocate at least 20GB of disk space for your Windows XP virtual machine.
- Click on the “Create” button to create the new virtual machine.
Congratulations! You have successfully created a new virtual machine for your Windows XP installation. In the next step, we will guide you through the process of configuring the virtual machine settings before installing Windows XP.
Step 4: Configuring Virtual Machine Settings
After creating a new virtual machine for your Windows XP installation, it’s important to configure the virtual machine settings to ensure optimal performance and compatibility. Follow these steps to configure the virtual machine settings in VirtualBox:
- In the VirtualBox Manager window, select the newly created virtual machine from the list on the left-hand side.
- Click on the “Settings” button located at the top-left corner of the window.
- In the Settings window, you will see various tabs representing different categories of settings. Make sure you are on the “System” tab.
- Under the “Motherboard” tab, adjust the slider for the Base Memory. Allocate enough memory to run Windows XP smoothly. A minimum of 512MB is recommended, but you can allocate more if your system allows.
- Next, navigate to the “Processor” tab. Increase the number of CPU cores if your system supports it to improve performance.
- Switch to the “Display” tab. Increase the video memory allocated to the virtual machine for better graphics performance. It is recommended to allocate at least 32MB of video memory.
- Under the “Storage” tab, you will see the virtual hard disk you created in the previous step. If you need to add additional virtual hard disks or attach an ISO file, you can do it in this section.
- Move to the “Audio” tab. Make sure the Audio Controller is enabled to allow sound in your virtual machine.
- Go to the “Network” tab. Choose the appropriate network mode based on your requirements. The default setting of NAT (Network Address Translation) should work in most cases.
- Once you have finished configuring the settings, click on the “OK” button to save the changes.
Congratulations! You have successfully configured the virtual machine settings for your Windows XP installation. In the next step, we will guide you through the process of installing Windows XP on the virtual machine.
Step 5: Installing Windows XP
Now that you have configured the virtual machine settings, it’s time to install Windows XP. Follow these steps to install Windows XP on your virtual machine:
- In the VirtualBox Manager window, select the Windows XP virtual machine from the list on the left-hand side.
- Click on the “Start” button located at the top-left corner of the window to launch the virtual machine.
- The virtual machine will start, and a new window will appear displaying the initial setup. At this point, you will need to locate and select the Windows XP ISO file you downloaded earlier.
- Once you have selected the Windows XP ISO file, click on the “Start” button to begin the installation process.
- The virtual machine will boot from the Windows XP ISO file and start the installation process. Follow the on-screen instructions to complete the Windows XP installation.
- You may be prompted to enter a product key during the installation. Enter the valid Windows XP product key that matches the version you are installing.
- Proceed with the installation steps, such as selecting the installation partition, formatting the drive, and choosing regional settings.
- Windows XP will continue to install, and the virtual machine will automatically restart as part of the installation process.
- After the restart, Windows XP will prompt you to create a user account. Follow the instructions to create a username and password for your Windows XP virtual machine.
- Once the installation is complete, you can log in to your Windows XP virtual machine and start using it as you would with a physical Windows XP system.
Congratulations! You have successfully installed Windows XP on your virtual machine. In the next step, we will guide you through the process of installing Guest Additions to enhance the functionality of your virtual machine.
Step 6: Installing Guest Additions
After installing Windows XP on your virtual machine, the next step is to install VirtualBox Guest Additions. Guest Additions is a set of drivers and utilities that enhance the functionality of the virtual machine and improve integration between the host and guest operating systems. Follow these steps to install Guest Additions:
- Start the Windows XP virtual machine in VirtualBox.
- In the VirtualBox menu bar, click on “Devices” and select “Insert Guest Additions CD Image”. This will mount the Guest Additions ISO file inside the virtual machine.
- Windows XP will recognize the newly inserted CD. Open “My Computer” or “This PC” on the desktop and double-click on the CD/DVD drive to explore its contents.
- Locate the “VBoxWindowsAdditions” executable file and double-click on it to start the installation.
- Follow the on-screen instructions to complete the installation. You may be prompted to confirm the installation and accept any license agreements.
- Once the installation is complete, restart the virtual machine to apply the changes.
- After the virtual machine restarts, Guest Additions will be fully installed and integrated into the Windows XP operating system.
VirtualBox Guest Additions provides several benefits, including improved display resolution, better mouse integration, seamless window resizing, shared folders for easy file transfer between the host and guest systems, and enhanced performance. These features enhance your overall virtual machine experience and make using Windows XP more convenient and efficient.
With Guest Additions installed, you can now proceed to the final step of configuring shared folders between your host and Windows XP virtual machine.
Step 7: Configuring Shared Folders
Configuring shared folders between your host system and the Windows XP virtual machine allows for easy file sharing and transfer. Follow these steps to set up shared folders:
- Start the Windows XP virtual machine in VirtualBox.
- In the VirtualBox menu bar, click on “Devices” and select “Shared Folders” to open the Shared Folders settings.
- Click on the “+” button on the right side to add a new shared folder.
- In the “Folder Path” field, browse and select the folder from your host system that you want to share with the virtual machine.
- Enter a name for the shared folder in the “Folder Name” field.
- Choose the “Auto-mount” option to have the shared folder automatically mounted when the virtual machine starts.
- Specify the access rights for the shared folder. You can choose to make it read-only or read-write for the virtual machine.
- Click on the “OK” button to save the shared folder settings.
- Restart the Windows XP virtual machine to apply the changes.
- Once the virtual machine restarts, you will find the shared folder mounted under “My Network Places” or “Network Locations”.
- You can now access and use the shared folder to transfer files between your host system and the Windows XP virtual machine.
Shared folders provide a convenient way to exchange files between the host and virtual machine without the need for external storage devices or network transfers. You can easily access and manipulate files in the shared folder directly from Windows Explorer in the virtual machine.
Remember to ensure that the shared folder on the host system has the necessary permissions for the virtual machine to access and modify the files. Additionally, make sure that any antivirus or security software on the host system does not interfere with the shared folder functionality.
With shared folders configured, you have successfully completed the setup of your Windows XP virtual machine using VirtualBox. Enjoy using Windows XP and exploring its functionalities!
Conclusion
Setting up a Windows XP virtual machine using VirtualBox can be a valuable solution for running legacy software, testing applications, or experiencing the nostalgia of the early 2000s. In this guide, we have walked you through the steps to create a virtual machine, install Windows XP, and configure essential settings.
Remember that Windows XP is an outdated operating system, and using it on a virtual machine should be done with caution. It is not recommended for activities that require security or involve sensitive information, as Microsoft no longer provides support or updates for Windows XP.
Throughout this guide, we covered the software requirements, including downloading and installing VirtualBox, obtaining a Windows XP ISO file, creating a new virtual machine, configuring virtual machine settings, installing Windows XP, installing Guest Additions, and configuring shared folders.
By following these steps, you can successfully create a Windows XP virtual machine that runs smoothly on your modern hardware, providing you with the ability to relive the past, test older software, or simply explore the functionality of Windows XP.
We hope this guide has been informative and helpful for you to set up your Windows XP virtual machine using VirtualBox. Enjoy your virtual Windows XP experience!


