Introduction
Welcome to this step-by-step guide on how to install Windows XP. Whether you’re setting up a new computer or upgrading from an older operating system, this guide will walk you through the installation process. Windows XP is a classic operating system that still serves the needs of many users today. It offers a user-friendly interface, stability, and compatibility with a wide range of software programs.
Before you begin the installation, it’s important to make sure you have the necessary hardware requirements. Your computer should meet the minimum system requirements for Windows XP, including a compatible processor, sufficient RAM, and available disk space. Additionally, you’ll need a valid Windows XP installation CD and a CD/DVD drive to boot from.
In this guide, we’ll cover the installation process step by step, from preparing for installation to completing the setup. We’ll also discuss the importance of backing up your data and provide tips to ensure a smooth and successful installation. So, grab your Windows XP CD and let’s get started!
Step 1: Prepare for Installation
Before diving into the Windows XP installation process, it’s crucial to prepare your computer and gather all the necessary resources. This will help ensure a smooth and hassle-free installation. Here are the key steps to follow:
- Check System Requirements: Take a moment to review the minimum system requirements for Windows XP. Ensure that your computer meets these requirements, such as having a compatible processor, sufficient RAM, and available disk space. This will ensure optimal performance after the installation.
- Backup Your Data: It’s always a smart idea to back up your important files and documents before installing any operating system. Use an external hard drive, cloud storage, or any other backup solution to create a copy of your data. This way, you can easily restore your files if something goes wrong during the installation.
- Collect Necessary Information: Gather all the necessary information you may need during the installation process. Keep your Windows XP installation CD handy, along with any product key or license information required. Additionally, prepare any necessary drivers for your computer’s hardware, such as graphics card or sound card drivers.
- Ensure Power Supply: Make sure that your computer is connected to a power source throughout the installation process. This will prevent any disruptions or unexpected shutdowns that could potentially harm your data or the installation itself.
- Disconnect External Devices: Before starting the installation, unplug any unnecessary external devices from your computer, such as printers, scanners, or USB drives. This will eliminate potential conflicts and ensure a smoother installation process.
By following these steps, you will be well-prepared to proceed with the Windows XP installation. Preparation is key to avoiding any unnecessary complications and ensuring a successful installation. Once you’ve completed these steps, you’re ready to move on to the next stage: booting from the Windows XP CD.
Step 2: Boot from the Windows XP CD
Now that you’ve prepared your computer for the installation, it’s time to boot from the Windows XP CD. This will initiate the installation process. Follow these steps to boot from the CD:
- Insert the Windows XP CD: Insert your Windows XP installation CD into the CD/DVD drive of your computer.
- Restart your computer: Restart your computer. You may need to press a specific key, such as F12 or Del, to enter the boot menu. The specific key can vary depending on your computer’s manufacturer, so refer to the documentation or look for on-screen prompts during startup.
- Choose the boot device: In the boot menu, navigate to the option that allows you to choose a boot device. Select the CD/DVD drive as the boot device. Once selected, press Enter to continue.
- Press any key to boot from the CD: After selecting the CD/DVD drive as the boot device, you will see a prompt that says “Press any key to boot from CD.” Press any key on your keyboard to proceed.
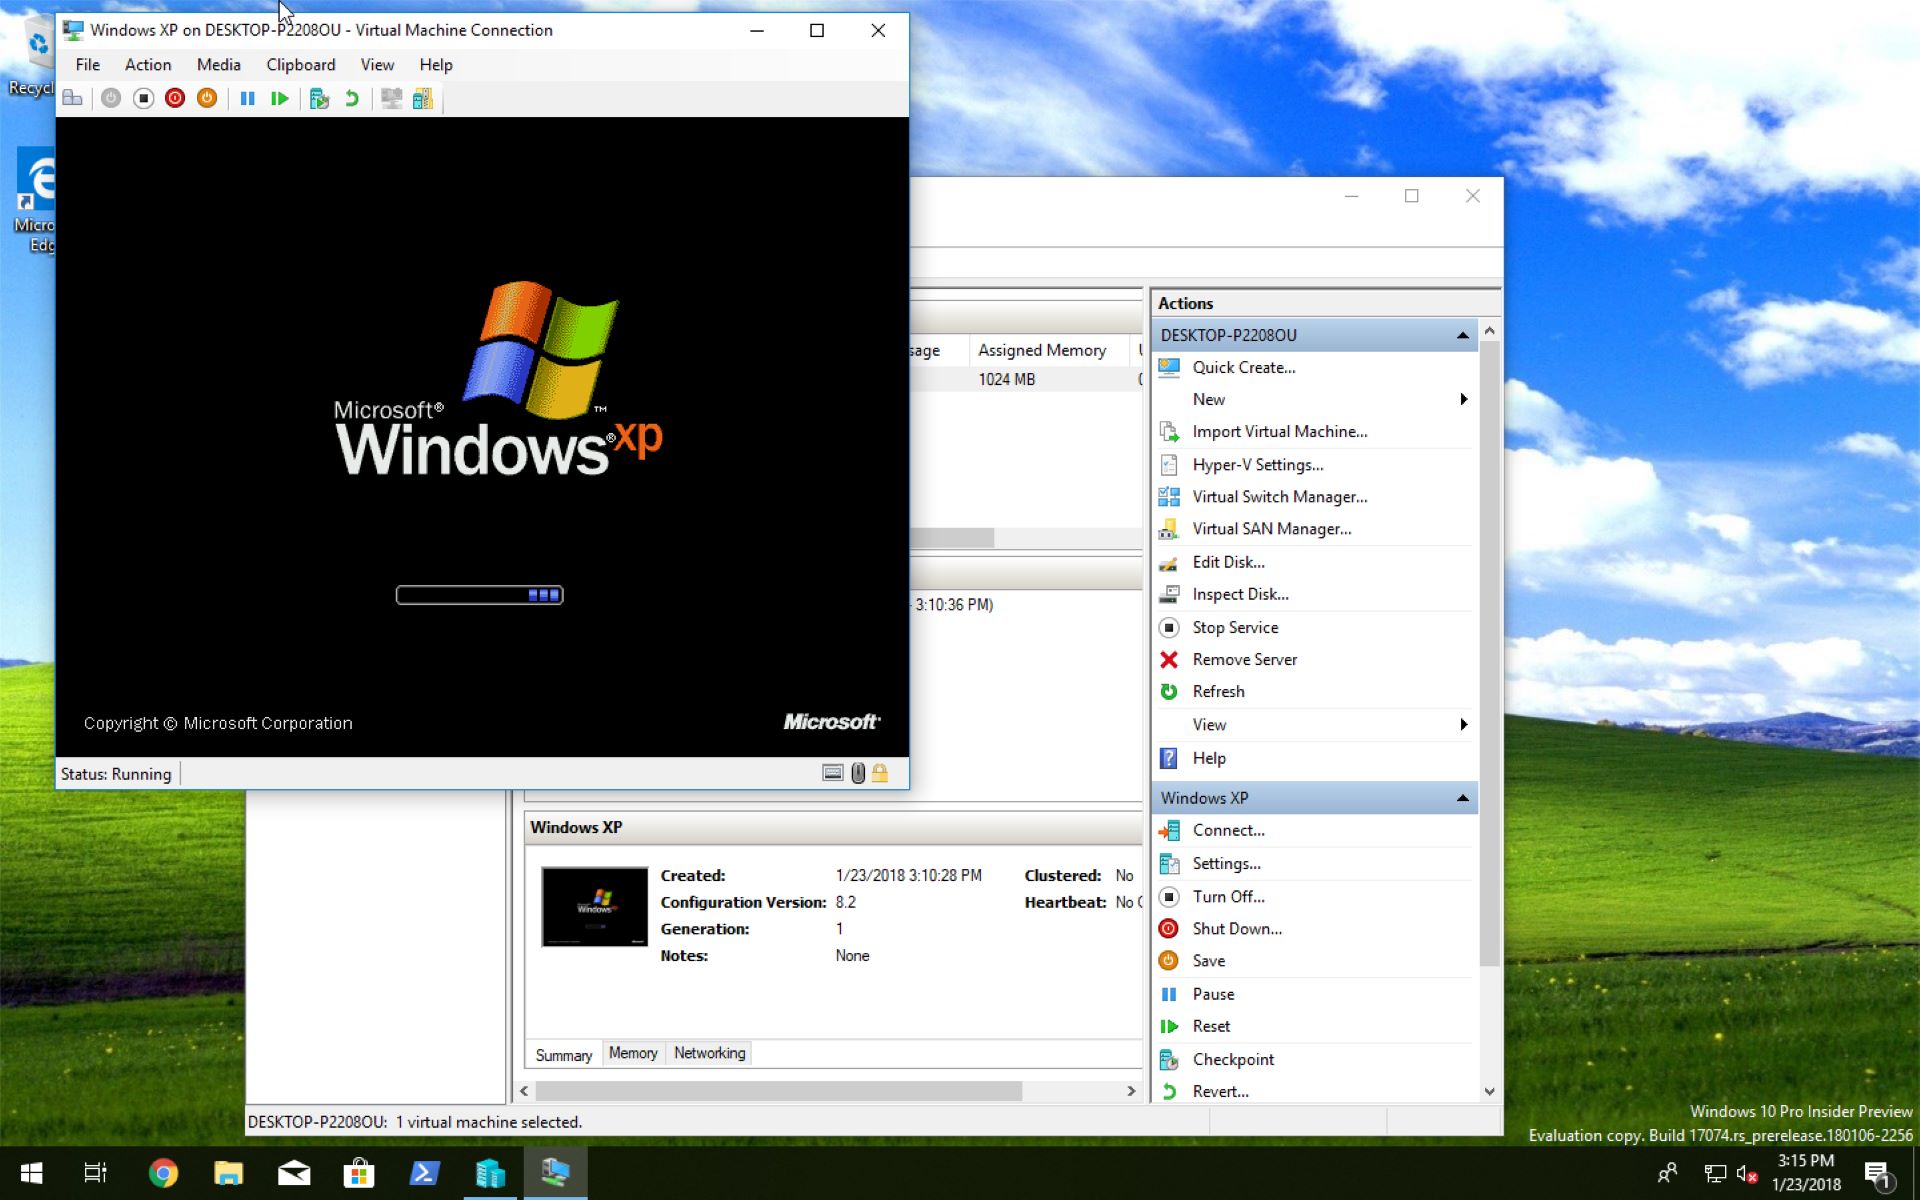
- Windows XP setup starts: After pressing a key, the Windows XP setup will begin. You will see a blue screen with white text as the setup loads various files. This process may take a few minutes.
Booting from the Windows XP CD is an essential step in the installation process. It allows your computer to load the necessary setup files and prepares it for the actual installation. Once the setup files have loaded, you’re ready to move on to the next step: selecting the partition for installation.
Step 3: Select the Partition for Installation
After successfully booting from the Windows XP CD, it’s time to select the partition where you want to install the operating system. Here’s how you can choose the partition:
- Windows XP setup screen: Once the setup files have finished loading, you will be presented with the Windows XP setup screen. This screen provides various options for installation. Press Enter to continue.
- Read the Licensing Agreement: Next, you will be shown the Microsoft Software License Agreement. Read through the agreement carefully, and if you agree to the terms, press F8 to accept and proceed with the installation.
- Select the partition: On the next screen, you will see a list of available partitions on your hard drive. Each partition represents a separate area of storage. Use the arrow keys to navigate through the list and highlight the desired partition where you want to install Windows XP.
- Create or delete partitions: If you need to create a new partition or delete an existing one, you can do so by using the options provided on the screen. It’s important to note that creating or deleting partitions will erase any data stored on them. Exercise caution when performing these actions.
- Format the partition: After selecting the appropriate partition, you will be given the option to format it. Formatting prepares the partition for the Windows XP installation. Choose the desired formatting option: either NTFS or FAT32, depending on your needs. NTFS is recommended for most users due to its advanced features and security.
- Confirm the partition: Once you’ve selected the partition and chosen the formatting option, confirm your selection by pressing Enter. At this point, the setup will prompt you for confirmation as formatting will erase any existing data on the partition.
By carefully selecting the partition and formatting it according to your preferences, you’re now ready to proceed with the Windows XP installation. This step is crucial in establishing where the operating system will be installed and ensuring the correct allocation of storage space. Once you confirm your partition choice, you’re prepared for the next step: formatting the partition.
Step 4: Format the Partition
Once you have selected the partition for installation in the previous step, the next important step is to format the partition. Formatting prepares the chosen partition for the installation of Windows XP. Here’s how you can format the partition:
- Windows XP setup screen: After confirming the partition selection, you will return to the Windows XP setup screen.
- Select the option to format: On the setup screen, you will see the partition you chose for installation. To format the partition, use the arrow keys to select it and press the “Enter” key.
- Choose the formatting options: Windows XP offers two formatting options: Quick Format and Full Format. Quick Format is recommended for most users as it is faster. However, if you want to thoroughly scan the disk for errors and bad sectors, you can choose the Full Format option. Keep in mind that Full Format takes significantly longer.
- Confirm the formatting: After selecting the formatting option, you will be asked to confirm your choice. Formatting will erase all data on the selected partition. Ensure that you have backed up any important files before proceeding. Once you are ready, confirm the formatting process.
- Wait for the formatting to complete: The formatting process will begin, and a progress bar will be displayed on the screen. The time it takes to complete the format depends on the size of the partition and the formatting option you chose. Be patient and allow the process to complete without interruption.
Formatting the partition is a crucial step in the Windows XP installation process. It prepares the selected partition by clearing any existing data and creating a fresh file system. This ensures a clean installation and optimum performance of the operating system. Once the formatting process is complete, you are now ready to move on to the next step: installing Windows XP.
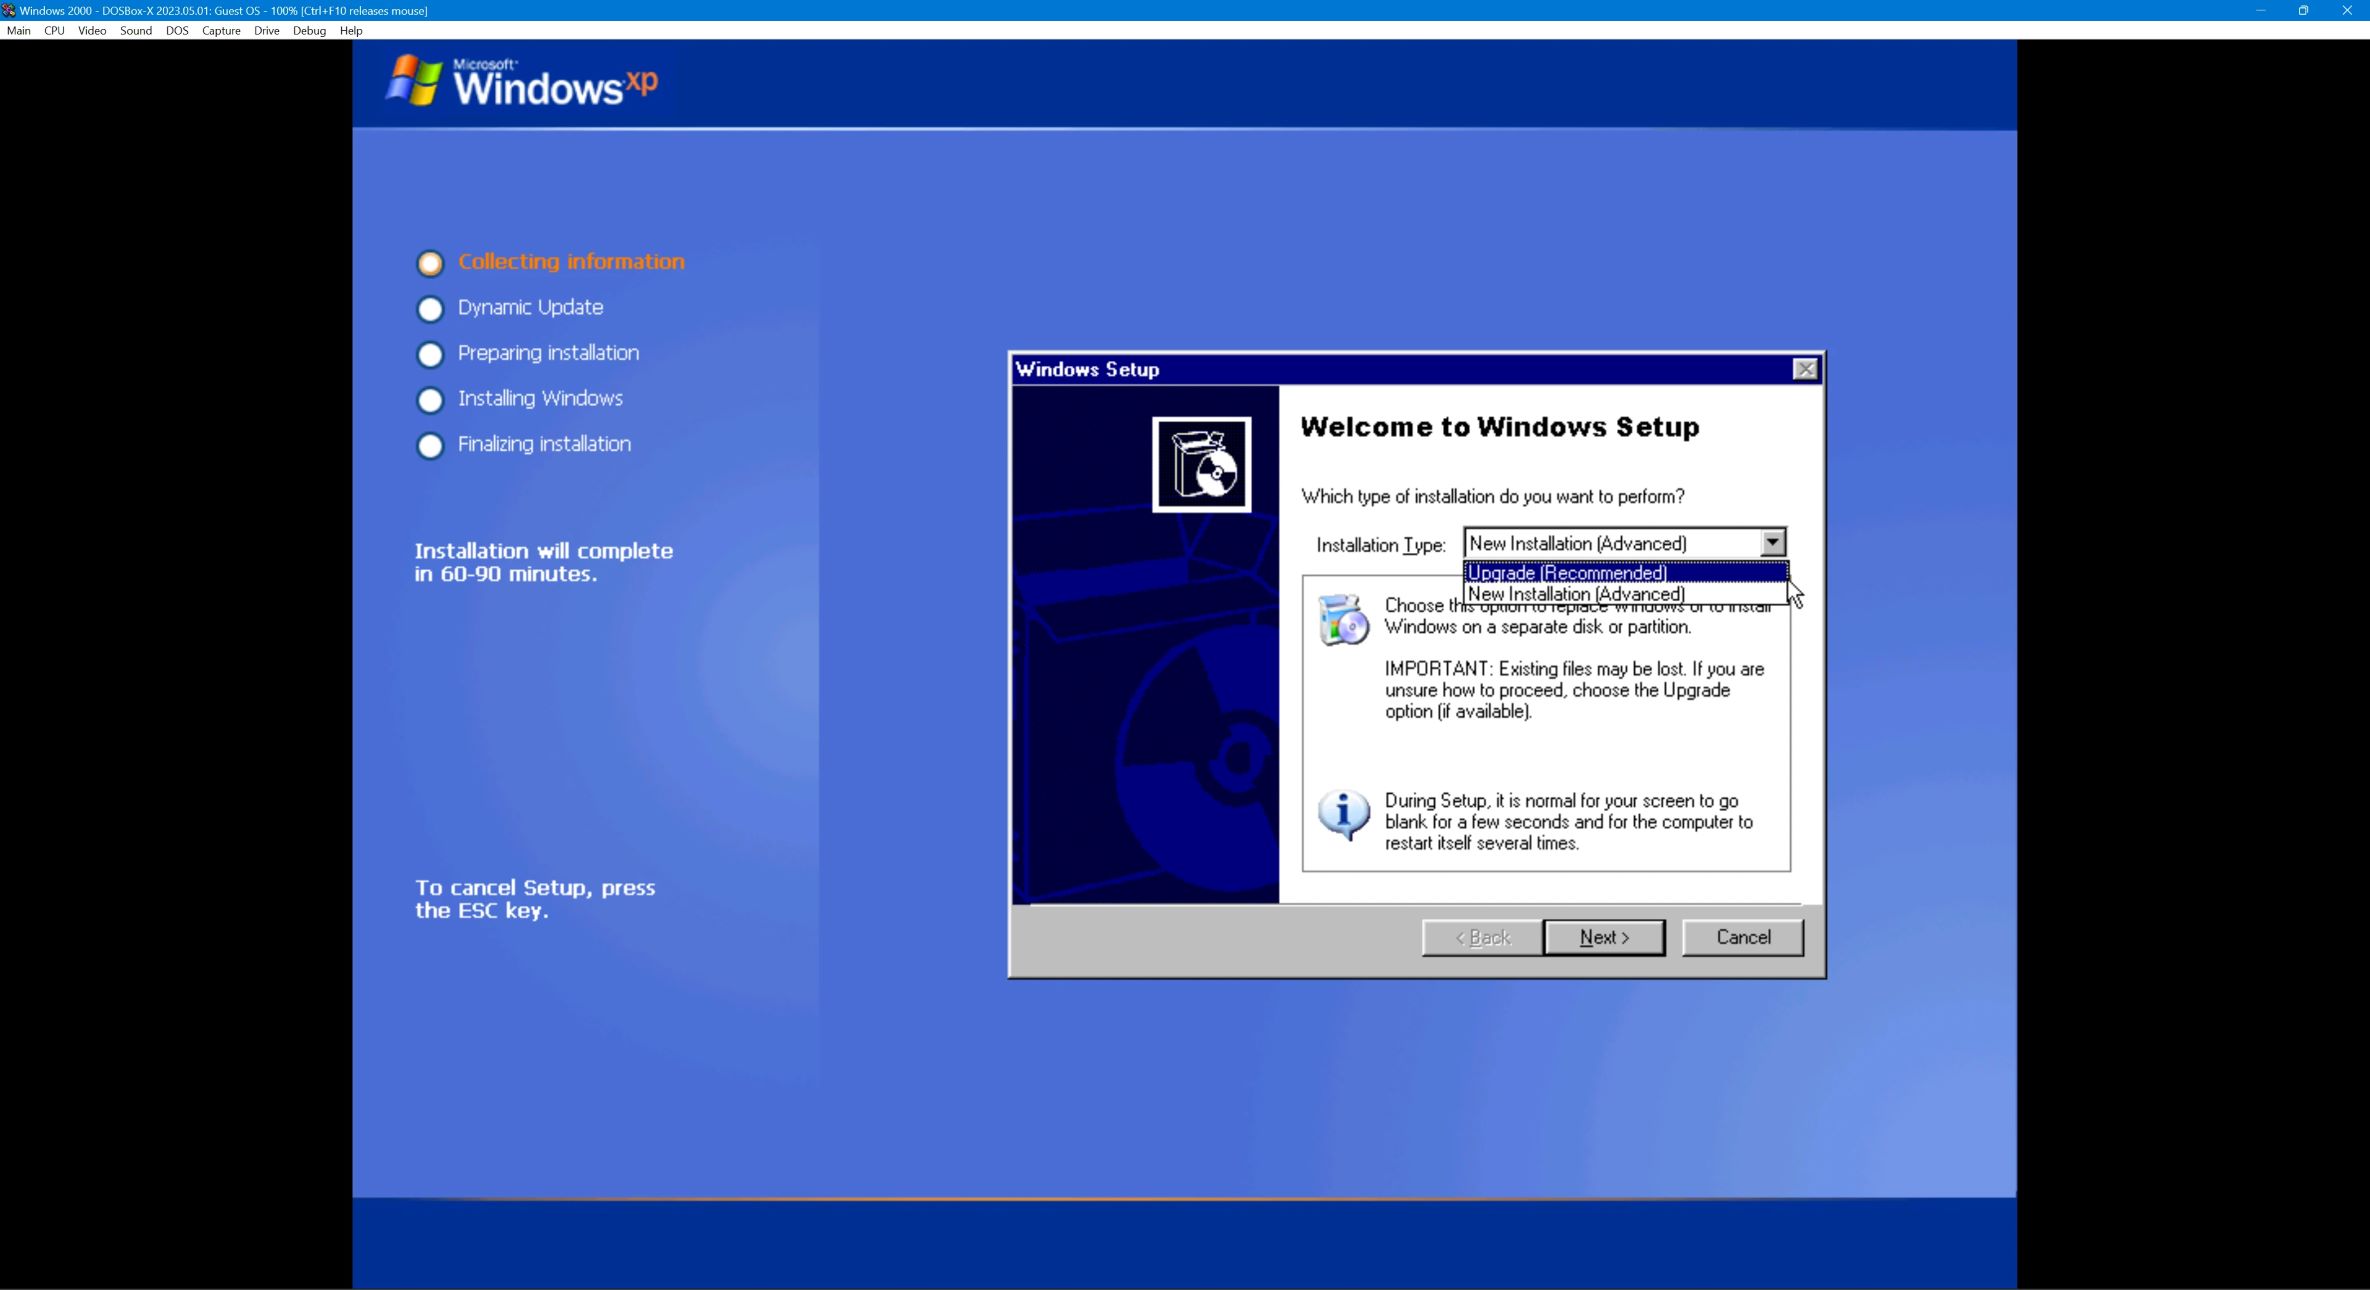
Step 5: Install Windows XP
With the partition formatted and prepared for installation, it’s time to install Windows XP on your computer. Follow these steps to successfully install the operating system:
- Windows XP setup screen: Once the partition has been formatted, you will return to the Windows XP setup screen.
- Begin the installation: On the setup screen, you will see the formatted partition listed. Use the arrow keys to select the partition and press the “Enter” key to begin the installation.
- Set up Windows XP: The installation process will now commence. You will be prompted to set up Windows XP by following a series of on-screen instructions. These instructions include selecting the installation location, entering the product key, and configuring regional and keyboard settings.
- Accept the license agreement: During the installation, you will come across the Microsoft Software License Agreement. Read through the agreement and select “I accept the agreement” to proceed with the installation.
- Choose the installation type: Windows XP offers two installation types: “Upgrade” and “Full.” If you are upgrading from a previous version of Windows, choose the Upgrade option to retain your current files and settings. If you want to perform a clean installation and start fresh, select the Full installation.
- Wait for the installation to complete: After making your installation type selection, Windows XP will begin to copy and install the necessary files onto the formatted partition. The progress will be displayed on the screen, and it may take some time to complete. Be patient and avoid interrupting the installation process.
- Restart your computer: Once the installation is finished, you will be prompted to restart your computer. Remove the Windows XP installation CD from the CD/DVD drive and follow the on-screen instructions to restart your system.
Congratulations! You have successfully installed Windows XP on your computer. The installation process may take some time, but once it’s complete, you can enjoy the features and benefits of this reliable operating system. The next step is to complete the installation process by following the on-screen prompts and setting up your user account.
Step 6: Complete the Installation Process
After you have installed Windows XP on your computer, there are a few remaining steps to complete the installation process and set up your system. Follow these steps to finalize the installation:
- Windows XP Welcome Screen: After your computer restarts, you will be greeted with the Windows XP Welcome screen. This screen will guide you through the final steps of the installation process.
- Create a User Account: On the Welcome screen, click on the “Next” button to proceed. You will then be prompted to create a user account. Enter your desired username and password, and follow the on-screen instructions to complete the account creation process.
- Configure Network Settings: Next, you will be given the option to configure your network settings. If you are connected to a network, choose “Typical settings” for most home or office networks. If you are unsure, you can choose “Custom settings” and manually configure your network later.
- Personalize Your Settings: Windows XP allows you to personalize your computer settings such as your desktop background, screen resolution, and theme. Select your preferred options and click on the “Next” button.
- Activate Windows XP: It is essential to activate your copy of Windows XP to ensure it is genuine and receive important updates. You can activate over the internet or by phone. Follow the on-screen instructions and provide the necessary information to activate your operating system.
- Install Windows Updates: Once you have activated Windows XP, it is recommended to install the latest updates to enhance security and performance. Connect to the internet and visit the Windows Update website to download and install the available updates.
- Install Device Drivers: After completing the installation process and updates, install any necessary device drivers for your hardware components, such as graphics cards, sound cards, and printers. Use the installation discs or download the drivers from the manufacturer’s website.
- Install Applications: Finally, reinstall any applications and software programs you had on your previous operating system. Use the installation discs or download the latest versions from the manufacturer’s website.
With these final steps, you have completed the installation process for Windows XP. Your computer is now ready to be fully utilized with all the features and functionalities the operating system offers. Take the time to personalize your settings, secure your system with updates, and install necessary drivers and applications that suit your needs.
Step 7: Install Necessary Drivers
After completing the installation of Windows XP and setting up your system, the next step is to install the necessary drivers for your hardware components. Drivers allow your operating system to communicate with and utilize the functionality of various devices connected to your computer. Here’s how you can install the necessary drivers:
- Identify the hardware components: Make a list of all the hardware components in your computer that require drivers. This may include your graphics card, sound card, network adapter, printer, and any other peripherals.
- Locate the driver software: Visit the websites of the hardware manufacturers or check the installation discs that came with your components. Look for the latest driver software available for your specific hardware model and download them to a folder on your computer.
- Install the drivers: Open the folder where you saved the downloaded driver files and double-click on each driver installer file. Follow the on-screen instructions provided by the driver installation wizard to complete the installation process. Repeat this process for each hardware component that requires a driver.
- Restart your computer: After installing all the necessary drivers, restart your computer to ensure that the changes take effect. This will allow your operating system to recognize and utilize the newly installed drivers.
- Verify driver installation: Once your computer restarts, check the Device Manager to verify that all the drivers are installed correctly. To access the Device Manager, right-click on the “My Computer” icon, select “Properties,” and navigate to the “Hardware” tab. Click on the “Device Manager” button to open the Device Manager and ensure there are no hardware components marked with a yellow exclamation mark, indicating a driver issue.
- Update drivers regularly: It is important to keep your drivers up to date to ensure optimal performance and compatibility with your hardware components. Check the manufacturer’s websites periodically for driver updates or use driver update software to automatically detect and install the latest drivers.
By following these steps, you can successfully install the necessary drivers for your hardware components after the Windows XP installation. Installing the correct drivers will enable your computer to function optimally and ensure the proper operation of your devices. Remember to regularly update your drivers to maintain the overall performance and stability of your system.
Conclusion
Congratulations, you have successfully completed the installation of Windows XP! By following the step-by-step guide outlined in this article, you have set up a stable and reliable operating system on your computer. From preparing for installation to installing necessary drivers, each step is crucial in ensuring a smooth and hassle-free experience.
Windows XP offers a user-friendly interface, stability, and compatibility with a wide range of software programs. It allows you to customize your settings, connect to networks, and utilize various hardware components to their full potential.
Remember to regularly update your system with the latest Windows XP updates and security patches to keep your computer protected and optimized. Additionally, stay up to date with the latest drivers for your hardware components to ensure optimal performance and compatibility.
Whether you’re setting up a new computer or upgrading from an older operating system, Windows XP continues to serve the needs of many users around the world. Take advantage of its features and enjoy a seamless computing experience.
Thank you for following this guide, and we hope you find success and satisfaction with your Windows XP installation!