Introduction
So, you’ve just purchased a shiny new computer running Windows 11, and now you’re faced with the task of transferring everything from your old computer. Don’t worry; we’re here to guide you through the process, step by step.
Transferring files, folders, applications, user profiles, and settings from an old computer to a new one can seem daunting, but it doesn’t have to be. With the right approach and tools, you can seamlessly migrate all your important data and settings to your new Windows 11 computer.
In this article, we will walk you through the various methods you can use to transfer everything from your old computer to your new computer running Windows 11. From transferring files and folders to migrating installed applications and browser data, we’ll cover it all.
By following the steps outlined in this guide, you’ll not only save time, but also ensure that all your important data and settings are transferred accurately and securely to your new system. So, let’s get started and make the transition to your new computer as smooth as possible.
Setting Up Your New Computer
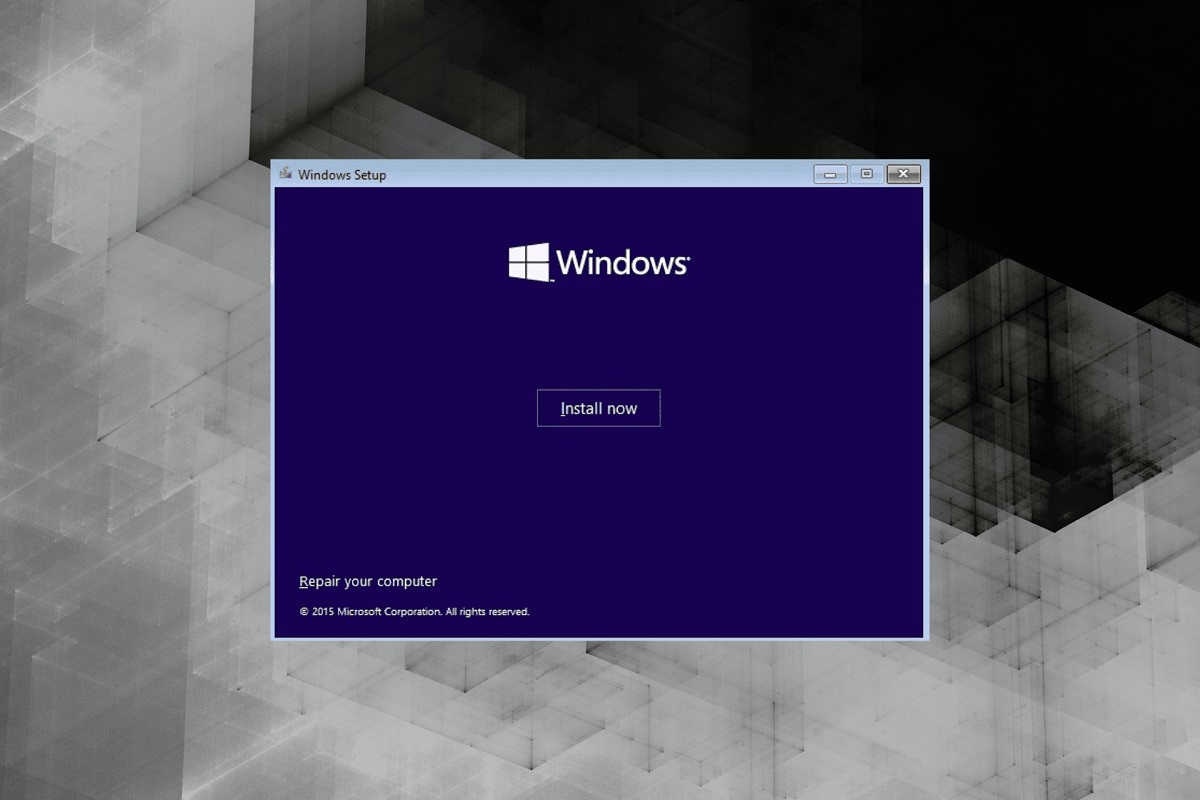
Before starting the transfer process, it’s essential to properly set up your new computer. This involves performing initial configurations and updates to ensure your system is ready for the migration process.
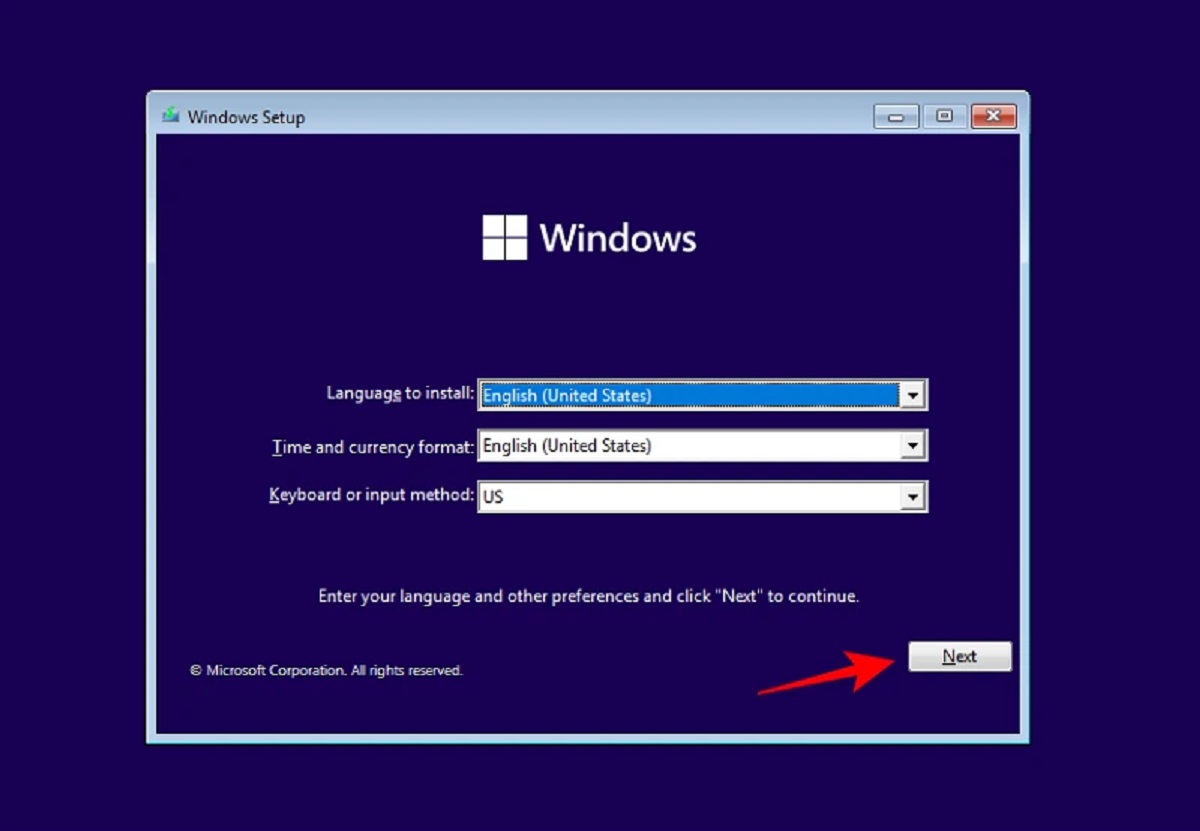
The first step is to connect your new computer to a power source and turn it on. Follow the on-screen instructions to complete the initial setup, including setting up a user account and connecting to your Wi-Fi network.
Once you’ve completed the basic setup, it’s crucial to update your Windows 11 operating system. Go to the Windows Start menu, click on the Settings gear icon, and navigate to the “Windows Update” section. Check for any available updates and install them. Updating your system will ensure you have the latest security patches and bug fixes.
In addition to updating your operating system, it’s advisable to install essential software such as antivirus, productivity tools, and media players. This step will help ensure that your new computer is ready to handle your day-to-day activities.
An important aspect of setting up your new computer is personalizing your desktop and system preferences. Customize your desktop background, screen resolution, and other visual settings according to your preferences. Take some time to explore and familiarize yourself with the Windows 11 interface.
Finally, it’s a good idea to create a system backup or restore point before proceeding with any data transfer. This backup will serve as an additional safety net in case any unexpected issues arise during the transfer process.
By following these steps and taking the time to properly set up your new computer, you’ll ensure a smooth and efficient transfer of data and settings from your old computer to your new Windows 11 system.
Transferring Files and Folders
When migrating to a new computer, one of the most crucial tasks is transferring your files and folders. Whether it’s important documents, cherished photos, or your favorite music collection, you’ll want to ensure that everything is successfully transferred to your new Windows 11 computer.
There are several methods you can use to transfer your files and folders:
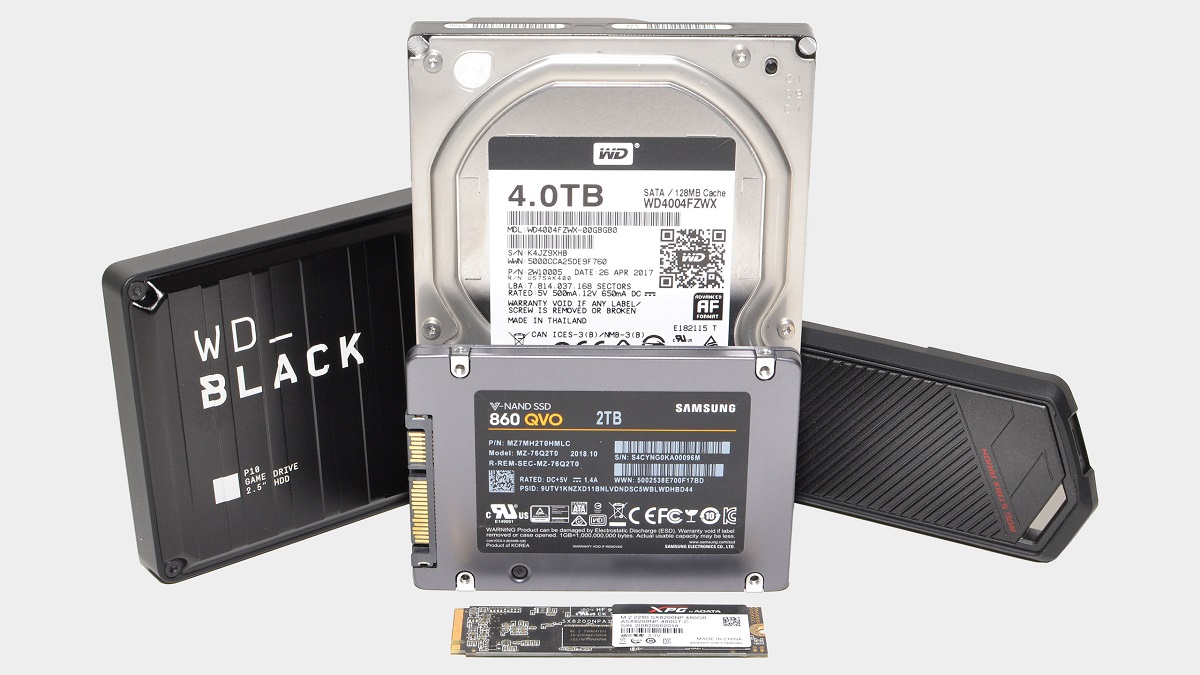
- External Storage Devices: Perhaps the easiest way to transfer your files is by using external devices such as USB flash drives or external hard drives. Simply copy and paste the files and folders you want to transfer from your old computer to the external device, and then connect the device to your new computer and transfer the files back.
- Network Transfer: If your old and new computers are connected to the same network, you can transfer files and folders over the network. Share the desired files and folders on your old computer, and then access them from your new computer by navigating to the Network section in File Explorer. Simply copy and paste the files to your new computer.
- Cloud Storage Services: With the increasing popularity of cloud storage services like Google Drive, Dropbox, and OneDrive, transferring files and folders has become more convenient than ever. Upload your files and folders to your preferred cloud storage service on your old computer, and then download them on your new computer. Make sure you have enough storage space and a stable internet connection.
- Data Transfer Cables: Some new computers come with specialized data transfer cables that allow you to directly connect your old and new computers. Follow the manufacturer’s instructions to establish a connection between the two devices and initiate the data transfer process.
Before initiating the file transfer, organize your files and folders on the old computer to make it easier to locate and transfer them. Be sure to also consider any hidden or system files that may be important.
Once the file transfer is complete, double-check that all your files and folders have transferred successfully. Open and verify a few random files to ensure they are intact. Remember to safely eject any external storage devices once the transfer is complete.
Transferring your files and folders is an essential step in migrating to your new Windows 11 computer. By choosing the method that suits you best, you’ll ensure a seamless transition to your new system without losing any important data.
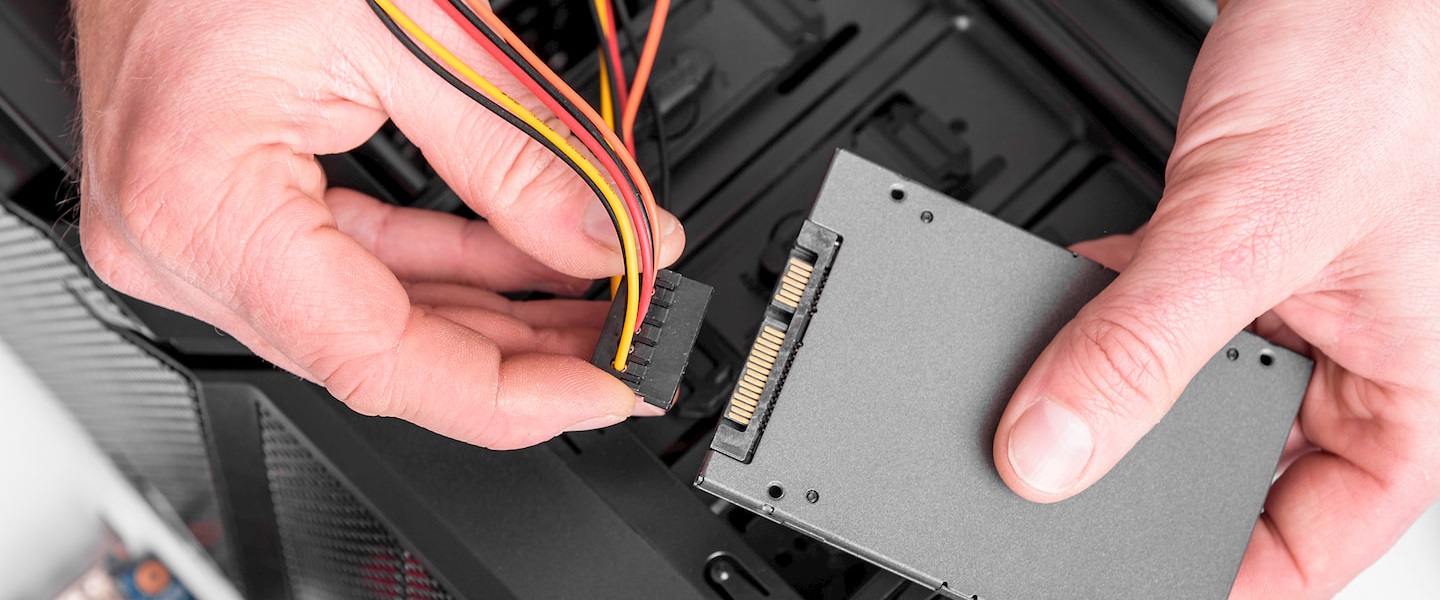
Using External Storage Devices
One of the most straightforward methods to transfer files and folders from your old computer to your new Windows 11 computer is by using external storage devices. Whether it’s a USB flash drive or an external hard drive, these devices provide a convenient and portable solution for transferring your data.
To transfer your files and folders using external storage devices, follow these steps:
- Connect the External Storage Device: Plug in your external storage device into a USB port on your old computer. Make sure it is recognized and accessible before proceeding.
- Select and Copy Files: Navigate to the files and folders you want to transfer on your old computer. You can select multiple files or folders by holding down the CTRL key while clicking on them. Right-click and choose the “Copy” option, or use the keyboard shortcut CTRL+C to copy the selected items.
- Paste to External Storage Device: Open the external storage device in File Explorer and right-click in the destination folder. Choose the “Paste” option, or use the keyboard shortcut CTRL+V to paste the copied files and folders to the external storage device.
- Eject the External Storage Device: Once the copying process is complete, safely eject the external storage device from your old computer. Right-click on the device’s icon in the system tray or navigate to the “Safely Remove Hardware” option in File Explorer to safely disconnect it.
- Connect the External Storage Device to the New Computer: Plug the external storage device into a USB port on your new Windows 11 computer. Ensure that it is recognized and accessible before proceeding to transfer the files and folders.
- Copy Files to New Computer: Open the external storage device in File Explorer on your new computer. Navigate to the destination folder where you want to transfer the files and folders. Right-click and choose the “Copy” option, or use the keyboard shortcut CTRL+C. Then, paste the copied files and folders to the designated folder by right-clicking and choosing the “Paste” option, or using the keyboard shortcut CTRL+V.
During the transfer process, it’s essential to be mindful of the available storage space on both the external storage device and your new computer. Make sure you have enough space to accommodate the files and folders you intend to transfer.
Using external storage devices is a convenient and reliable method for transferring files and folders to your new Windows 11 computer. By following these steps, you’ll ensure a successful and efficient migration of your data.
Transferring Installed Applications
When migrating to a new computer, transferring your installed applications can save you a lot of time and effort in reinstalling and reconfiguring them. While it’s not always possible to transfer all applications due to compatibility issues or licensing restrictions, there are several methods you can try to transfer as many applications as possible to your new Windows 11 computer.
Here are some methods you can use to transfer your installed applications:
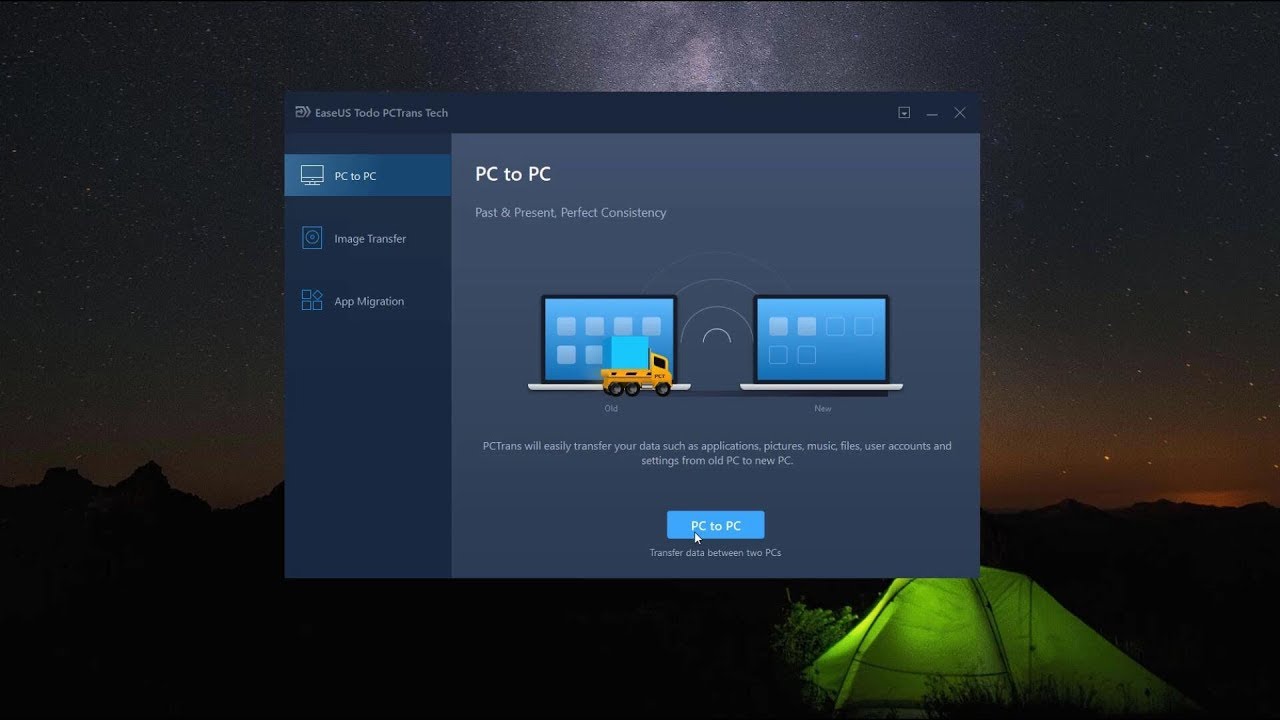
- Migration Tools: Some software developers provide migration tools specifically designed to transfer applications from one computer to another. These tools typically copy the necessary files and settings of the application, allowing you to install and run the transferred applications on your new computer. Check the developer’s website or documentation to see if such tools are available for your applications.
- Manually Backup and Restore: For applications that don’t have dedicated migration tools, you can manually back up their important files and settings from your old computer and restore them on your new computer. Look for application-specific folders in your user directory, such as the “AppData” folder, where application data is often stored. Copy these folders to an external storage device and then transfer them to the corresponding locations on your new computer.
- Reinstall from original installation files: If you still have the original installation files or setup executables for your applications, you can simply reinstall them on your new computer. Download installers from the official websites of the applications or use the installation media if you have it. Follow the installation instructions, input your registration details if necessary, and configure the applications as needed.
- Cloud-Based Applications: If you use cloud-based applications such as Microsoft Office 365, Adobe Creative Cloud, or Google Workspace, you can log in to your account on the new computer and install the applications from there. These applications are typically tied to your user account, allowing you to easily access them on different devices without the need to transfer any installation files or settings manually.
While transferring applications can be more time-consuming than simply reinstalling them, it can save you from the hassle of reconfiguring settings, entering registration details, and setting up preferences again. However, it’s important to note that not all applications can be transferred due to compatibility issues or licensing restrictions. In such cases, you will need to reinstall the applications from scratch on your new Windows 11 computer.
Prioritize the applications you use most frequently or those that are critical for your work or productivity. Make a list of the applications you want to transfer and explore the available options for each application.
By utilizing migration tools, manual backup and restore methods, or reinstalling from original installation files, you can successfully transfer a significant number of applications to your new Windows 11 computer and save valuable time during the migration process.
Transferring Browser Data
For most users, the browser is an integral part of their daily activities, making it essential to transfer browser data to their new computer. Whether it’s bookmarks, saved passwords, or browsing history, you’ll want your browsing experience to seamlessly continue on your new Windows 11 computer. Here’s how you can transfer browser data:
- Syncing via Account: Most modern browsers offer built-in syncing capabilities that allow you to synchronize your browsing data across devices. Ensure that you are signed in with the same account on both your old and new computers. Once signed in, your bookmarks, passwords, browsing history, and other data will automatically sync to your new computer. Check the browser’s settings to verify that syncing is enabled.
- Exporting and Importing Bookmarks: If syncing is not an option, you can manually export your bookmarks from your old browser and import them into your new browser. Open your old browser and look for the bookmark management feature. From the menu, select the option to export bookmarks. Save the exported file to an external storage device. Next, open your new browser, access the bookmark management feature, and import the saved bookmark file from the external storage device.
- Retrieving Saved Passwords: If your browser has saved passwords, you’ll want to transfer them to your new computer. Each browser has a different method of exporting and importing saved passwords. Look for the password management or security settings in your old browser and follow the instructions to export your passwords. Save the exported file on an external storage device. On your new computer, access the password management or security settings in your new browser and import the saved password file.
- Backing Up Browser Profile: In some cases, it may be necessary to transfer the entire browser profile from your old computer to your new computer. This includes all browser data, settings, extensions, and preferences. Locate the folder that contains your browser’s profile on your old computer, typically found in the user directory or the AppData folder. Copy the entire profile folder and transfer it to the corresponding location on your new computer. This method ensures that all your browser data is transferred seamlessly.
It’s worth noting that different browsers may have varying capabilities and methods for transferring data. Consult the documentation or help resources for your specific browser to ensure you are following the correct steps.
Transferring your browser data ensures that you have access to your favorite websites, essential bookmarks, and saved passwords on your new Windows 11 computer. By utilizing syncing features, exporting and importing bookmarks and passwords, or backing up and restoring your browser profile, you can seamlessly continue your browsing experience on your new system.
Transferring Email Accounts and Data
Transferring email accounts and data is essential for those who rely on email services for communication and business purposes. To ensure a seamless transition to your new Windows 11 computer, it’s crucial to transfer your email accounts and associated data. Here are some methods to consider:
- Using Webmail Services: If you primarily use webmail services such as Gmail, Outlook.com, or Yahoo Mail, transferring your email accounts and data is as simple as signing in to your account on your new computer. Webmail services store your emails, contacts, and settings in the cloud, so all you need to do is log in with your credentials to access your email account and complete the setup process.
- Email Client Migration: If you use an email client application like Microsoft Outlook, Mozilla Thunderbird, or Apple Mail, you’ll need to migrate your email accounts and data. Start by installing the same email client on your new computer. Next, export your email accounts’ settings and data from your old computer. In the email client’s settings or preferences, look for options to export or backup email accounts, contacts, and email folders. Save the exported file to an external storage device, and then import it into the email client on your new computer. This will restore your email accounts, folders, and associated data.
- IMAP or Exchange Server: If you use IMAP or Exchange server for your email accounts, your email data is synced and stored on the server. Simply configure your email client on your new Windows 11 computer with the same email account settings, and your emails, folders, and contacts will sync automatically. This method ensures that you have access to your complete email history and functionality without the need to transfer any data manually.
- Exporting and Importing Offline Email Files: Some email clients store emails and data offline in file formats such as PST (Microsoft Outlook) or MBOX (Thunderbird). Locate the email files or folders on your old computer and copy them to an external storage device. On your new computer, install the same email client application and import the saved email files or folders into the corresponding location. This will transfer your emails, folders, and other associated data to your new computer.
During the transfer process, it’s important to double-check the accuracy and completeness of your email data. After completing the transfer, test your email accounts on the new computer to ensure they are functioning correctly and that you can send and receive emails.
Transferring your email accounts and data to your new Windows 11 computer ensures uninterrupted access to your emails, contacts, and settings. Whether it’s using webmail services, migrating email clients, syncing with IMAP or Exchange server, or exporting and importing offline email files, choose the method that best suits your email setup.
Transferring User Profiles and Settings
Transferring user profiles and settings to your new Windows 11 computer is crucial for maintaining a consistent and personalized computing experience. By transferring your user profile, you can retain your desktop preferences, application settings, and customizations. Here are some methods to consider when transferring user profiles and settings:
- Windows Easy Transfer: If you’re upgrading from an older version of Windows, such as Windows 7 or Windows 8.1, you can use the Windows Easy Transfer tool. This tool allows you to transfer user accounts, files, folders, and personalized settings to your new Windows 11 computer. Look for the Windows Easy Transfer tool on your old computer and follow the instructions to create a transfer file. Save the file to an external storage device, and then use the same tool on your new computer to import the transfer file and complete the profile transfer.
- Microsoft Account: If you use a Microsoft account to sign in to both your old and new computers, many settings and preferences will automatically sync across devices. This includes personalization settings, desktop background, theme, browser favorites, and more. Ensure that your Microsoft account is signed in on both computers, and verify that syncing is enabled in the account settings.
- Manual Backup and Restore: For a more granular approach, you can manually back up specific user folders and settings from your old computer and restore them on your new computer. Identify the folders containing your personalized settings, such as the AppData or Documents folder, and copy them to an external storage device. On your new computer, paste the folders into the appropriate user directory. This will transfer your customizations and settings to the new system.
- Application Specific Settings: Some applications store their settings and preferences in specific locations outside of the user profile folder. If there are specific applications you want to transfer settings for, check the application documentation or support resources to identify the location of the settings files. Copy these files from your old computer to the corresponding location on your new computer to transfer the application-specific settings.
While transferring user profiles and settings can help maintain a familiar experience on your new Windows 11 computer, it’s important to note that not all settings and preferences can be transferred. Some applications or system configurations may require manual setup on the new computer.
After transferring the user profile and settings, take the time to review and verify that all customizations and preferences have transferred successfully. Test applications and settings to ensure they are working as expected on your new computer.
By using tools like Windows Easy Transfer, Microsoft account syncing, manual backup and restore methods, and transferring application-specific settings, you can seamlessly transfer your user profiles and settings to your new Windows 11 computer. This will help maintain a consistent and personalized computing experience on your new system.
Transferring Media Files
When migrating to a new computer, transferring your media files allows you to carry your favorite photos, videos, music, and other media to your new Windows 11 system. Here are some methods you can use to transfer your media files:
- External Storage Devices: External hard drives, USB flash drives, or memory cards offer a simple and direct way to transfer media files. Connect the external storage device to your old computer and copy the files and folders containing your media. Once the transfer is complete, connect the external storage device to your new computer and copy the files to the desired location.
- Home Network: If both your old and new computers are connected to the same home network, you can transfer media files over the network. Share the folders containing your media files on your old computer and access them from your new computer. You can use the built-in network browsing functionality in Windows or third-party file sharing applications to transfer the files.
- Cloud Storage Services: Cloud storage services like Google Drive, Dropbox, or OneDrive provide convenient options for transferring media files. Upload your media files from your old computer to your cloud storage account, and then access and download them onto your new computer. Ensure that you have enough storage space in your cloud storage account and a stable internet connection for seamless file transfer.
- Media Devices: If you have media files stored on devices such as smartphones, tablets, or digital cameras, you can transfer them directly to your new computer. Connect the media device to your old computer, locate the files, and copy them to your computer. Then, connect the media device to your new computer and copy the files to the desired location.
Before transferring media files, it’s a good idea to organize them into folders on your old computer. This will make it easier to locate and transfer specific files or categories.
Verify the successful transfer of your media files by testing a few random files on your new computer. Depending on your media player or software, you may need to update file paths for media libraries or playlists to ensure seamless playback.
Transferring media files ensures that you have all your cherished photos, videos, and music on your new Windows 11 computer. Whether using external storage devices, home networks, cloud storage services, or direct device connections, choose the method that suits your preferences and the size of your media collection.
Finalizing the Transfer
Once you have completed the transfer of your files, folders, applications, settings, and media to your new Windows 11 computer, there are a few final steps to take to ensure everything is in order and your new system is ready for use.
- Double-Check Data Integrity: It is crucial to verify that all the transferred data is intact and accessible. Take some time to browse through your files, open documents, play media files, and test applications to ensure they are working correctly. If you notice any missing or corrupted files, go back to the source and transfer them again.
- Install Necessary Updates: Check for and install any pending updates for your Windows 11 operating system, as well as updates for the applications you transferred. Keeping your system up-to-date is essential for security and performance purposes, so make sure you have the latest software versions installed on your new computer.
- Configure Privacy and Security Settings: Review and adjust the privacy and security settings on your new Windows 11 computer according to your preferences. Configure options such as firewall settings, antivirus software, automatic software updates, and privacy controls to ensure your new system is protected.
- Set Up Backup and Recovery: Implement a backup and recovery system to safeguard your important files and settings on your new computer. Windows 11 offers built-in backup options, such as File History and System Restore, which can help you recover from unforeseen events. Set up a regular backup schedule and configure the necessary options to protect your data.
- Organize and Customize: Take some time to organize your files into folders, customize your desktop background and themes, and set up shortcuts and bookmarks in your applications and web browsers. This will help you settle into your new Windows 11 environment and make it feel familiar and personalized.
Once you have completed these final tasks, you can begin using your new Windows 11 computer to its full potential. Enjoy the improved features, enhanced performance, and updated interface that Windows 11 provides.
Remember to keep your old computer in a safe place for some time, in case you need to retrieve any additional data or settings that may not have been initially transferred. It’s always a good idea to maintain a backup of your old computer for a period, just in case.
With the transfer completed and your new computer set up to your liking, you can now embrace the exciting possibilities that your new Windows 11 system offers.
Conclusion
Transferring everything from your old computer to your new Windows 11 computer can seem like a daunting task, but with the right approach and tools, it can be a smooth and efficient process. By following the steps outlined in this guide, you can successfully transfer your files, folders, applications, settings, and media to your new system, ensuring a seamless transition and continuity of your digital life.
Throughout the transfer process, it’s important to double-check the integrity of your data, verify that all transferred files and settings are intact, and test applications and media for proper functionality. Taking these steps will help ensure that no important data is left behind and that you can continue working, creating, and enjoying your media seamlessly on your new Windows 11 computer.
Remember to make full use of the available tools and methods to transfer your data. Whether it’s using external storage devices, utilizing cloud storage services, syncing accounts, or manually backing up and restoring data, choose the methods that work best for your specific needs and preferences.
Once the transfer is complete, finalize the setup on your new computer by installing updates, configuring privacy and security settings, setting up backups, and customizing the system to your liking. Take the time to organize your files, personalize your desktop, and ensure that your new system is tailored to your preferences.
Migrating to a new Windows 11 computer is an opportunity to embrace new features, enhanced performance, and a fresh computing experience. With a smooth and successful transfer of your data, you can start exploring the capabilities of Windows 11 and make the most of your new system.
Embrace the future and enjoy all that your new Windows 11 computer has to offer!