Introduction
Upgrading to a new SSD (Solid State Drive) is a great way to boost the performance and speed of your computer. Whether you’re looking to replace an old hard drive or simply need more storage space, transferring your data to a new SSD can be a straightforward process if you follow the right steps. By doing it correctly, you can ensure that all your files, applications, and settings are seamlessly transferred to the new drive without any hassle.
In this guide, we’ll explore various methods to transfer your data to a new SSD. We’ll cover steps like backing up your data, choosing the right SSD, and different techniques to clone or transfer your files. Additionally, we’ll discuss restoring your data to the new SSD, updating your system and drivers, and ensuring a smooth transition from your old drive to the new one.
By following the steps outlined in this guide, you’ll be well-equipped to transfer your data to a new SSD and enjoy the improved performance and reliability that a solid-state drive can provide. So let’s dive in and explore the best methods to make the transfer process as seamless as possible.
Backup Your Data
Before transferring your data to a new SSD, it’s crucial to back up all your files and important data. This step ensures that your data is safe and can be easily restored in case anything goes wrong during the transfer process. There are several methods you can use to back up your data, depending on your preferences and available resources.
One simple method is to manually copy your files to an external storage device, such as a USB drive or an external hard drive. Connect the device to your computer and use the file explorer or backup software to copy your important files and folders. This method allows for greater control over the backup process and gives you the flexibility to choose which files to include.
Another option is to use cloud storage services like Google Drive, Dropbox, or OneDrive. These services offer secure online storage that can be accessed from any device with an internet connection. Simply upload your files to the cloud and ensure that they are fully synchronized before proceeding with the SSD transfer. This method provides the advantage of automatic backup and the ability to access your files from anywhere.
If you prefer a more comprehensive backup solution, you can utilize disk imaging software. This software creates a complete image of your hard drive, including the operating system, applications, and files. By creating a disk image, you can easily restore your entire system to its previous state if needed. Disk imaging software, such as Macrium Reflect or Acronis True Image, provides advanced features and allows for scheduled backups for added convenience.
Regardless of the method you choose, it’s essential to double-check that all your important data and files are successfully backed up before proceeding with the transfer. Once you have confirmed the backup, you can proceed with confidence to the next step, which is choosing the right SSD for your needs.
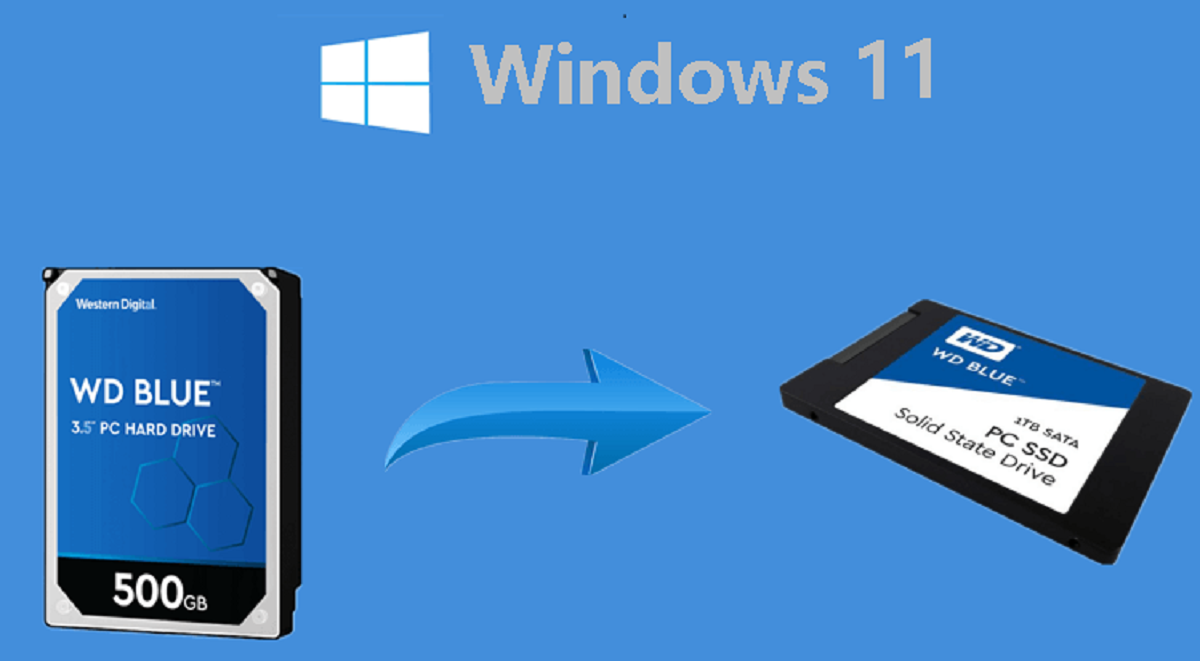
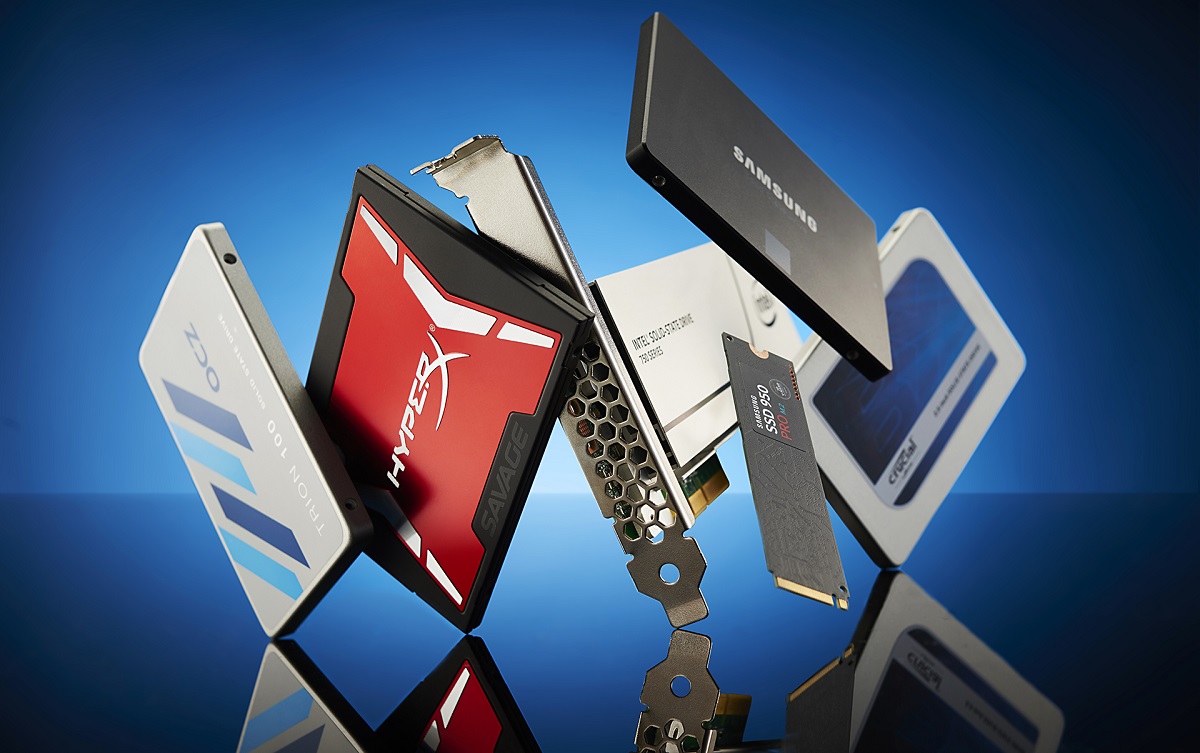
Choose the Right SSD
When transferring data to a new SSD, it’s important to choose the right drive that suits your needs and preferences. There are a few factors to consider when selecting an SSD for your computer.
The first consideration is the storage capacity. Determine how much storage space you require based on the size of your current drive and the amount of data you plan to transfer. SSDs come in various capacities, ranging from 120GB to several terabytes. It’s advisable to choose a drive with slightly larger capacity than your current drive to accommodate future data growth.
Next, consider the form factor of the SSD. Determine whether your computer supports 2.5-inch, M.2, or PCIe NVMe SSDs. Check your computer’s specifications or consult the manufacturer’s documentation to ensure compatibility. Additionally, verify the interface requirements, such as SATA or PCIe, to ensure seamless connectivity and optimal performance.
Another key factor to consider is the read and write speeds of the SSD. Higher speeds result in faster data transfer rates, which translate to quicker system boot times and file access. Look for SSDs with faster read and write speeds to maximize the performance benefits of the solid-state drive.
Reliability is also essential when selecting an SSD. Look for drives from reputable manufacturers with a good track record and positive user reviews. This ensures that the SSD is built with quality components and has undergone rigorous testing for durability and reliability.
Finally, consider your budget. SSD prices vary based on capacity and performance. Determine your budget range and explore options within that range that meet your requirements. It’s worth noting that investing in a high-quality SSD can provide long-term performance benefits and result in a smoother data transfer process.
By carefully considering these factors, you can choose an SSD that fits your needs, provides ample storage space, delivers fast performance, and ensures the reliability and compatibility required for a successful data transfer. Once you have selected the right SSD, you can proceed to the next step, which is cloning your old drive to the new SSD.
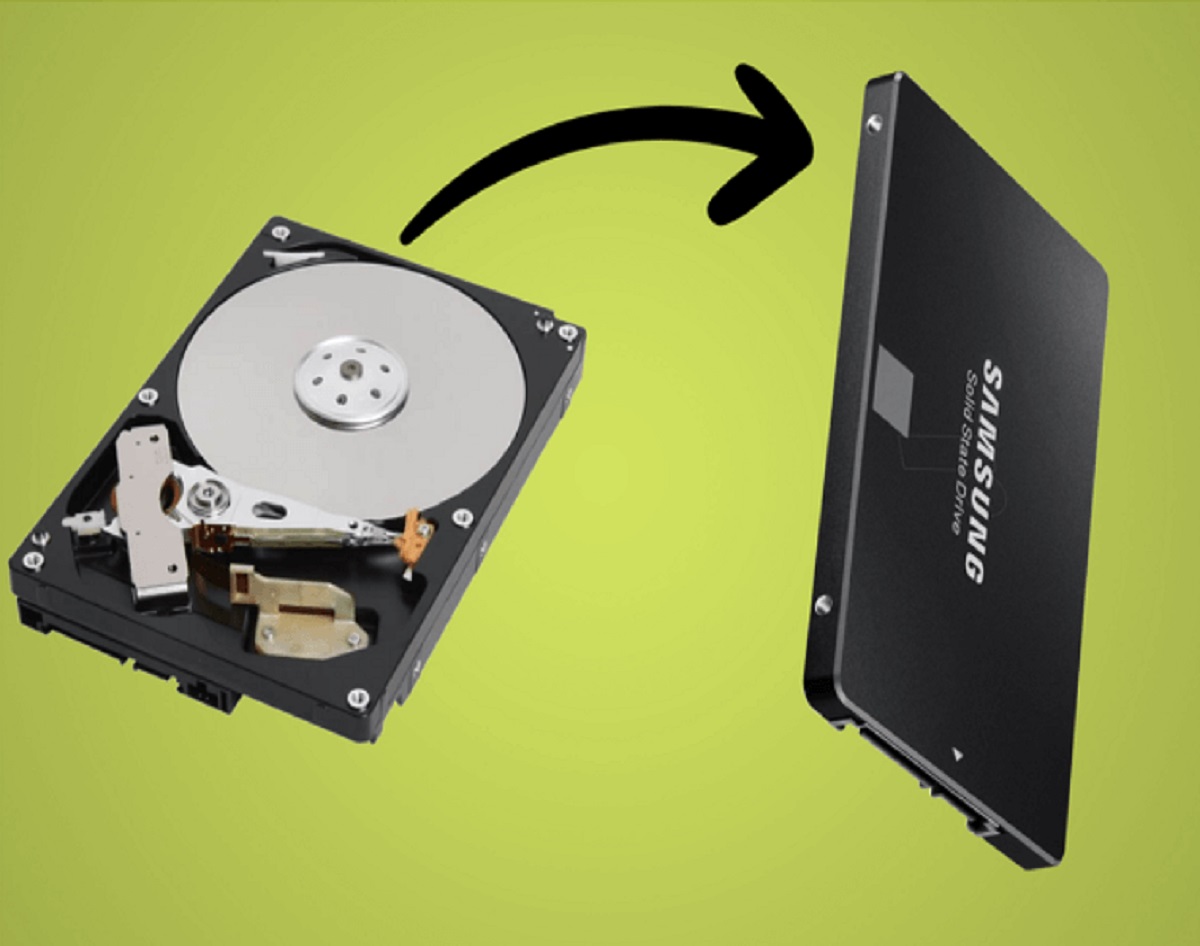
Clone Your Old Drive
One of the most popular and efficient methods to transfer data to a new SSD is by cloning your old drive. Cloning creates an exact copy of your existing drive, including the operating system, applications, and files, and transfers it to the new SSD. This method ensures that you have a seamless transition to your new drive without the need to reinstall the operating system or your software.
To clone your old drive, you’ll need cloning software. There are several options available, both free and paid, that offer user-friendly interfaces and reliable cloning capabilities. Some popular choices include EaseUS Todo Backup, Clonezilla, and Macrium Reflect. Download and install the cloning software of your choice and ensure that both your old drive and new SSD are connected to your computer.
Launching the cloning software, you’ll be guided through a series of steps to select the source drive (your old drive) and the destination drive (the new SSD). Pay close attention to these selections to avoid overwriting or deleting any important data. Once you’ve confirmed the source and destination drives, you can initiate the cloning process.
The time it takes to clone the drive depends on the size of your old drive and the speed of your computer. During the cloning process, it’s essential to refrain from using your computer to avoid any potential data corruption or interruption to the cloning process. It’s best to let the process run uninterrupted until it’s completed.
Once the cloning process is finished, you can power down your computer and disconnect the old drive. Replace it with the new SSD and power on your computer. If the cloning process was successful, your computer should boot up from the new SSD, and you’ll have access to all your files, applications, and settings, just as they were on your old drive.
It’s important to note that the cloning process may not be suitable for all situations. If your old drive is larger than the capacity of the new SSD, you’ll need to resize or remove unnecessary data before cloning. Additionally, if you need a fresh installation of the operating system or prefer a clean slate, other methods, such as a fresh installation or data transfer, might be more suitable.
By cloning your old drive to the new SSD, you ensure a smooth transfer of your data and settings while preserving the existing system configuration. This method saves time and effort by eliminating the need for reinstalling the operating system and software, making it an efficient and convenient choice. Once you have successfully cloned your old drive to the new SSD, you can proceed to the next step, which is updating your system and drivers for optimal performance.
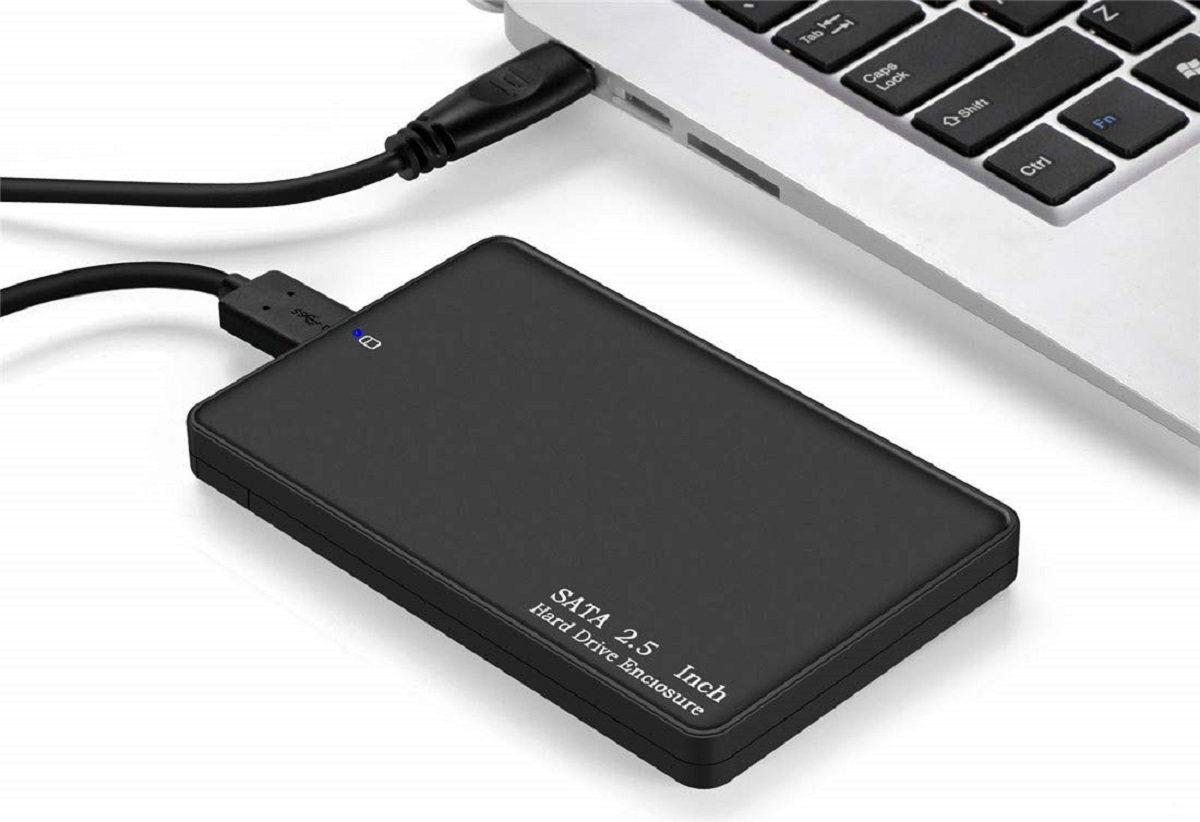
Use a Data Transfer Cable
If you don’t want to clone your old drive or if you’re unable to do so, another method to transfer your data to a new SSD is by using a data transfer cable. This method allows you to connect your old drive directly to the new SSD, enabling a direct transfer of files and folders. It’s a straightforward process that requires a few simple steps.
To use a data transfer cable, you’ll need a USB to SATA/IDE cable or a SATA docking station, depending on the type of connectors present on your old drive. These cables or docking stations can be easily found online or at local electronics stores. Once you have the necessary equipment, follow these steps to transfer your data:
1. Shutdown your computer and unplug it from the power source.
2. Connect the data transfer cable or docking station to an available USB port on your computer.
3. Connect your old drive to the data transfer cable or docking station.
4. Plug in the power supply for the data transfer cable or docking station (if required).
5. Power on your computer and wait for it to detect the connected drive.
6. Open the file explorer or other file management software on your computer.
7. Locate your old drive in the file explorer and navigate to the files and folders you want to transfer.
8. Select the files and folders you want to transfer and copy them to a temporary location on your computer.
9. Disconnect the old drive from the data transfer cable or docking station.
10. Connect the new SSD to the data transfer cable or docking station.
11. Copy the files and folders from the temporary location on your computer to the new SSD.
12. Once the transfer is complete, safely disconnect the new SSD from the data transfer cable or docking station.
Using a data transfer cable provides a simple and direct method to transfer your data to a new SSD. However, it involves manually selecting and copying files, which can be time-consuming and may require some organizational effort. Additionally, you’ll need to reinstall the operating system and applications on the new SSD separately.
If you have a large amount of data or prefer a more automated process, you might consider using file transfer software or a cloud storage service for your data transfer needs. These methods offer greater convenience for transferring larger volumes of data and can minimize the risk of human error during the transfer process.
By utilizing a data transfer cable, you can efficiently transfer your data from your old drive to a new SSD. Once the transfer is complete, you can proceed to the next step, which is restoring your data to the new SSD and ensuring that everything is properly set up for optimal performance.
Use File Transfer Software
If you have a large amount of data to transfer or prefer a more automated process, using file transfer software can streamline the process of transferring your data to a new SSD. File transfer software allows you to select specific files and folders, and it handles the transfer process automatically, ensuring a smooth and efficient data transfer experience.
There are several file transfer software options available, both free and paid, that offer a range of features and functionalities. Some popular choices include EaseUS Todo PCTrans, PCmover, and GoodSync. These programs provide a user-friendly interface and guide you through the steps necessary for transferring your files and folders from the old drive to the new SSD.
To use file transfer software, follow these steps:
1. Download and install the file transfer software of your choice on your computer.
2. Launch the software and follow the on-screen instructions to set up the transfer process.
3. Select the files and folders you want to transfer from your old drive to the new SSD.
4. Verify the transfer settings, such as destination location and transfer options.
5. Initiate the transfer process and allow the software to perform the data transfer.
6. Monitor the progress of the transfer to ensure it completes successfully.
7. Once the transfer is complete, disconnect your old drive and connect the new SSD to your computer.
8. Verify that the transferred files and folders are intact and accessible on the new SSD.
File transfer software offers advantages such as the ability to transfer large volumes of data quickly and efficiently. These programs often have advanced features like selective transfers, data synchronization, and the ability to transfer settings and preferences from your old drive to the new SSD.
It’s important to note that when using file transfer software, you’ll still need to reinstall your operating system and applications on the new SSD separately. The software primarily transfers your data and files, ensuring that your important documents, media files, and personal files are successfully migrated to the new drive.
By using file transfer software, you can simplify the process of transferring your data to a new SSD, especially when dealing with a large amount of data. The software handles much of the work for you, saving time and ensuring a smooth transition to your new drive.
Once the data transfer is complete, you can proceed to the next step, which involves restoring your data from the software to the new SSD and making any necessary updates to your system and drivers.
Use a Cloud Storage Service
If you want a convenient and flexible way to transfer your data to a new SSD, using a cloud storage service can be an excellent option. Cloud storage services offer secure online storage that can be accessed from any device with an internet connection. By uploading your files to the cloud, you can seamlessly transfer them to a new SSD and access them from anywhere, ensuring data availability and convenience.
To use a cloud storage service for transferring your data to a new SSD, follow these steps:
1. Create an account with a cloud storage service of your choice, such as Google Drive, Dropbox, or OneDrive.
2. Install the desktop application associated with the cloud storage service on your computer.
3. Sign in to the desktop application using your cloud storage account credentials.
4. Sync your files and folders from your old drive to the cloud storage service.
5. Wait for the data synchronization process to complete, ensuring that all your files are uploaded to the cloud.
6. Once the synchronization is finished, disconnect your old drive from your computer.
7. Connect the new SSD to your computer and install the desktop application associated with the cloud storage service on the new drive.
8. Sign in to the desktop application using your cloud storage account credentials on the new SSD.
9. Allow the desktop application to sync and download your files from the cloud storage service to the new SSD.
10. Verify that all your files and folders are accessible on the new SSD.
Using a cloud storage service for data transfer offers several benefits. Firstly, it eliminates the need for physical connections or external devices, as the transfer takes place over the internet. This means you can easily transfer your data to a new SSD even if the drives are not physically connected to the same computer. Secondly, cloud storage services provide secure encryption protocols, ensuring the safety of your data during the transfer process. Thirdly, once your data is in the cloud, you can access it from any device with an internet connection, giving you flexibility and convenience.
However, it’s important to consider factors like internet speed and data transfer limitations when using cloud storage services. Large data volumes may require longer upload and download times, and some services may impose data caps or charge for additional storage beyond a specified limit. It’s advisable to review the terms and conditions of the cloud storage service to ensure it meets your requirements.
By utilizing a cloud storage service, you can seamlessly transfer your data to a new SSD while enjoying the benefits of secure storage and easy accessibility. Once the data transfer is complete, you can proceed to the next step, which involves restoring your data from the cloud storage service to the new SSD and updating your system and drivers.
Restore Data to the New SSD
Once you have successfully transferred your data to the new SSD, the next step is to restore the data from the backup or transfer source to the new drive. Depending on the method you used to transfer the data, there are different restoration processes to follow.
If you cloned your old drive to the new SSD, there is no additional restoration required. The new SSD should contain an exact copy of your old drive, including the operating system, applications, and files. Simply disconnect the old drive, connect the new SSD as the primary drive, and power on your computer. The system should boot up from the new SSD, and you can access all your files and settings as they were on your old drive.
If you used a data transfer cable or file transfer software, you’ll need to restore the data from the backup location to the new SSD. Follow these steps to restore your data:
1. Power down your computer and connect the new SSD as the primary drive.
2. Power on your computer and ensure that the new SSD is recognized by the system.
3. Install the operating system on the new SSD if you haven’t done so already.
4. Install any necessary drivers for the new SSD to ensure optimal performance.
5. If you used a data transfer cable, copy the files and folders from the temporary location on your computer to the new SSD.
6. If you used file transfer software, follow the software’s instructions to restore the data to the new SSD.
7. Double-check that all your files, applications, and settings are intact and accessible on the new SSD.
After restoring the data to the new SSD, it’s important to ensure that everything is in working order. Test your applications, open your files, and verify that all your settings are correct. Additionally, it’s recommended to run a disk cleanup and optimization process on the new SSD to ensure optimal performance and free up any unnecessary space.
If you encounter any issues during the data restoration process or find that something is missing or not working correctly, it may be necessary to troubleshoot the problem or seek assistance from technical support or a professional computer technician.
Once you have successfully restored your data to the new SSD and verified that everything is functioning as expected, you can proceed to the final step, which is updating your system and drivers to ensure compatibility and optimal performance.
Update Your System and Drivers
After transferring your data to a new SSD, it’s important to update your operating system and drivers to ensure compatibility and optimal performance. Updating your system and drivers can help resolve any compatibility issues and ensure that your computer is equipped with the latest software enhancements, bug fixes, and security patches.
To update your system, follow these steps:
1. Connect your computer to the internet to access the latest updates.
2. For Windows users, click on the Start menu and open the Settings app. Navigate to the “Update & Security” section and click on “Check for Updates.” Install any available updates for your operating system.
3. For macOS users, click on the Apple menu and open “System Preferences.” Select “Software Update” to check for and install any available updates.
4. Allow your computer to download and install the updates. This process may take some time, depending on the size and number of updates available.
5. Restart your computer if prompted to complete the installation process.
In addition to updating your operating system, it’s important to update your drivers. Drivers are software components that enable communication between your computer’s hardware and software. Updated drivers can improve hardware performance, fix compatibility issues, and enhance system stability. Here’s how to update your drivers:
1. Identify the hardware components that require driver updates. This may include your graphics card, network card, sound card, and other peripherals.
2. Visit the manufacturer’s website for each hardware component and search for the latest driver updates for your specific model.
3. Download the updated drivers and follow the instructions provided by the manufacturer for installation.
4. Repeat this process for each hardware component that requires an update.
5. Restart your computer after installing the driver updates, if necessary.
Regularly updating your system and drivers is essential to keep your computer running smoothly and to ensure compatibility with new software and hardware. By staying up to date, you can optimize the performance of your new SSD and avoid potential issues that may arise from outdated system files or incompatible drivers.
If you encounter any difficulties during the update process or need assistance, consult the documentation provided by the operating system and hardware manufacturers or seek support from their respective customer service channels.
Once you have successfully updated your system and drivers, you can enjoy the improved performance and reliability of your new SSD. Take the time to explore the features and capabilities of your SSD, and make any necessary adjustments or configurations to optimize its usage based on your specific needs. Congratulations on successfully transferring your data to a new SSD!
Conclusion
Transferring your data to a new SSD can greatly enhance the performance and speed of your computer. By following the appropriate steps and methods, you can ensure a smooth and successful transfer that preserves your files, applications, and settings.
In this guide, we discussed several methods for transferring data to a new SSD, including cloning your old drive, using a data transfer cable, employing file transfer software, and utilizing a cloud storage service. Each method offers its own advantages and considerations, so choose the one that best suits your needs and preferences.
Remember to backup your data before any data transfer, as this ensures you have a copy of your files in case anything goes wrong during the process. Additionally, selecting the right SSD for your needs is crucial, considering factors such as storage capacity, form factor, read and write speeds, and reliability.
Cloning your old drive or using a data transfer cable can provide a direct and efficient transfer of data, while file transfer software and cloud storage services offer convenience and automation. After transferring your data, restore it to the new SSD and update your system and drivers to ensure optimal performance and compatibility.
Throughout the process, it’s important to troubleshoot any issues, seek assistance when needed, and stay patient. Data transfer to a new SSD can bring significant performance improvements to your computer, so the effort is well worth it.
By following these steps and considering the guidance provided in this guide, you can confidently transfer your data to a new SSD and enjoy faster speeds, improved reliability, and an overall enhanced computing experience. Embrace the power of your new SSD and make the most of its capabilities to boost your productivity and enjoyment.
So, go ahead and take the necessary steps to transfer your data to a new SSD. Enjoy the benefits of improved performance and storage space as you experience the speed and efficiency of your upgraded system.