Introduction
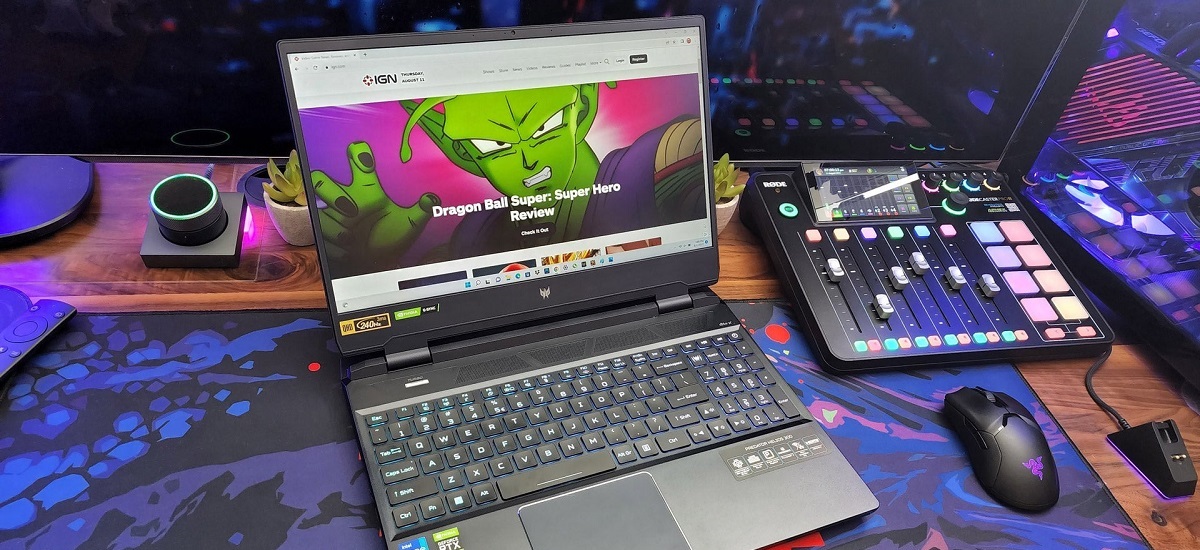
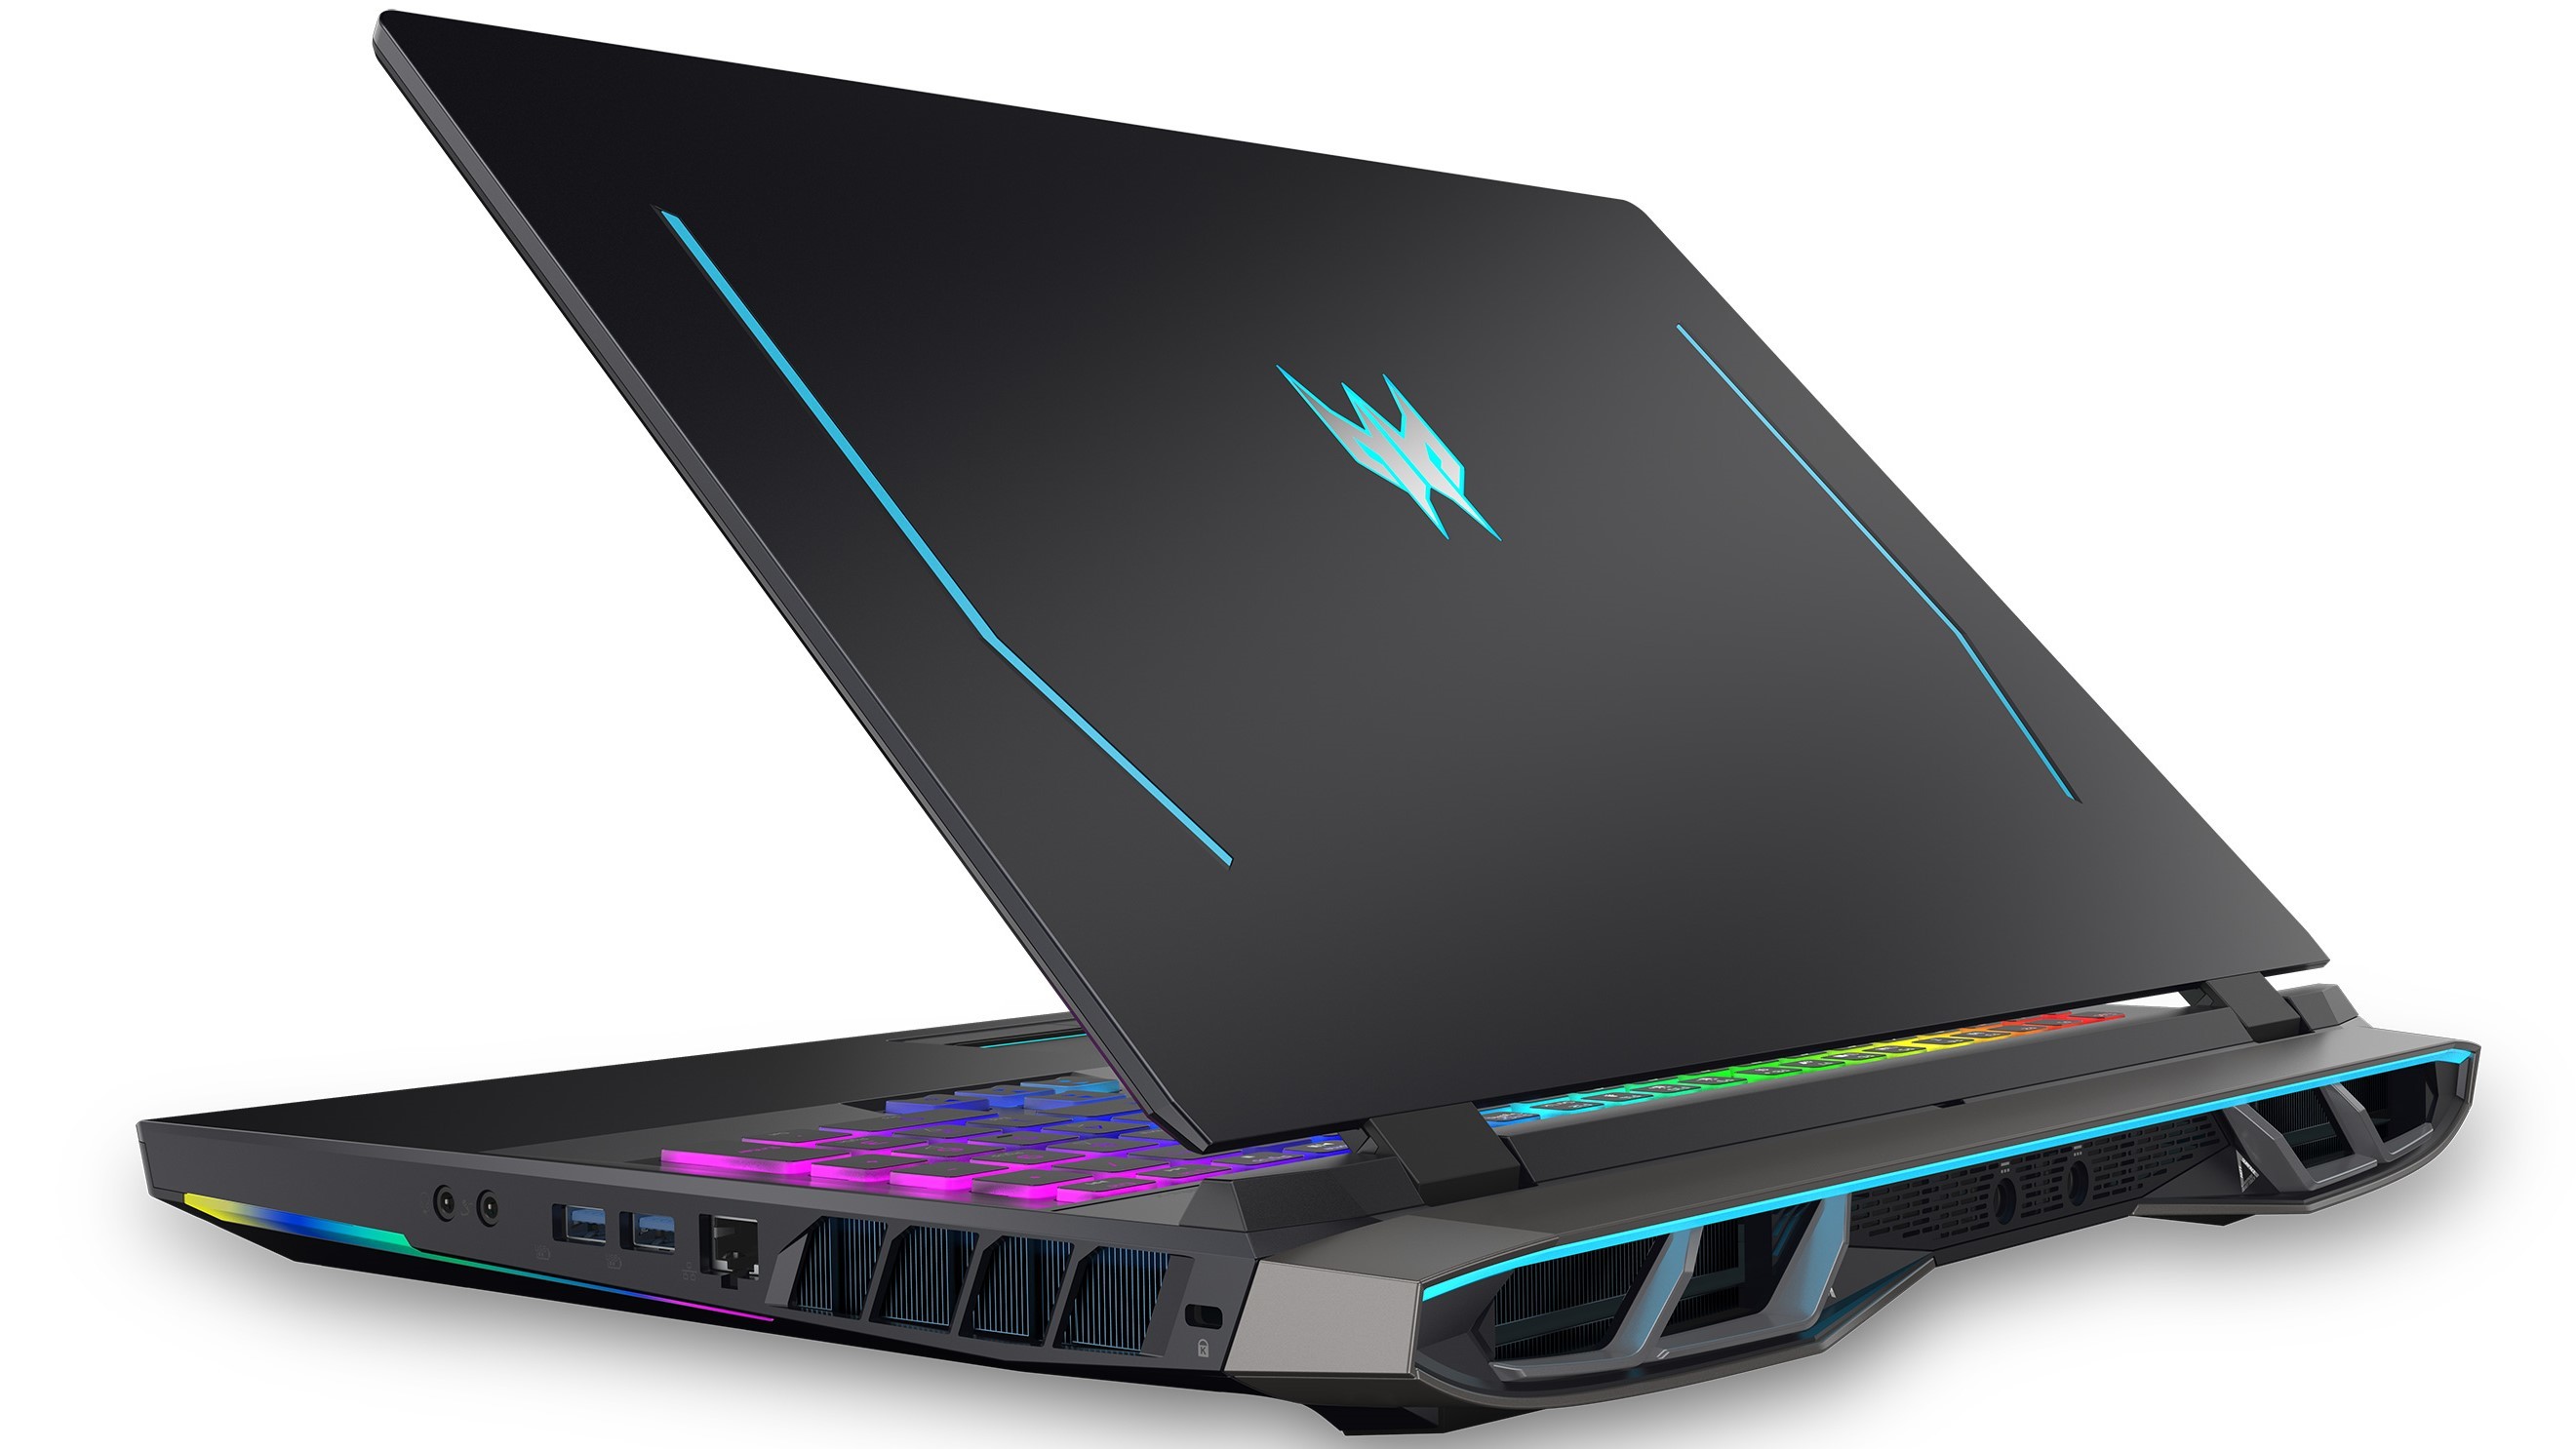
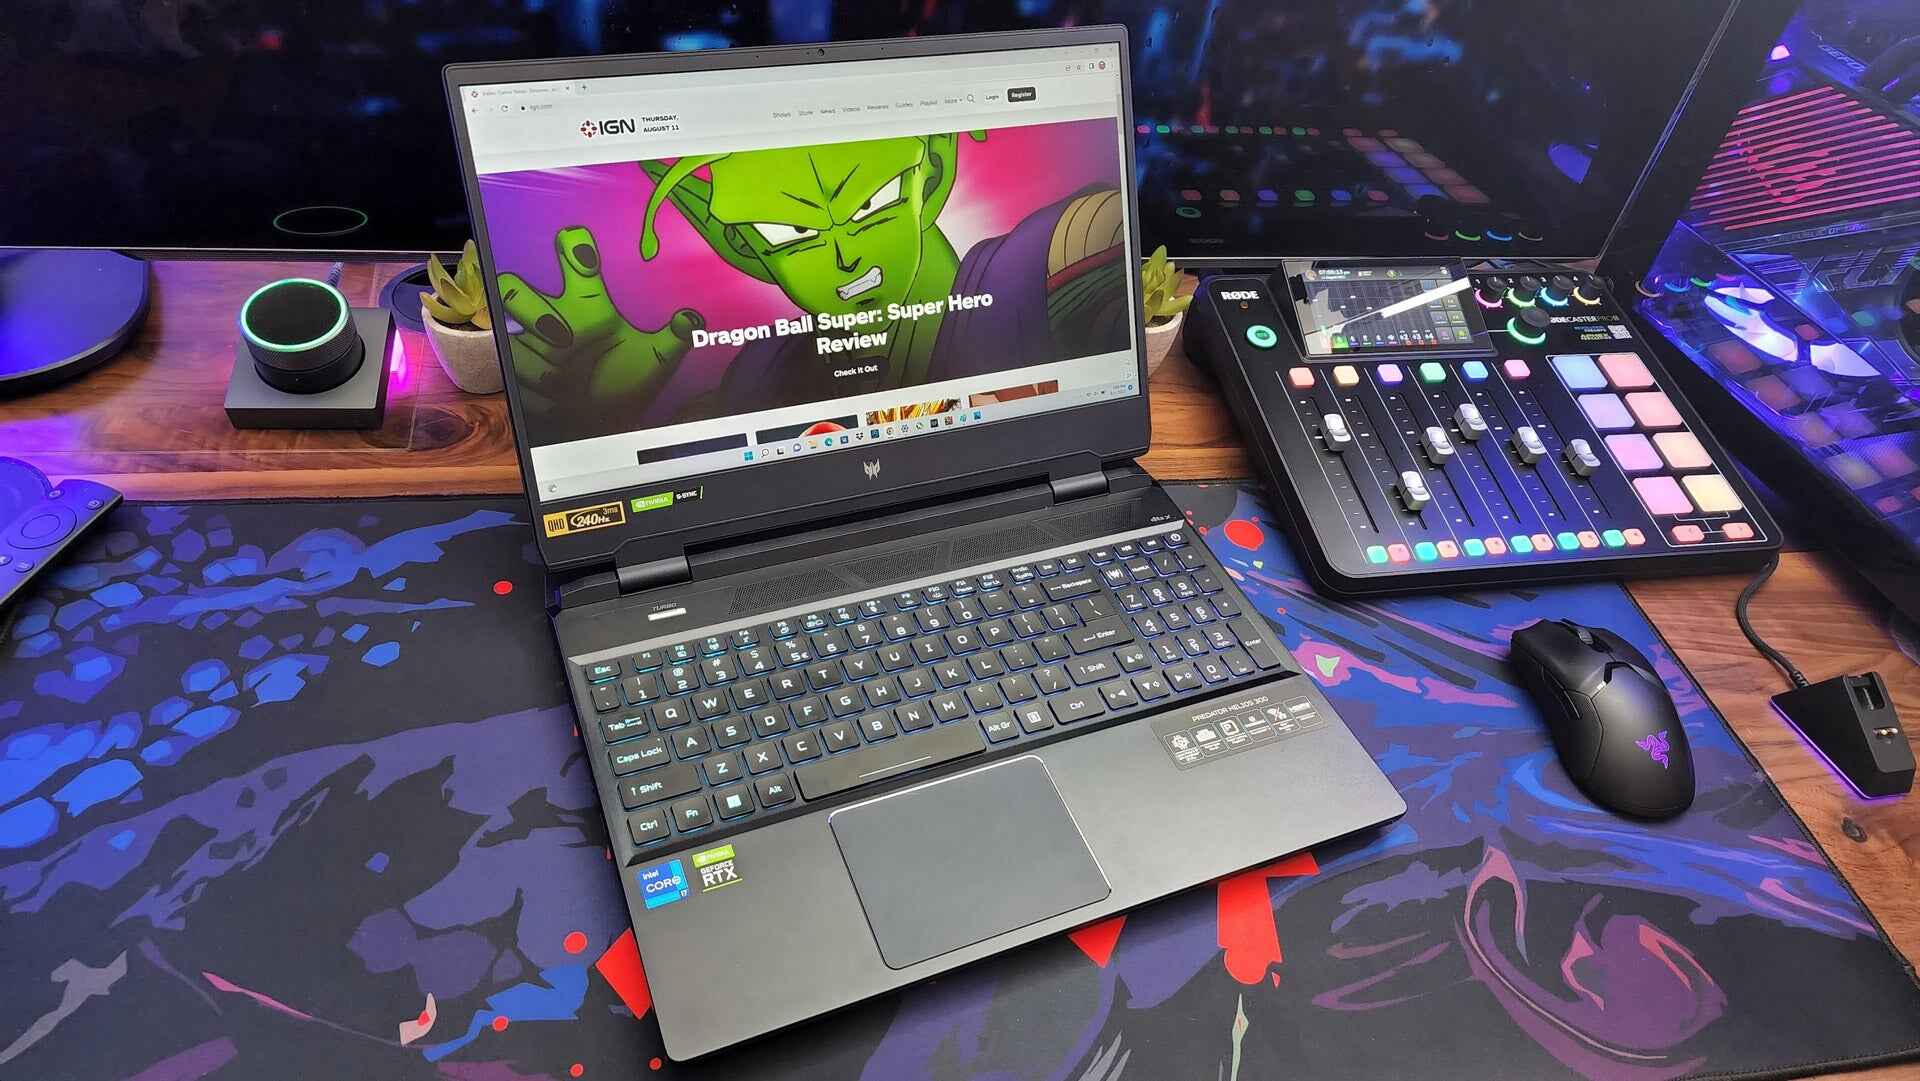
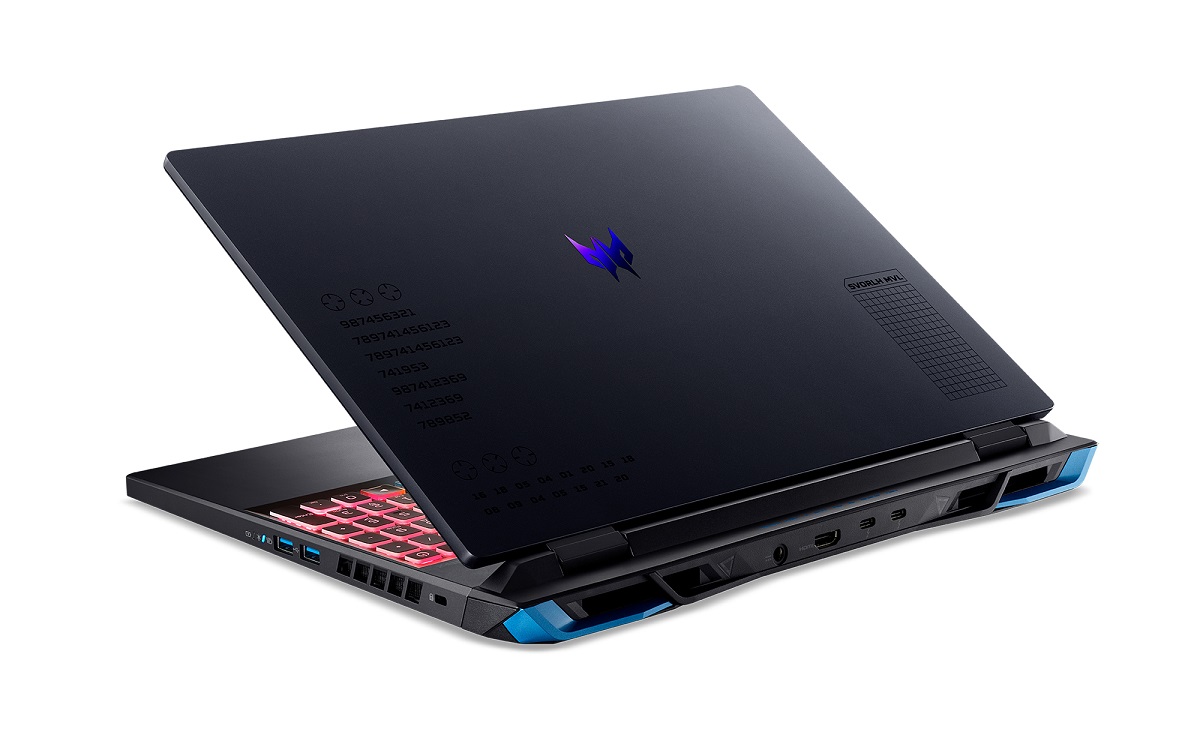
Welcome to our comprehensive guide on how to install a solid state drive (SSD) on a Helios 300 Predator laptop. Upgrading to an SSD can significantly improve the performance and speed of your laptop, and we’re here to walk you through the process step by step.
As technology evolves, SSDs have become the preferred choice for storage due to their faster read and write speeds, lower power consumption, and durability. By replacing your current hard drive with an SSD, you can experience quicker boot times, faster application launches, and better overall system responsiveness.
Before diving into the installation process, it’s important to note that while this guide is specifically tailored for the Helios 300 Predator laptop, the general steps can be applied to most laptops. However, we recommend consulting your laptop’s manual or manufacturer’s website for specific instructions and any warranty concerns.
In this guide, we will cover everything you need to know, from gathering the necessary tools and materials to transferring your data to the new SSD. By following these steps, you’ll be able to upgrade your laptop with ease and reap the benefits of improved performance.
So, whether you’re a tech-savvy enthusiast or a novice user looking to enhance your laptop’s capabilities, let’s get started on the journey to install a solid state drive on your Helios 300 Predator.
Step 1: Gather the necessary tools and materials
Before beginning the installation process, it’s essential to gather all the required tools and materials. Here’s a list of what you’ll need:
- SSD: Make sure you have a compatible solid state drive for your Helios 300 Predator laptop. Consider the storage capacity based on your needs.
- Screwdriver: You’ll need a small Phillips screwdriver to remove and secure screws during the installation.
- Anti-static wristband: This helps protect your laptop from static electricity that could damage sensitive components. If you don’t have one, make sure to frequently touch a grounded metal surface to discharge any static build-up before handling any internal parts.
- External storage: It’s recommended to have an external storage device such as a USB flash drive or an external hard drive to back up your data before the installation process.
- Data transfer cable: If you have large amounts of data and want a fast transfer, consider getting a data transfer cable or an external HDD docking station.
It’s crucial to have all the necessary tools and materials prepared in advance to streamline the installation process and minimize any potential disruptions. Ensure that you have a clean and well-lit workspace to work on your laptop comfortably.
Once you have gathered all the required tools and materials, you’re ready to move on to the next step: preparing your laptop for installation.
Step 2: Prepare your laptop for installation
Before you begin opening up your laptop, it’s important to take certain precautions to ensure the safety of your device and yourself. Here are the steps to prepare your Helios 300 Predator laptop for the SSD installation:
- Save and back up your data: Before making any changes to your laptop’s storage, it is critical to create a backup of all your important files and data. This can be done by transferring them to an external storage device or utilizing cloud storage services.
- Power off and unplug your laptop: Shut down your laptop properly and disconnect it from any power source. This will eliminate any risk of electrical damage and ensure your safety during the installation process.
- Ground yourself: To prevent static electricity from damaging your laptop’s internal components, it’s essential to ground yourself. You can do this by wearing an anti-static wristband or by touching a grounded metal surface before touching any internal parts.
By following these preparatory steps, you can safeguard your data and laptop while preparing for the installation process. It’s always better to be cautious and take these necessary precautions to avoid any potential issues.
Now that you have prepared your laptop, you’re ready to move on to the next step: opening up your laptop’s casing to access the internal components.
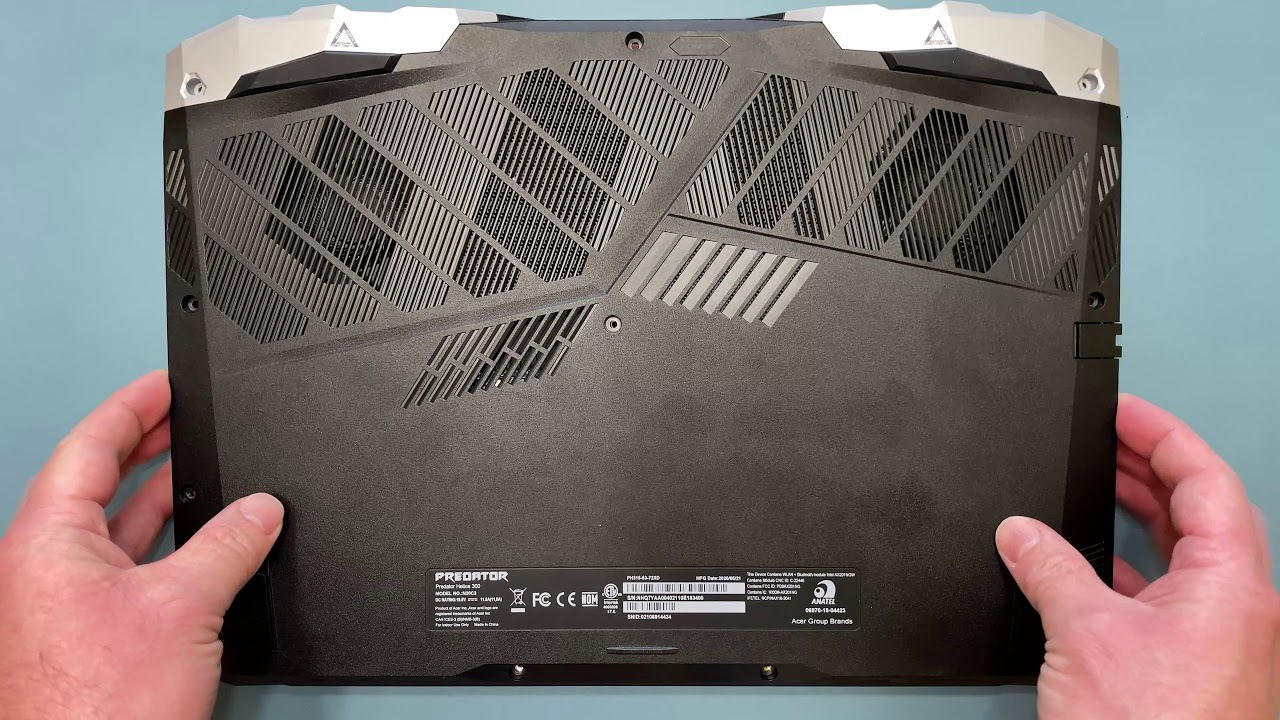
Step 3: Open up your laptop’s casing
To install the solid state drive, you’ll need to access the internal components of your Helios 300 Predator laptop. Follow these steps to open up the laptop’s casing:
- Flip your laptop over: Turn off your laptop and place it on a flat, sturdy surface with the bottom facing up. This will expose the screws you need to remove.
- Remove the screws: Using a small Phillips screwdriver, carefully remove the screws securing the bottom cover of your laptop. Keep the screws in a safe place to avoid losing them.
- Gently remove the bottom cover: Once the screws are removed, gently pry open the bottom cover using a plastic pry tool or your fingers. Be careful not to apply too much force, as you don’t want to damage any components.
- Ground yourself again: Before proceeding further, touch a grounded metal surface or wear an anti-static wristband again to discharge any static electricity.
- Locate the hard drive bay: Once the bottom cover is removed, locate the hard drive bay. Consult your laptop’s manual or manufacturer’s website if you’re unsure about its exact location.
Opening up your laptop’s casing requires careful handling to avoid any damage. Take your time and be gentle while removing the cover and locating the hard drive bay.
With the laptop casing open, you’re ready to move on to the next step: locating the storage area and disconnecting the old hard drive.
Step 4: Locate the storage area and disconnect the old hard drive
Now that you have opened up your laptop’s casing, it’s time to locate the storage area and disconnect the old hard drive. Follow these steps carefully:
- Identify the old hard drive: Look for the existing hard drive in your laptop. It is usually situated in a small rectangular slot or bay.
- Disconnect the cables: The old hard drive will be connected to the laptop with two cables – a data cable and a power cable. Carefully disconnect both cables by gently pulling the connectors away from the hard drive.
- Remove any mounting brackets or screws: In some cases, the old hard drive might be secured with mounting brackets or screws. Remove these carefully using a screwdriver, if necessary.
- Remove the old hard drive: Once the cables and brackets/screws are removed, carefully slide out the old hard drive from its slot.
- Store the old hard drive: If the old hard drive is still in working condition, you may want to store it for future use or as a backup device. Ensure you handle it safely and store it in an anti-static bag or a protective case.
Take your time and be gentle while disconnecting and removing the old hard drive. Double-check that you have properly disconnected any cables and removed any mounting brackets or screws before attempting to remove the old hard drive from its slot.
With the old hard drive safely removed, you’re now ready to move on to the next step: inserting and securing the new solid state drive (SSD) into your Helios 300 Predator laptop.
Step 5: Insert and secure the solid state drive
With the old hard drive disconnected and removed, it’s time to insert and secure the new solid state drive (SSD) into your Helios 300 Predator laptop. Follow these steps carefully:
- Identify the SSD slot: Locate the slot where the SSD will be installed. It is typically near the old hard drive bay or in a designated SSD slot.
- Align the SSD: Take your SSD and align it with the slot, making sure the connector side is facing the same way as the old hard drive’s connectors.
- Insert the SSD: Gently push the SSD into the slot until it is fully inserted. Be careful not to use excessive force or bend any of the connectors.
- Secure the SSD: If there are any mounting brackets or screws, use them to secure the SSD in place. Make sure the SSD is firmly attached and not loose inside the slot.
- Reconnect the cables: Connect the data cable and power cable to the SSD, ensuring they’re securely plugged into the appropriate connectors.
It’s important to handle the SSD with care and avoid touching the connectors or delicate components. Ensure that the SSD is properly aligned and inserted into the slot before securing it.
Once the SSD is inserted and securely fastened, you’re ready to move on to the next step: reassembling your laptop’s casing.
Step 6: Reassemble your laptop
Now that you’ve successfully inserted and secured the solid state drive (SSD), it’s time to reassemble your Helios 300 Predator laptop. Follow these steps carefully to ensure everything is put back together correctly:
- Place the bottom cover: Align the bottom cover with the laptop’s base and gently press it back into place. Make sure it fits snugly and aligns with the screw holes.
- Secure the screws: Using the small Phillips screwdriver, reinsert and tighten the screws that were previously removed. Start with the corners and work your way towards the center, ensuring all screws are securely fastened but not overtightened.
- Double-check the casing: Give the laptop a quick visual inspection to ensure that the bottom cover is properly aligned and there are no gaps or loose connections. This will help ensure the laptop’s structural integrity.
Take your time during the reassembly process and ensure that all the necessary components are properly aligned and connected. Be gentle while handling the laptop’s casing to avoid any accidental damage.
With your laptop reassembled, you’re now ready to move on to the next step: installing the necessary drivers and software.
Step 7: Install necessary drivers and software
After reassembling your Helios 300 Predator laptop, it’s time to install the necessary drivers and software to ensure optimal performance and compatibility with your new solid state drive (SSD). Follow these steps to complete the installation:
- Power on your laptop: Press the power button to boot up your laptop and wait for it to start.
- Check for automatic driver installation: In many cases, the operating system will automatically detect and install the necessary drivers for your new SSD. Keep an eye out for any notifications or prompts regarding the installation process.
- Visit the manufacturer’s website: If the automatic installation doesn’t occur or you want to ensure you have the latest drivers, visit the manufacturer’s website. Look for the support or downloads section, where you can find the appropriate drivers and software for your laptop model.
- Download and install the drivers: Download the relevant drivers for your new SSD and follow the installation instructions provided by the manufacturer. This will ensure that your SSD is recognized and functioning correctly.
- Install any additional software: Depending on your specific requirements, you may need to install additional software to optimize the performance of your new SSD. This can include software for disk management, firmware updates, or utility programs provided by the SSD manufacturer.
- Restart your laptop: After installing the necessary drivers and software, it’s a good idea to restart your laptop to ensure all changes take effect.
It’s important to keep your drivers and software up to date to ensure a smooth and efficient functioning of your new SSD. Regularly check for updates from the manufacturer’s website and install them as needed.
With the necessary drivers and software installed, you’re ready to move on to the next step: transferring data and settings to the new SSD.
Step 8: Transfer data and settings to the new SSD
With the new solid state drive (SSD) installed and the necessary drivers and software set up, it’s time to transfer your data and settings from the old hard drive to the new SSD. Follow these steps to ensure a smooth transition:
- Connect the old hard drive (optional): If you want to transfer data directly from the old hard drive to the new SSD, you can connect it externally using a USB enclosure or a SATA-to-USB adapter.
- Use data migration software: Many SSD manufacturers provide data migration software that allows you to clone your old hard drive to the new SSD. Download and install the software from the manufacturer’s website, then follow the instructions to initiate the data transfer process.
- Select the source and target drives: In the data migration software, select the source drive (old hard drive) and the target drive (new SSD). Ensure that the target drive is the SSD and that you have enough storage capacity to accommodate the data.
- Start the data transfer: Follow the prompts in the data migration software to start the data transfer process. The software will copy all the contents from the old hard drive to the new SSD, including the operating system, applications, and personal files.
- Verify the data transfer: Once the data transfer is complete, double-check that all your files and settings have been successfully transferred to the new SSD. Ensure that everything is working as expected.
- Disconnect the old hard drive (optional): If you connected the old hard drive externally, safely disconnect it from your laptop once you have verified that the data transfer was successful. You can now use it as a backup storage device if needed.
Transferring your data and settings to the new SSD ensures that you can continue working seamlessly without any disruption. It’s important to perform a thorough check to confirm that all your files and applications have been successfully transferred.
Once you have completed the data transfer process, congratulations! Your Helios 300 Predator laptop is now equipped with a faster and more efficient solid state drive. Enjoy the improved performance and responsiveness of your system.
Conclusion
Congratulations on successfully installing a solid state drive (SSD) on your Helios 300 Predator laptop! By following the step-by-step guide provided, you have transformed your laptop’s storage capabilities, resulting in improved performance and speed.
Throughout this journey, you learned how to gather the necessary tools and materials, prepare your laptop for installation, open up the laptop’s casing, locate and disconnect the old hard drive, insert and secure the new SSD, reassemble your laptop, install the necessary drivers and software, and transfer your data and settings to the new SSD.
By upgrading to an SSD, you can experience faster boot times, quicker application launches, and overall improved system responsiveness. Additionally, the lower power consumption and durability of SSDs make them an excellent choice for enhancing your computing experience.
Remember to regularly check for updates from the SSD manufacturer and keep your drivers and software up to date. This will ensure that your SSD continues to perform optimally and that you have access to the latest features and improvements.
We hope this guide has provided you with the knowledge and confidence to successfully install an SSD on your Helios 300 Predator laptop. Enjoy the benefits of your upgraded system and take full advantage of the enhanced performance that your new solid-state drive brings.
Happy computing!