Introduction
Welcome to the world of fast and efficient computing! If you’ve been experiencing sluggish performance and long boot times on your computer, it may be time to consider upgrading to a solid-state drive (SSD). With their lightning-fast speeds and reliable performance, SSDs have become an essential component for anyone looking to optimize their system’s performance.
In this guide, we will walk you through the process of adding an SSD to your computer and getting it to boot from there. Whether you’re a casual user looking to improve everyday tasks or a power user who needs the extra speed for demanding applications, this guide will help you unleash the full potential of your system.
Before we dive into the nitty-gritty, it’s important to make a note of the preparations you need to make. This includes choosing the right SSD for your needs, backing up your data, and ensuring that you have all the necessary tools and cables at hand. Taking the time to properly prepare will save you from any headaches or potential data loss during the upgrade process.
Once you’ve gathered everything you need, we will guide you through the steps of connecting the SSD to your computer and configuring the BIOS settings to ensure proper recognition and functionality. From there, we will show you how to clone your existing hard drive onto the SSD, so you don’t have to reinstall your operating system and applications from scratch.
Finally, we’ll walk you through the process of installing the SSD as the primary drive and verifying that your computer is booting from it. By the end of this guide, you’ll be enjoying all the benefits of a lightning-fast SSD, from reduced boot times to faster application launches and smoother multitasking.
So, let’s get started on your journey to a faster and more efficient computer with the addition of a solid-state drive!
Preparations
Before diving into the process of adding a solid-state drive (SSD) to your computer, it’s crucial to make the necessary preparations. These steps will ensure a smooth and hassle-free upgrade, minimizing the risk of data loss or hardware compatibility issues. Let’s take a look at the essential preparations you need to make:
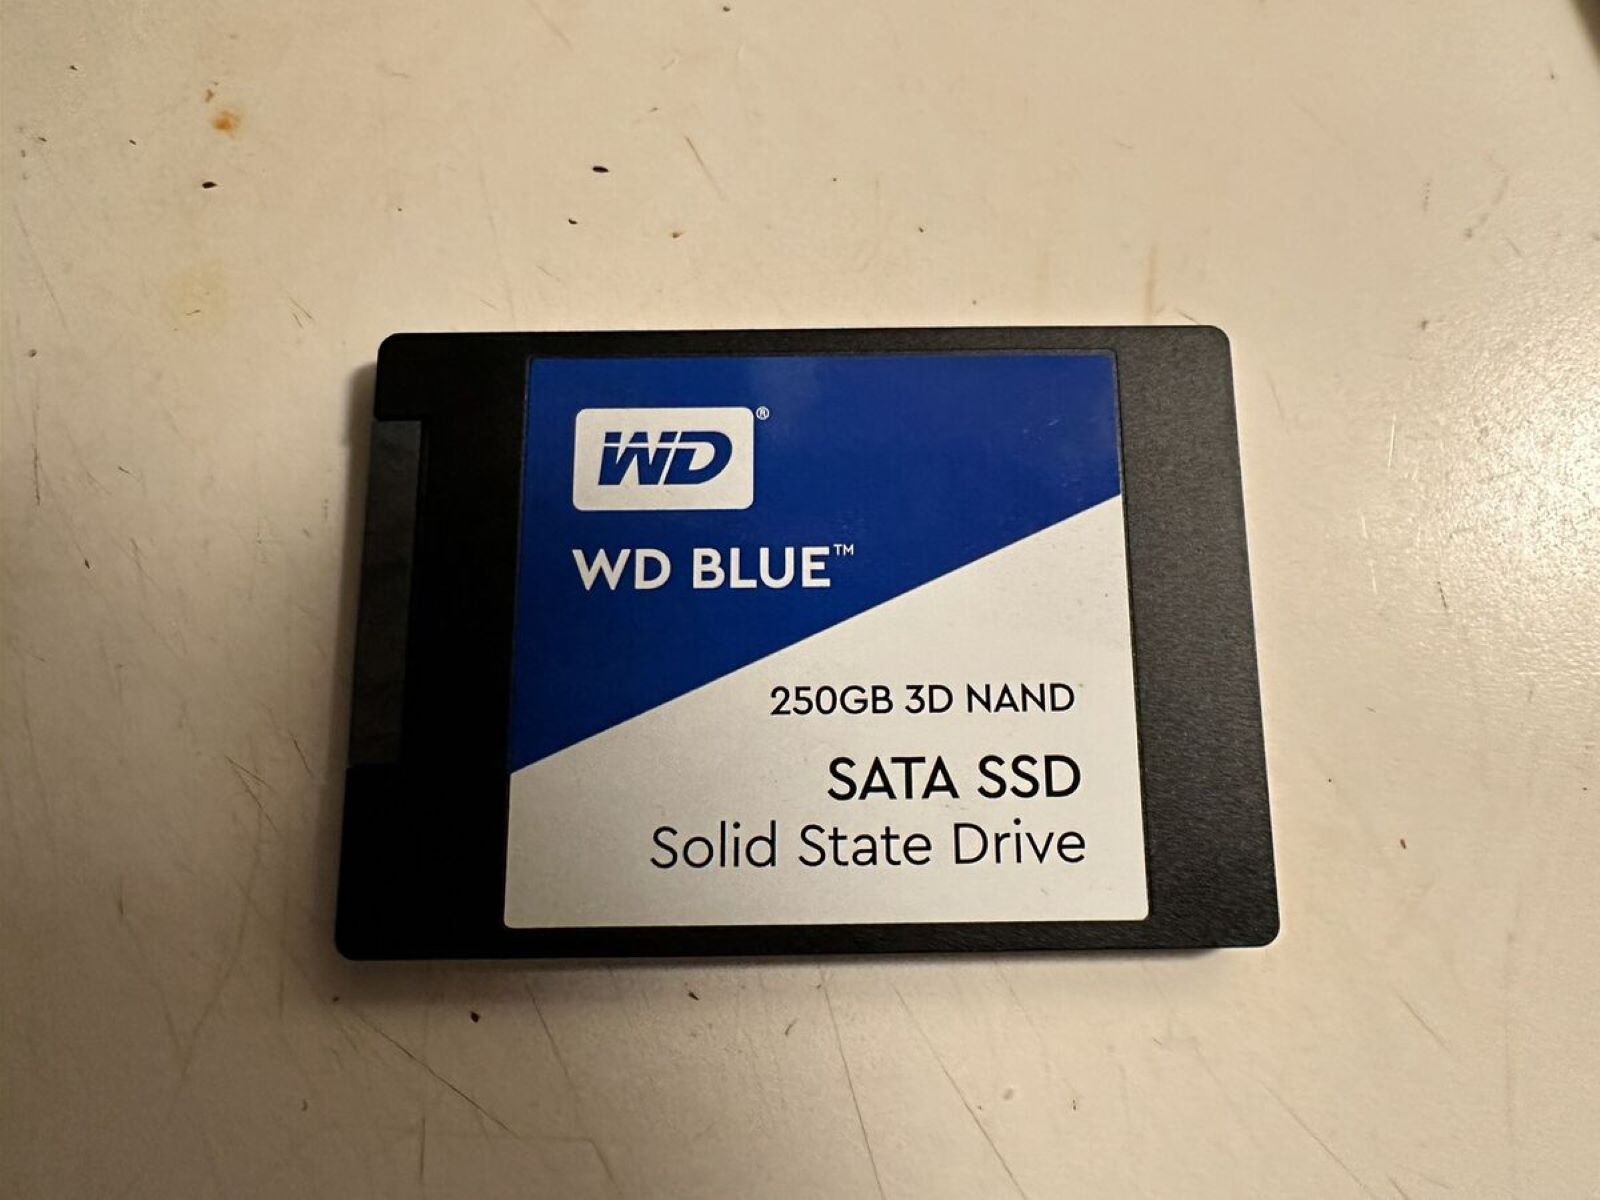
1. Choosing the right SSD: Determine the size and capacity of the SSD that suits your needs. Consider factors such as storage requirements, budget, and performance expectations. Research different brands and models to find the best option that aligns with your specific requirements.
2. Backing up your data: It’s essential to create a backup of all your important files and data before proceeding with any hardware modifications. This ensures that you have a copy of your data in case of any unforeseen issues during the upgrade process. Use external storage devices or cloud-based services to store your backups securely.
3. Gathering the necessary tools and cables: Make sure you have all the tools required for opening your computer’s case, such as screwdrivers or pry tools. Additionally, check if you need any specific cables or adapters to connect the SSD to your computer. These may include SATA cables or M.2 adapters, depending on the type of SSD you’ve chosen.
4. Familiarizing yourself with your computer’s specifications: Understand the internal layout of your computer and identify the available ports for connecting the SSD. Some computers may have multiple drive bays, while others may require the removal of the existing hard drive to install the SSD. Knowing your computer’s specifications will make the installation process much easier.
5. Researching BIOS settings and compatibility: Depending on your computer’s motherboard and BIOS version, you may need to adjust certain settings to ensure compatibility with the new SSD. Consult your computer’s manufacturer’s website or user manual to familiarize yourself with the BIOS settings related to disk drives and boot order.
By taking these preparations seriously, you’ll minimize the risk of encountering any issues during the SSD installation process. These steps ensure that you’re fully equipped with the necessary information and tools to successfully upgrade your computer’s storage to an SSD.
Choosing the right SSD
When it comes to choosing the right solid-state drive (SSD) for your computer, there are several factors to consider. Your choice will depend on your specific needs, budget, and the compatibility of the SSD with your computer’s hardware. Here are some points to keep in mind while selecting an SSD:
1. Capacity: Determine the amount of storage space you require. SSDs come in various capacities, ranging from 120GB to several terabytes. Consider the types of files you need to store and how much space your operating system and applications occupy. If you have large files, such as videos or games, you may need a higher capacity SSD.
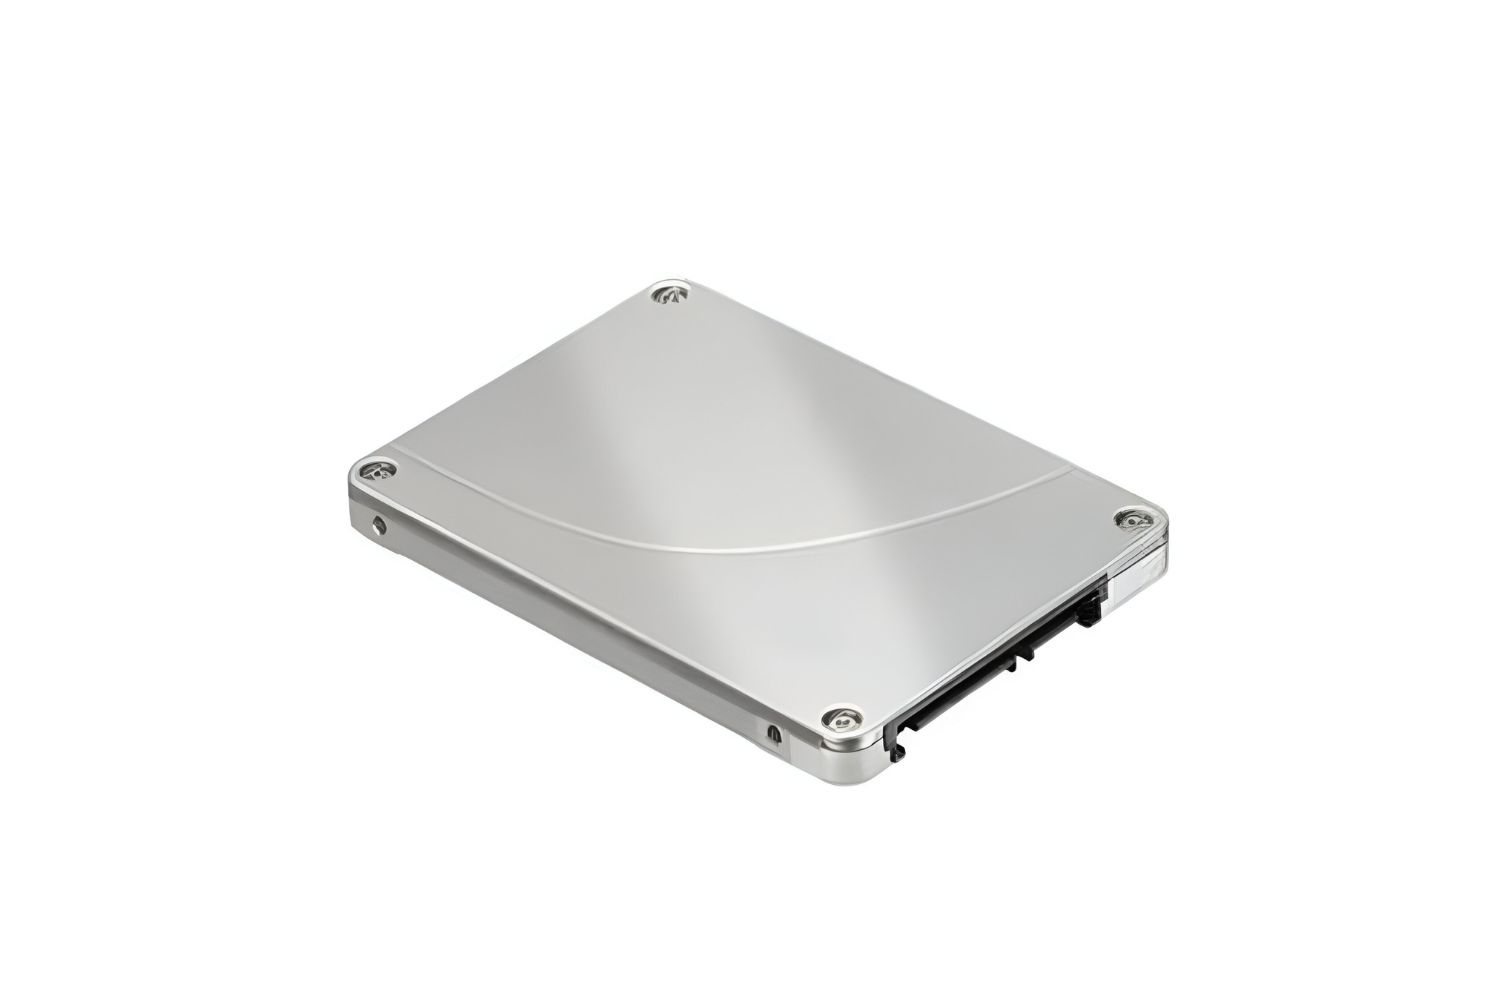
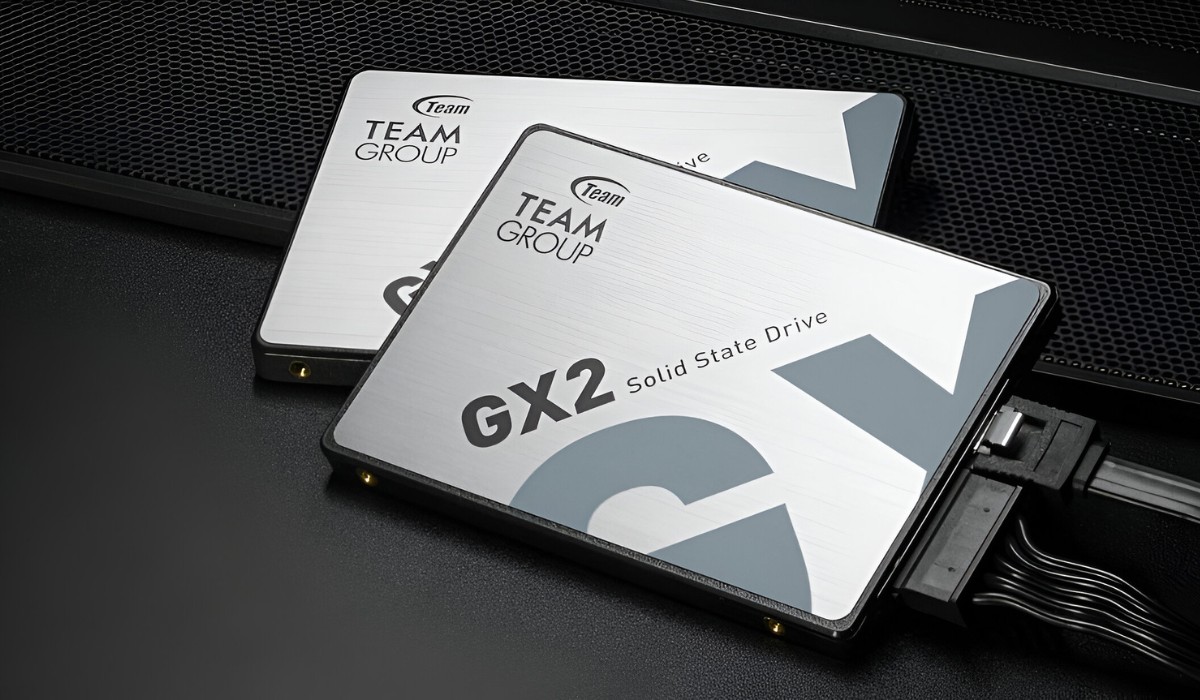
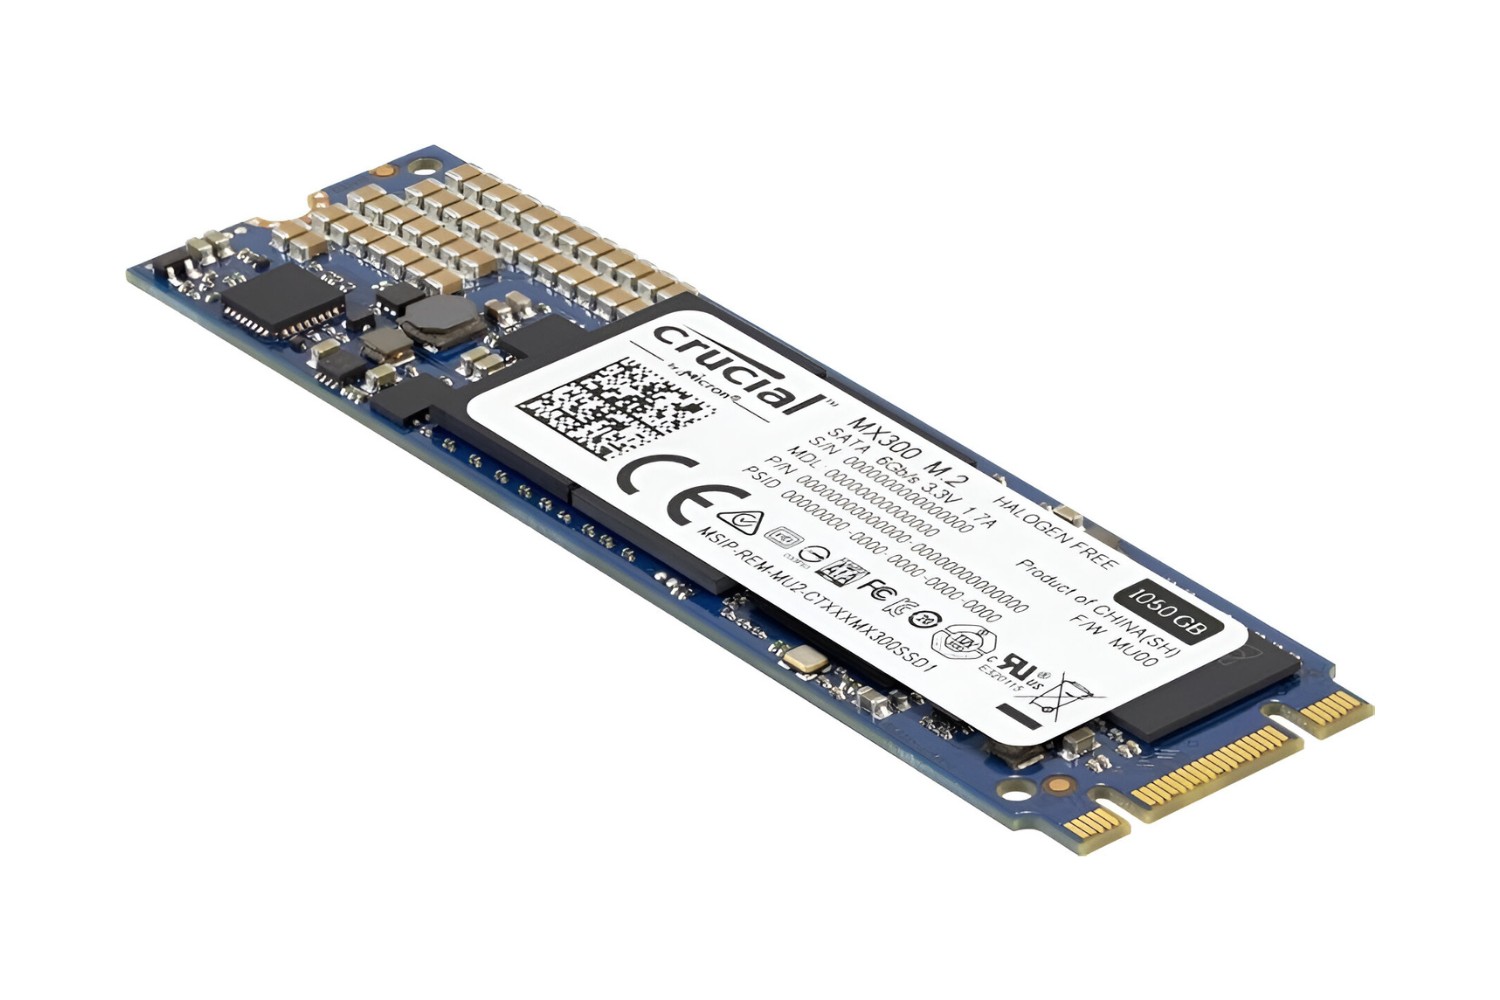
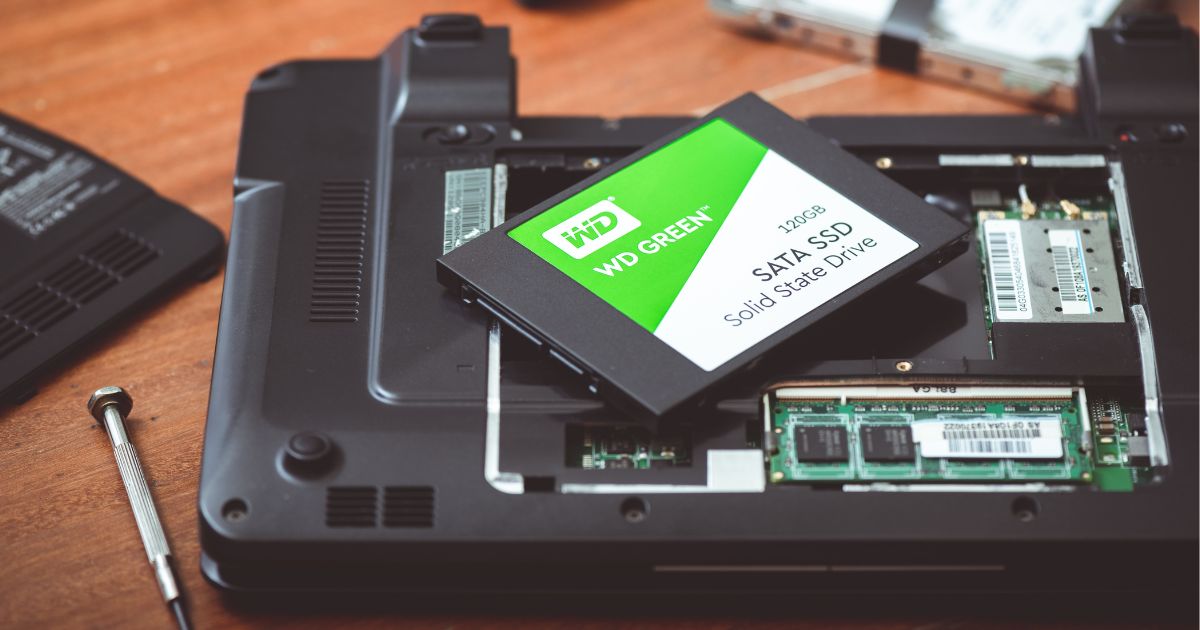
2. Form Factor: Consider the form factor that matches your computer’s specifications. Common form factors include 2.5-inch, M.2, and PCIe. Check your computer’s motherboard and available drive slots to ensure compatibility. If your computer has limited space, an M.2 SSD might be a good choice as it is compact and does not require cables.
3. Speed and Performance: Look for SSDs with fast read and write speeds. Higher speeds result in quicker system boot times and faster application launches. Pay attention to the SSD’s specifications, particularly the sequential read and write speeds, as they indicate the drive’s overall performance.
4. Endurance and Lifespan: Consider the endurance and lifespan of the SSD, especially if you perform heavy read-write operations or plan to use it for a long time. Look for SSDs with higher Terabytes Written (TBW) rating, which indicates the amount of data that can be written to the SSD before it reaches its maximum lifespan.
5. Brand and Reliability: Opt for reputable brands that have a track record of producing reliable SSDs. Research customer reviews and ratings to gauge the overall satisfaction and reliability of the SSD you’re considering. Reliable brands are more likely to offer better warranty coverage and customer support.
6. Price: Set a budget for your SSD purchase. SSD prices have become more affordable over time, so it’s possible to find a high-quality SSD within your budget. However, keep in mind that higher-capacity and faster SSDs tend to be more expensive.
By considering these factors, you can choose an SSD that meets your storage requirements and provides the performance boost you desire. Take your time to research different SSD models, compare specifications, and read customer reviews. This will ensure that you make an informed decision and select the right SSD for your computer.
Backing up your data
Before proceeding with any hardware modifications, it’s crucial to create a backup of all your important files and data. This step ensures that you have a copy of your data in case of any unforeseen issues during the SSD installation process. Here’s how you can back up your data:
1. Identify important files: Take some time to identify the files and data that you consider important and cannot afford to lose. This may include documents, photos, videos, music, and any other personal or work-related files.
2. External storage devices: Get an external hard drive or a USB flash drive with sufficient capacity to hold your important files. These devices provide a convenient and portable way to back up your data. Alternatively, you can use cloud-based storage services such as Google Drive, Dropbox, or OneDrive to store your files securely in the cloud.
3. Copying files: Copy your important files from your computer’s hard drive to the external storage device. You can either manually select and copy individual files or use backup software to automate the process. Ensure that you have successfully copied all the necessary files before proceeding.
4. Verify backups: Once the backup process is complete, take some time to verify the integrity of your backups. Open a few files from the external storage device to ensure that they are accessible and in proper working condition.
5. Update and synchronize: If you’re using cloud-based storage services, make sure that your files are updated and synchronized with the cloud before proceeding. This ensures that you have the latest versions of your files saved securely.
6. Create a system image (optional): If you want to create a complete backup of your operating system, applications, and settings, you can use backup software to create a system image. This allows you to restore your entire system to its previous state, including the operating system and all installed programs, if needed.
By backing up your data, you provide yourself with a safety net in case anything goes wrong during the SSD installation process. It’s always better to be prepared and have your important files secured before making any hardware modifications.
Take the time to ensure that the backup process is thorough and complete. It’s better to spend a little extra time backing up your data than to risk losing important files that cannot be easily recovered.
Connecting the SSD to your computer
Now that you have prepared your data backup, it’s time to connect the solid-state drive (SSD) to your computer. The process may vary depending on the type of SSD and your computer’s hardware, but here are the general steps to follow:
1. Power off your computer: Before opening your computer’s case and making any hardware changes, ensure that your computer is completely powered off. Unplug the power cord from the wall outlet to eliminate any electrical currents.
2. Open your computer’s case: Use a screwdriver or any other required tools to open your computer’s case. Refer to your computer’s manual or manufacturer’s website for specific instructions on how to access the internal components.
3. Identify available drive slots: Locate the available drive slots in your computer. The slots may be in the form of bays, slots, or connectors depending on your computer’s form factor and design. Ensure that you have a clear understanding of the available slots and their types.
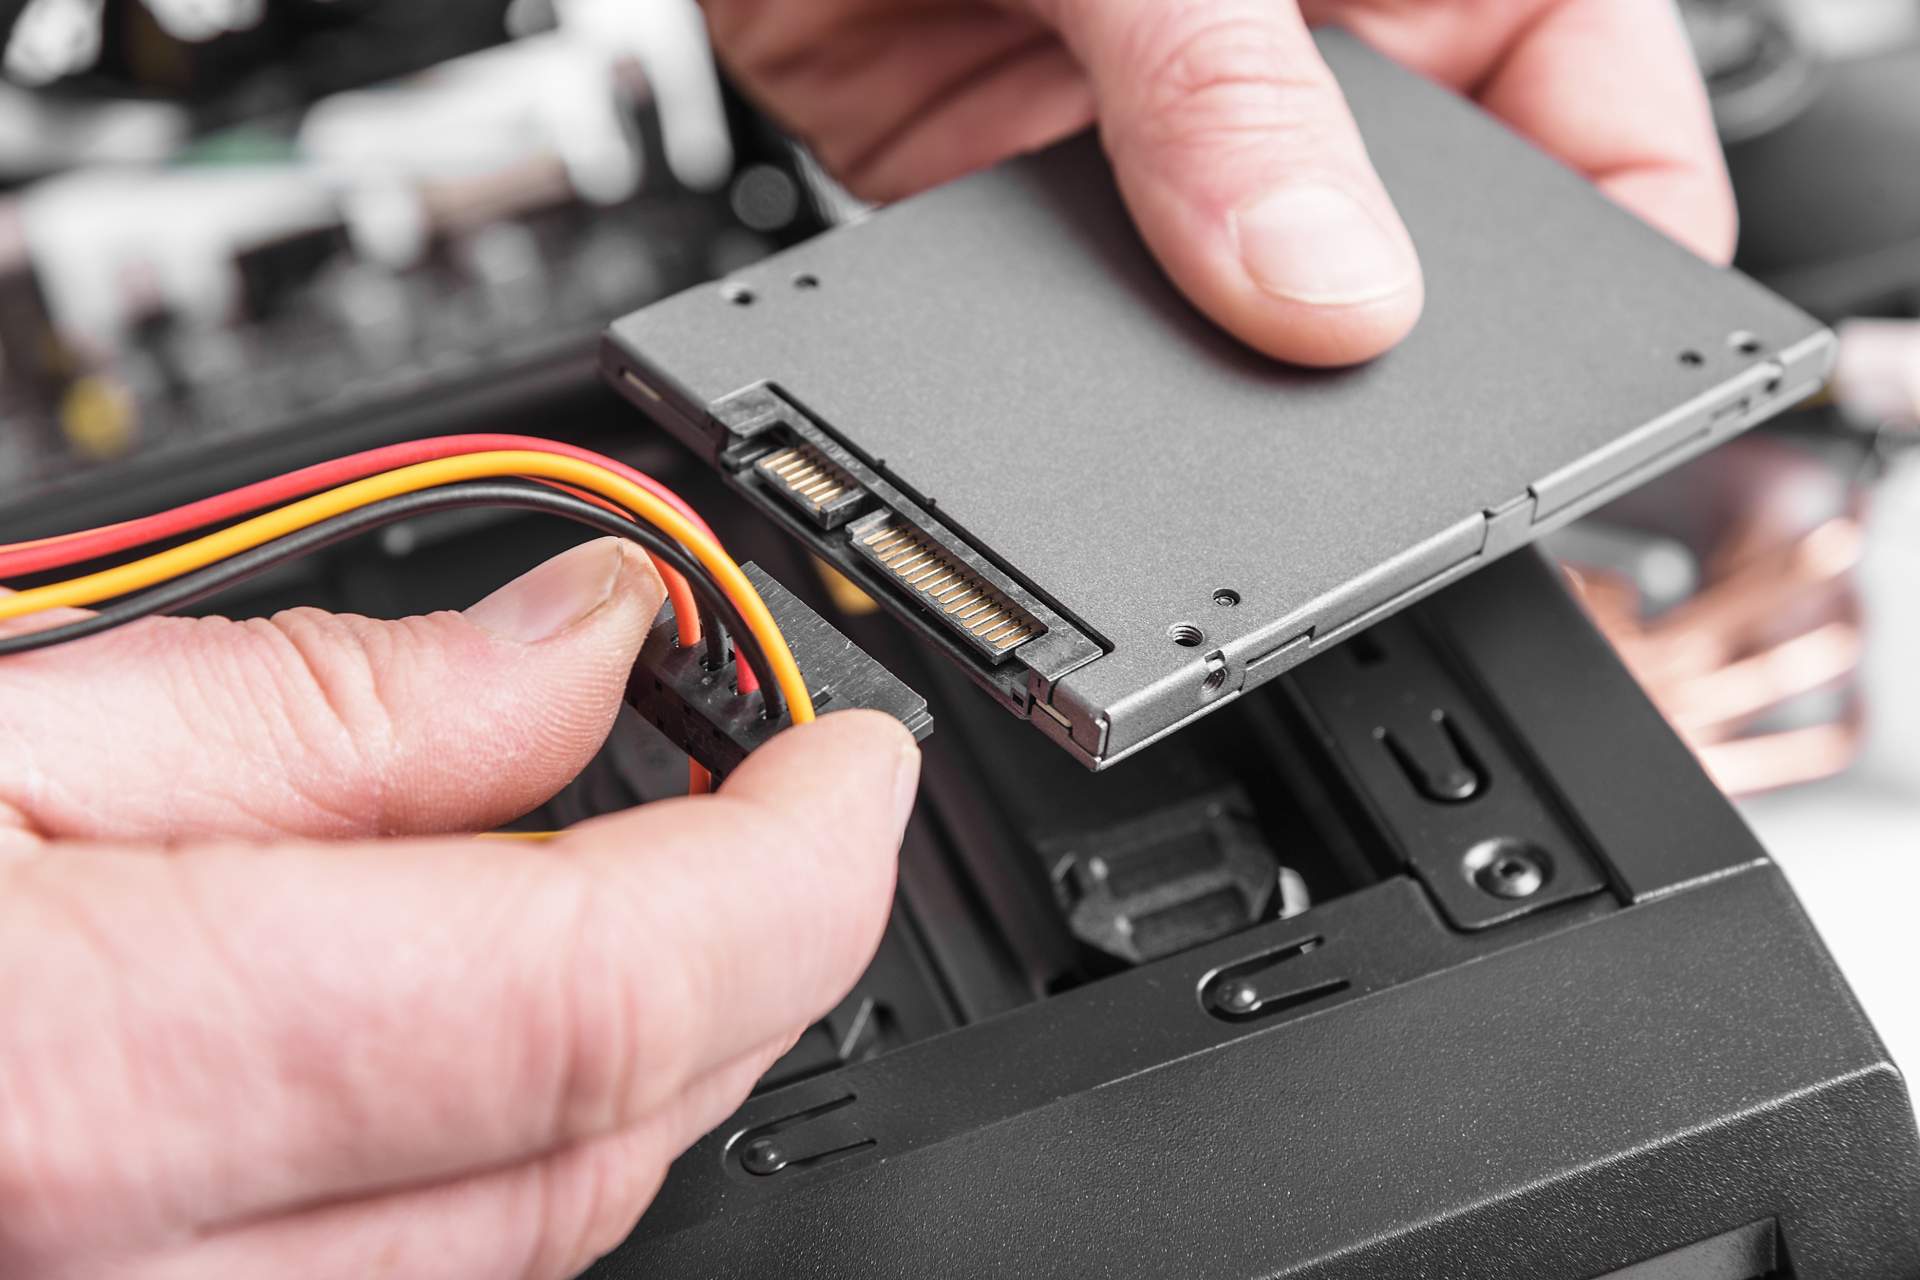
4. Choose the appropriate connection method: Depending on the type of SSD you have (e.g., 2.5-inch, M.2, PCIe), choose the appropriate connection method. For a 2.5-inch SSD, use a SATA data cable to connect it to an available SATA port on the motherboard. For an M.2 SSD, insert it into the corresponding M.2 slot on the motherboard. If you have a PCIe SSD, insert it into an available PCIe slot.
5. Secure the connections: Once the SSD is properly aligned with the slot or connector, gently push it in until it is fully inserted. Ensure that it is securely connected and properly seated in its slot. If you’re using a 2.5-inch SSD, use screws to secure it in the appropriate drive bay.
6. Connect the power cable: If you’re using a 2.5-inch or M.2 SSD, connect the power cable from the power supply unit (PSU) to the SSD. The power cable may be a SATA power connector or a dedicated power connector specific to M.2 SSDs.
7. Close your computer’s case: Once the connections are secure, carefully close your computer’s case and use the screws or latches to secure it in place. Ensure that all the cables are neatly routed and do not obstruct any other components.
Every computer’s internal layout is different, so these steps are a general guideline. Referencing your computer’s manual or manufacturer’s website for specific instructions is highly recommended.
Now that you’ve successfully connected the SSD to your computer, you’re one step closer to enjoying the benefits of faster and more efficient storage. In the next section, we will guide you through configuring the BIOS settings to ensure that the SSD is recognized and functional.
Configuring the BIOS settings
After successfully connecting the solid-state drive (SSD) to your computer, it’s important to configure the BIOS settings to ensure that the SSD is recognized and functioning properly. The specific steps may vary depending on your computer’s motherboard and BIOS version, but here are the general guidelines:
1. Power on your computer: Ensure that your computer is powered on and booting up. Depending on your computer, you may need to press a key (such as F2, Del, or Esc) during the boot process to access the BIOS settings. Check your computer’s manual or manufacturer’s website for the specific key to enter the BIOS.
2. Enter the BIOS settings: Press the designated key to enter the BIOS settings. Once inside the BIOS interface, navigate through the menus using the arrow keys on your keyboard. Look for a section related to storage or disk drives.
3. Set the boot order: Within the storage or disk drive section, locate the boot order settings. Set the SSD as the first boot option to ensure that your computer boots from the SSD. Save and exit the BIOS settings; the specific key to save and exit is often indicated at the bottom of the screen or in the BIOS menu.
4. Disable secure boot (if necessary): Depending on the operating system and BIOS configuration, you may need to disable secure boot in the BIOS settings to ensure compatibility with the SSD. Look for a secure boot option and set it to “Disabled” if it is enabled.
5. Enable AHCI mode: In some cases, it may be necessary to enable Advanced Host Controller Interface (AHCI) mode for the SSD to function optimally. Look for a SATA operation or SATA mode option in the BIOS settings and set it to AHCI. Save and exit the BIOS settings.
6. Verify BIOS settings: Once you’ve made the necessary changes, it’s important to verify that the BIOS settings are saved and set correctly. Restart your computer and confirm that it boots from the SSD. You can check the BIOS information screen during boot-up to ensure that the SSD is recognized.
Note: The exact steps and terminology may vary depending on your specific computer model and BIOS version. It’s essential to refer to your computer’s documentation or the manufacturer’s website for accurate instructions specific to your system.
By properly configuring the BIOS settings to recognize the SSD, you’re ensuring that your computer is utilizing the new drive to its full potential. In the next section, we will guide you through the process of cloning your existing hard drive onto the SSD, so you can seamlessly transfer your operating system and files.
Cloning your existing hard drive
Cloning your existing hard drive onto the newly added solid-state drive (SSD) is a convenient and efficient way to transfer your operating system, files, and settings without having to reinstall everything from scratch. Cloning creates an exact copy of your hard drive onto the SSD, making it ready for use. Here’s how you can clone your existing hard drive:
1. Choose cloning software: Start by selecting reliable cloning software that supports your specific operating system and is compatible with your SSD. There are various third-party software options available, such as Clonezilla, Macrium Reflect, or Acronis True Image. Follow the software’s instructions for downloading and installing it on your computer.
2. Connect the SSD: Ensure that the SSD is properly connected to your computer, either directly or through an enclosure if necessary.
3. Launch the cloning software: Open the cloning software and select the option to clone your existing hard drive. Choose the source drive (your existing hard drive) and the destination drive (the SSD). Double-check that you have selected the correct drives to avoid accidental data loss.
4. Clone process: Start the cloning process and wait for it to complete. The time it takes will depend on the size of your hard drive and the speed of your computer. Make sure not to interrupt the process until it is finished.
5. Verify the clone: Once the cloning process is complete, verify that the cloned data is intact and accurately transferred to the SSD. You can compare the total size and the file structure between the original hard drive and the cloned SSD to ensure everything is present.
6. Set the SSD as the primary boot drive: Now that you have a cloned copy of your hard drive on the SSD, you need to set the SSD as the primary boot drive. In the BIOS settings, confirm that the SSD is listed as the first boot option. Save and exit the BIOS.
7. Test the SSD: Restart your computer and verify that it boots from the SSD. Check the overall performance and ensure that everything works as expected. If you encounter any issues, double-check the BIOS settings and connections, or consult the manufacturer’s support resources.
8. Keep the original hard drive: To ensure data redundancy and as a backup, it is recommended to keep the original hard drive intact. This way, you’ll have a backup of your data and can easily access files or information that might not have been cloned to the SSD.
By successfully cloning your existing hard drive to the SSD, you’ve effectively transferred your operating system and data, allowing for a seamless transition to the faster and more efficient storage solution. In the following section, we will guide you through installing the SSD as the primary drive in your computer.
Installing the SSD as the primary drive
After cloning your existing hard drive onto the solid-state drive (SSD), it’s time to install the SSD as the primary drive in your computer. This process involves physically setting up the SSD and configuring your computer to recognize it as the main storage device. Here are the steps to follow:
1. Power off your computer: Start by shutting down your computer completely. Unplug the power cord and any other connected cables.
2. Open your computer’s case: Use the appropriate tools to open your computer’s case, following the manufacturer’s instructions or consulting the user manual.
3. Locate the SSD bay: Identify the appropriate bay or slot for installing the SSD. It may be a 2.5-inch drive bay, an M.2 slot, or a PCIe slot, depending on the form factor of your SSD and the configuration of your computer.
4. Insert the SSD: Gently insert the SSD into the designated slot or bay. Ensure that it is properly aligned and seated securely. Depending on the type of SSD, you may need to use screws or fasteners provided with your computer or SSD to secure it in place.
5. Connect the necessary cables: If you’re using a 2.5-inch SSD, connect the appropriate SATA data cable to the SSD and an available SATA port on the motherboard. Also, connect the power cable from the power supply unit (PSU) to the SSD. For M.2 or PCIe SSDs, no additional cables are needed.
6. Close your computer’s case: Once the SSD is properly installed and the cables are connected, carefully close your computer’s case and secure it with the screws or latches provided.
7. Power on your computer: Reconnect the power cord and any other cables that were disconnected. Power on your computer and allow it to boot up.
8. Verify SSD recognition: During the boot process, enter the BIOS settings by pressing the designated key as indicated on your screen. Navigate to the storage or disk drive section and ensure that the SSD is detected and recognized by the system.
9. Adjust boot order (if necessary): If the SSD is not listed as the primary boot device, modify the boot order in the BIOS settings to prioritize the SSD. Save the changes and exit the BIOS.
10. Verify successful installation: Restart your computer and confirm that it boots up from the SSD. You can check the system information or use disk management tools to verify that the SSD is functioning correctly as the primary drive.
By successfully installing the SSD as the primary drive, you can enjoy the benefits of faster boot times, improved system responsiveness, and efficient storage performance. In the next section, we will guide you through confirming that your computer is indeed booting from the SSD.
Confirming the boot from the SSD
After installing the solid-state drive (SSD) as the primary drive in your computer, it’s important to verify that your computer is indeed booting from the SSD. Ensuring that the SSD is correctly recognized and utilized as the main boot device guarantees that you’ll experience the improved performance and efficiency. Here’s how you can confirm the boot from the SSD:
1. Boot up your computer: Power on your computer and allow it to boot up. It should automatically go through the boot process.
2. Observe the boot time: Pay close attention to the boot time. If your computer boots faster than before, it’s a good indication that it is now booting from the SSD. SSDs offer significantly faster boot times compared to traditional hard drives.
3. Check the BIOS information screen: During the boot process, you may see a manufacturer logo or a screen displaying information about your computer’s hardware. Look for any mention of the SSD, such as its model name or capacity. This confirms that the SSD is recognized by the BIOS.
4. Confirm the operating system load: Once your computer finishes booting, observe the loading behavior of your operating system. If your operating system loads quickly and smoothly, it indicates that it is running from the SSD. You should notice an overall improvement in system responsiveness and application launch times.
5. Verify the drive information: Open your computer’s file explorer or disk management tools and verify the drive information of your system drive. The SSD should be listed as the primary drive, indicating that the operating system is installed and booting from it.
6. Run benchmark tests (optional): If you want to get a more detailed analysis of the SSD’s performance, you can run benchmark tests using software like CrystalDiskMark or AS SSD. These tests assess the SSD’s read and write speeds, providing insights into its overall performance.
If, after following these steps, you’re experiencing any issues or suspect that your computer is not booting from the SSD, double-check the BIOS settings to ensure that the SSD is properly set as the primary boot device. If needed, consult your computer’s manual or manufacturer’s website for additional guidance on adjusting the boot order in the BIOS.
By confirming that your computer is indeed booting from the SSD, you can enjoy the full benefits of faster boot times, improved system responsiveness, and efficient data access. With the SSD as the main storage device, you’ll experience a noticeable performance upgrade across various computing tasks.
Conclusion
Congratulations! You’ve successfully added a solid-state drive (SSD) to your computer and configured it as the primary boot device. By following the steps outlined in this guide, you’ve unlocked the full potential of your system, enjoying faster boot times, improved application performance, and overall system responsiveness.
Throughout this process, you learned the importance of making preparations such as choosing the right SSD for your needs and backing up your data to ensure a smooth transition. You also learned how to connect the SSD to your computer and configure the BIOS settings to recognize the new drive.
Additionally, you discovered the benefits of cloning your existing hard drive onto the SSD, allowing for a seamless transfer of your operating system, files, and settings. This approach eliminates the need to reinstall your entire system from scratch.
Lastly, you confirmed that your computer is indeed booting from the SSD, ensuring that you’re fully utilizing the improved storage performance and efficiency of the SSD.
As a result of your efforts, you’re now experiencing a significant boost in your computer’s performance, making everyday tasks faster and more enjoyable. Whether you’re a casual user or a power user, the addition of an SSD has likely enhanced your computing experience.
Remember to keep your original hard drive as a backup and maintain regular backups of your important files to ensure data safety and redundancy. This practice will help safeguard your files against any unforeseen issues or failures.
Thank you for following this guide, and we hope that your experience with your new solid-state drive brings you years of improved performance and productivity!