Introduction
Welcome to the world of solid-state drives (SSDs), where your Windows 10 system can experience a significant boost in speed and performance. In this guide, we will walk you through the process of adding an SSD to your Windows 10 computer, helping you reap the benefits of faster boot times, improved application loading speeds, and overall smoother computing experience.
Gone are the days of relying solely on traditional hard disk drives (HDDs) with their spinning disks and mechanical components. SSDs have revolutionized the storage landscape by utilizing flash memory technology, which offers lightning-fast read and write speeds. As a result, your Windows 10 system can benefit from reduced data access times, decreased file transfer durations, and quicker response times for your favorite applications.
The process of adding an SSD to your Windows 10 system may sound daunting, but fear not. With some basic know-how and a few simple steps, you’ll be well on your way to enjoying the incredible performance upgrade that an SSD brings.
Throughout this guide, we will provide easy-to-follow instructions and tips to ensure a smooth installation process. We’ll cover everything from choosing the right SSD for your needs to backing up your data, physically installing the SSD, transferring your operating system and files, and finally, setting the SSD as the boot drive.
So, if you’ve been noticing sluggish performance, long boot times, and frustratingly slow file transfers on your Windows 10 system, it’s time to consider adding an SSD. Get ready to unlock the true potential of your computer and experience a new level of speed and responsiveness. Let’s dive in and discover how to add a solid-state drive to your Windows 10 system!
Benefits of Adding a Solid State Drive to Your Windows 10 System
Upgrading your Windows 10 system with a solid-state drive (SSD) can bring a multitude of advantages that will enhance your computing experience. Here are some of the key benefits of adding an SSD to your Windows 10 system:
- Faster Boot Times: One of the most noticeable improvements when using an SSD is the significantly reduced boot time. With an SSD, your Windows 10 system will start up in seconds, allowing you to get to work or play without wasting precious time waiting for your computer to load.
- Improved Application Loading Speeds: SSDs offer lightning-fast read speeds, which means that your applications will load quickly and smoothly. Whether you’re launching a program, opening a large file, or starting a game, an SSD will eliminate those frustrating moments of waiting for the application to respond.
- Enhanced System Responsiveness: With an SSD, you’ll experience a noticeable improvement in the overall responsiveness of your Windows 10 system. Whether you’re multitasking, switching between applications, or performing resource-intensive tasks, an SSD will provide a snappy and fluid user experience.
- Shortened File Transfer Duration: SSDs excel at transferring files faster than traditional hard drives. Whether you’re copying files from one location to another, transferring media files, or working with large datasets, an SSD will significantly reduce the time it takes to complete these operations.
- Reduced Loading Times in Games: If you’re an avid gamer, adding an SSD to your Windows 10 system is a game-changer. Games will load faster, allowing you to jump into the action without the frustration of long loading screens. Additionally, an SSD can help reduce the stuttering and lag that can occur during gameplay.
- Increased Reliability and Durability: Unlike traditional hard drives with moving parts, SSDs have no mechanical components, making them more reliable and durable. This means that you’ll have a lower risk of data loss due to physical damage or mechanical failure.
- Energy Efficiency: SSDs are more power-efficient compared to traditional hard drives. This can result in longer battery life for laptops and lower energy consumption for desktop systems, making it an eco-friendly choice.
By adding an SSD to your Windows 10 system, you’ll unlock its full potential and enjoy a faster, more responsive, and efficient computing experience. Say goodbye to slow boot times, laggy applications, and sluggish file transfers. Take advantage of the benefits that an SSD brings and elevate your Windows 10 system to new heights of performance and productivity.
Requirements for Installing a Solid State Drive
Before diving into the installation process, there are a few key requirements to ensure a successful installation of a solid-state drive (SSD) in your Windows 10 system. Here’s what you’ll need:
- Compatible Hardware: First and foremost, you’ll need a computer with an available drive bay to install the SSD. Most desktop computers have multiple drive bays, while laptops might have limited space for additional drives. Make sure to check your system’s specifications and available ports to ensure compatibility.
- SSD Type and Size: Determine the type and size of SSD that will suit your needs. SATA (Serial ATA) SSDs are compatible with most computers and offer excellent performance. If your system supports it, you can consider investing in an NVMe (Non-Volatile Memory Express) SSD for even faster speeds. Additionally, check the physical dimensions of the SSD to ensure it fits within your system’s drive bay.
- Sufficient Storage Capacity: Consider the amount of storage space you require for your Windows 10 system. SSDs come in various capacities, so choose one that aligns with your storage needs. Remember to factor in the operating system, applications, and files you intend to store on the SSD.
- Data Backup Solution: It’s crucial to back up your data before installing the SSD. This ensures that you can restore your files and settings in case anything goes wrong during the installation process. Utilize an external hard drive, cloud storage, or a dedicated backup software to safeguard your important data.
- Compatible Operating System: Verify that your Windows 10 system is compatible with the SSD you plan to install. Most modern computers are compatible with SSDs, but it’s always best to double-check for any specific requirements or compatibility issues.
- Installer Software: Some SSDs come with installer software to facilitate a smooth transition from your existing hard drive to the new SSD. This software can help with tasks such as data migration, disk cloning, and optimizing the SSD’s performance. Check if your chosen SSD includes any installer software and download it from the manufacturer’s website, if necessary.
- Basic Computer Knowledge: While installing an SSD is relatively straightforward, having some basic computer knowledge will be helpful. Familiarize yourself with terms like BIOS, SATA, drive imaging, and partitioning. Additionally, gather the necessary tools such as screwdrivers and anti-static wristbands to ensure a safe installation process.
By ensuring that you have the necessary requirements in place, you’ll be well-prepared for a smooth installation of your new SSD. Take the time to research and double-check compatibility to avoid any compatibility issues or surprises during the installation process. Now that you’re aware of the requirements, let’s move on to selecting the right SSD for your Windows 10 system.
Step 1: Choosing the Right SSD for Your Windows 10 System
Choosing the right solid-state drive (SSD) for your Windows 10 system is crucial to ensure optimal performance and compatibility. Here are some factors to consider when selecting an SSD:
- SATA or NVMe: Determine whether your system supports SATA or NVMe SSDs. SATA SSDs are compatible with most computers and offer significant performance improvements over traditional hard drives. NVMe SSDs, on the other hand, utilize the PCIe interface and provide even faster speeds, especially for demanding tasks such as video editing or gaming.
- Capacity: Assess your storage needs and choose an SSD with an appropriate capacity. Consider the space required for your operating system, software, and files. It’s recommended to choose an SSD with ample room for future growth, as installing a larger SSD from the start can save you the hassle of upgrading in the near future.
- Performance: Look for SSDs with high read and write speeds to ensure fast data transfer. This is particularly important if you frequently work with large files or run resource-intensive applications. Consider the SSD’s random access performance and seek out reviews or benchmarks to get an idea of its real-world performance.
- Reliability: Check the SSD’s reliability rating and research the brand’s reputation for quality and durability. Look for features such as error correction mechanisms, wear-leveling algorithms, and power loss protection to ensure the longevity and reliability of your SSD.
- Budget: Set a budget for your SSD purchase and compare prices across different brands and models. While SSD prices have become more affordable in recent years, higher-capacity and higher-performance SSDs tend to be more expensive. Consider your budget constraints and strike a balance between performance and cost.
- Warranty: Pay attention to the warranty period offered by the SSD manufacturer. A longer warranty period is an indication of the manufacturer’s confidence in their product’s durability and reliability.
- Reviews and Recommendations: Consult online reviews, forums, and reputable technology websites to gather insights and recommendations from other users. This can provide valuable information on the real-world performance and reliability of different SSD models.
By considering these factors, you’ll be equipped with the knowledge needed to select the best SSD for your Windows 10 system. Take the time to research and compare different models to find the right balance between performance, capacity, and budget. Once you’ve chosen your SSD, you’re ready to proceed to the next step: backing up your data before installing the SSD.
Step 2: Back Up Your Data Before Installing the SSD
Before diving into the installation process of your new solid-state drive (SSD) for your Windows 10 system, it is crucial to back up your data. This step ensures that you have a copy of all your important files, documents, and settings in case anything goes wrong during the installation process. Here’s how you can back up your data:
- Identify Important Data: Take some time to identify the files and folders that are crucial and need to be backed up. These may include documents, photos, videos, music, emails, and any other data that you deem valuable and irreplaceable.
- External Storage Device: Choose an external storage device where you can store your backup. This can be an external hard drive, USB flash drive, or a cloud storage service. Ensure that the storage capacity is sufficient to accommodate all your important files.
- Choose a Backup Method: Depending on your preference and the size of your data, you can use various backup methods. One option is to manually copy and paste your files to the external storage device. Alternatively, you can use backup software or built-in backup features in Windows 10 to automate the process.
- Create Multiple Backups: It is recommended to create multiple backups of your data to minimize the risk of data loss. Consider having one primary backup on an external storage device and an additional backup stored in a different location or a cloud storage service for added security.
- Verify the Backup: Once the backup is complete, it is essential to verify that your data has been successfully backed up. Double-check that all the files and folders you intended to back up are present and accessible on the external storage device.
- Test Data Restoration: To ensure the integrity of your backup, perform a test data restoration by transferring a few files from the backup to your Windows 10 system. This will confirm that the backup is functional and that your files can be restored if needed.
Backing up your data provides you with peace of mind during the SSD installation process. In case something goes wrong or data is accidentally lost, you can easily restore your files from the backup. Additionally, it serves as a good safety precaution for any unexpected system issues that may arise in the future.
With your data safely backed up, you’re now prepared to move on to the next step: physically installing the SSD in your Windows 10 system.
Step 3: Physically Install the SSD in Your Computer
Now that you have successfully backed up your data, it’s time to proceed with the physical installation of your solid-state drive (SSD) in your Windows 10 computer. The following steps will guide you through the installation process:
- Power Off and Disconnect: Begin by shutting down your computer and disconnecting it from the power source. This is crucial to ensure your safety and prevent any damage to the components.
- Locate the Drive Bay: Identify an available drive bay in your computer where you can install the SSD. Desktop computers typically have multiple drive bays, while laptops may have limited space for additional drives.
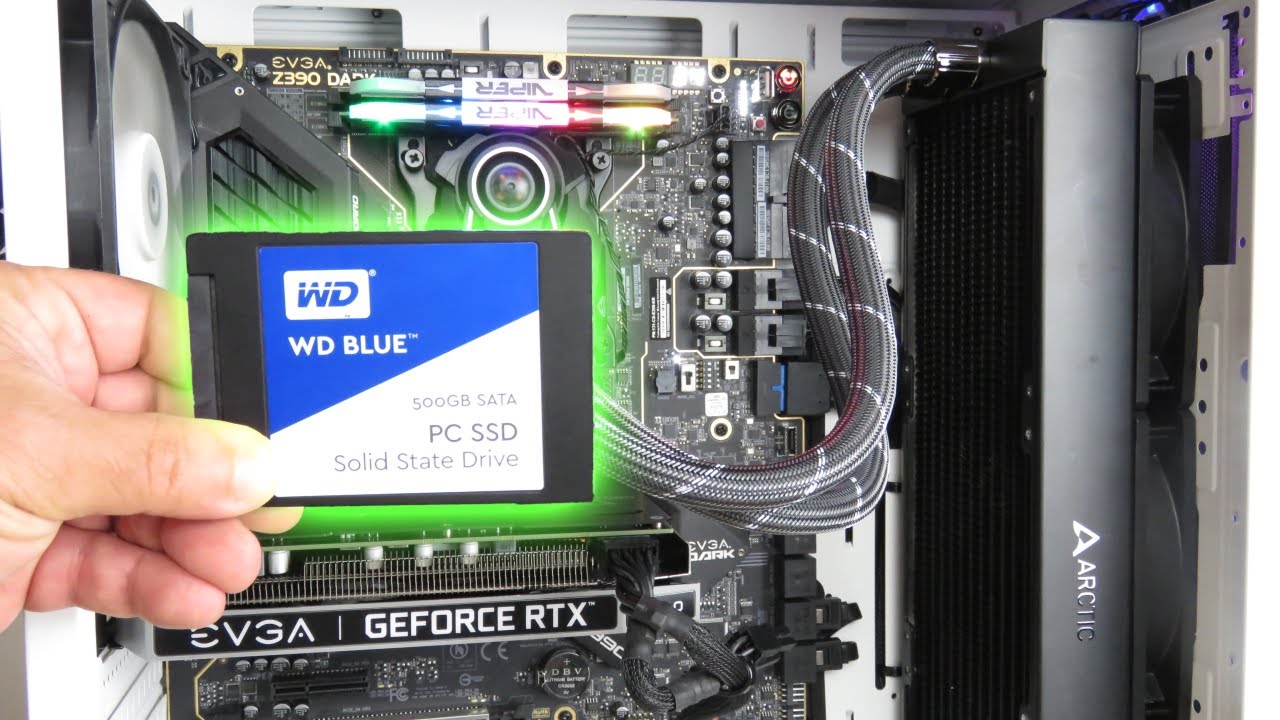
- Prepare the SSD: Remove the SSD from its packaging and handle it with care by holding it on the edges. Avoid touching the connectors or exposing it to static electricity. If needed, refer to the manufacturer’s instructions for any specific preparation steps for your SSD model.
- Mount the SSD: Depending on your computer’s drive bay design, you may need to install a mounting bracket or adapter to secure the SSD in place. Follow the instructions provided with the bracket or adapter to properly attach the SSD to the drive bay.
- Connect the Cables: Connect the SATA data cable and SATA power cable to the SSD. The SATA data cable plugs into the motherboard, while the SATA power cable connects to the power supply. Ensure a secure connection for both cables.
- Secure the SSD: Once the cables are connected, gently slide the SSD into the drive bay while aligning it with the mounting bracket or adapter. Use screws or other fasteners provided with your computer or SSD to secure the SSD firmly in place.
- Reassemble Your Computer: With the SSD installed, reattach any panels or components that were removed earlier. Double-check all the connections and ensure everything is securely in place.
- Power On and Verify: Plug your computer back into the power source and power it on. Enter your computer’s BIOS or UEFI settings to verify that the system recognizes the new SSD. If necessary, consult your computer’s manual or manufacturer’s website for instructions on accessing the BIOS/UEFI settings.
Congratulations! You have now successfully installed the SSD in your Windows 10 computer. The physical installation process is complete, and you’re ready to proceed to the next steps of initializing, partitioning, and transferring your data to the new SSD.
Continue reading to learn how to initialize and partition the newly installed SSD in the next step.
Step 4: Initializing and Partitioning the New SSD
With your solid-state drive (SSD) physically installed in your Windows 10 computer, the next step is to initialize and partition the SSD. This process prepares the SSD for use and allows you to allocate storage space for different purposes. Follow these steps to initialize and partition your new SSD:
- Access Disk Management: Right-click on the Start menu and select “Disk Management” from the contextual menu. This will open the Disk Management utility in Windows 10.
- Locate the SSD: In the Disk Management window, find your newly installed SSD. It should be listed as a new disk without any partitions or drive letters assigned to it.
- Initialize the SSD: Right-click on the SSD and select “Initialize Disk” from the options. In the Initialize Disk window, choose the appropriate partition style (MBR or GPT) and click “OK” to proceed.
- Create a New Partition: Right-click on the unallocated space of the SSD and select “New Simple Volume” from the options. Follow the wizard’s instructions to specify the partition size, assign a drive letter, and choose the file system format (e.g., NTFS). Assign a meaningful volume label and complete the wizard to create the new partition.
- Repeat if Desired: If you wish to create additional partitions on the SSD, repeat the previous step for the remaining unallocated space. You can allocate different sizes and use different file systems for each partition, depending on your specific needs.
- Confirm the Drive Letter: After creating the partition(s), the SSD will be assigned a drive letter. Ensure that the drive letter is appropriate and does not conflict with existing drive letters on your system.
- Format the Partitions: If you did not select the “Format this volume” option during the partition creation process, right-click on each partition and choose “Format” from the options. Select the desired file system format, assign a volume label, and complete the formatting process.
- Verify the Partitions: Double-check that the SSD partitions are now listed with the assigned drive letters and are formatted correctly. You can also verify the size and file system of each partition.
With the SSD initialized and partitioned, it is ready to be used as a storage device in your Windows 10 system. At this stage, you can start transferring your files, applications, and operating system to the new SSD. We will cover the process of cloning your existing hard drive to the SSD in the next step.
Note: Make sure to double-check all the steps and settings during the initialization and partitioning process to avoid any accidental data loss or errors. If you are unsure or unfamiliar with the process, it is recommended to seek assistance from a knowledgeable individual or consult official documentation provided by your SSD manufacturer.
Step 5: Cloning Your Existing Hard Drive to the SSD
Cloning your existing hard drive to the newly installed solid-state drive (SSD) is a convenient way to transfer your operating system, files, and applications without having to reinstall everything from scratch. Follow these steps to clone your hard drive to the SSD:
- Choose a Cloning Software: Select a reliable and reputable cloning software that supports disk-to-disk cloning. There are various options available, both free and paid, such as Acronis True Image, EaseUS Todo Backup, or Macrium Reflect. Download and install your chosen software.
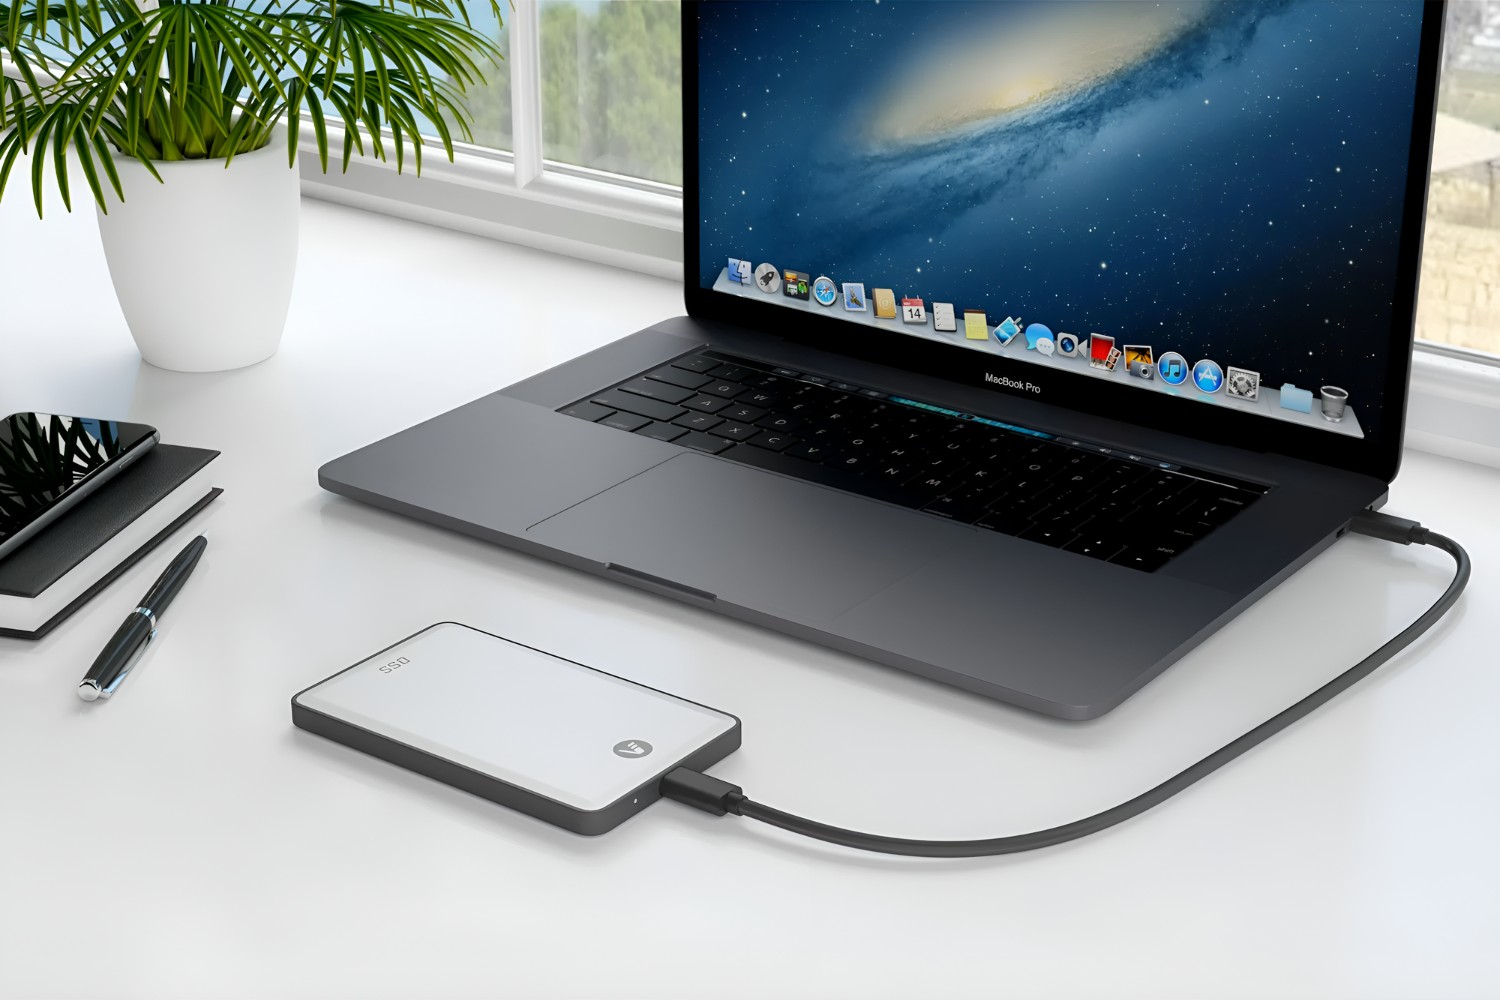
- Connect the SSD: If your cloning software allows for a direct disk-to-disk cloning, connect the SSD to your computer using a USB-to-SATA adapter or an external hard drive enclosure. Alternatively, you can create a disk image file on an external storage device and later use it to clone the SSD.
- Launch the Cloning Software: Open the cloning software and follow the instructions to start the cloning process. Select the source drive (your existing hard drive) and the destination drive (the SSD) where you want to clone the data.
- Choose Cloning Options: Depending on the software you’re using, you may have various cloning options. Typically, you can choose to clone the entire disk or specific partitions. You may also have the option to resize partitions on the SSD to make use of the available space more efficiently.
- Start the Cloning Process: Verify that you’ve selected the correct source and destination drives, and then initiate the cloning process. The time it takes to complete will depend on the size of the data being cloned. Be patient and allow the software to execute the cloning without interruption.
- Review and Validate: Once the cloning process is complete, carefully review the cloned SSD to ensure that all data, including the operating system, files, and applications, has been transferred correctly. Synchronize any changes or updates between the source drive and the cloned SSD before proceeding further.
- Disconnect the Source Drive: Shut down your computer, disconnect the source drive (your original hard drive), and keep it in a safe place as a backup. This step ensures that you boot directly from the SSD without any conflicts or unwanted accesses to the old drive.
- Configure the SSD as Boot Drive: In your computer’s BIOS or UEFI settings, set the cloned SSD as the primary boot device. This will ensure that your system boots from the SSD and takes full advantage of its speed and performance.
By successfully cloning your existing hard drive to the SSD, you’ve transferred all your data, applications, and operating system to the new drive. Your Windows 10 system is now ready to deliver improved boot times, faster application loading, and overall enhanced performance.
Note: Double-check all the steps and settings during the cloning process to avoid any accidental data loss or errors. Cloning software typically provides in-depth documentation or guides, which can be helpful if you encounter any difficulties or uncertainties during the process.
Step 6: Setting the SSD as the Boot Drive
Once you have successfully cloned your existing hard drive to the solid-state drive (SSD), it’s time to set the SSD as the boot drive in your Windows 10 system. By doing this, you ensure that your computer starts up from the SSD and takes full advantage of its speed and performance. Follow these steps to set the SSD as the boot drive:
- Access the BIOS/UEFI Settings: Restart your computer and access the BIOS or UEFI settings. The method to access this may vary depending on your computer’s manufacturer. Typically, you will need to press a specific key during startup, such as F2, Del, or Esc. Refer to your computer’s manual or manufacturer’s website for detailed instructions.
- Navigate to Boot Options: Once you’ve entered the BIOS/UEFI settings, navigate to the Boot or Boot Options section. This contains settings related to the boot order and devices.
- Change the Boot Order: In the Boot or Boot Options section, locate the boot order settings. Look for an option such as “Boot Priority,” “Boot Sequence,” or “Boot Order.” Adjust the order so that the SSD is listed as the first boot device.
- Save and Exit: After changing the boot order, save the changes and exit the BIOS/UEFI settings. The specific key to save and exit may vary (usually F10 or a similar key). Confirm the saving of changes, and your computer will restart.
- Verify Successful Boot: Upon restart, your Windows 10 system will now boot from the SSD. You should experience significantly faster boot times and overall improved performance.
- Check System Stability: After setting the SSD as the boot drive, take some time to ensure that your Windows 10 system is running smoothly. Test various applications, open files, and perform common tasks to verify that everything is working as expected. Monitor system performance to confirm the benefits of using the SSD as the boot drive.
- Securely Erase or Repurpose the Old Drive: If you no longer need to use the old hard drive, consider securely erasing its data using a disk wipe tool or repurposing it for additional storage. Ensure that any sensitive or personal information is properly removed or backed up before making any changes to the old drive.
By setting the SSD as the boot drive, you’ve completed the process of fully integrating and utilizing the advantages of the SSD in your Windows 10 system. Enjoy the faster boot times and improved overall performance that the SSD brings.
Note: Take caution when making changes to your computer’s BIOS/UEFI settings, as incorrect modifications can lead to system instability or failure to boot. If you are unsure or unfamiliar with this process, it is recommended to seek assistance from a knowledgeable individual or consult official documentation provided by your computer’s manufacturer.
Step 7: Verifying the Successful Installation of the SSD
After setting the solid-state drive (SSD) as the boot drive in your Windows 10 system, it is essential to verify that the installation was successful. By conducting a few checks and tests, you can ensure that your system is running smoothly and that the SSD is functioning as expected. Follow these steps to verify the successful installation of the SSD:
- Boot Time: Restart your computer and pay attention to the boot time. It should be significantly faster compared to when you were using the traditional hard drive. With an SSD as the boot drive, your Windows 10 system should start up swiftly, allowing you to quickly access your desktop and files.
- Application Loading: Open various applications and monitor their loading times. Applications should launch noticeably faster compared to before. If you experience quicker response times when working with software, it is a good indication that the SSD is functioning optimally.
- File Transfer Speeds: Copy a few large files or folders from one location to another on your SSD. The transfer speeds should be significantly faster compared to your previous hard drive. Faster file transfer speeds indicate that the SSD is performing at its full potential.
- System Responsiveness: Navigate through your Windows 10 system and observe the system’s general responsiveness. Tasks such as opening windows, switching between applications, and performing everyday operations should feel snappier and more fluid, enhancing your overall user experience.
- Monitor System Performance: Keep an eye on your system’s performance using built-in Windows 10 tools or third-party software. Verify that the SSD is being recognized correctly, monitor the SSD’s temperature, and ensure that it remains stable under different workloads. Any abnormal behavior or performance issues may indicate a problem with the SSD installation.
- Validate Data Integrity: Check your files, documents, and media to ensure that all data transferred correctly from the old hard drive to the SSD. Verify that files open without errors, can be edited and saved without issues, and play smoothly if they are videos or music files.
- Run Benchmark Tests: Optionally, you can run benchmark tests specifically designed to evaluate SSD performance. These tests measure factors such as read and write speeds, input/output operations per second (IOPS), and sequential and random access performance. Compare the SSD’s results against similar models to ensure it is performing within the expected range.
By following these verification steps, you can confirm the successful installation and operation of the SSD in your Windows 10 system. If all tests and checks indicate that the SSD is functioning as expected, you can confidently enjoy the benefits of improved performance, faster boot times, and enhanced overall responsiveness in your daily computing tasks.
Note: It is important to periodically monitor the health and performance of your SSD using appropriate software or utilities. These tools can provide insights into the SSD’s lifespan, reallocated sector count, wear-leveling status, and other important metrics that can help you maintain the longevity of your drive.
Conclusion
Congratulations! You have successfully added a solid-state drive (SSD) to your Windows 10 system and unlocked a new level of speed and performance. By following the steps outlined in this guide, you have transformed your computer into a more efficient and responsive machine.
Through careful selection, you chose the right SSD for your needs and ensured compatibility with your Windows 10 system. By backing up your important data, you safeguarded against any potential loss during the installation process. Physically installing the SSD and setting it as the boot drive paved the way for faster boot times, quicker application loading, and enhanced system responsiveness.
By cloning your existing hard drive to the SSD, you seamlessly transferred your operating system, files, and applications without the need for a fresh installation. Finally, by verifying the successful installation, you confirmed that the SSD is functioning optimally and enjoying the full benefits it brings.
With the SSD as the new heart of your Windows 10 system, you can expect improved performance, reduced loading times, faster file transfers, and an overall smoother computing experience. Whether you are using your computer for work, study, gaming, or entertainment, the added speed and responsiveness will undoubtedly enhance your productivity and enjoyment.
Remember to regularly maintain and monitor your SSD’s health using appropriate software, and keep your data backed up to ensure seamless operation and data integrity. You can fully enjoy the benefits of your SSD for years to come.
Now that you have successfully completed the installation process and are reaping the rewards of your new SSD, go ahead and explore the newfound speed and performance of your Windows 10 system!