Overview of SSD Upgrade
An SSD (Solid State Drive) upgrade is a process of replacing your computer’s traditional hard drive with a solid state drive, which is a faster and more reliable storage solution.
Unlike traditional hard drives that use spinning disks, an SSD uses flash memory to store data. This difference in technology translates to significant improvements in performance and reliability, making an SSD upgrade a worthwhile investment for many computer users.
By upgrading to an SSD, you can experience faster boot times, quicker application launches, and overall improved system responsiveness. These benefits are due to the faster read and write speeds of an SSD compared to a traditional hard drive.
Another advantage of SSDs is their durability. Since they don’t have moving parts, they are less susceptible to physical damage from drops or shocks. This makes them ideal for laptops or portable devices.
Furthermore, an SSD upgrade can extend the lifespan of older computers by breathing new life into them. Older machines tend to slow down over time due to the limitations of traditional hard drives. With an SSD, you can overcome this bottleneck and enjoy a significant boost in performance.
It’s important to note that an SSD upgrade can be performed on both desktop computers and laptops, as long as they have compatible storage slots and connectors. However, it’s always recommended to consult your device’s manufacturer or a professional technician before proceeding with any hardware upgrades.
In the following sections, we will explore the various benefits of upgrading to an SSD, delve into how SSDs work, discuss the different types of SSDs available, and provide a step-by-step guide on how to install an SSD and transfer data to it. So, let’s dive in and explore the exciting world of SSD upgrades!
Benefits of Upgrading to an SSD
Upgrading to an SSD offers a multitude of benefits that can significantly improve your computer’s performance and user experience. Here are some of the key advantages of making the switch:
- Speed: The most noticeable benefit of an SSD upgrade is the significant increase in speed. Booting up your computer, launching applications, and accessing files becomes remarkably faster, allowing you to work more efficiently.
- Reliability: Unlike traditional hard drives, SSDs do not rely on moving parts, making them more reliable and less prone to mechanical failures. This means fewer incidents of data loss and a reduced risk of system crashes.
- Energy Efficiency: SSDs consume less power than traditional hard drives, reducing energy consumption and extending battery life in laptops and portable devices. This is especially beneficial for users who rely on their devices for long periods without access to a power source.
- Noiseless Operation: Since SSDs have no moving parts, they operate silently. This allows for a quieter computing experience, eliminating the distracting sounds associated with spinning hard drives.
- Improved Multitasking: SSDs can handle multiple read and write operations simultaneously, which greatly enhances multitasking capabilities. You can open multiple applications, switch between tasks, and transfer data without experiencing significant slowdowns.
- Enhanced Gaming Performance: Gamers can benefit greatly from an SSD upgrade. The faster load times and reduced latency provided by an SSD can enhance gaming experiences, resulting in smoother gameplay and reducing lag.
- Portability: If you use a laptop or a portable device, the lighter weight and smaller form factor of SSDs make them ideal. SSDs are not only more resistant to physical damage from drops and shocks, but they also contribute to overall system weight reduction, making your device more portable and easier to carry.
Overall, upgrading to an SSD can breathe new life into your computer, enhancing its performance, reliability, and energy efficiency. Whether you are a professional seeking faster productivity, a gamer looking for smoother gameplay, or a casual user wanting a better overall computing experience, an SSD upgrade delivers substantial benefits that make it a worthwhile investment.
How Does an SSD Work?
To understand how an SSD works, it’s important to first grasp the basic difference between SSDs and traditional hard drives (HDDs). Unlike HDDs, which use mechanical components to read and write data on spinning disks, SSDs rely on NAND flash memory chips to store and retrieve information.
At the heart of an SSD are these NAND flash memory chips, which are organized into a grid of cells. Each cell can store multiple bits of data, typically represented as either a “0” or a “1.” These cells are further grouped into pages, blocks, and ultimately segments to optimize performance and efficiency.
When data is written to an SSD, the controller sends an electrical charge to the appropriate cells, which align the internal electrical charges to accurately represent the desired data. This process, known as “programming,” occurs at the page level and can be done individually or in batches.
On the other hand, when data needs to be retrieved from the SSD, the controller detects the voltage levels of the cells and determines the corresponding binary values. This process, known as “reading,” is also performed at the page level.
One crucial aspect of SSDs is the wear-leveling algorithm, designed to distribute the write and erase operations evenly across the NAND flash memory cells. This ensures each cell is used uniformly, extending the overall lifespan of the SSD.
Another important concept in SSDs is “TRIM,” which helps maintain the drive’s performance over time. TRIM allows the operating system to notify the SSD about the blocks of data that are no longer in use, enabling the SSD to erase and prepare those blocks for future write operations. This helps prevent performance degradation over time as the drive fills up with data.
Overall, the utilization of NAND flash memory, combined with advanced controller technology and wear-leveling algorithms, enables SSDs to deliver faster read and write speeds, lower latency, and greater durability compared to traditional hard drives.
Understanding how an SSD works provides insight into the improved performance and reliability you can expect from an SSD upgrade. With its efficient data storage and retrieval mechanisms, an SSD can revolutionize the way your computer operates, ushering in a new era of speed and responsiveness.
Types of SSDs
There are various types of SSDs available on the market, each offering different performance characteristics, form factors, and connectivity options. Understanding the different types can help you choose the right SSD for your specific needs. Here are the most common types of SSDs:
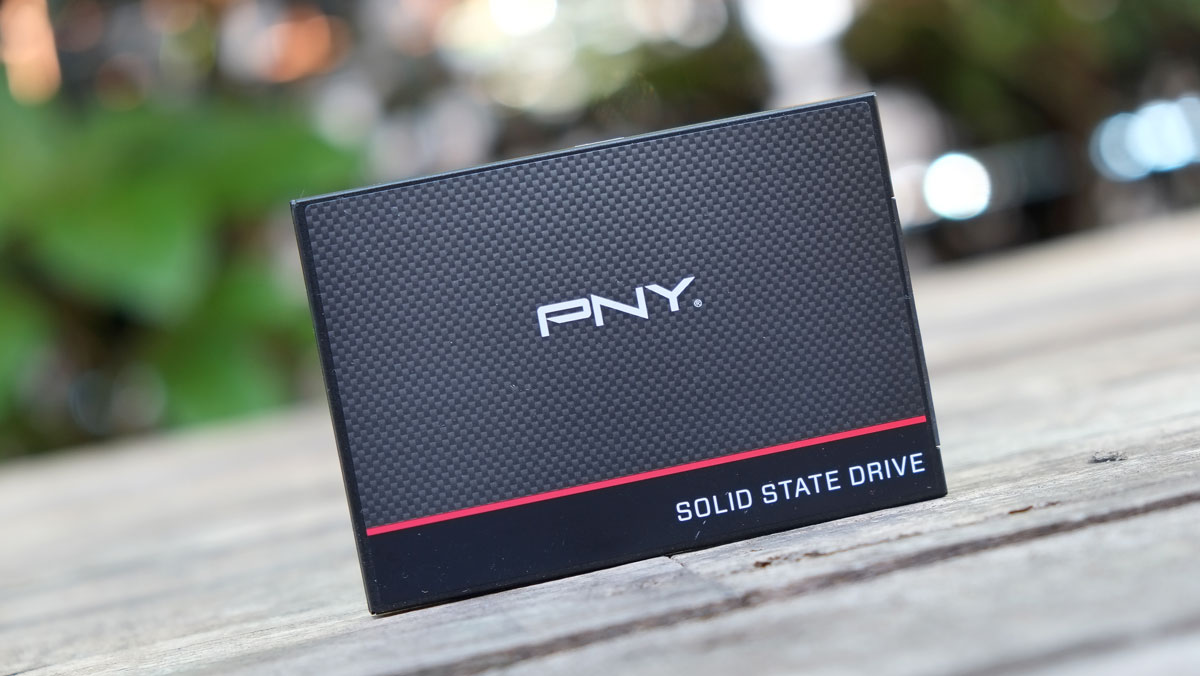
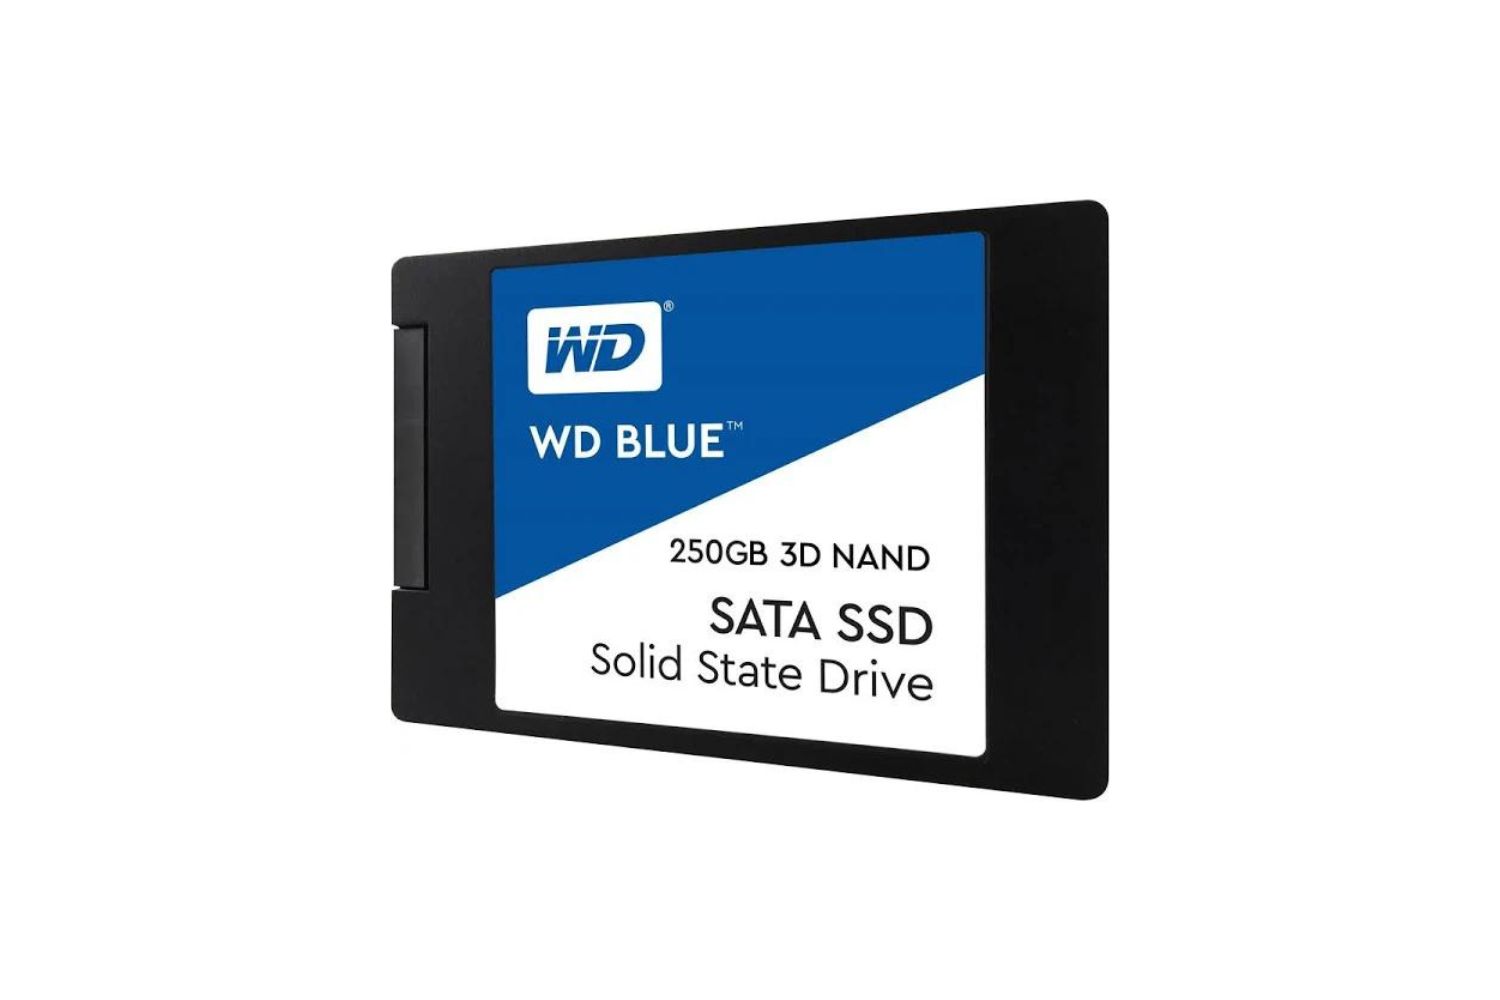
- SATA SSDs: SATA (Serial ATA) SSDs are the most widely used type of SSDs. They connect to the motherboard using the same SATA interface used by traditional hard drives. SATA SSDs provide significant performance improvements over HDDs but have limitations due to the maximum speed of the SATA interface.
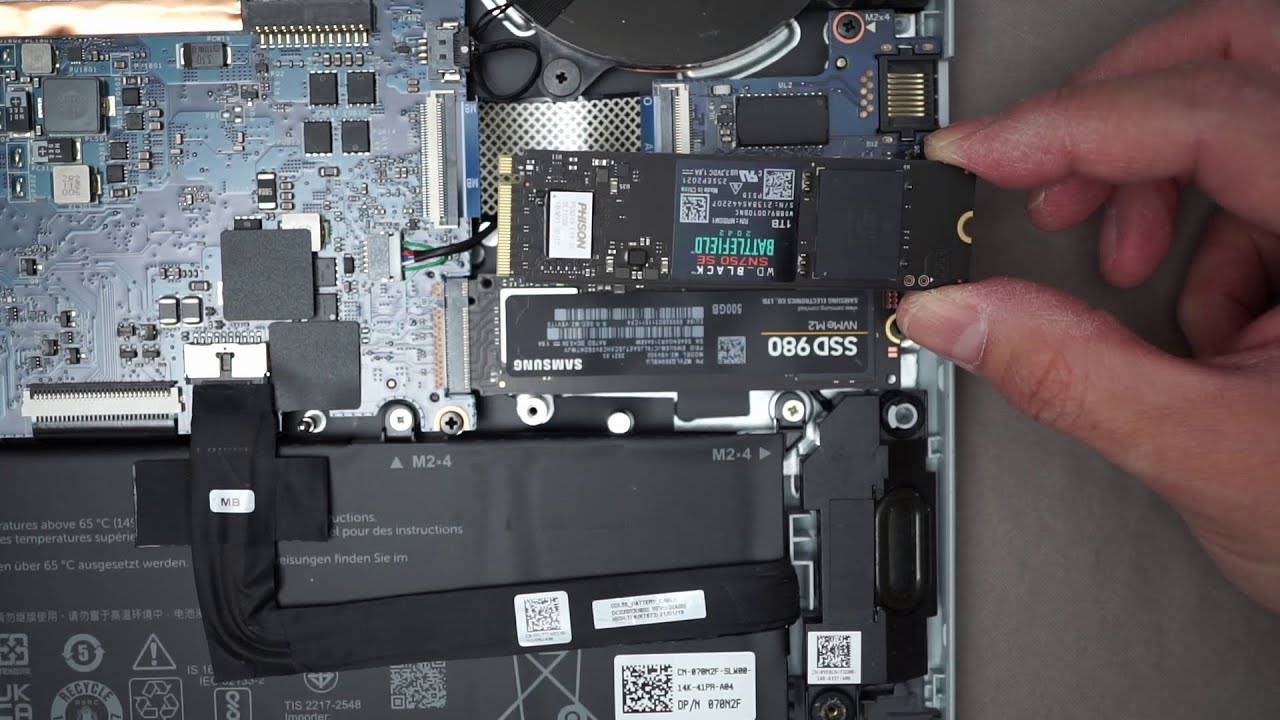
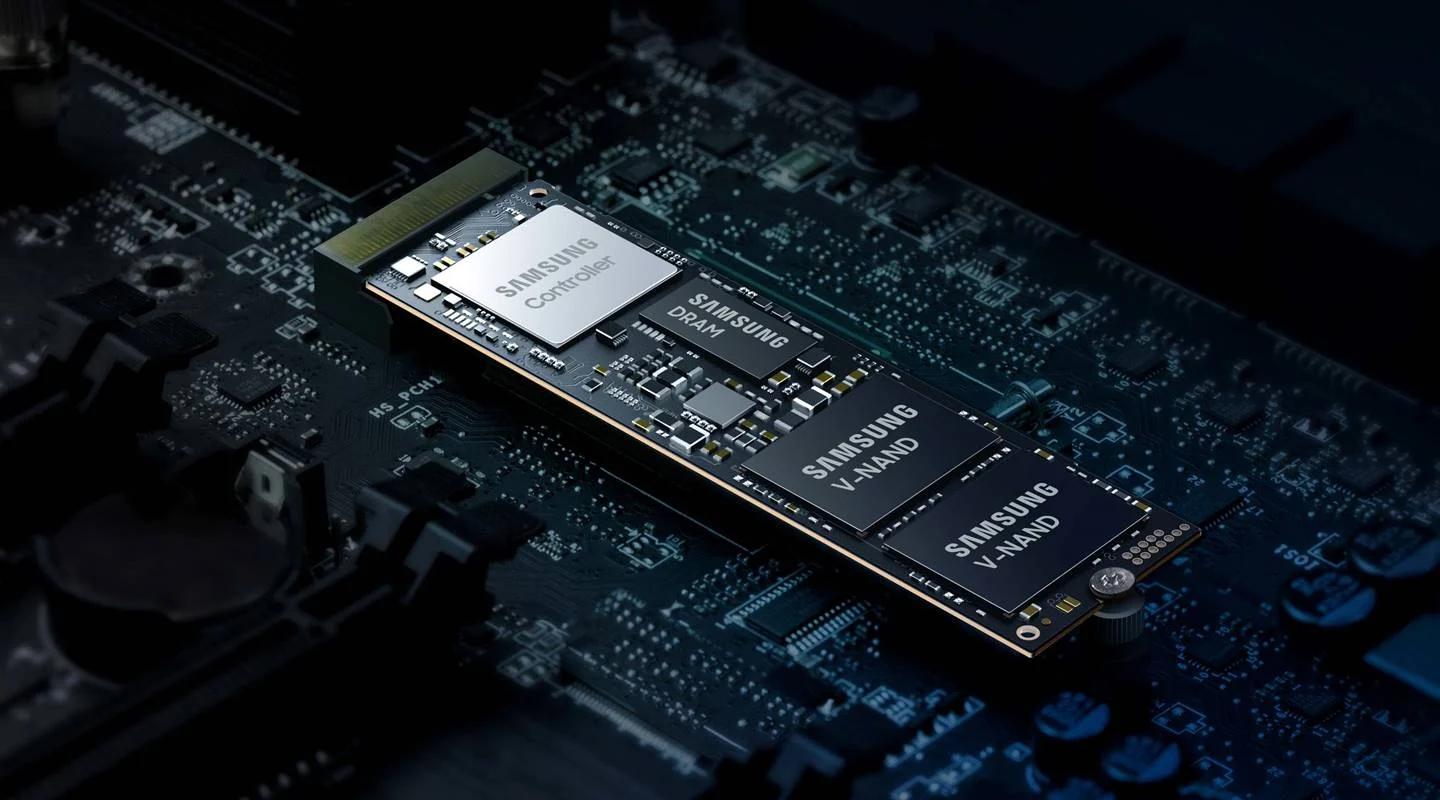
- NVMe SSDs: NVMe (Non-Volatile Memory Express) SSDs are the latest and fastest type of solid state drives. They use the PCIe (Peripheral Component Interconnect Express) interface and bypass the limitations of the SATA interface, allowing for much higher data transfer speeds. NVMe SSDs are ideal for high-performance systems that require maximum speed and responsiveness.
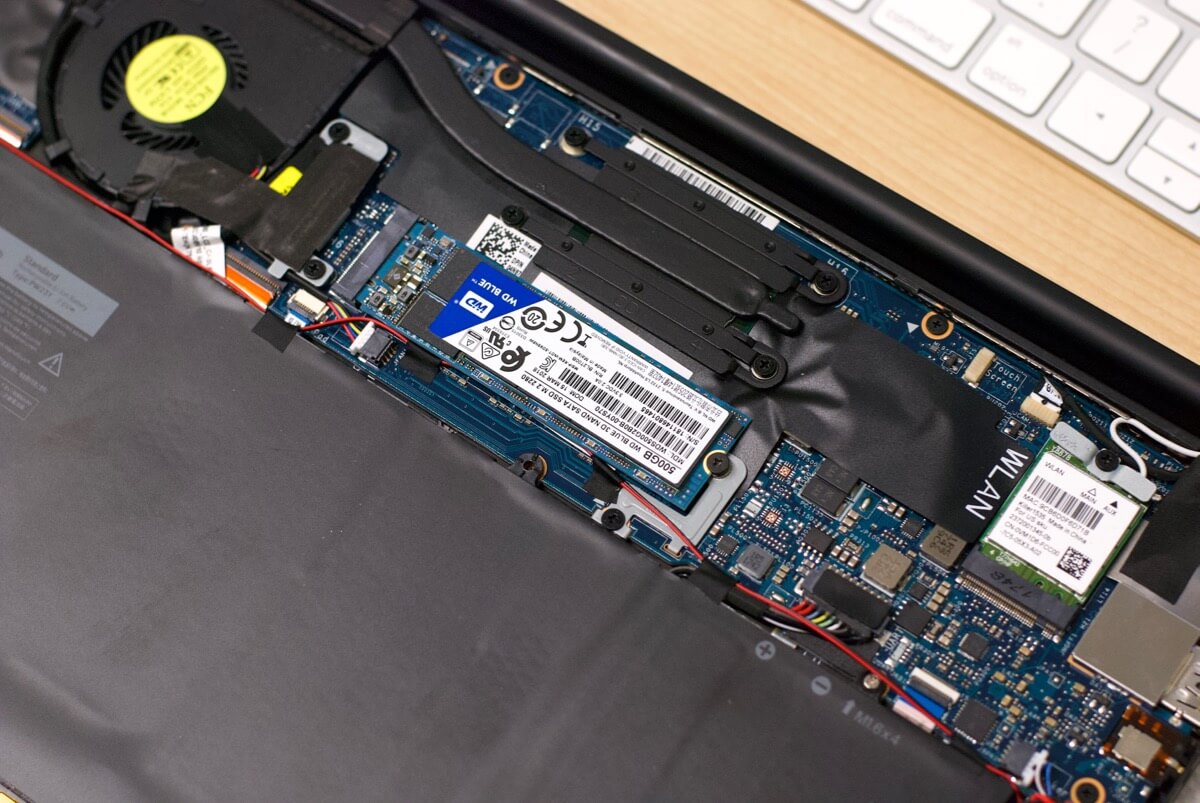
- M.2 SSDs: M.2 SSDs are small form factor SSDs that connect directly to the motherboard using the M.2 slot. They come in different lengths and widths and support both SATA and NVMe protocols. M.2 SSDs are commonly used in laptops and ultrabooks due to their compact size and fast performance.
- PCIe SSDs: PCIe SSDs are similar to NVMe SSDs as they also use the PCIe interface. They come in various form factors, such as HHHL (Half-Height, Half-Length) and U.2, and offer high-speed data transfer rates. PCIe SSDs are commonly used in high-end desktops, workstations, and servers that demand maximum performance.
- External SSDs: External SSDs are portable drives that connect to your computer via USB or Thunderbolt interfaces. They offer the convenience of expandable storage while providing faster data transfer speeds compared to traditional external hard drives. External SSDs are great for backups, file transfers, and on-the-go storage needs.
When choosing an SSD, consider your specific requirements, budget, and compatibility with your computer. If your motherboard supports NVMe or M.2 slots, opting for an NVMe or M.2 SSD can provide the best performance. However, if you have an older system or limited budget, a SATA SSD can still deliver significant speed improvements compared to a traditional hard drive.
Always check the specifications and compatibility of the SSD with your computer before making a purchase. SSDs have revolutionized the storage industry, offering faster, more reliable, and energy-efficient solutions for all types of computing needs.
Choosing the Right SSD for Your Needs
When selecting an SSD for your system, it’s important to consider several factors to ensure that you choose the right one that meets your specific needs. Here are some key considerations to keep in mind:
- Compatibility: Check the compatibility of the SSD with your device. Ensure that it uses a compatible interface (SATA, NVMe, M.2, etc.) and that your motherboard has the necessary connectors and slots to accommodate the SSD.
- Capacity: Determine the storage capacity you require. SSDs come in different sizes, ranging from a few hundred gigabytes to several terabytes. Consider your storage needs, including your operating system, applications, and data, to determine the appropriate capacity.
- Performance: Evaluate the performance characteristics of the SSD. Look for specifications such as read and write speeds, random and sequential performance, and input/output operations per second (IOPS). Higher numbers indicate faster performance and improved responsiveness.
- Endurance: Consider the endurance or durability of the SSD, which refers to its ability to sustain a certain amount of data written to it over its lifespan. Look for the drive’s terabytes written (TBW) rating, which gives you a sense of how much data you can write to the SSD before its performance starts to degrade.
- Price: Set a budget for your SSD purchase. SSDs generally cost more than traditional hard drives, but prices have come down in recent years. Consider the balance between performance, capacity, and cost to find the SSD that offers the best value for your specific requirements.
- Brand and Warranty: Research reputable SSD brands that have a track record of producing reliable and high-quality drives. Check customer reviews and ratings to get an idea of the SSD’s reliability. Additionally, look for SSDs with a longer warranty period, as it indicates the manufacturer’s confidence in the product’s longevity.
- Additional Features: Consider any additional features that might be important to you. This could include data encryption, power loss protection, built-in error correction, or software utilities that enhance the SSD’s performance or functionality.
By considering these factors, you can narrow down your options and find the SSD that best fits your needs and budget. Remember that the right SSD can greatly enhance your system’s performance, responsiveness, and overall user experience, making it a worthwhile investment.
Preparing for an SSD Upgrade
Before performing an SSD upgrade, there are a few necessary steps to ensure a smooth and successful transition. Proper preparation will help protect your data and make the installation process hassle-free. Here are the essential steps to take when preparing for an SSD upgrade:
- Backup Your Data: Prior to any hardware upgrade, it is crucial to back up your data. Create a complete backup of your files, documents, and important data to an external storage device or a cloud-based backup service. This ensures that you have a copy of all your important files in case anything goes wrong during the upgrade process.
- Check Compatibility: Verify the compatibility of the SSD with your computer. Ensure that the SSD is compatible with your device’s storage interface (SATA, NVMe, M.2, etc.) and that your motherboard supports the necessary connectors and slots.
- Prepare Necessary Tools: Gather the tools you will need for the upgrade process. This may include a screwdriver, SATA or power cables (if required), and any other tools specific to your computer model. Refer to the user manual or online guides for your specific computer model to determine the exact tools needed.
- Clean Up Your Current Drive: Before migrating to the SSD, clean up your current drive to remove any unnecessary files, temporary files, or duplicate files. This will help reduce the amount of data you need to transfer and optimize the performance of your new SSD.
- Update Your Operating System and Firmware: It is recommended to update your operating system to the latest version and also check for any firmware updates for your SSD. These updates can improve compatibility, security, and performance, ensuring optimal functionality with your new SSD.
- Keep Installation Instructions Handy: Collect installation instructions and guides for your specific SSD and computer model. These resources will provide step-by-step instructions tailored to your hardware setup, ensuring a smooth installation process.
- Prepare for Reinstallation of Software: Make a list of the software applications you currently have installed on your computer. This will help facilitate the process of reinstalling your applications onto the new SSD after the upgrade is complete.
- Ensure Adequate Power Supply: Verify that your power supply is sufficient to support the new SSD. Some high-performance SSDs, particularly PCIe-based ones, may require additional power connections beyond the data connection. Check your power supply’s specifications to ensure it can handle the increased demands.
By following these preparation steps, you can avoid potential issues during the SSD upgrade process and ensure a smooth transition. Taking the time to back up your data, gather the necessary tools, and clean up your existing drive will help ensure a successful installation and a seamless experience with your new SSD.
How to Install an SSD
Installing an SSD into your computer is a relatively straightforward process. Here’s a step-by-step guide to help you install your new SSD:
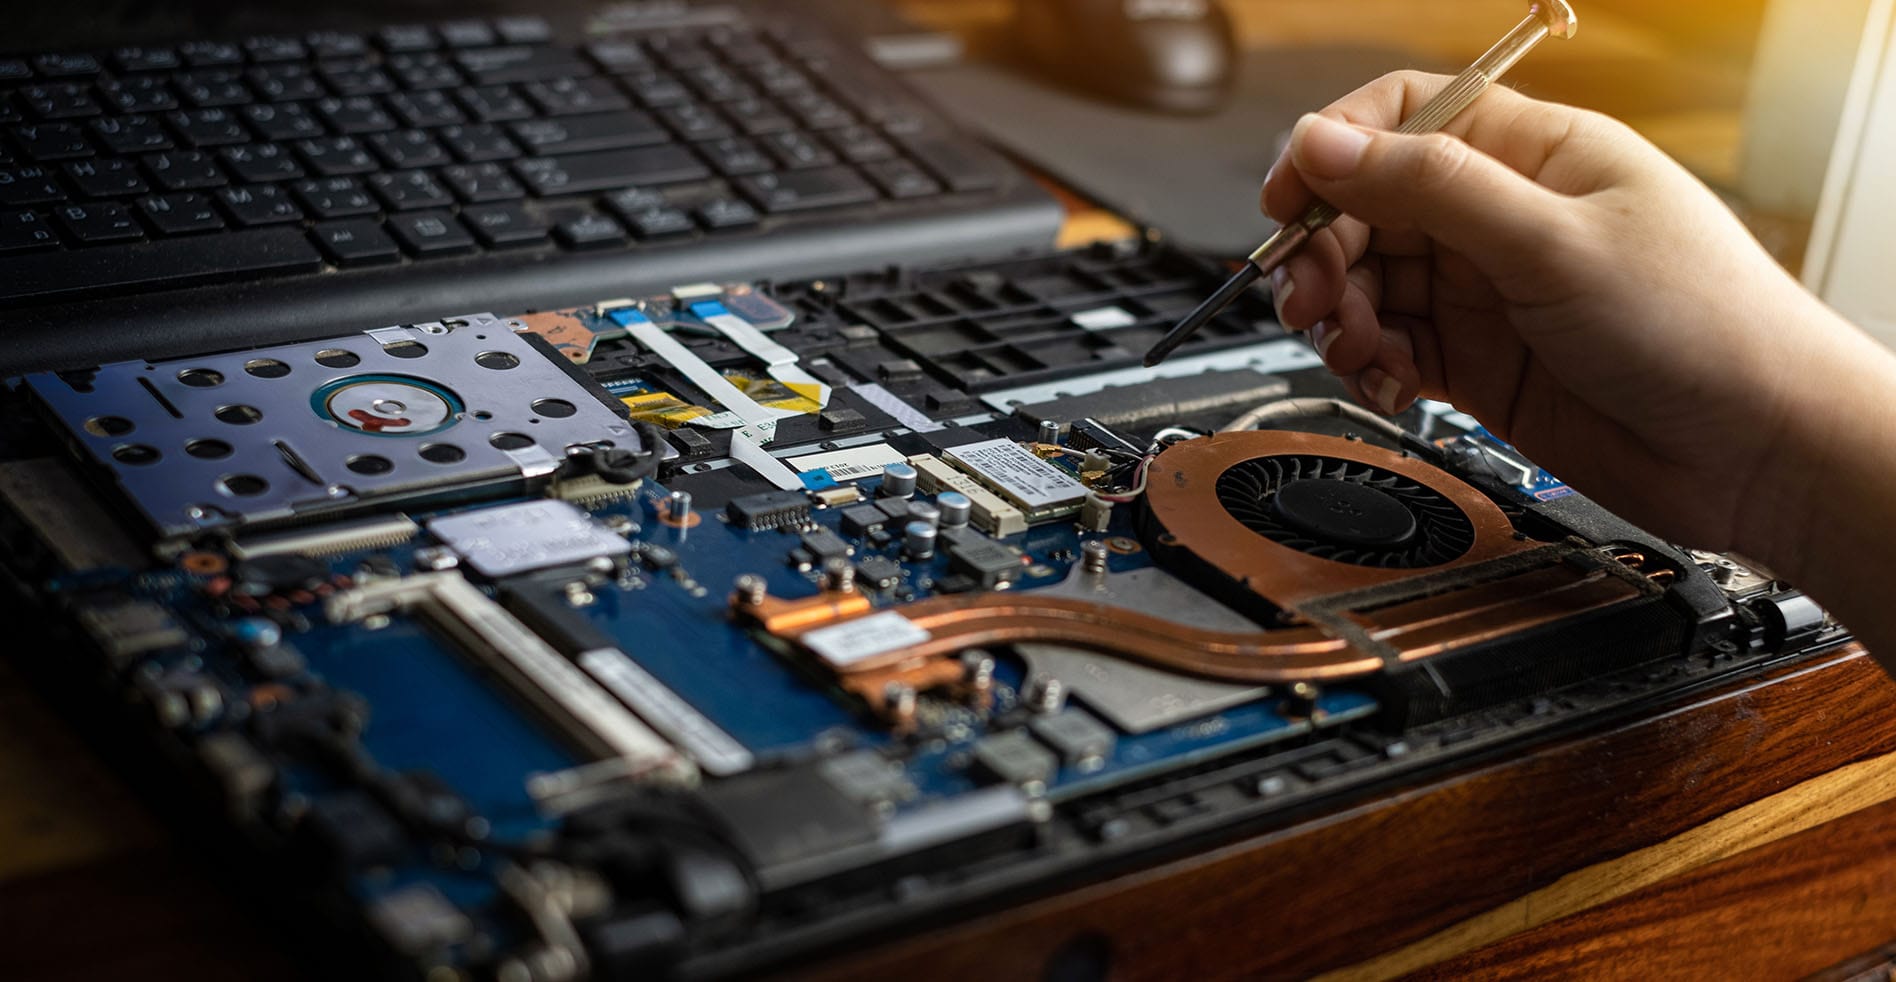
- Prepare Your Workspace: Start by powering off your computer and unplugging it from the power source. Find a clean and well-lit workspace with ample room to maneuver. Place your computer on a stable surface, such as a desk or table.
- Open Your Computer Case: Depending on your computer model, you may need to remove a side panel or access a designated drive bay. Consult your computer’s user manual or manufacturer’s website for specific instructions on opening the case.
- Locate an Empty Drive Bay: Identify an available drive bay to install your SSD. This may be a 2.5-inch bay or an M.2 slot, depending on the form factor of your SSD. If necessary, remove any mounting brackets or screws from the bay to ensure a proper fit.
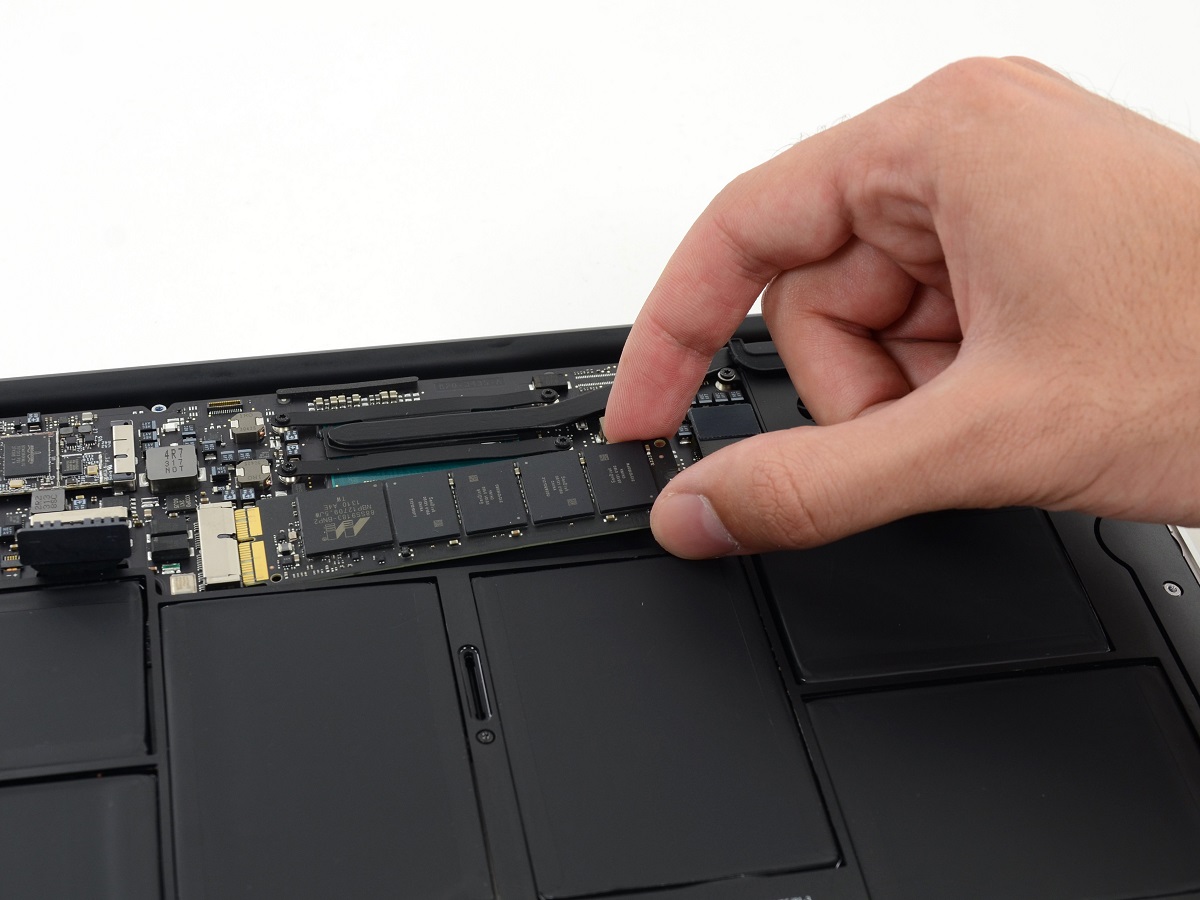
- Connect the SSD: If you’re installing a 2.5-inch SSD, connect the SATA data cable to an available SATA port on the motherboard. Connect one end of the SATA power cable to the SSD and the other end to an available power connector from your power supply. For an M.2 SSD, insert it into the corresponding M.2 slot and secure it with the appropriate screw if required.
- Secure the SSD: Once the SSD is connected, secure it in place using screws or any mounting brackets provided with your computer or SSD. Ensure that the SSD is firmly fixed and does not move around inside the drive bay.
- Close the Computer Case: Carefully close the computer case and secure it with screws or latches. Ensure that everything is properly aligned and that there are no loose cables or components inside the case that could obstruct airflow or cause damage.
- Power On Your Computer: Plug in the power cable and any other peripherals that you disconnected earlier. Power on your computer and enter the BIOS/UEFI settings by pressing the designated key during startup (usually Del, F2, or Esc). Ensure that the new SSD is recognized by the system and properly detected in the BIOS/UEFI.
- Reinstall Operating System and Software: If you are installing the SSD as a primary drive, you will need to reinstall your operating system onto the new SSD. Follow the operating system’s installation prompts and select the SSD as the installation destination. After installing the OS, you can reinstall your applications and restore your backed-up data onto the new SSD.
- Verify SSD Performance: Once the installation is complete, test the performance of your new SSD. Verify that it is functioning correctly, and your system is benefiting from the increased speed and responsiveness.
Please note that these instructions may vary depending on your specific computer model and SSD type. Always refer to the manufacturer’s documentation and guides for precise instructions tailored to your hardware. If you’re uncertain about any step, it’s recommended to seek assistance from a professional technician to ensure a successful installation.
Transferring Data to the New SSD
After successfully installing your new SSD into your computer, the next step is to transfer your data from the old storage device to the new SSD. Here are several methods to help you transfer your data:
- Manual Data Transfer: You can manually transfer your files by simply copying and pasting them from your old storage device to the new SSD. This method is suitable for smaller amounts of data or specific files and folders.
- Clone Your Drive: Drive cloning involves creating an exact replica of your existing drive onto the new SSD. This method is ideal for transferring the entire system, including the operating system, applications, and data. You can use cloning software like Clonezilla, Macrium Reflect, or Acronis True Image to perform the cloning process.
- Backup and Restore: Another way to transfer your data is by creating a backup of your files using a backup software or built-in backup solutions in your operating system. After installing the new SSD, you can restore the backup onto the new drive. This method allows for greater flexibility in choosing specific files or folders to transfer.
- Data Migration Software: Many SSD manufacturers provide data migration software or tools specifically designed to help transfer data from your old drive to the new SSD. These software solutions simplify the process by automatically transferring the operating system, applications, and data while ensuring the optimal performance of your new SSD.
- Cloud Storage or External Drive: If you prefer not to transfer all your data directly to the new SSD, you can use cloud storage services or an external drive to store your files. Once the new SSD is ready, you can download your files from the cloud or transfer them from the external drive.
Before starting the data transfer process, ensure that your new SSD is properly recognized by your system and is in a functional state. Additionally, verify that your data is backed up to avoid any potential loss during the transfer process.
Choose the method that best suits your needs and technical proficiency. It’s always recommended to follow the instructions provided by the software or consult the manufacturer’s support documentation for the most accurate guidance.
After successful data transfer, verify that all your files and applications are intact on the new SSD. You can now enjoy the enhanced performance, speed, and responsiveness that the SSD provides.
Optimizing Your System After the SSD Upgrade
After completing the installation and data transfer process for your new SSD, there are a few additional steps you can take to optimize your system and ensure the best possible performance. Here are some optimization tips:
- Enable TRIM: Verify that TRIM is enabled for your SSD. TRIM helps maintain the performance of your SSD by allowing the operating system to inform the SSD about blocks of data that are no longer in use. Most modern operating systems enable TRIM by default, but it’s worth checking to ensure it is enabled.
- Update Firmware and Drivers: Check for firmware updates for your SSD from the manufacturer’s website. Firmware updates can improve compatibility, stability, and overall performance. Additionally, make sure your system’s drivers, including chipset and storage drivers, are up to date for optimal performance and compatibility.
- Disable Defragmentation: Traditional hard drives benefit from regular defragmentation, but SSDs operate differently. SSDs have a limited number of write cycles for each cell, and excessive defragmentation can reduce the lifespan of the drive. Therefore, it is recommended to disable automatic defragmentation for your SSD.
- Enable AHCI Mode: If your system was previously set to IDE mode in the BIOS settings, consider changing it to AHCI (Advanced Host Controller Interface) mode. AHCI mode enables advanced features and optimizations specifically designed for SSDs, which can enhance performance and compatibility.
- Disable Hibernation: If you have limited SSD storage capacity, disabling hibernation can free up valuable disk space. Hibernation allows your system to save the current state to disk before shutting down, but it can consume a significant amount of storage space.
- Adjust Power Settings: Adjust your power settings to optimize your SSD’s performance. By preventing your system from entering sleep mode too quickly or disabling aggressive power-saving features, you can ensure that your SSD operates at its maximum potential without unnecessary interruptions.
- Regularly Update and Maintain Your System: Continue to regularly update your operating system and applications to ensure you have the latest security patches, bug fixes, and performance enhancements. In addition, periodically run disk cleanup and maintenance tools to remove unnecessary files and optimize system performance.
- Monitor Drive Health: Keep an eye on the health of your SSD. Most SSDs come with monitoring software that allows you to track vital statistics such as temperature, wear-leveling, and remaining lifespan. Regularly monitor these metrics and take necessary precautions if any issues arise.
By following these optimization practices, you can ensure that your system is fully optimized to take advantage of the speed, reliability, and longevity that an SSD provides. These steps will help maintain the performance of your SSD and prolong its lifespan, ensuring that you continue to enjoy the benefits of your SSD upgrade for years to come.
Frequently Asked Questions About SSD Upgrades
Here are some common questions and answers that can help address any lingering concerns or queries you may have about upgrading to an SSD:
- Q: Can I install an SSD in my existing computer?
A: In most cases, yes. SSDs come in various form factors and interfaces to accommodate different computer models. It’s essential to check the compatibility of your computer and the SSD to ensure a successful upgrade. - Q: How much storage capacity do I need?
A: The required capacity depends on your usage and data storage needs. Consider the size of your operating system, applications, and data. It’s recommended to choose an SSD with enough capacity to accommodate your existing data and leave some room for future growth. - Q: Is it possible to transfer my operating system to the new SSD?
A: Yes, you can transfer your operating system to the new SSD. You can either perform a fresh installation of the operating system onto the SSD or use cloning tools to create an exact copy of your existing drive onto the SSD. - Q: Will upgrading to an SSD increase my computer’s speed?
A: Yes, upgrading to an SSD can significantly increase your computer’s speed. SSDs provide faster read and write speeds, resulting in faster boot times, quicker application launches, and improved overall system responsiveness. - Q: How do SSDs differ from traditional hard drives?
A: SSDs differ from traditional hard drives in that they use flash memory instead of spinning disks. This difference allows for faster data access, improved reliability, and better shock resistance. Additionally, SSDs generate less heat and noise compared to traditional hard drives. - Q: Can I use my old hard drive alongside the new SSD?
A: Yes, you can continue using your old hard drive alongside the new SSD. This allows you to store large files or less frequently accessed data on the traditional hard drive, while benefiting from the improved performance of the SSD for your operating system and frequently used applications. - Q: Do SSDs require special maintenance?
A: SSDs do not require the same maintenance as traditional hard drives. However, to optimize their performance, it’s recommended to enable TRIM, keep your firmware up to date, and regularly update and maintain your operating system and applications. - Q: Are there any drawbacks to using SSDs?
A: While SSDs offer numerous benefits, there are a few considerations. SSDs generally have a higher price per storage capacity compared to traditional hard drives. They also have a limited lifespan in terms of write cycles, although modern SSDs are designed to minimize these concerns. It’s crucial to choose the right SSD for your needs and ensure proper maintenance to maximize its longevity.
These FAQs address some of the common concerns and queries people have when considering an SSD upgrade. If you have specific concerns or technical questions, it’s always advised to consult the manufacturer’s documentation or seek assistance from a professional technician to ensure accurate and tailored guidance for your situation.
Conclusion
Upgrading to an SSD can have a transformative impact on your computer’s performance and overall user experience. By replacing your traditional hard drive with an SSD, you can enjoy faster boot times, quicker application launches, and improved system responsiveness. SSDs offer numerous benefits, including increased reliability, energy efficiency, and durability. They are available in various types such as SATA, NVMe, M.2, and PCIe, catering to different needs and system requirements.
To ensure a successful SSD upgrade, it’s important to prepare adequately by backing up your data, checking compatibility, and gathering the necessary tools. Installing the new SSD into your computer and transferring your data can be done manually, through cloning, backup and restore methods, or by utilizing data migration tools provided by SSD manufacturers. After the upgrade, optimizing your system by enabling TRIM, updating firmware and drivers, and adjusting power settings can further enhance the performance and longevity of your SSD.
Despite the advantages of SSDs, it’s essential to consider factors such as capacity requirements, cost, and potential drawbacks. SSDs can be more expensive per storage capacity compared to traditional hard drives, and they have a limited lifespan in terms of write cycles. However, modern SSDs are designed to minimize these concerns, and proper maintenance can help maximize their longevity.
In conclusion, upgrading to an SSD is a worthwhile investment for computer users looking to boost performance and reliability. By following the steps outlined in this guide and considering your specific needs, you can successfully upgrade to an SSD and unlock the full potential of your computer.