Introduction
Welcome to our guide on how to upgrade your PS4 to an SSD! If you’re looking to boost the performance and storage capacity of your PS4, swapping out the standard hard drive for a solid-state drive (SSD) is a great option. An SSD can significantly reduce loading times, improve system responsiveness, and provide smoother gameplay.
Upgrading your PS4’s hard drive to an SSD might seem like a daunting task, but don’t worry! We’ll walk you through each step of the process, making it easy for even the inexperienced tech enthusiasts to follow along.
Before we dive into the details, it’s important to note that upgrading your PS4’s internal hard drive will void its warranty. However, if you’re out of warranty or are willing to take the risk, this upgrade can greatly enhance your gaming experience.
In this guide, we’ll cover the materials you’ll need, how to back up your data, the steps to prepare and install the SSD, and how to restore your data onto the new drive. We’ll also provide troubleshooting tips to help you navigate any challenges you may encounter along the way.
It’s worth noting that while an SSD upgrade can significantly improve your PS4’s performance, it won’t magically turn it into a next-gen gaming machine. Some limitations, such as processor speed and graphics card capabilities, are hardware-specific and cannot be overcome by upgrading the hard drive alone. Nonetheless, the SSD upgrade can still provide a noticeable improvement in overall performance.
So, if you’re ready to take your PS4 to the next level, let’s get started by gathering all the necessary materials for the upgrade.
Required Materials
Before you begin your PS4 SSD upgrade, make sure you have the following materials at hand:
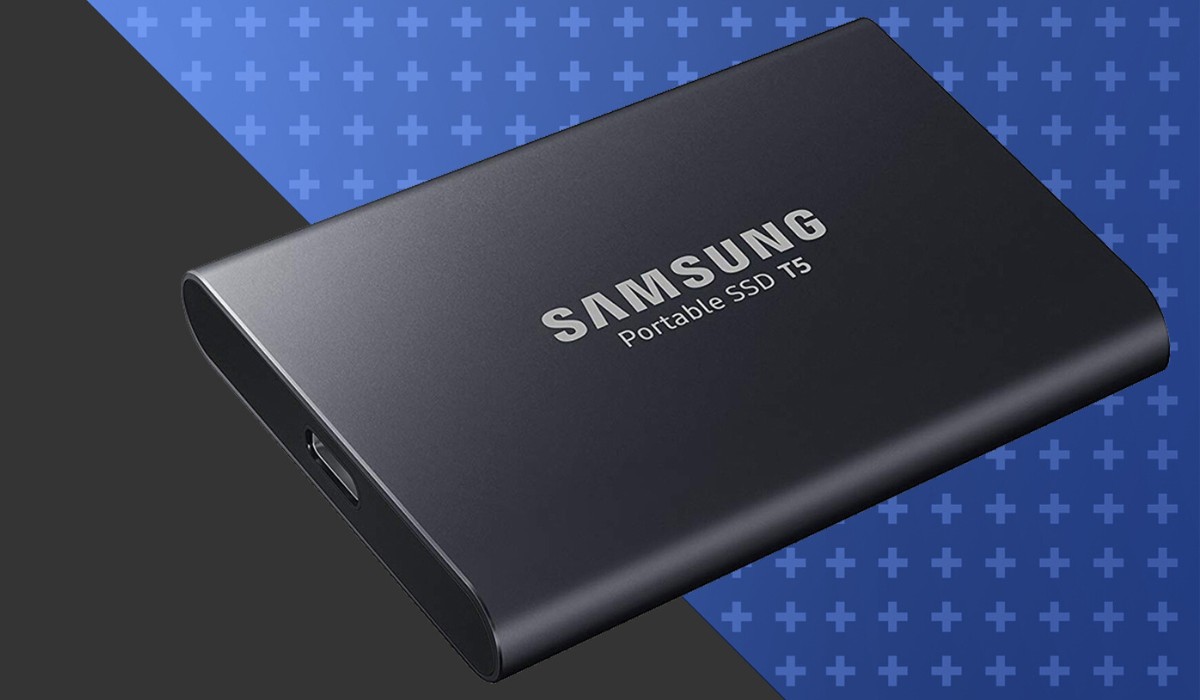
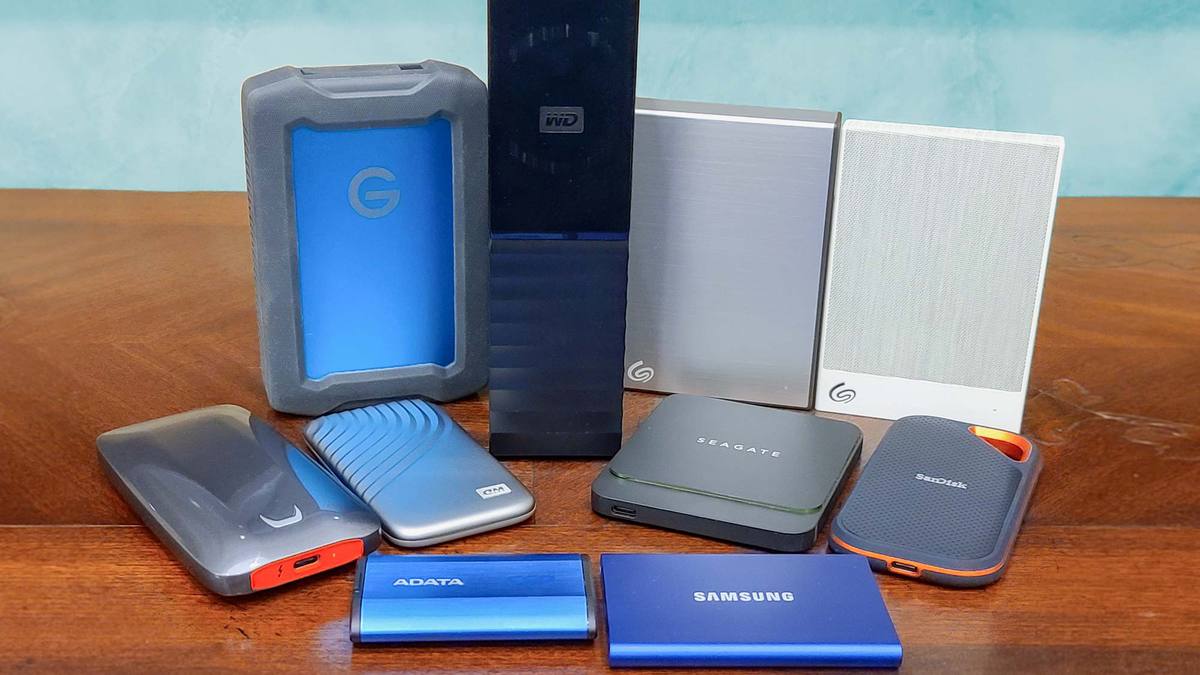
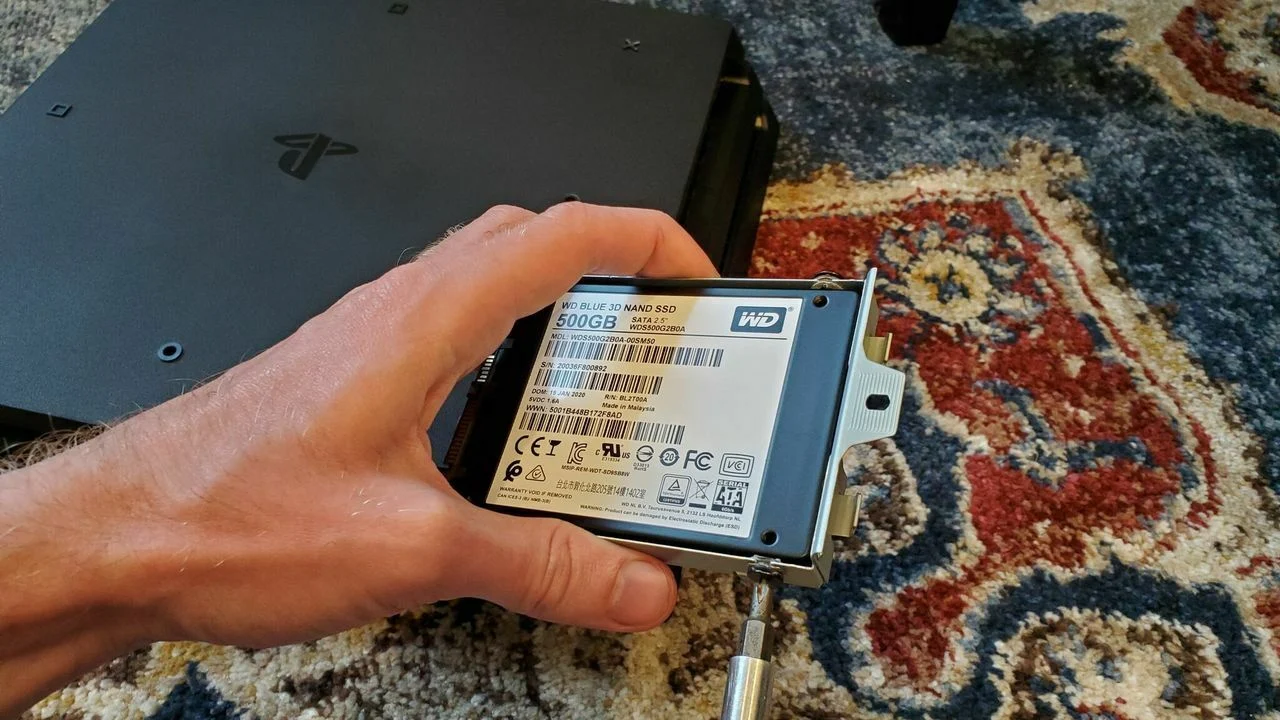
- A compatible SSD: Ensure that the SSD you choose is compatible with the PS4. It should have a storage capacity that suits your needs and is within your budget. Look for SSDs with a SATA III interface for optimal performance.
- A Phillips screwdriver: You’ll need a Phillips screwdriver to remove the screws securing the PS4’s hard drive.
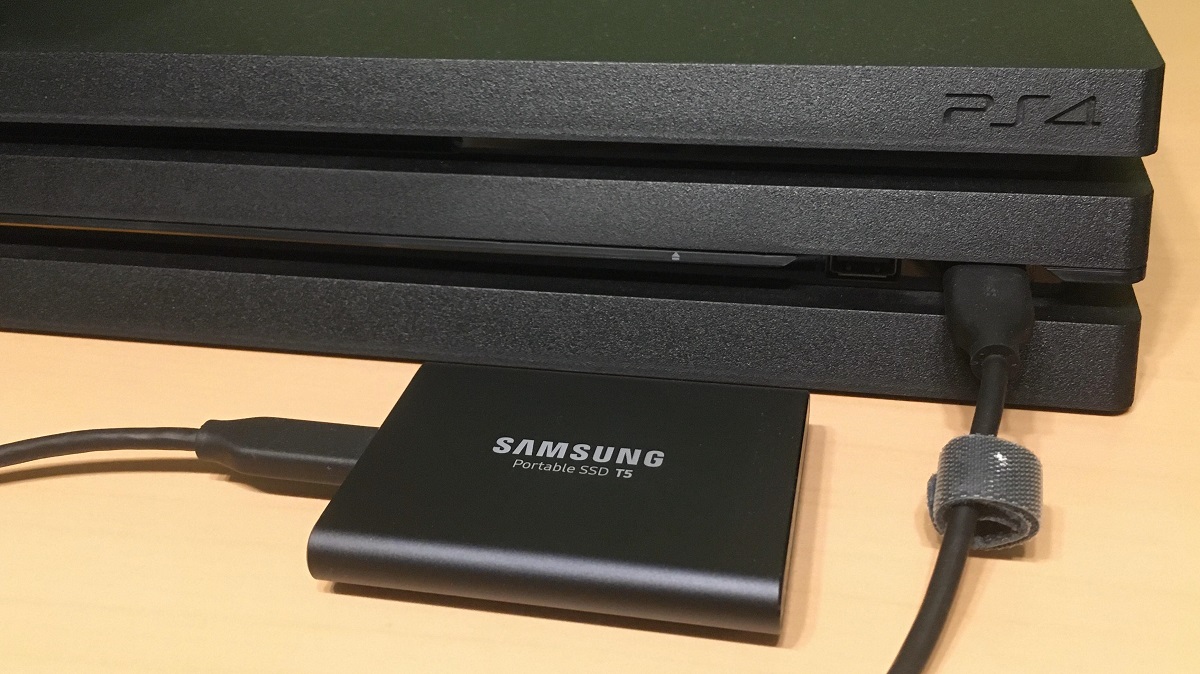
- An external hard drive: This will be used to back up and store your PS4’s data before the upgrade.
- A USB flash drive: This will be used to reinstall the PS4’s operating system and firmware.
- A USB to SATA adapter (optional): This is only required if you plan to transfer your data directly from the old hard drive to the new SSD.
- A computer: You’ll need a computer to back up and transfer your PS4’s data if you’re not using a USB to SATA adapter.
- An internet connection: An internet connection is necessary to download the PS4’s operating system and firmware.
Make sure you have all these materials ready before proceeding with the upgrade. It’s also a good idea to gather any additional tools or accessories you might need during the installation process.
Once you have all the necessary materials, you’re ready to move on to the next step: backing up your data.
Backing up Your Data
Before embarking on your PS4 SSD upgrade, it’s essential to back up your data in order to avoid any potential loss or corruption. Follow these steps to ensure a smooth and secure backup process:
- Connect your external hard drive to your PS4 using a USB cable.
- Go to the PS4’s home screen and navigate to the “Settings” menu.
- Select “System”, then “Back Up and Restore”.
- Choose “Back Up PS4” and follow the on-screen instructions to initiate the backup process.
- Wait for the backup to complete. The time it takes will depend on the amount of data being backed up.
- Once the backup is finished, disconnect your external hard drive from the PS4.
It’s worth noting that the backup process will save your game saves, applications, themes, and settings. However, it will not back up any games or apps installed on an external storage device. Therefore, it’s advisable to disconnect any external storage devices prior to performing the backup.
It’s also important to ensure that you have enough free space on your external hard drive to accommodate the backup. If necessary, delete any unnecessary files or move them to another storage device to free up space.
By backing up your data, you can rest assured that your important files and progress will be protected during the SSD upgrade process. Once the backup is complete, you’re ready to move on to the next step: preparing the SSD.
Preparing the SSD
Before installing the SSD into your PS4, you’ll need to prepare it for the upgrade. Follow these steps to ensure that the SSD is ready for installation:
- Remove the SSD from its packaging and ensure that all the necessary components, including any cables or brackets, are included.
- If your SSD has a plastic protective covering, remove it before proceeding.
- If your SSD doesn’t come preformatted, you’ll need to format it to the appropriate file system. Connect the SSD to your computer using a USB to SATA adapter or an external hard drive enclosure.
- Open the Disk Management utility on your computer (Windows users can access this by right-clicking on the Start button and selecting “Disk Management”).
- Locate the SSD in the list of connected drives, right-click on it, and select “Format”. Choose the file system as “exFAT” and give it a descriptive label.
- Wait for the formatting process to complete. This may take a few minutes.
- Once the formatting is finished, safely eject the SSD from your computer.
Formatting the SSD to the exFAT file system ensures compatibility with the PS4 and allows for the transfer and storage of large files. It’s important to note that formatting the SSD will erase any existing data on it, so make sure you have a backup of any important files beforehand.
With the SSD now prepared and formatted correctly, you’re ready to move on to the next phase: removing the old hard drive from the PS4.
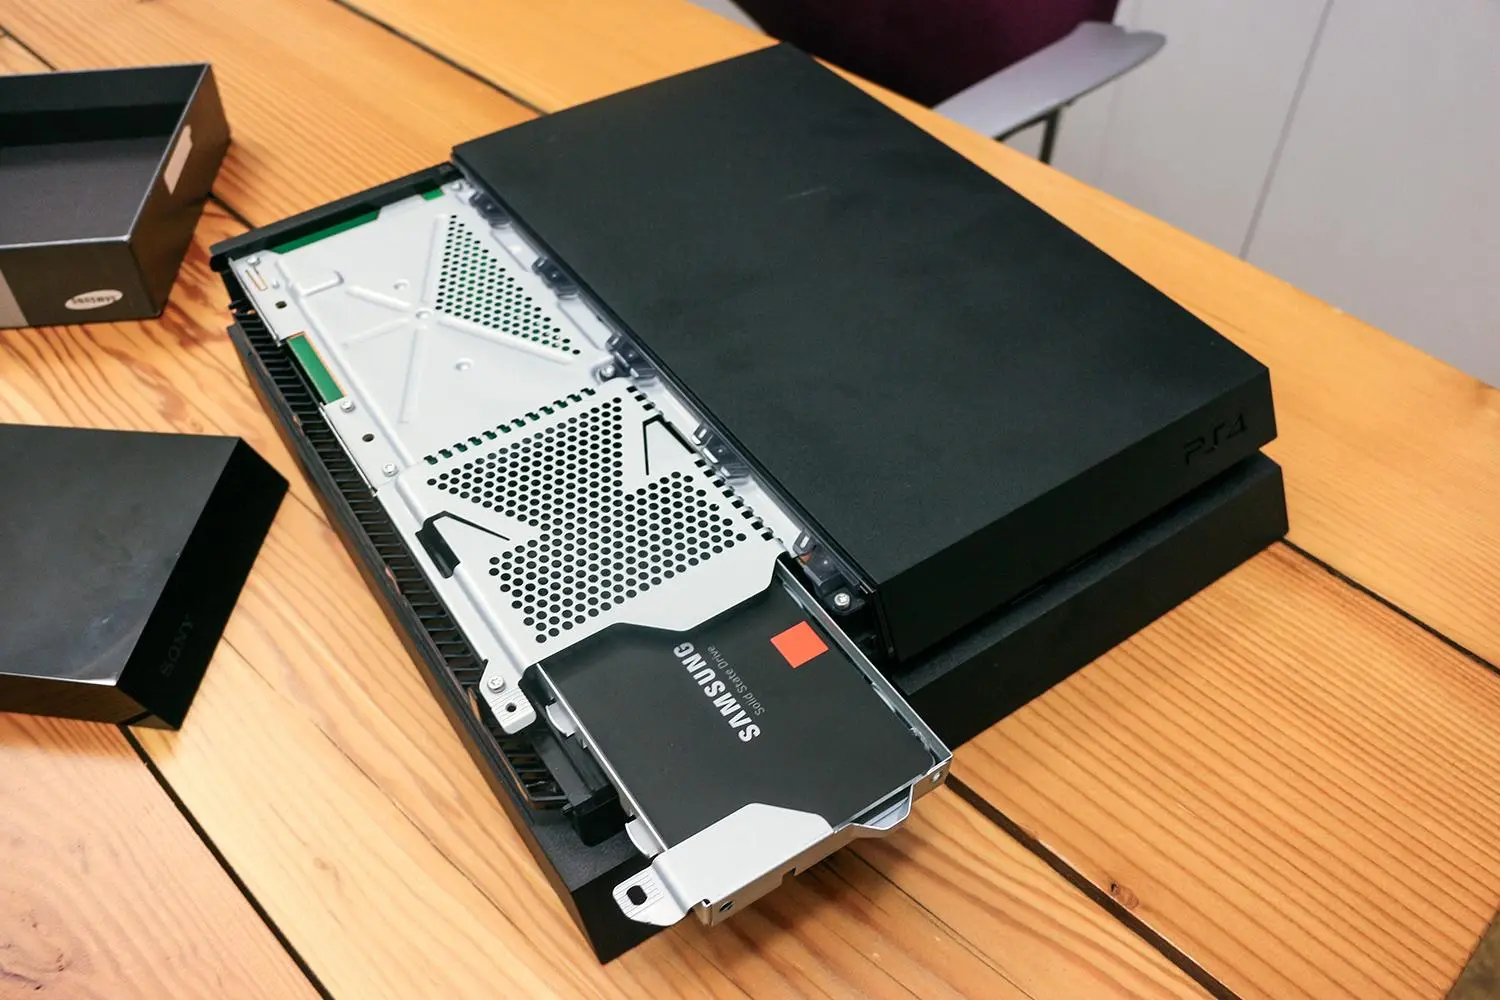
Removing the Old Hard Drive
Now that you have prepared the SSD, it’s time to remove the old hard drive from your PS4. Follow these steps to safely remove the old hard drive:
- Ensure your PS4 is completely turned off and unplugged from the power source.
- Locate the PS4’s hard drive cover, which is typically located on the left-hand side of the console.
- Using a Phillips screwdriver, remove the screws securing the hard drive cover.
- Gently slide the hard drive cover towards the front of the PS4 to remove it.
- Now, you will see the hard drive caddy, which holds the old hard drive.
- Remove the screws that secure the hard drive to the caddy.
- Once the screws are removed, gently slide the old hard drive out of the caddy.
It’s essential to handle the old hard drive with care and avoid touching the connectors on the back. Excessive force should also be avoided when removing the hard drive to prevent any damage to the PS4 or the drive itself.
Once you have successfully removed the old hard drive, it’s time to install the SSD into your PS4.
Installing the SSD
Now that you have removed the old hard drive from your PS4, it’s time to install the SSD. Follow these steps to ensure a successful installation:
- Take your prepared SSD and carefully insert it into the hard drive caddy, making sure the connectors align correctly.
- Secure the SSD to the caddy by tightening the screws that were previously removed.
- Slide the hard drive caddy back into the PS4, ensuring that it fits snugly.
- Replace the hard drive cover and secure it with the screws.
It’s important to note that the installation process may vary depending on the PS4 model you have. Refer to your console’s user manual or online resources for any specific instructions or differences.
Once the SSD is securely installed, it’s time to initialize the SSD and prepare it for use in your PS4.
Initializing the SSD
With the SSD successfully installed in your PS4, you’ll need to initialize it before you can start using it. Follow these steps to initialize the SSD:
- Connect your PS4 to a power source and turn it on.
- Connect your USB flash drive with the PS4’s operating system and firmware installation files to one of the USB ports on the console.
- On your PS4, go to the “Settings” menu and select “Initialization”.
- Choose “Initialize PS4” and follow the on-screen instructions.
- Select “Full” as the type of initialization to ensure all data is erased from the old hard drive and prepare the SSD for use.
- Confirm the initialization process and wait for it to complete. This process may take some time.
During the initialization process, the PS4 will format the SSD, install the operating system, and prepare the console for use with the new drive. It’s crucial to note that this will erase all data on the old hard drive, so make sure you have backed up any important files beforehand.
Once the SSD has been successfully initialized, you’ll be ready to restore your data onto the new drive.
Restoring Your Data
Now that you have successfully initialized the SSD in your PS4, it’s time to restore your data and get your console up and running again. Follow these steps to restore your data:
- Connect your external hard drive containing the backup data to your PS4 using a USB cable.
- Go to the “Settings” menu on your PS4, select “System”, and then choose “Back Up and Restore”.
- Select “Restore PS4”, and then choose your external hard drive as the source for the restore process.
- Follow the on-screen instructions to restore your data onto the new SSD. This may include selecting which data to restore and confirming your choices.
- Wait for the restoration process to complete. The duration will depend on the amount of data being restored.
Once the restoration is finished, your PS4 will be ready to use with the new SSD installed. You can now enjoy improved loading times, better system responsiveness, and a smoother gaming experience.
It’s important to note that while your data will be restored, you may need to reinstall any games or applications that were previously installed on the external storage devices. Additionally, you may need to reconfigure certain settings to your preferences.
Congratulations! You have successfully upgraded your PS4 to an SSD and restored your data. Now you can enjoy an enhanced gaming experience with improved performance and faster loading times.
Troubleshooting Tips
While upgrading your PS4 to an SSD is generally a straightforward process, you may encounter some challenges along the way. Here are a few troubleshooting tips to help you overcome common issues:
- Compatibility Issues: Ensure that the SSD you have chosen is compatible with the PS4. Double-check the specifications and requirements before making a purchase.
- Connection Problems: If you’re using a USB to SATA adapter to transfer data, make sure it is connected securely. Try using a different USB port or adapter if you’re experiencing connection issues.
- Formatting Difficulties: If you’re having trouble formatting the SSD, double-check that you are using the correct file system (exFAT) and that the formatting process is completed without any errors. Consider formatting the drive using a different computer if the issue persists.
- Backup and Restore Errors: If you encounter errors during the backup or restore process, ensure that your external hard drive has enough free space and that the backup files are not corrupted. Try creating a new backup and restarting the restore process.
- PS4 Not Recognizing the SSD: If your PS4 is not detecting the newly installed SSD, double-check the connections and make sure the SSD is securely installed. Restart your PS4 and try again. If the issue persists, consider seeking professional assistance.
If you’re still experiencing difficulties or encountering other problems during the upgrade process, it’s advisable to consult the official PS4 support documentation or seek assistance from the manufacturer of your SSD.
Remember, it’s important to take precautions and double-check each step to avoid any potential issues or damage to your PS4 or SSD.
With these troubleshooting tips in mind, you’ll be better prepared to tackle any challenges you may encounter during your PS4 SSD upgrade journey.
Conclusion
Congratulations on successfully upgrading your PS4 to an SSD! By following the steps outlined in this guide, you have improved your gaming experience with faster load times, improved system responsiveness, and increased storage capacity.
We started by gathering the required materials for the upgrade, including a compatible SSD and the necessary tools. Then, we walked through the crucial step of backing up your data to ensure its safety during the upgrade process.
Next, we prepared the SSD by formatting it to the appropriate file system and removing the old hard drive from your PS4. Once the SSD was installed, we initialized it and restored your data from the backup, ensuring a seamless transition to the new drive.
Throughout the process, we provided troubleshooting tips to assist you in overcoming common challenges you might encounter. Remember, if you need additional support or encounter unique issues, consult official documentation or seek assistance from the manufacturer.
Upgrading your PS4 to an SSD is a significant improvement that can enhance your gaming experience. While it may not transform your console into a next-gen machine, it provides noticeable improvements in performance.
Thank you for following our guide on how to upgrade your PS4 to an SSD. We hope you enjoy your improved gaming experience and the benefits that come with it. Happy gaming!