Preparation
Before you dive into installing a solid state drive (SSD) in your PlayStation 4 (PS4), it’s crucial to prepare yourself and gather all the necessary tools. This step is essential to ensure a smooth and stress-free installation process. Here are some steps to follow prior to beginning the installation:
1. Research and Compatibility Check: Start by doing your research and double-checking if an SSD is compatible with your PS4 model. While SSDs are generally compatible with most PS4 models, it’s always better to be safe than sorry. Refer to your PS4’s user manual or visit the manufacturer’s website for compatibility details.
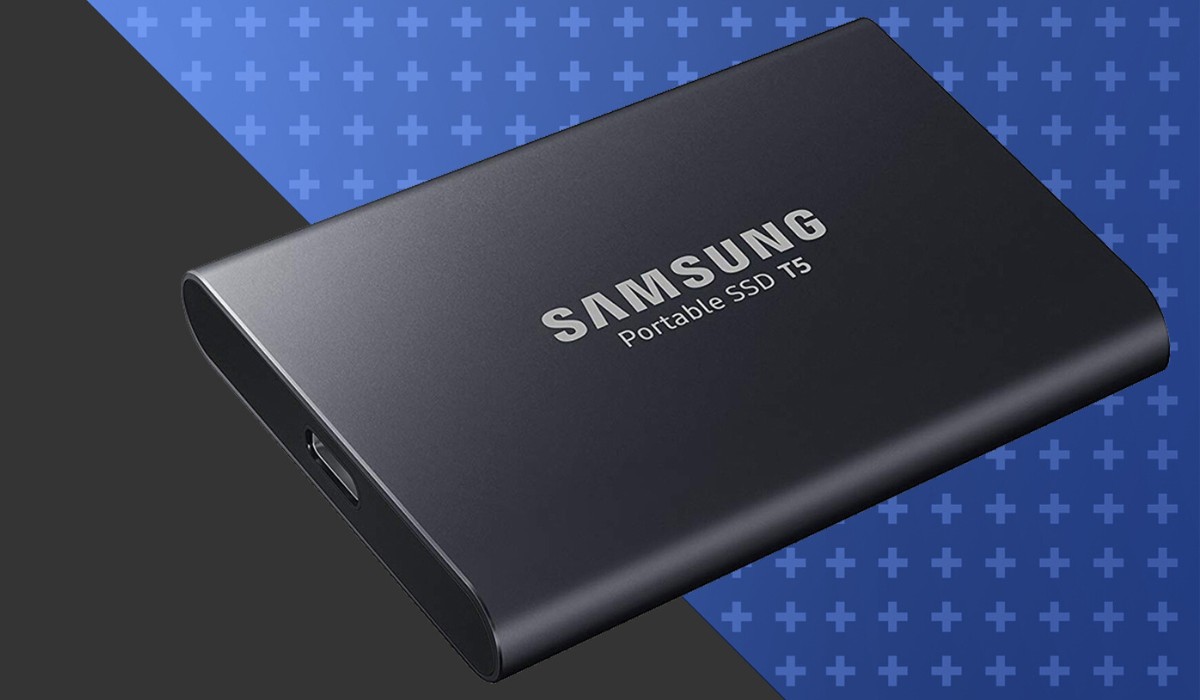
2. Acquire the Correct SSD: Once you’ve confirmed compatibility, it’s time to purchase the right SSD for your PS4. Consider the storage capacity you require, keeping in mind that higher storage options will offer more space for games and media. Look for an SSD that has a SATA interface and a standard 2.5-inch form factor, as these are the most common specifications for PS4 SSD upgrades.
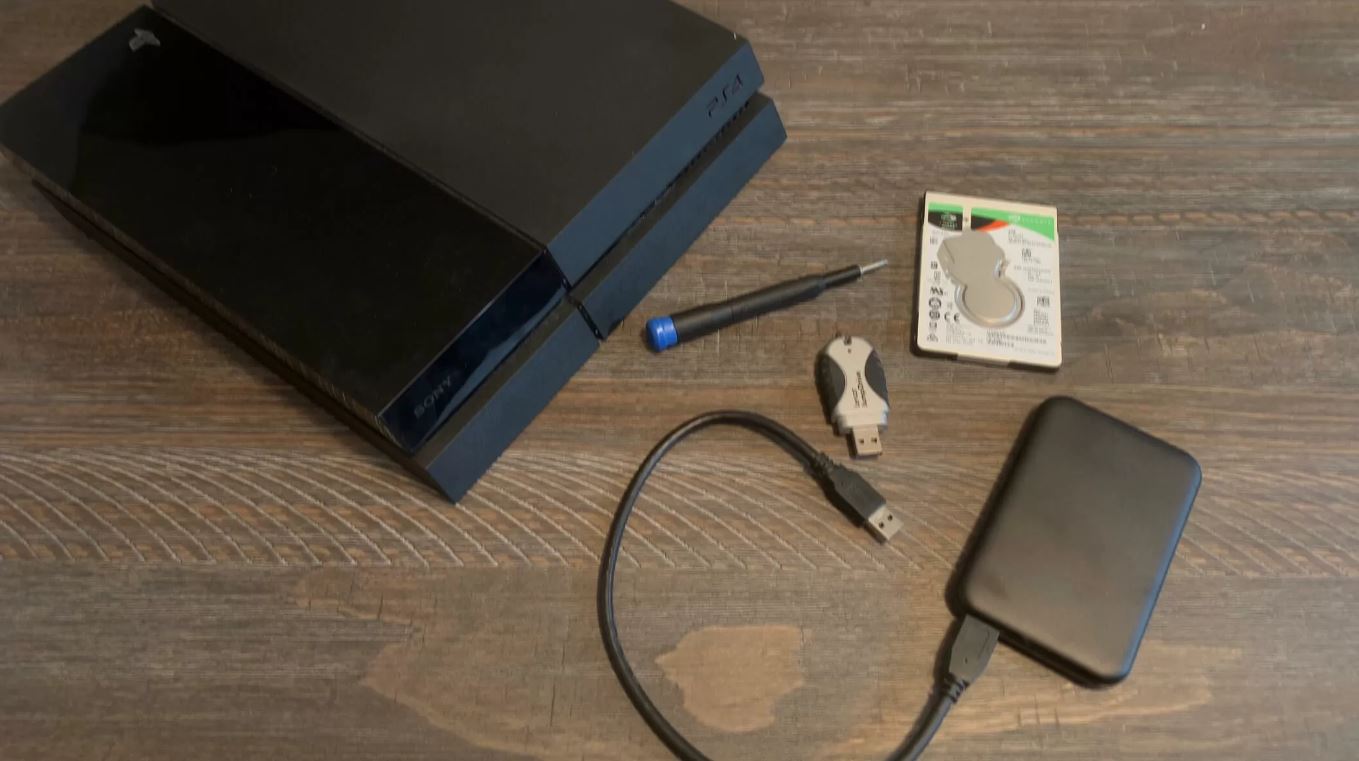
3. Gather the Tools: Before you open up your PS4, make sure you have all the necessary tools within reach. You will need a standard Phillips screwdriver, as well as a small plastic or metal spudger tool to help with prying open the casing. Having a clean, well-lit workspace is also important to avoid any damage or misplacement of components.
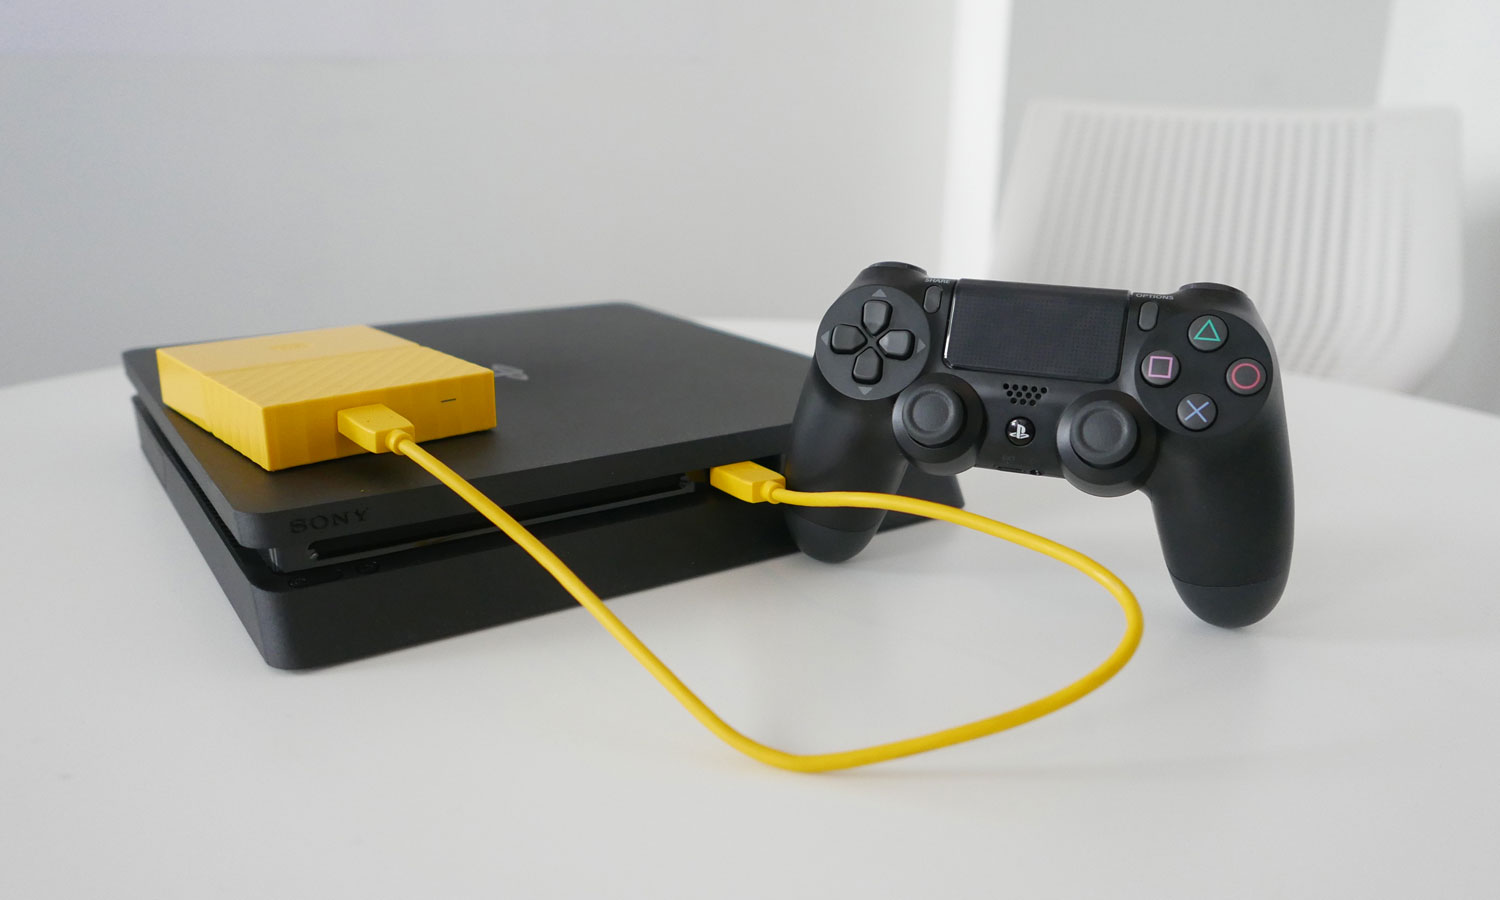
4. Backup Your Data: As a precautionary measure, it’s wise to backup all your important data and game saves from your existing PS4 hard drive. You can either use an external USB storage device or choose to upload your data to the cloud if you have an active PlayStation Plus subscription. This step is crucial to ensure you don’t lose any valuable data during the installation process.
Taking the time to properly prepare for the installation of an SSD in your PS4 is essential for a successful upgrade. By following the steps outlined above, you can ensure a smooth and hassle-free installation process while safeguarding your data and maximizing your gaming experience.
Step 1: Power off and unplug your PS4
The first step in installing a solid state drive (SSD) in your PlayStation 4 (PS4) is to power off your console and unplug all cables. This ensures your safety and prevents any potential damage during the installation process. Follow these simple steps to power off and unplug your PS4:
1. Save and Close All Applications: Before powering off your PS4, it’s important to save and close any running applications or games. Press the PlayStation button on your controller to bring up the quick menu, then navigate to the “Close Application” option and select it. This will ensure that all data is properly saved before shutting down.
2. Power Off the PS4: Once all applications are closed, press and hold the power button on the front of your PS4 console for several seconds. You will hear a beep and the power indicator light will turn off, indicating that the console is powered off. Make sure to wait a few moments to allow the console to fully power down.
3. Unplug All Cables: After the console is powered off, disconnect all cables from the back of the PS4. This includes the power cord, HDMI cable, and any other peripherals that may be connected. Gently pull out each plug, taking care not to damage the cables or ports.
By following these steps, you have successfully powered off and unplugged your PS4 in preparation for the SSD installation. This is an important initial step to ensure the safety of both you and your console, and it sets the stage for the subsequent steps in the installation process.
Step 2: Remove the outer casing of your PS4
With your PlayStation 4 (PS4) powered off and unplugged, it’s time to remove the outer casing of your console. This step will grant you access to the internal components, including the hard drive that you’ll be replacing with the solid state drive (SSD). Follow these steps carefully to remove the outer casing:
1. Lay the PS4 on a Flat Surface: Find a clean and flat surface to work on, ensuring that you have enough space to navigate around the console. Place a soft cloth or towel underneath the PS4 to protect the surface and prevent any scratches.
2. Unscrew the Casing Screws: Locate the plastic casing screws on the back of the PS4 console. Usually, there are two large screws that secure the top cover. Use a Phillips screwdriver to gently unscrew these screws in a counterclockwise motion. Set the screws aside in a safe place as you will need them for reassembly later.
3. Slide Off the Top Cover: After removing the screws, gently slide the top cover of the PS4 towards the front of the console. It should easily glide off and reveal the internal components. Be careful not to force or pry the cover, as it may cause damage to the console.
4. Keep the Cover and Screws Safe: Once the top cover is removed, set it aside in a safe location where it won’t get damaged. You can place it on the soft cloth or towel you prepared earlier. Also, make sure to keep the screws in a secure place, as they are crucial for reassembling the console later.
By following these steps, you have successfully removed the outer casing of your PS4, allowing you to access the internal components. It’s important to handle the casing and screws with care to avoid any damage. With the casing off, you are now ready to proceed to the next step of the installation process.
Step 3: Locate and remove the internal hard drive
Now that you have removed the outer casing of your PlayStation 4 (PS4), it’s time to locate and remove the internal hard drive. This step is essential as it will allow you to replace the existing hard drive with the solid state drive (SSD) for improved performance. Follow these steps carefully to locate and remove the internal hard drive:
1. Identify the Hard Drive Bay: Once the outer casing is removed, you will see the internal components of your PS4. Look for the hard drive bay, which is usually located near the front-left corner of the console. It will be a rectangular-shaped enclosure with a few screws holding it in place.
2. Remove the Hard Drive Cover: The hard drive bay will have a metal or plastic cover that needs to be removed. Use a Phillips screwdriver to carefully unscrew the screws holding the cover in place. Once the screws are removed, set them aside in a safe place and lift the cover off to expose the hard drive.
3. Disconnect the Hard Drive: The hard drive will be connected to the PS4 via a data cable and a power cable. Gently unplug both cables from the hard drive, taking care not to pull on the cables themselves. The connectors should come off easily with a slight amount of force.
4. Remove the Hard Drive: With the cables disconnected, you can now remove the hard drive from the bay. Typically, the hard drive will be secured with a few screws or brackets. Use a Phillips screwdriver to unscrew these screws and gently slide the hard drive out of the bay.
5. Keep the Hard Drive and Screws Safe: Once the hard drive is removed, place it in a safe location to prevent any damage. You may want to use an anti-static bag or wrap it in a soft cloth to protect it from static electricity and physical harm. Also, keep the screws in a secure place, as you will need them for reassembly.
By following these steps, you have successfully located and removed the internal hard drive from your PS4. Make sure to handle the hard drive and screws with care to avoid any damage. With the old hard drive removed, you’re now ready to proceed to the next step of installing the new solid state drive (SSD).
Step 4: Prepare your new SSD
With the internal hard drive successfully removed from your PlayStation 4 (PS4), it’s time to prepare your new solid state drive (SSD) for installation. To ensure a smooth and successful upgrade, follow these steps to prepare your new SSD:
1. Check Compatibility: Before proceeding, double-check that your new SSD is compatible with your PS4 model. Ensure that it has a SATA interface and a standard 2.5-inch form factor, as these are the most common specifications for PS4 SSD upgrades. Consult the SSD manufacturer’s documentation or website for compatibility information.
2. Backup Important Data: If you have any important data or game saves on your new SSD, make sure to back them up before proceeding. You can connect the SSD to a computer using an external enclosure or adapter and copy the data to another storage device. This step ensures that you don’t lose any valuable data during the installation process.
3. Format the SSD: Since the new SSD will be installed as the primary storage device in your PS4, it needs to be formatted to the appropriate file system. Connect the SSD to a computer using an external enclosure or adapter and format it to the exFAT file system. This file system is compatible with both Windows and macOS, ensuring that the SSD is ready for use in your PS4.
4. Keep the SSD Safe: Once you have verified compatibility, backed up any important data, and formatted the new SSD, handle it with care. Keep it in an anti-static bag or wrap it in a soft cloth to protect it from static electricity and physical damage. Avoid touching the connector pins and avoid exposing it to extreme temperatures or liquids.
By following these steps, you have successfully prepared your new SSD for installation in your PS4. It’s important to ensure compatibility, back up important data, format the SSD, and handle it with care to ensure a smooth and successful installation process. With the SSD prepared, you’re now ready to proceed to the next step of installing it into your PS4.
Step 5: Install the SSD into your PS4
Now that you have prepared your solid state drive (SSD) for installation, it’s time to install it into your PlayStation 4 (PS4). Follow these steps carefully to ensure a successful installation of the SSD:
1. Remove the Mounting Bracket: If your new SSD doesn’t come with a mounting bracket, carefully detach the mounting bracket from the old hard drive. This bracket is necessary to securely attach the SSD to the PS4’s internal housing.
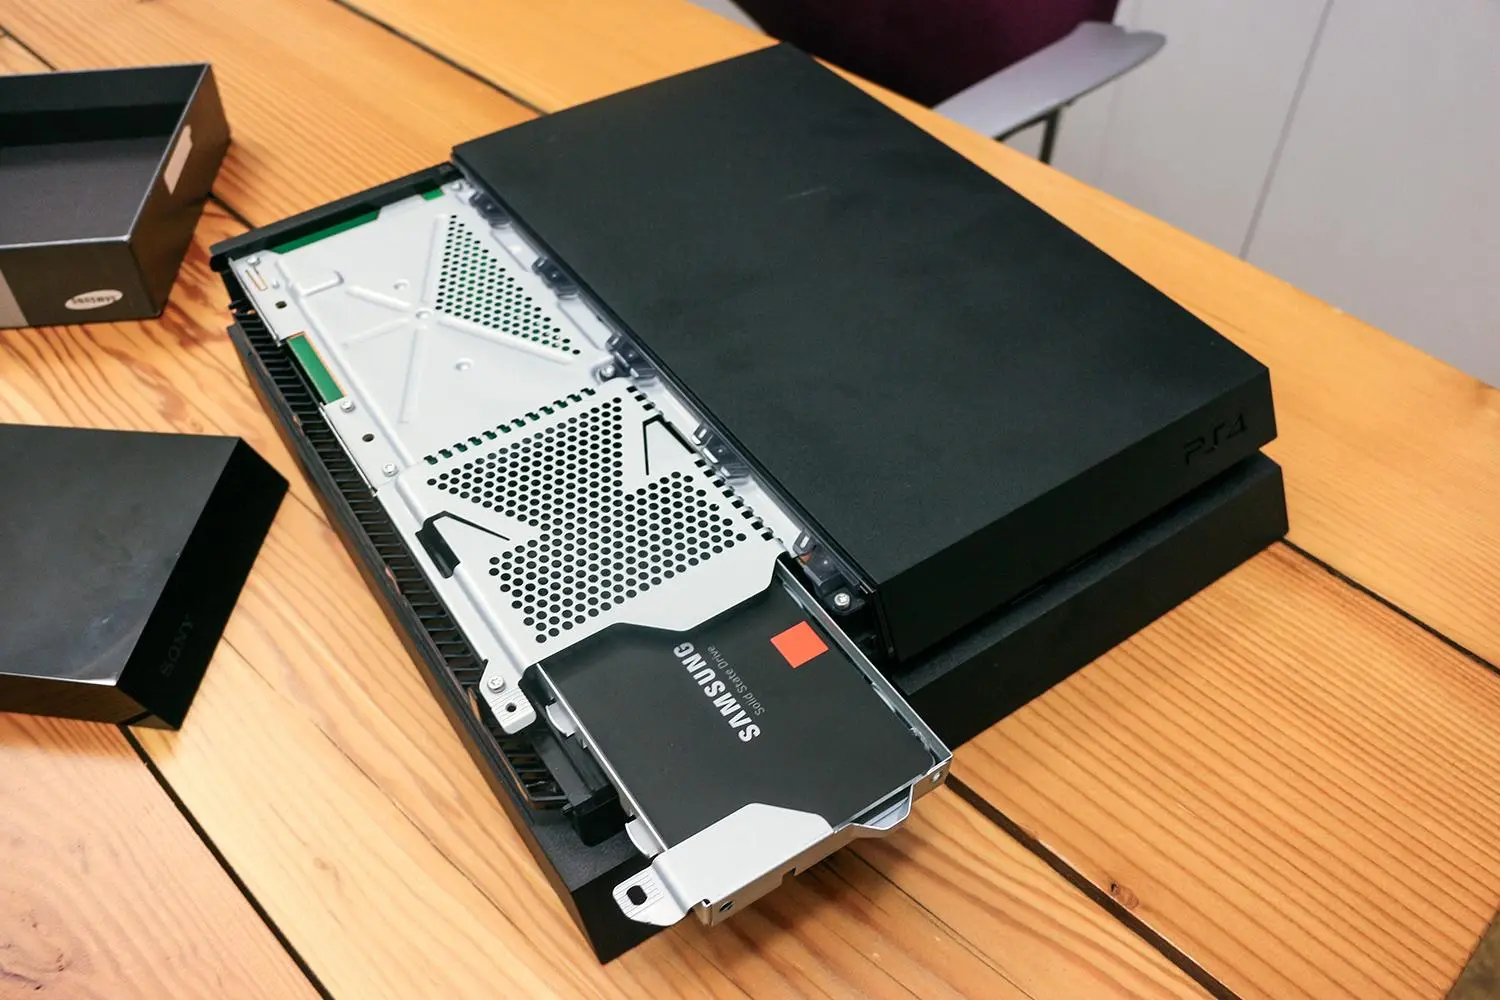
2. Connect the SSD: Take the prepared SSD and connect it to the PS4’s internal connectors. Make sure to align the SATA connector on the SSD with the corresponding port on the PS4. Gently push the SSD into the connectors until it is firmly seated.
3. Secure the SSD: If your new SSD didn’t come with a mounting bracket, use the screws removed from the preexisting hard drive to secure the SSD to the PS4’s internal housing. If your SSD came with a mounting bracket, use the included screws to attach the bracket and secure the SSD.
4. Reassemble the PS4: Once the SSD is securely installed, carefully reassemble the PS4 by following the reverse steps from when you removed the outer casing. Slide the top cover of the PS4 back into place and tighten the screws to secure it. Ensure that all screws are tightened, but be careful not to overtighten.
5. Connect Cables and Power On: Reconnect all cables, including the power cord and HDMI cable, to the back of the PS4. Double-check that all connections are secure and snug. Finally, plug in your PS4 and power it on. You should now have your newly installed SSD functioning as the primary storage device for your PS4.
By following these steps, you have successfully installed the SSD into your PS4. It’s important to handle the SSD and connectors with care during the installation process to prevent any damage. With the SSD installed, you’re now ready to proceed to the next step of initializing and formatting the new SSD.
Step 6: Reassemble your PS4
After successfully installing the solid state drive (SSD) in your PlayStation 4 (PS4), it’s time to reassemble the console. Follow these steps carefully to ensure a proper reassembly of your PS4:
1. Align the Casing: Take the top cover that you removed earlier and align it with the PS4 console. Make sure the edges and screw holes line up correctly. Gently slide the cover back into place, ensuring that it fits snugly.
2. Tighten the Screws: Once the cover is in place, use the Phillips screwdriver to tighten the screws that secure the casing. Start with the screws on the back of the console and tighten them in a clockwise direction. Make sure not to over-tighten, as this could damage the casing.
3. Check All Connections: Before fully reassembling the PS4, double-check that all cables and connections are properly secured. Ensure that the power cord, HDMI cable, and any other peripherals are securely plugged into their respective ports. This will ensure a strong and reliable connection.
4. Test the PS4: Once you have reassembled the PS4, it’s important to test it to ensure that everything is functioning properly. Plug in the power cord and turn on the PS4. Check that the console powers on without any issues and that the SSD is recognized as the primary storage device.
5. Final Inspection: After testing, visually inspect the PS4 to ensure that everything is in order. Check that there are no loose components or cables. Verify that the PS4 is running smoothly and that the SSD is functioning as expected.
By following these steps, you have successfully reassembled your PS4 after installing the SSD. It’s important to take your time and handle the console and components with care to prevent any damage. With the PS4 reassembled, you’re now ready to proceed to the next step of initializing and formatting your new SSD.
Step 7: Initialize and format your new SSD
Now that you have successfully reassembled your PlayStation 4 (PS4), it’s time to initialize and format your new solid state drive (SSD). This step is crucial to ensure compatibility and optimal performance of your SSD. Follow these steps to initialize and format your new SSD:
1. Power on the PS4: Plug in the power cord and turn on your PS4. The console should boot up and display the home screen.
2. Access the Settings Menu: Navigate to the PS4’s main menu and select the “Settings” option. Scroll down and select “System” from the settings menu.
3. Initialize the SSD: Within the System settings, select the “Initialization” option. You will see a few sub-options. Choose “Initialize PS4” to start the initialization process.
4. Select Quick or Full Initialization: You will be prompted to choose between Quick and Full initialization. Quick initialization will delete all user data and initialize the SSD quickly, while Full initialization thoroughly wipes your data and takes more time. Choose the option that suits your needs. Remember, this step will erase all data on the SSD, so make sure to back up any important files beforehand.
5. Follow the On-screen Prompts: Once you’ve made your selection, follow the on-screen prompts to confirm the initialization process. The PS4 will restart and begin the initialization.
6. Format the SSD: After the initialization process is complete, you will need to format the SSD. The PS4 will guide you through this step as well. Select the “Format” option when prompted and follow the on-screen instructions. The PS4 will format the SSD to the appropriate file system.
7. Finalize the Formatting: Once the formatting process is complete, the PS4 will restart. You can now proceed to set up your PS4 with your desired settings, including language, time zone, and user preferences.
By following these steps, you have successfully initialized and formatted your new SSD in your PS4. This ensures that the SSD is recognized and optimized for use with your console. With the SSD initialized and formatted, you can now proceed to the optional step of transferring data from your old hard drive to the new SSD.
Step 8: Transfer data from your old hard drive (optional)
If you want to retain your game saves, settings, and other data from your old hard drive, you have the option to transfer it to your newly installed solid state drive (SSD) in your PlayStation 4 (PS4). Follow these steps to transfer data from your old hard drive to the new SSD:
1. Backup Data: Before proceeding with the transfer, it’s essential to back up your data from the old hard drive. Connect the old hard drive to a computer using an external enclosure or adapter and copy all the necessary files and folders to another storage device.
2. Reinstall the Old Hard Drive: If you haven’t already removed the old hard drive from the PS4, reinstall it temporarily back into the console. This will allow you to access the data stored on it.
3. Backup and Restore: With the old hard drive reinstalled, go to the PS4’s settings menu and navigate to the “System” tab. Select the “Backup and Restore” option and choose “Back Up PS4.” This will create a backup of your old hard drive data onto an external USB storage device.
4. Replace the Old Hard Drive with the SSD: Once the backup is complete, power off the PS4 and disconnect all cables. Remove the old hard drive and replace it with your new SSD, following the steps outlined in the previous sections.
5. Restore Data to the SSD: Now that the SSD is installed, reconnect your external USB storage device to the PS4 and navigate to the “Backup and Restore” option within the settings menu. Choose “Restore PS4” and select the backup file you created earlier. Follow the on-screen prompts to restore the data to the SSD.
6. Verify Data Transfer: After the restoration process is complete, verify that all your game saves, settings, and other data have been successfully transferred to the new SSD. Double-check that everything is functioning as expected, including your installed games and applications.
By following these steps, you have successfully transferred your data from the old hard drive to the newly installed SSD. This optional step allows you to retain your game saves and settings, providing a seamless transition to your upgraded storage solution. With the data transferred, you can now enjoy your upgraded PS4 experience with improved loading times and performance.
Step 9: Enjoy your upgraded PS4 experience!
Congratulations! You have successfully gone through the process of installing a solid state drive (SSD) into your PlayStation 4 (PS4). Now it’s time to sit back, relax, and enjoy your upgraded PS4 experience. Here are some highlights of the benefits you can expect from your new SSD:
1. Faster Loading Times: With an SSD, games and applications will load significantly faster compared to a traditional hard drive. This means less time waiting and more time playing your favorite games.
2. Smooth Gameplay: The improved read and write speeds of an SSD result in smoother gameplay, as data is retrieved and processed more efficiently. Say goodbye to stutters and freezing during gameplay.
3. Reduced Loading Screen Downtime: Large open-world games often come with long loading screens. With an SSD, these loading screens will be greatly reduced or even eliminated, allowing you to dive into the game world seamlessly.
4. Quick System Boot-Up: Your PS4 will boot up much faster with an SSD, allowing you to get into the action quickly. No more waiting for the console to start up; it’s ready to go in no time.
5. Enhanced Multimedia Experience: Not only will games benefit from the faster storage, but multimedia applications such as streaming services and media players will also perform snappier and more smoothly.
6. Additional Storage Space: If you upgraded to a larger capacity SSD, you’ll have more space to install and store your games, applications, and multimedia content. This means less worry about running out of storage and easier access to your favorite titles.
Now that your PS4 is equipped with an SSD, take the time to explore the enhanced performance and enjoy the benefits it brings. Immerse yourself in your favorite games and take full advantage of the improved loading times and smooth gameplay. Experience the power of faster storage and watch your gaming sessions become more enjoyable than ever before.
Remember to regularly back up your data to ensure you never lose any progress or saved games. Also, keep your SSD firmware updated to benefit from any performance enhancements or bug fixes released by the manufacturer.
So, go ahead, power on your upgraded PS4, and embark on a gaming journey like never before. Enjoy the enhanced speed, improved performance, and enriched gaming experience provided by your new SSD.