Introduction
Welcome to the ultimate guide on how to install a Solid State Drive (SSD) in your computer! If you’re looking to boost your computer’s performance and speed up your system, upgrading to an SSD is a great choice. Unlike traditional hard drives, SSDs do not have any moving parts, which means they can access data much faster, resulting in quicker boot times, faster file transfers, and overall improved performance.
Whether you’re a tech-savvy enthusiast or a novice computer user, this guide will provide you with step-by-step instructions on how to install an SSD into your computer. We’ll cover everything from selecting the right SSD for your needs to transferring data from your old hard drive to your new SSD.
Before we dive into the installation process, it’s important to note that installing an SSD requires you to open your computer case and handle sensitive components. If you’re not comfortable working with computer hardware, it’s always a good idea to seek assistance from a knowledgeable friend or a professional.
Now that we have that out of the way, let’s get started on this exciting journey to supercharging your computer’s performance with a new SSD!
Choosing the Right Solid State Drive (SSD)
When it comes to choosing the right Solid State Drive (SSD) for your computer, there are a few key factors you should consider:
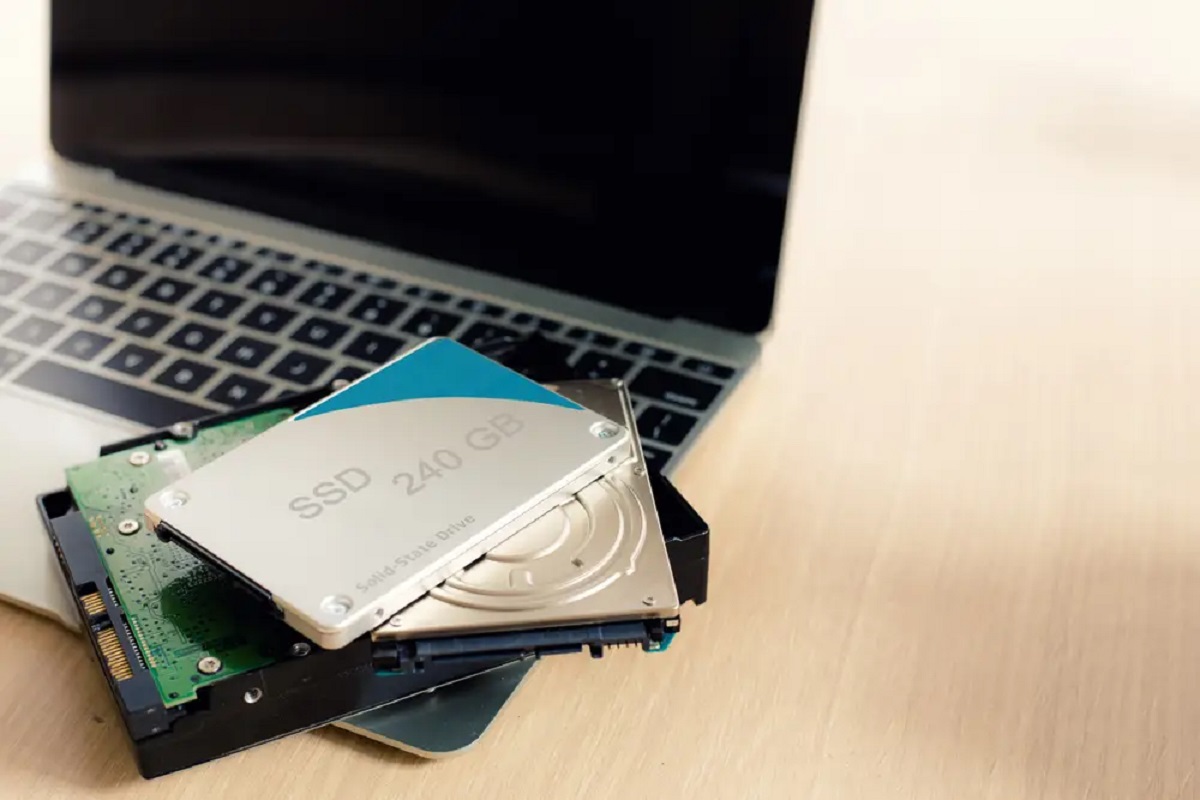
1. Capacity: SSDs are available in a range of capacities, from a few hundred gigabytes to multiple terabytes. Think about how much storage space you need for your operating system, software, and files. If you primarily use cloud storage or external drives for large files, a smaller capacity SSD may be sufficient.
2. Speed: One of the main advantages of SSDs is their speed. Look for SSDs with faster read and write speeds, as this will impact the overall performance of your computer. Consider the interface type (SATA, PCIe) and the SSD’s sequential and random read/write speeds for optimal performance.
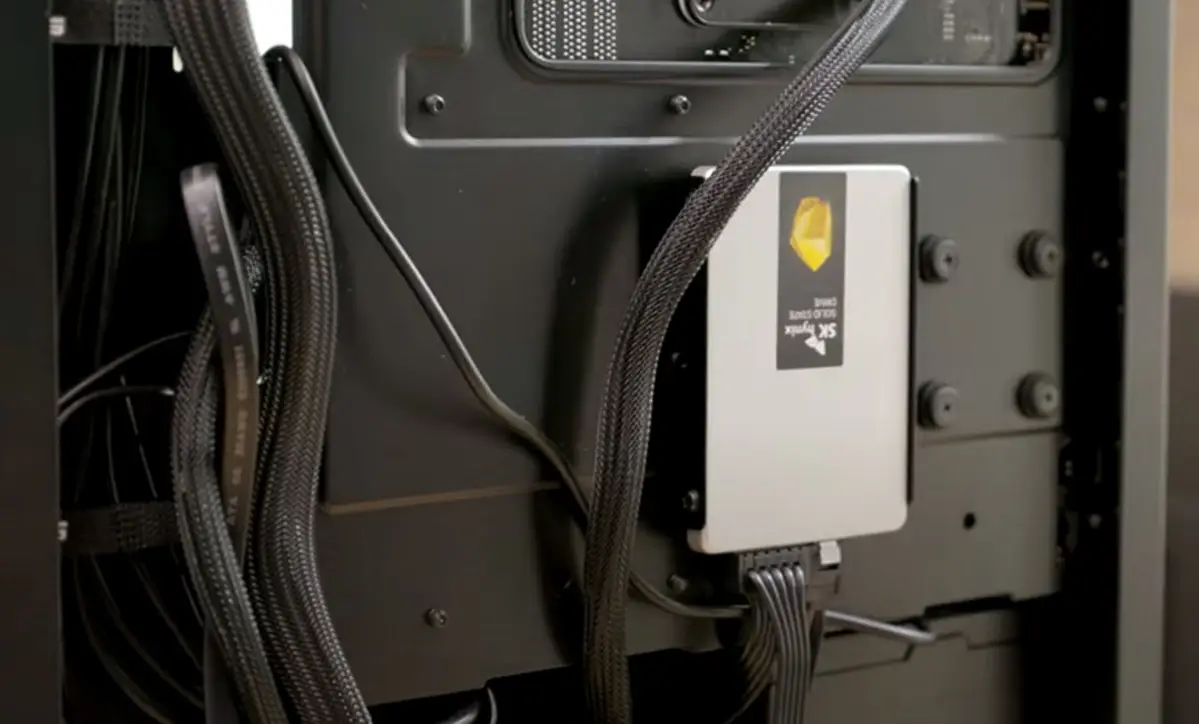
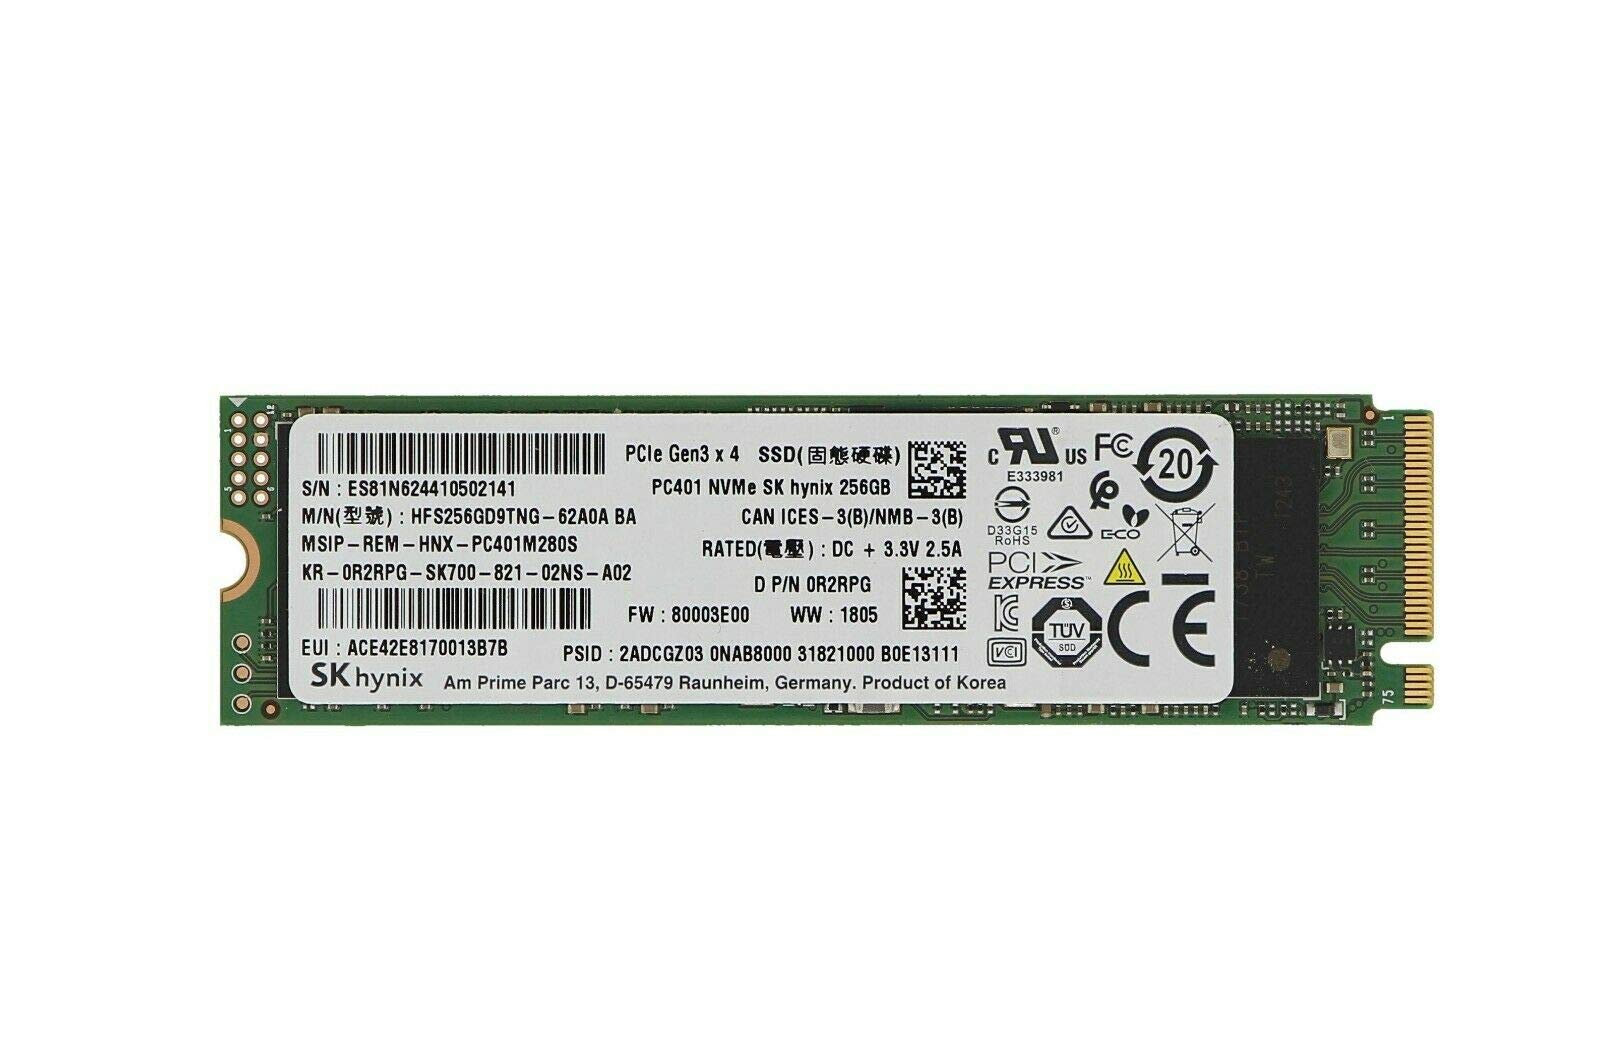
3. Form Factor: SSDs come in different form factors. The most common form factor for desktop computers is the 2.5-inch SATA drive, which is compatible with most PCs. However, if you’re working with a laptop or a smaller form factor PC, you may need to consider an M.2 or mSATA SSD.
4. Reliability: SSDs are generally more reliable than traditional hard drives, but it’s still important to choose a reputable brand known for their reliability and durability. Look for SSDs that come with a warranty and a high Mean Time Between Failures (MTBF) rating.
5. Budget: SSDs can vary significantly in price, depending on their capacity and performance. Set a budget and prioritize the features that are most important to you. Keep in mind that investing in a higher-quality SSD can result in better performance and longer lifespan.
Once you have a clear understanding of your requirements and preferences, research different brands and models to find the SSD that best fits your needs. Reading reviews and comparing specifications can help you make an informed decision.
Now that you have selected the perfect SSD for your computer, let’s move on to the step-by-step installation process.
Backup Important Data
Before you begin the process of installing a Solid State Drive (SSD) in your computer, it is crucial to back up all your important data. This step ensures that even if something goes wrong during the installation, your valuable files and documents remain safe and accessible.
There are several methods you can use to back up your data:
1. External Hard Drive: Connect an external hard drive to your computer and manually copy and paste all your important files onto the external drive. This method is straightforward and allows you to have a physical copy of your data.
2. Cloud Storage: Utilize cloud storage services like Google Drive, Dropbox, or OneDrive to upload and store your files online. This method offers the advantage of accessibility from any device, as well as additional security measures to protect your data.
3. Disk Imaging Software: Use disk imaging software to create a complete image of your current hard drive. This method creates a backup of your entire operating system, applications, and files, making it easier to restore everything to your new SSD.
4. Network Attached Storage (NAS): If you have a NAS device connected to your network, you can back up your data directly to it. NAS offers the advantage of centralized storage accessible to multiple devices in your home or office network.
Whichever method you choose, ensure that your backup is complete and thorough. Verify that all your important files and documents have been successfully duplicated and can be easily accessed in case of any unforeseen issues during the SSD installation process.
Remember, data backup is an ongoing practice that should be done regularly, regardless of whether you are installing an SSD or not. Maintaining regular backups ensures that your data is protected from loss due to hardware failure, accidental deletion, or other unforeseen events.
Now that you have carefully backed up all your important data, you can proceed with confidence to the next step of installing your new SSD.
Gather Necessary Tools and Equipment
Before you start the installation process, it’s essential to gather all the necessary tools and equipment. Having everything on hand will make the installation smoother and ensure you have everything you need to complete the task.
Here are the tools and equipment you will need:
1. Screwdriver Set: A Phillips-head screwdriver is typically required to open the computer case and secure the SSD. Check your computer’s manual or do some research to determine the appropriate screwdriver size.
2. Anti-Static Wrist Strap: Electrostatic discharge (ESD) can damage sensitive computer components. To prevent ESD, wear an anti-static wrist strap or ensure that you are properly grounded before touching any internal parts of your computer.
3. SSD Mounting Bracket or Converter: Depending on the form factor of your chosen SSD and the available slots in your computer, you may need a mounting bracket or converter to secure the SSD in place. These brackets or converters can typically be purchased separately.
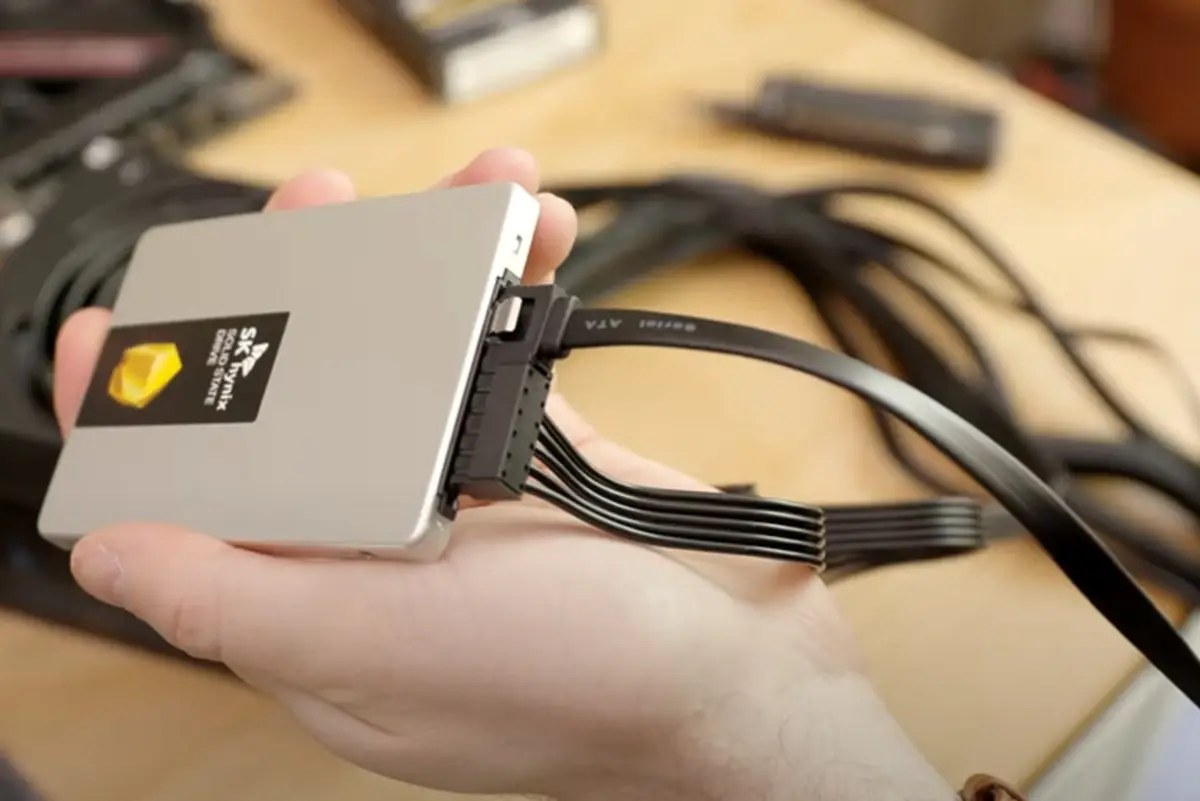
4. SATA Data and Power Cables: Most SSDs use a Serial ATA (SATA) interface. Ensure that you have the appropriate SATA data cable to connect the SSD to the motherboard and a SATA power cable to supply power to the SSD.
5. Cleaning Cloth or Compressed Air: Before installing the SSD, it’s a good idea to clean the inside of your computer case to remove any dust or debris. A soft cleaning cloth or a can of compressed air can help with this task.
6. User Manual or Online Resources: Keep the user manual for your computer and the SSD handy during the installation process. Additionally, you can refer to online resources, including video tutorials and manufacturer guides, for detailed instructions specific to your hardware.
By ensuring that you have all the necessary tools and equipment before you begin, you can proceed with confidence during the installation process. Taking the time to gather these items in advance will help prevent unnecessary interruptions or delays.
Now that you have everything you need, it’s time to dive into the installation process and give your computer a performance boost with the new SSD!
Disconnect Power and Open the Computer Case
Before you can install a Solid State Drive (SSD) into your computer, you need to disconnect the power and open the computer case. This step ensures your safety and allows access to the internal components of your computer.
Follow these steps to disconnect the power and open your computer case:
1. Power Off: Shut down your computer properly by selecting the “Shutdown” option from the Start menu. Make sure the computer is completely turned off before proceeding.
2. Unplug Power Cord: Disconnect the power cord from the back of your computer. This step ensures that there is no electrical current flowing through the system and reduces the risk of accidental electrical shock.
3. Ground Yourself: To protect sensitive computer components from electrostatic discharge (ESD), it’s essential to ground yourself. You can do this by either wearing an anti-static wrist strap or by touching a grounded metal object before handling any internal parts.
4. Locate Screws or Latches: Depending on the design of your computer case, you will need to locate the screws or latches that hold the side panel in place. These are usually located at the back or side of the case.
5. Remove Side Panel: Use the appropriate screwdriver to remove the screws, or release the latches, that secure the side panel of the case. Gently slide the panel backward or lift it off, exposing the internal components.
6. Ground Yourself Again: Once the side panel is removed, touch a grounded metal object again to discharge any static electricity that may have built up on your body.
With the power disconnected and the computer case opened, you are now ready to proceed with the SSD installation. However, it’s important to handle the internal components with care and avoid touching any sensitive areas.
Keep in mind that the specific steps to disconnect power and open the computer case can vary depending on the design and brand of your computer. Consult your computer’s manual or manufacturer’s website for detailed instructions relevant to your system.
Now that you have successfully disconnected the power and opened your computer case, you are ready to move on to the next steps of installing the SSD.
Locate the Appropriate SSD Slot
Before you can install your Solid State Drive (SSD) into your computer, you need to locate the appropriate SSD slot. The location of the slot may vary depending on the type of computer you have, so it’s important to identify the correct spot to ensure a successful installation.
Follow these steps to locate the appropriate SSD slot:
1. Consult the Manual: Refer to your computer’s manual or the manufacturer’s website for information on the internal layout and available slots. This resource will help you understand the specific configuration of your computer.
2. Identify the SATA Ports: Most desktop computers have multiple SATA ports on the motherboard. These SATA ports are used to connect storage devices, such as SSDs and hard drives. Look for the SATA ports, which are typically rectangular and have a series of metal pins.
3. Determine the Available Slots: Once you have identified the SATA ports, determine which ones are available for connecting the SSD. You may need to refer to your computer’s manual or the motherboard documentation to understand which ports are free and compatible with your SSD.
4. Consider the Form Factor: Take into account the form factor of your SSD and the available slots in your computer. Most desktop computers use 2.5-inch SATA drives or M.2 slots, while laptops may have different form factors like mSATA or PCIe slots. Ensure your SSD matches the compatible slots.
5. Plan the Placement: Once you have located the appropriate slot, decide on the placement of your SSD. Depending on the internal layout of your computer and the available cables, you may need to route the cables properly to avoid any interference or obstruction.
It’s important to note that if you are replacing an existing storage device with the SSD, you may need to remove the old drive from the slot. Make sure to back up any important data before removing or replacing any storage devices.
If you are unsure about locating the appropriate SSD slot, consult a professional or seek assistance from someone experienced with computer hardware. Properly identifying the correct slot ensures a smooth installation process and avoids any potential issues.
Now that you have located the appropriate SSD slot, you are ready to move on to the next steps of securing the SSD in place and connecting it to the power supply and motherboard.
Insert and Secure the SSD into the Slot
Now that you have located the appropriate SSD slot in your computer, it’s time to insert and secure the Solid State Drive (SSD) into the slot. This step ensures that the SSD is properly connected and securely positioned within the computer.
Follow these steps to insert and secure the SSD into the slot:
1. Prepare the Mounting Bracket (if necessary): If your SSD requires a mounting bracket or converter to fit into the slot, attach the SSD to the bracket according to the manufacturer’s instructions. This will provide a secure fit inside the slot.
2. Align the SSD: Take the SSD and align it with the appropriate slot on the motherboard. Make sure the connector pins on the SSD match the corresponding connectors inside the slot.
3. Insert the SSD: Gently slide the SSD into the slot until it is fully inserted. Apply even and light pressure, ensuring that the SSD sits flush with the motherboard.
4. Secure the SSD: Once the SSD is properly inserted into the slot, use screws or other fastening mechanisms provided with your computer or mounting bracket to secure the SSD in place. Tighten the screws using a screwdriver, but be cautious not to overtighten and damage the components.
5. Verify the Firm Connection: Give the SSD a slight wiggle to ensure it is firmly connected to the slot. It should not move or come loose. If it feels loose, double-check the connections and mounting to ensure a secure fit.
Remember to handle the SSD with care during the installation process. Avoid touching the connectors or any sensitive electronic components to prevent potential damage due to static electricity or mishandling.
If you encounter any difficulties during the installation process or if you are unsure about securing the SSD, it’s always a good idea to refer to your computer’s manual or seek assistance from a knowledgeable friend or professional.
With the SSD securely inserted into the slot, you are now ready to proceed to the next steps of connecting the SSD to the power supply and the motherboard.
Connect the SSD to the Power Supply
After inserting and securing the Solid State Drive (SSD) into the appropriate slot, the next step is to connect it to the power supply. This ensures that the SSD receives the necessary power to function effectively within your computer system.
Follow these steps to connect the SSD to the power supply:
1. Locate the Appropriate Power Connector: Look for the SATA power connectors from your power supply. These connectors have a unique L-shaped design with multiple pins. If your power supply does not have a SATA power connector, you may need to use an adapter.
2. Identify the SSD Power Connector: Examine your SSD for the power connector. It is typically positioned on the side of the drive and is rectangular in shape. The connector will have a set of pins that correspond to the power cable.
3. Connect the Cables: Take the SATA power cable from the power supply and align the connector with the power socket on the SSD. Firmly push the connectors together until they are fully seated and secure. Ensure that they are firmly connected but be careful not to apply excessive force.
4. Route the Cable: Once the power cable is connected, carefully route the cable to avoid tangling or obstructing other components. Make sure the cable does not interfere with any fans or other peripherals inside the computer case.
5. Check for a Secure Connection: Give the cable a slight tug to check if it is securely connected. It should not easily come loose. If it feels loose, double-check the connection and ensure that it is properly seated.
It’s important to handle the power cables and connectors with care. Avoid forcing the connectors or bending the cables excessively, as this can cause damage to the SSD or other components.
If your computer has multiple SSDs or additional storage devices, repeat the process for each SSD, making sure to connect the appropriate power cables to each drive.
After successfully connecting the SSD to the power supply, you are now ready to proceed with connecting the SSD to the motherboard.
Connect the SSD to the Motherboard
Once you have connected the Solid State Drive (SSD) to the power supply, the next step is to connect it to the motherboard. This step enables the motherboard to communicate with the SSD and ensures that data can be transferred between the two.
Follow these steps to connect the SSD to the motherboard:
1. Locate the SATA Data Ports: Identify the SATA data ports on the motherboard. These ports are typically positioned near the SATA power connectors. They are rectangular in shape and have a set of small pins or holes.
2. Identify the SSD SATA Connector: Examine your SSD for the SATA data connector. It is typically positioned on the side of the drive and is also rectangular in shape. The connector will have a set of pins or holes that correspond to the SATA data cable.
3. Connect the Cables: Take a SATA data cable and align one end of the cable with the SSD’s SATA connector. Ensure that the pins or holes on the cable match those on the SSD. Connect the other end of the cable to an available SATA data port on the motherboard.
4. Secure the Connection: Gently push the connectors together until they are fully seated and secure. Ensure that they are properly aligned and that there is no visible gap between the connectors. You may hear a click or feel a slight resistance when the connection is properly made.
5. Manage Cable Routing: Once the connection is secure, manage the routing of the SATA data cable to avoid tangling or obstructing other components. Ensure that the cable does not interfere with any fans or other peripherals inside the computer case.
6. Repeat for Multiple SSDs: If you have multiple SSDs or additional storage devices, repeat the above steps for each SSD, connecting them to separate available SATA data ports on the motherboard.
It’s important to handle the SATA data cables with care. Avoid excessive bending or twisting of the cables, as this can cause signal interference or damage to the connectors.
Double-check all connections to ensure they are properly seated and secure. Loose connections can result in data transfer issues or the SSD not being recognized by the system.
Now that you have successfully connected the SSD to the motherboard, you can proceed to the next steps of closing the computer case and reconnecting the power.
Close the Computer Case and Reconnect Power
After successfully connecting the Solid State Drive (SSD) to the motherboard, it’s time to close the computer case and reconnect the power. This step ensures that the internal components are protected and that the SSD is ready for use.
Follow these steps to close the computer case and reconnect the power:
1. Align the Side Panel: Take the side panel of the computer case and align it with the edges of the case. Ensure that any screw holes or latches on the panel align with the corresponding holes or latches on the case.
2. Slide the Panel: Slide the side panel back into place. Apply gentle pressure to push it forward until it is firmly secured. You may need to use screws or latches to fasten the side panel, depending on the design of your computer case.
3. Secure the Side Panel: If your case requires screws, use the appropriate screwdriver to tighten them until they are snug. Be cautious not to overtighten, as this can damage the case or strip the screw threads.
4. Reconnect the Power Cord: Locate the power cord that you disconnected earlier and plug it back into the power supply at the back of your computer. Ensure that the connection is secure and that the power cord is not loose or partially plugged.
5. Turn on the Computer: Once the power cord is securely connected, press the power button to turn on your computer. Listen for any startup sounds and check that the fans are spinning properly. If the computer powers on without any issues, proceed to the next steps.
Ensure that all cables are neatly routed and secured inside the computer case to avoid any interference with fans or other components. Take extra care to ensure that no cables are pressing against the SSD or any other delicate parts.
Once you have closed the computer case and reconnected the power, your computer is ready to boot up and detect the newly installed SSD. The next steps will involve accessing the BIOS setup, formatting and partitioning the SSD, and installing the operating system.
Now that you have successfully closed the computer case and reconnected the power, you can proceed to the next steps in the installation process.
Power On and Access BIOS Setup
After closing the computer case and reconnecting the power, it’s time to power on your computer and access the BIOS setup. This step allows you to configure the necessary settings to ensure that your computer recognizes and utilizes the newly installed Solid State Drive (SSD) correctly.
Follow these steps to power on your computer and access the BIOS setup:
1. Press the Power Button: Locate the power button on your computer and press it to power on the system. The computer will begin the boot process.
2. Watch for the Prompt: As the computer starts up, pay close attention to the screen for a message that indicates how to access the BIOS setup. This message may vary depending on your computer’s manufacturer. Common prompts include “Press [KEY] to enter BIOS” or “Press [KEY] for Setup.”
3. Press the Key: When you see the prompt, quickly press the indicated key on your keyboard to enter the BIOS setup. Common keys for accessing the BIOS setup include F2, F10, Delete, or Esc. Refer to your computer’s manual or manufacturer’s website if you are unsure about the specific key.
4. Navigate the BIOS Setup: Once you are in the BIOS setup, use the arrow keys on your keyboard to navigate through the different settings. Look for options related to storage devices or SATA configuration, as these will be applicable to your SSD.
5. Enable AHCI/RAID Mode: If your computer’s BIOS has an AHCI (Advanced Host Controller Interface) or RAID (Redundant Array of Independent Disks) mode setting, ensure that it is enabled. This mode allows the SSD to operate at its optimal performance.
6. Save and Exit: After making any necessary changes, save the settings and exit the BIOS setup. Look for an option to save and exit, usually labeled as “Save & Exit” or “Exit & Save Changes.” Confirm the selection to reboot the computer.
It’s important to note that the BIOS setup interface and options can vary depending on the motherboard manufacturer and BIOS version. Take your time to explore and familiarize yourself with the different settings, but be cautious not to modify any other critical system settings unless you are certain of their functionality.
Once you have successfully accessed the BIOS setup and made any necessary adjustments, you are now ready to proceed to the next steps of formatting and partitioning the SSD.
Format and Partition the SSD
After accessing the BIOS setup, the next step in installing a Solid State Drive (SSD) is to format and partition the drive. Formatting prepares the SSD for data storage, while partitioning divides the drive into separate sections to organize and manage data effectively.
Follow these steps to format and partition the SSD:
1. Access Disk Management: In Windows, open the Disk Management utility by right-clicking the Start button and selecting “Disk Management” from the menu. This utility provides options for managing and formatting storage devices.
2. Locate the SSD: In the Disk Management window, locate the SSD. It may be labeled as Disk# with its corresponding size. Take note of the SSD’s size to ensure you are formatting the correct drive.
3. Initialize the SSD: If the SSD is brand new or unallocated, you will need to initialize it before formatting. Right-click on the SSD and select “Initialize Disk”. Choose the appropriate partition style (MBR or GPT) based on your system requirements. Click “OK” to proceed.
4. Create a New Partition: Right-click on the unallocated space of the SSD and select “New Simple Volume”. Follow the instructions of the wizard, specifying the partition size, drive letter, and file system (usually NTFS for Windows). You can also choose a volume label to easily identify the partition. Review the settings and click “Finish” to create the partition.
5. Format the Partition: Once the partition is created, right-click on it and select “Format”. Choose the desired file system (NTFS is commonly used for Windows) and allocation unit size. You can also assign a volume label at this stage. Click “OK” to begin the formatting process. This may take a few moments to complete.
6. Repeat for Additional Partitions: If you want multiple partitions on your SSD, repeat steps 4 and 5 for each desired partition. Adjust the size and settings accordingly, based on your storage needs and preferences.
It’s important to note that formatting and partitioning will erase any existing data on the SSD. Ensure that you have backed up any important files before proceeding.
If you are using a different operating system or require additional assistance, refer to the specific instructions or documentation for that system. The process may differ slightly, but the principles of formatting and partitioning remain the same.
Once you have successfully formatted and partitioned the SSD, you are now ready to proceed with installing the operating system and transferring data, if necessary.
Install the Operating System on the SSD
Now that you have formatted and partitioned the Solid State Drive (SSD), it’s time to install the operating system onto the SSD. This step involves transferring the necessary files and settings to the SSD, making it the primary storage device for your computer’s operating system.
Follow these steps to install the operating system on the SSD:
1. Create Bootable Media: If you haven’t already, create a bootable USB drive or DVD with the installation files for your operating system. You can usually download the official installation media from the operating system’s official website.
2. Access Boot Menu: Restart your computer and access the boot menu. The key to access the boot menu varies, but common keys include F2, F8, F10, or Esc. Check your computer’s manual or search online for the specific key to access the boot menu for your system.
3. Choose the Bootable Media: In the boot menu, select the bootable USB drive or DVD that contains the operating system installation files. This will initiate the installation process and boot your computer from the selected media.
4. Follow the Installation Wizard: Once the operating system installation begins, follow the prompts and instructions provided by the installation wizard. Choose the SSD as the installation destination and select the appropriate settings for your region, language, and desired configuration.
5. Activate and Authenticate: During the installation process, you may be prompted to enter the product key or authenticate your operating system. Follow the on-screen instructions and provide the necessary information to proceed with the installation.
6. Complete the Installation: After completing the installation, your computer will restart. Follow any additional prompts or instructions to finalize the setup process. You may be prompted to set up user accounts, privacy settings, and other system configurations.
Once the installation is complete, your operating system will be installed onto the SSD. This means that your computer will boot from the SSD, resulting in faster startup times and improved overall performance.
Remember to update your operating system, install necessary drivers, and transfer your files and programs from the old storage device to the SSD for a seamless transition. Refer to the instructions provided by your operating system and specific software as needed.
Congratulations! You have now successfully installed the operating system onto your SSD, maximizing the benefits of your new storage device.
Transfer Data from the Old Hard Drive to the SSD
After successfully installing the operating system on your Solid State Drive (SSD), it’s time to transfer your data from the old hard drive to the SSD. This step ensures that your files, applications, and settings are migrated to the SSD, allowing you to take full advantage of its speed and performance.
Follow these steps to transfer data from the old hard drive to the SSD:
1. Data Backup: Before proceeding with the transfer, it is essential to back up your data from the old hard drive. This ensures that you have a copy of your files in case anything goes wrong during the transfer process. You can use an external hard drive, cloud storage, or backup software for this purpose.
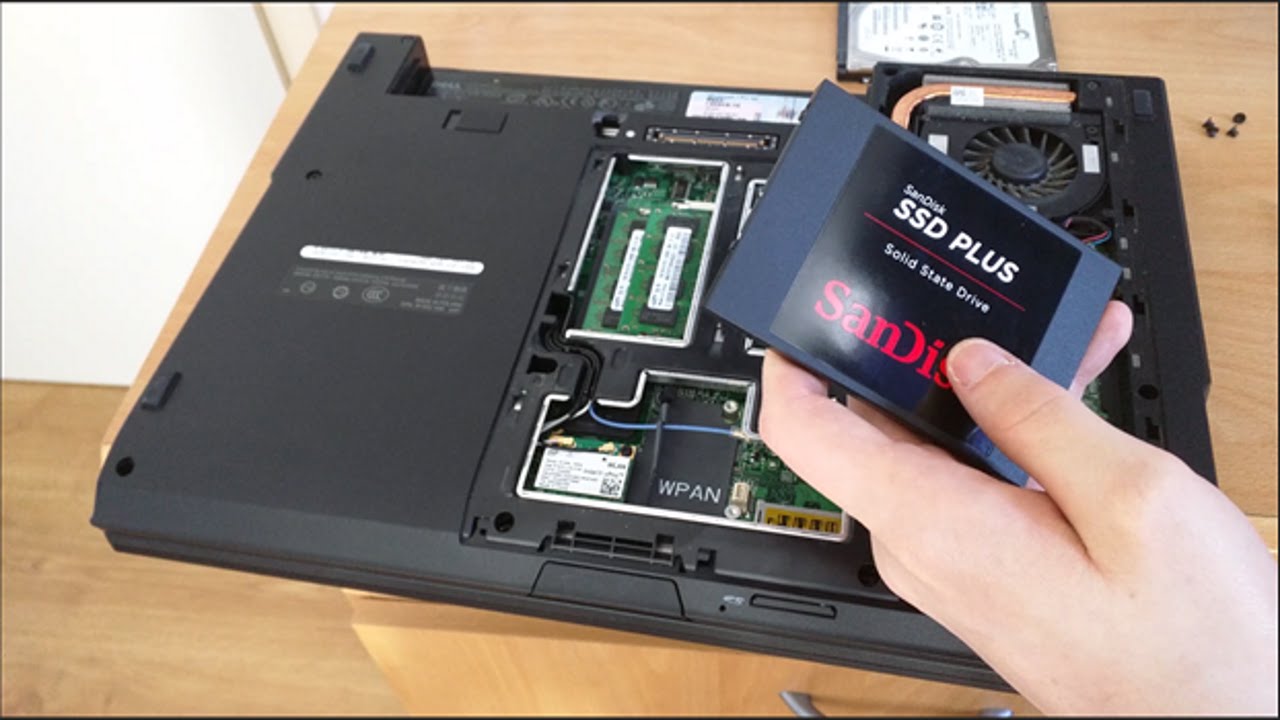
2. External Enclosure or Adapter: If the old hard drive is no longer going to be used in the computer, you can connect it to the computer using an external enclosure or a USB-to-SATA adapter. This allows easy access to the old hard drive for data transfer.
3. Data Migration Software: Use data migration software to transfer the data from the old hard drive to the SSD. There are several programs available, both free and paid, that facilitate this process. Some SSD manufacturers also provide their own migration software.
4. Launch the Data Migration Software: Start the data migration software and select the option to clone or transfer data from the old hard drive to the SSD. Follow the on-screen instructions to proceed with the migration process.
5. Select the Old Hard Drive and the SSD: In the data migration software, select the source drive (the old hard drive) and the destination drive (the SSD). Ensure that you have correctly identified the drives to avoid any accidental data loss.
6. Start the Data Transfer: Once you have selected the drives, start the data transfer process. The software will copy the data from the old hard drive and transfer it to the SSD. This process may take some time, depending on the amount of data being transferred.
7. Verify the Data Transfer: After the transfer is complete, double-check that all the data has been successfully transferred to the SSD. Compare the files and folders on the old hard drive with those on the SSD to ensure everything is intact.
8. Disconnect and Store the Old Hard Drive (Optional): If you no longer need the old hard drive for storage, disconnect it from the computer and store it in a safe place as a backup. Ensure that it is properly labeled and protected from any potential damage.
Transferring data from the old hard drive to the SSD allows you to preserve your files, applications, and settings while benefiting from the improved speed and performance of the SSD. Take your time to double-check that all the necessary data has been successfully transferred before proceeding.
Once the data transfer is complete, you can enjoy using your computer with the new SSD, knowing that your files and applications are now running on a faster and more efficient storage device.
Test and Verify the SSD Installation
After completing the data transfer process and ensuring that all your files and applications are successfully migrated to the Solid State Drive (SSD), it’s essential to test and verify the SSD installation to ensure everything is functioning as expected. This step allows you to confirm that the SSD is recognized by the system, and you can fully enjoy the benefits of improved performance.
Follow these steps to test and verify the SSD installation:
1. System Boot Time: Restart your computer and observe the boot time. The SSD’s faster read and write speeds should result in a quicker startup process. A significantly reduced boot time indicates that the SSD is working correctly.
2. Software Launch Time: Open frequently used applications and notice the launch time. You should experience faster load times for applications installed on the SSD, compared to when they were on the old hard drive. This is due to the SSD’s faster data access speeds.
3. File Transfer Speed: Copy a large file or folder from one location to another on the SSD and monitor the transfer speed. The SSD’s improved performance should lead to faster file transfers compared to the old hard drive. This is especially noticeable when dealing with large files.
4. System Responsiveness: Use your computer as you normally would and observe the overall system responsiveness. Tasks such as opening files, browsing the internet, and multitasking should feel snappier and more fluid with the SSD’s improved read and write speeds.
5. Disk Health Monitoring: Install SSD management software provided by the manufacturer to monitor the health and performance of your SSD. This software can provide insights into the SSD’s temperature, available capacity, and potential issues. Regularly checking the disk health ensures the longevity of the SSD.
6. Benchmark Tests (Optional): If you want a more detailed assessment of the SSD’s performance, you can run benchmark tests. Benchmarking tools measure the SSD’s read and write speeds, IOPS (input/output operations per second), and other performance indicators. Compare the results with similar SSDs to evaluate the SSD’s performance against industry standards.
By testing and verifying the SSD installation, you can confirm that everything is functioning correctly and reap the benefits of improved speed and performance. However, if you encounter any unexpected issues or notice unusual behavior, consult the SSD manufacturer’s documentation or contact their customer support for assistance.
Congratulations on successfully installing and verifying your new SSD! You can now enjoy a significant boost in performance and experience faster computing with your upgraded storage device.
Conclusion
Congratulations on successfully installing a Solid State Drive (SSD) into your computer! By following the steps outlined in this guide, you have upgraded your system’s storage and unlocked a range of benefits, including improved performance, faster boot times, and quicker data access.
We began by introducing the benefits of SSDs and emphasized the importance of backing up your data before starting the installation process. We then discussed how to choose the right SSD for your needs, gather the necessary tools and equipment, disconnect the power, and open the computer case. After that, we covered locating the appropriate SSD slot, inserting and securing the SSD, and connecting it to the power supply and motherboard.
With the hardware installation complete, we moved on to critical steps such as accessing the BIOS setup, formatting and partitioning the SSD, and installing the operating system. We also provided guidance on transferring data from the old hard drive to the SSD and testing and verifying the SSD installation to ensure everything is functioning correctly.
Now that you have successfully gone through the whole process, your computer is ready to deliver faster performance and improved efficiency with the new SSD as its primary storage device.
Remember to regularly monitor the health and performance of your SSD, keep your operating system and drivers up to date, and maintain backups of your important data to ensure a smooth and reliable computing experience.
The installation of an SSD can greatly enhance your computer’s performance and provide you with a positive user experience. By following this guide, you have demonstrated an understanding of the installation process and have taken a significant step towards maximizing your computer’s potential.
Enjoy your newly installed SSD and the improved performance it brings to your computing experience. Happy computing!