Introduction
Welcome to this comprehensive guide on how to install an SSD (Solid State Drive) into your computer. Whether you’re looking to upgrade your system for faster performance or increase storage capacity, installing an SSD can be a game-changer. Unlike traditional hard drives, SSDs use flash memory technology, allowing for lightning-fast data access and improved overall responsiveness.
In this guide, we will take you through a step-by-step process of installing an SSD into your computer. From preparation to finalizing the installation, we’ll cover all the necessary details to ensure a smooth and successful upgrade.
Upgrading to an SSD provides several benefits, such as faster boot times, quicker application launches, and seamless multitasking. Additionally, SSDs are more reliable and durable than traditional hard drives, making them a smart investment for any computer enthusiast.
Before we dive into the installation process, it’s essential to ensure that you have the necessary tools and equipment. You will need a Phillips screwdriver, an SATA cable, and possibly a mounting bracket, depending on your computer’s configuration.
It’s also crucial to back up any important data from your existing hard drive. While we will take precautions to preserve your data during the installation process, it’s always best practice to have a backup in case of unforeseen issues.
With all that said, let’s get started on upgrading your computer by installing an SSD. Follow each step carefully, and before you know it, you’ll be enjoying the improved performance and reliability of your new solid-state drive.
Preparation
Before diving into the installation process, it’s crucial to take some time to prepare. By following these steps, you can ensure a smooth and hassle-free SSD installation:
- Research your computer’s compatibility: It’s essential to check if your computer is compatible with an SSD. Determine whether your computer has an available SATA port and if it supports the size of SSD you intend to install. Consult your computer’s manual or manufacturer’s website for this information.
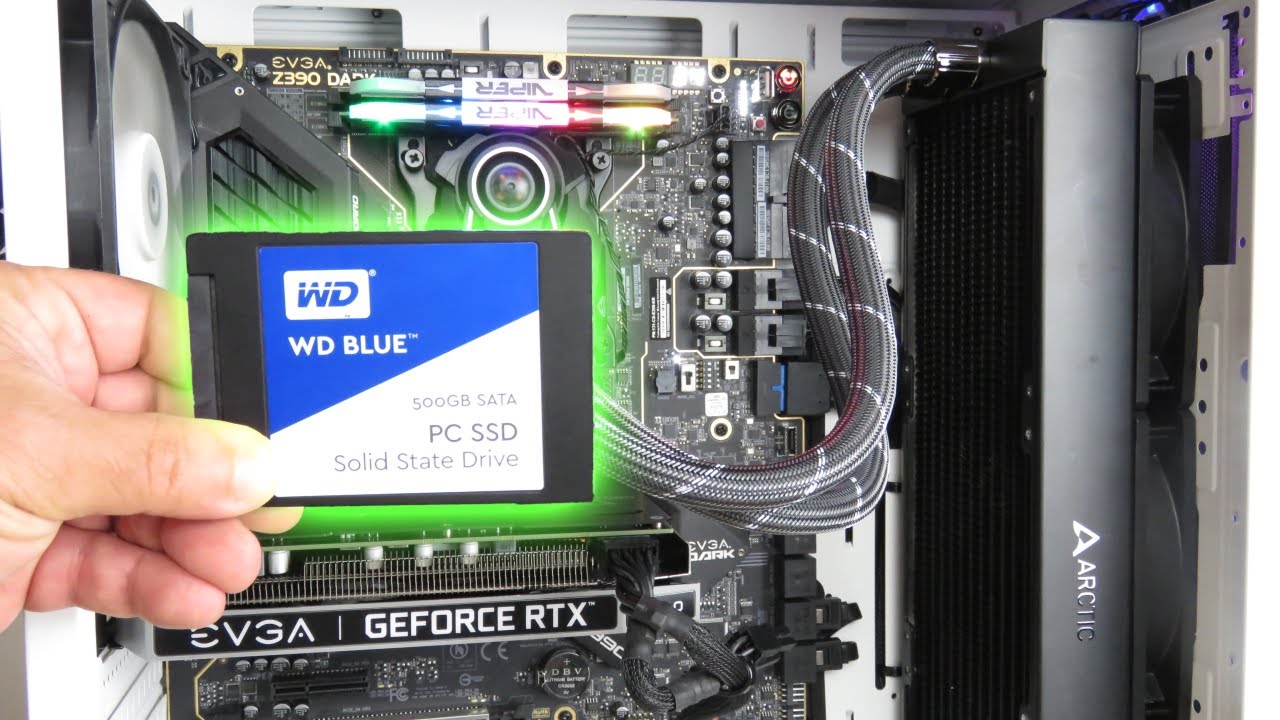
- Select the right SSD: There are various types of SSDs available, including SATA, M.2, and NVMe. Ensure you choose an SSD that is compatible with your computer’s SATA port or M.2 slot. Consider factors such as storage capacity, read/write speeds, and price to select the right SSD for your needs.
- Backup your data: Before starting the installation process, create a backup of all your important data. This step is crucial to ensure that you don’t lose any valuable information during the installation or formatting process of the new SSD.
- Gather the necessary tools: To install the SSD, you will need a Phillips screwdriver, an SATA cable (if not included with the SSD), and possibly a mounting bracket if your computer requires it. Make sure you have all the required tools before proceeding.
- Prepare your workspace: Find a clean, well-lit area to work on your computer. Ensure that you have enough space to lay out the required tools and components. Consider using an anti-static mat or wearing an anti-static wrist strap to prevent any damage from electrostatic discharge.
- Power down your computer: Before opening your computer and performing any hardware installation, shut down your computer properly. Make sure to unplug the power cord from the wall outlet to ensure your safety.
- Take note of cable connections: Before disconnecting any cables, take a moment to photograph or label them. This step will help you remember where each cable should be connected later on.
By following these preparation steps, you’ll be well-equipped and ready to tackle the SSD installation process smoothly.
Step 1: Locate the SATA Ports
Before you can install the SSD, you need to locate the SATA ports on your computer’s motherboard. The SATA ports are where you will connect the power and data cables for the SSD.
Here are the steps to locate the SATA ports:
- Open your computer case: Carefully remove the side panel of your computer case. The process for opening the case may vary depending on your computer model. Refer to your computer’s manual or manufacturer’s website for specific instructions.
- Locate the motherboard: Once the case is open, locate the motherboard, which is the main circuit board inside your computer. It is usually positioned horizontally near the center or bottom of the case.
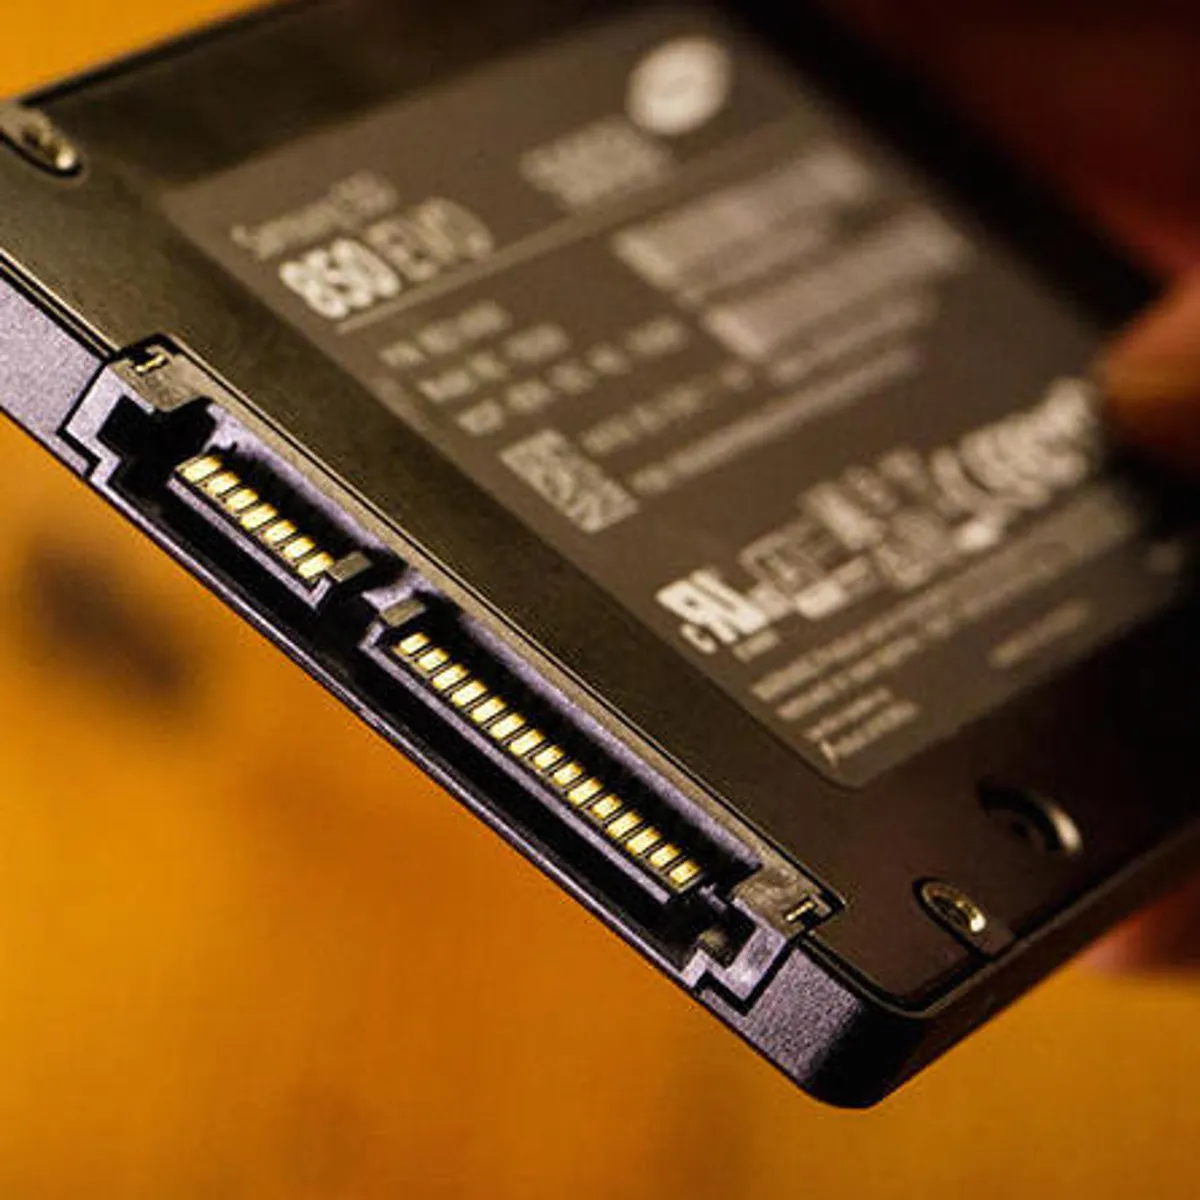
- Identify the SATA connectors: Look for a series of ports on the motherboard labeled “SATA.” These ports are typically rectangular and have a small notch on one side. Each port is capable of accommodating one SATA cable.
- Count the available ports: Take note of how many SATA ports are available on the motherboard. This information will help you plan the connection of your SSD and any other devices you may have.
- Note any specific labeling: Some motherboards may have specific labels for certain SATA ports, such as “SATA 0,” “SATA 1,” or “SATA 2.” These labels can indicate specific functionalities or priorities assigned to those ports. Make a note of any specific labeling for future reference.
Keep in mind that the location and number of SATA ports can vary depending on your computer’s motherboard model. If you encounter any difficulties in locating the SATA ports, refer to your computer’s manual or consult the manufacturer’s website for more information.
Once you have successfully located the SATA ports, you are ready to move on to the next step of the installation process.
Step 2: Disconnect Power and Data Cables
Now that you have located the SATA ports, it’s time to disconnect the power and data cables from your old hard drive. This step is essential to ensure a clean and hassle-free installation of the SSD.
Follow these steps to properly disconnect the cables:
- Identify the power cable: Locate the power cable that is connected to your old hard drive. The power cable is a wide, rectangular connector usually coming from the power supply unit (PSU). It provides electrical power to the hard drive.
- Disconnect the power cable: Gently pull the power cable straight out from the hard drive connector. Avoid yanking or twisting the cable to prevent any damage to the connector or cable itself.
- Identify the data cable: Locate the data cable that connects your old hard drive to the motherboard. The data cable is a thinner cable with a smaller connector on each end.
- Disconnect the data cable: Press the small plastic tab on the data cable connector and gently pull it straight out from the hard drive. Take care not to pull on the cable itself.
- Note cable positions: As you disconnect the power and data cables, take a moment to note the positions and directions of each cable. This step will help when connecting the cables to the SSD later on.
- Set aside the old hard drive: Once the cables are disconnected, set aside the old hard drive in a safe place. Do not discard it unless you have backed up and transferred all necessary data to the new SSD.
By following these steps, you have successfully disconnected the power and data cables from your old hard drive. Proceed to the next step to install the SSD into your computer.
Step 3: Remove the Old Hard Drive
With the power and data cables disconnected from the old hard drive, it’s now time to remove the old drive from your computer. Removing the old hard drive creates space for installing the new SSD.
Follow these steps to safely remove the old hard drive:
- Identify the mounting bracket or screws: Depending on your computer’s configuration, the hard drive may be secured using a mounting bracket or screws. Take note of how the old hard drive is secured in place to determine the best approach for its removal.
- Remove the mounting bracket: If your computer uses a mounting bracket to secure the hard drive, use a screwdriver to unscrew the screws holding the bracket in place. Set the mounting bracket aside for later use if needed.
- Detach the hard drive screws: If the hard drive is directly secured using screws, remove the screws using a screwdriver. Make sure to keep these screws in a safe place, as you may need them to secure the new SSD.
- Slide out the old hard drive: Once the mounting bracket or screws have been removed, gently slide out the old hard drive from its bay. Be careful not to apply excessive force or damage any other components in the process.
- Set aside the old hard drive: Place the old hard drive in a safe and secure location, as it may still contain valuable data or be repurposed in the future.
Now that you have successfully removed the old hard drive, you are ready to proceed with installing the new SSD. Continue to the next step to learn how to install the SSD into your computer.
Step 4: Install the SSD
With the old hard drive removed, it’s time to install the new SSD into your computer. The SSD will replace the old drive and become your primary storage device. Follow these steps to successfully install the SSD:
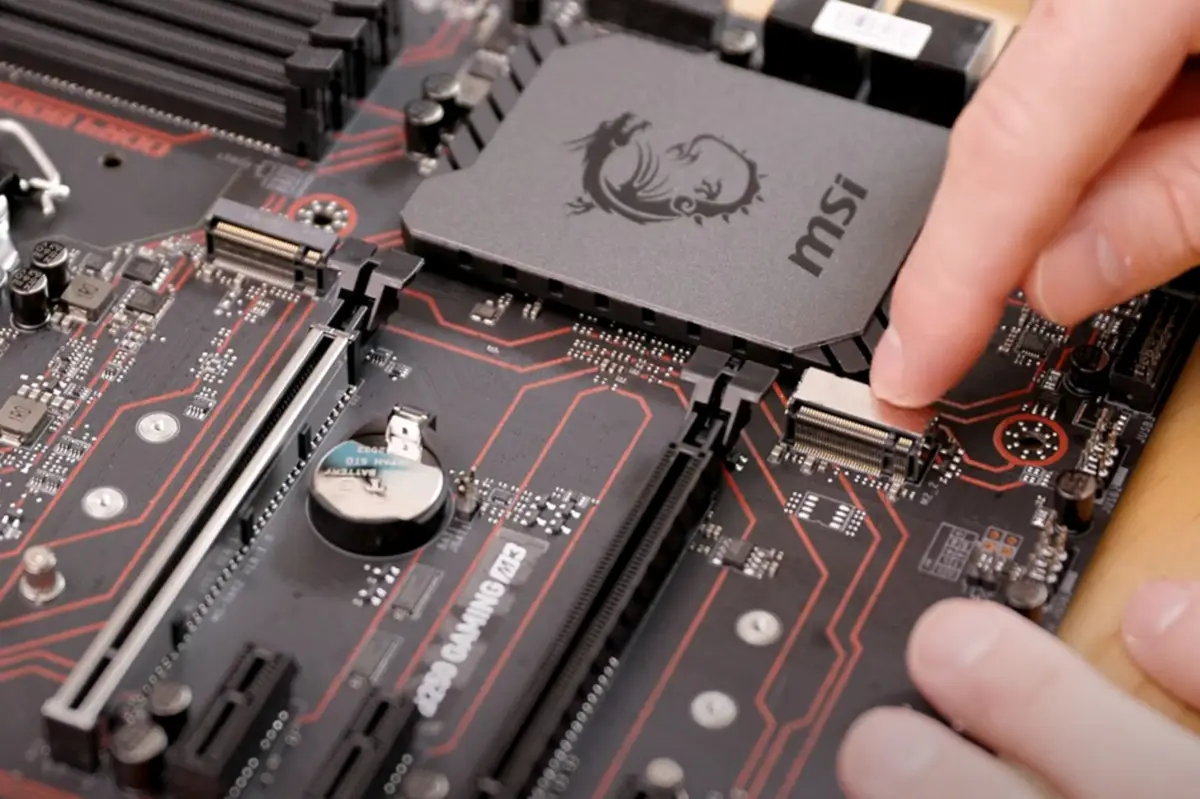
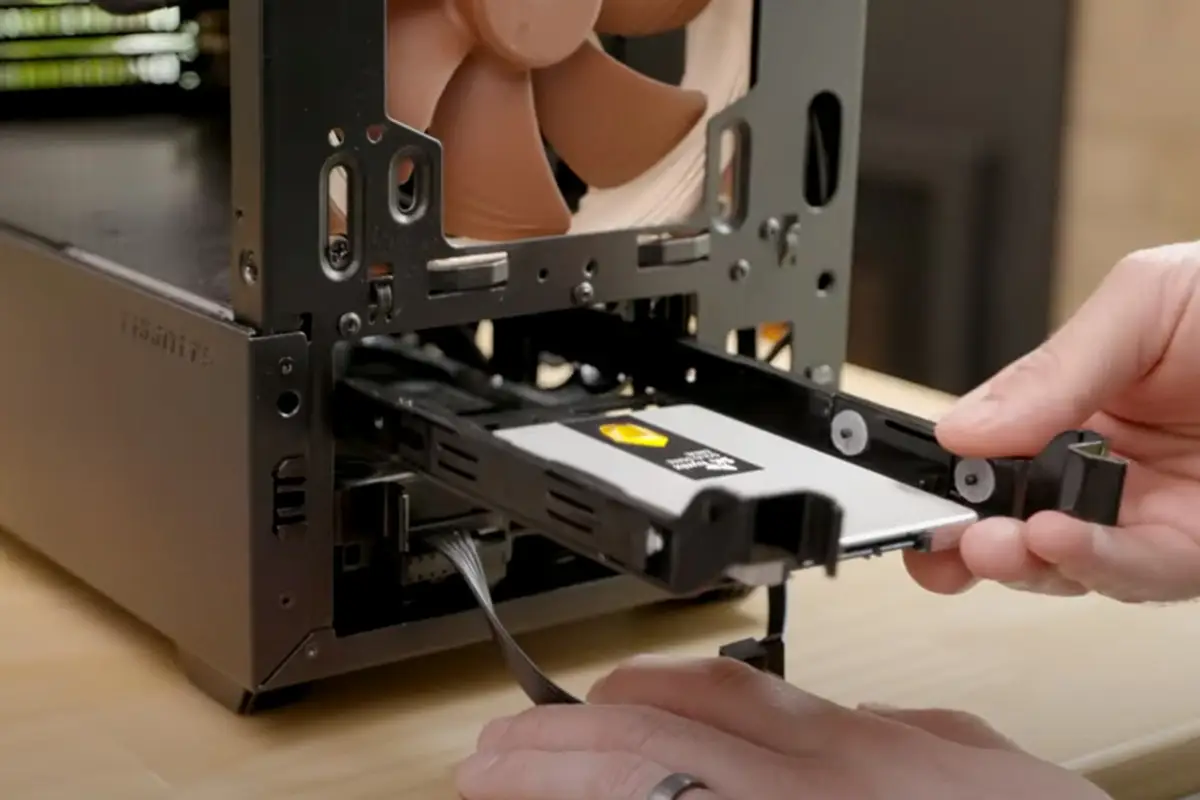
- Locate an available drive bay: Look for an empty drive bay inside your computer case where the SSD will be installed. Depending on your computer’s configuration, it may be located in the same area as the old hard drive or in a different section of the case.
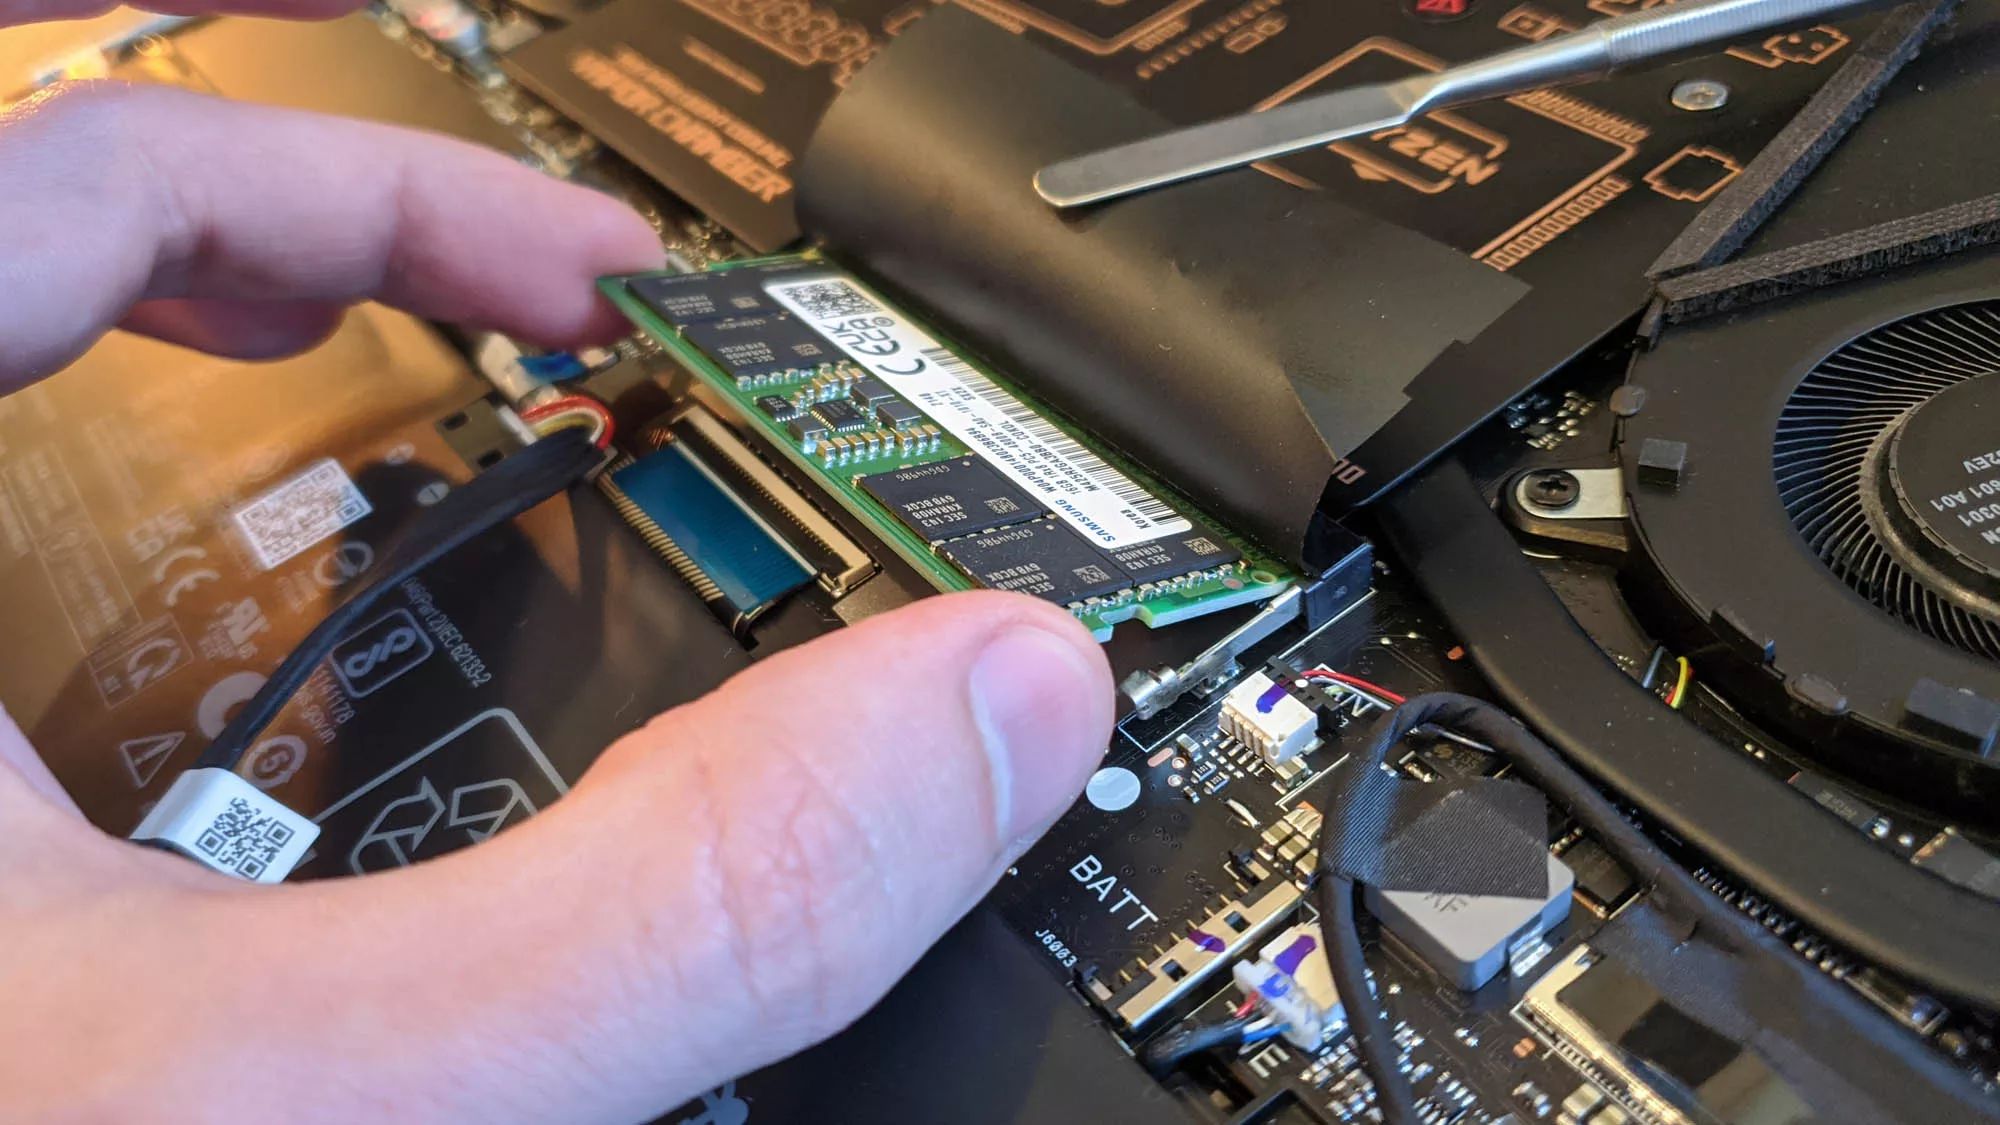
- Align the SSD with the drive bay: Position the SSD so that the connectors on the SSD line up with the connectors in the drive bay. The connectors will fit snugly together when aligned correctly.
- Slide the SSD into the drive bay: Gently slide the SSD into the drive bay until it is fully seated. Be careful not to force it or apply excessive pressure, as this could damage the SSD or other components in your computer.
- Secure the SSD: Depending on your computer’s configuration, you may need to use a mounting bracket or screws to secure the SSD in place. Follow the manufacturer’s instructions or refer to your computer’s manual to determine how to secure the SSD properly.
- Double-check the alignment and seating: After securing the SSD, double-check that it is properly aligned and seated in the drive bay. Ensure that all connectors are fully inserted and engaged.
Once you have completed these steps, congratulations! You have successfully installed the SSD into your computer. The SSD will now serve as your primary storage device, offering faster performance and improved data access compared to traditional hard drives.
In the next step, we will connect the necessary power and data cables to the SSD to ensure it functions correctly. Continue to the next section to learn how to do this.
Step 5: Connect Power and Data Cables to the SSD
Now that the SSD is installed in the drive bay, it’s time to connect the necessary power and data cables to ensure it functions correctly. Follow these steps to properly connect the cables to the SSD:
- Locate the SATA power connector: Locate the SATA power connector from your power supply unit (PSU). The SATA power connector is a wide, rectangular connector with multiple pins.
- Connect the SATA power cable: Take the SATA power cable and align the connector on the cable with the corresponding connector on the SSD. Carefully plug in the SATA power cable, ensuring that it is fully seated and securely connected.
- Locate the SATA data cable: The SATA data cable is a thin cable with smaller connectors on both ends. Locate an available SATA data cable either from your motherboard or any additional SATA cables you may have.
- Connect the SATA data cable: Align the connectors on the SATA data cable with the corresponding connectors on both the motherboard and the SSD. Gently plug in the SATA data cable, ensuring a secure connection at both ends.
- Check the cable connections: Double-check that both the power and data cables are securely connected to the SSD and the respective connectors on the motherboard. Ensure that there are no loose connections or cables that could come undone during operation.
By following these steps, you have successfully connected the necessary power and data cables to the SSD. These cables will provide power to the SSD and allow it to communicate with your computer’s motherboard.
Proceed to the next step to learn how to secure the SSD in place to prevent any movement or damage.
Step 6: Secure the SSD in Place
After connecting the power and data cables to the SSD, it’s important to secure the SSD in its designated position to prevent any movement or damage. Follow these steps to securely fasten the SSD:
- Check for mounting options: Determine if your computer’s drive bay or mounting bracket offers any specific mechanisms for securing the SSD. Some cases may have brackets or trays with screws, while others may utilize tool-less installation methods.
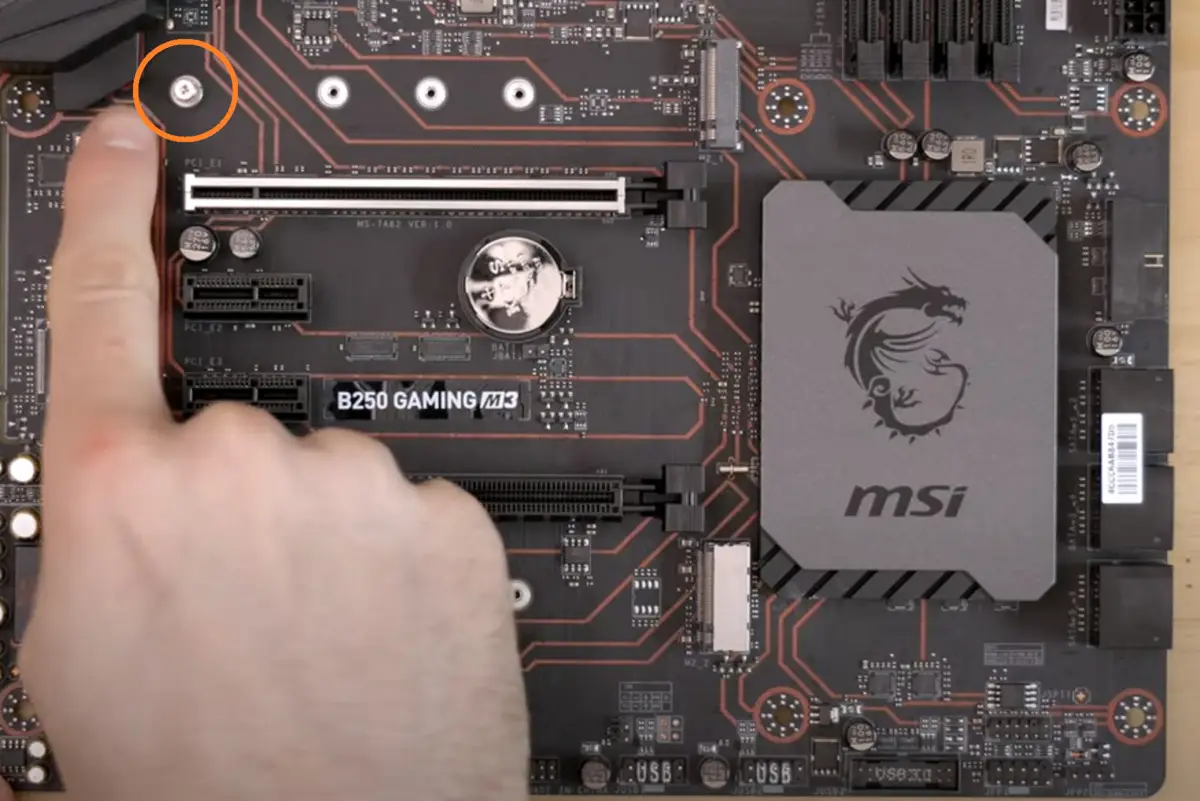
- Align the screw holes: If your computer requires the use of screws to secure the SSD, align the screw holes on the SSD with the corresponding holes on the mounting bracket or drive bay. Ensure the SSD is properly aligned and seated before proceeding.
- Secure the SSD with screws: Carefully insert the screws into the aligned screw holes on the SSD and tighten them gently. Take care not to overtighten the screws, as this can damage the SSD or the mounting bracket.
- Check for stability: Once the SSD is securely fastened, double-check its stability. Ensure that it does not move or wiggle within the drive bay or mounting bracket. This will minimize any potential damage caused by vibration or shifting during use.
- Verify cable clearance: Confirm that the power and data cables attached to the SSD do not obstruct any other components or cables within the computer. Ensure that they are neatly organized and do not interfere with the airflow or other vital connections.
Securing the SSD in place is crucial to prevent any accidental disconnections or damage while the computer is in use. By following these steps, you can ensure that the SSD remains safely and securely installed within your computer.
Now that the SSD is securely fastened, it’s time to power on your computer and verify the successful connection of the SSD. Proceed to the next step to learn how to do this.
Step 7: Power on and Verify Connection
With the SSD securely installed and all cables properly connected, it’s time to power on your computer and verify the successful connection of the SSD. Follow these steps to ensure that everything is functioning as intended:
- Reassemble your computer: If you had to remove any components or panels to access the drive bay, carefully reassemble your computer. Ensure that all screws are tightened, panels are secured, and any other disconnected cables are properly reconnected.
- Plug in and turn on your computer: Reconnect the power cable to your computer and plug it back into a power outlet. Press the power button to turn on your computer as you normally would.
- Check for SSD recognition: As your computer boots up, pay attention to the screen to see if the SSD is recognized during the initial startup. Depending on your computer’s settings, you may see a message indicating the detection of a new storage device.
- Access the BIOS/UEFI settings: If the SSD is not automatically recognized, you may need to enter the BIOS/UEFI settings. Restart your computer and look for the key to access the BIOS/UEFI settings (usually displayed on the screen during startup). Navigate to the storage devices section to ensure that the SSD is detected.
- Verify the SSD in the operating system: Once your computer has booted into the operating system, open the Disk Management utility (for Windows) or the Disk Utility (for macOS). Confirm that the SSD is listed as a recognized storage device and that it shows the correct capacity.
If the SSD is recognized in the BIOS/UEFI settings and appears in the operating system, congratulations! You have successfully installed and connected the SSD to your computer.
However, if the SSD is not recognized or you encounter any issues, double-check all connections, ensure that the SSD is properly seated, and make sure that the cables are securely plugged in. If problems persist, consult your computer’s manual or seek assistance from a professional.
Now that you have verified the successful connection of the SSD, it’s time to format and initialize the SSD to make it ready for use. Proceed to the next step to learn how to do this.
Step 8: Format and Initialize the SSD
After verifying the successful connection of the SSD, the next step is to format and initialize the SSD to prepare it for use. Formatting and initializing the SSD will allow your computer’s operating system to recognize it as a usable storage device. Follow these steps to format and initialize the SSD:
- Open the Disk Management utility: On Windows, right-click the Start button and select “Disk Management” from the menu. On macOS, open the “Disk Utility” from the Applications folder or use the Spotlight search.
- Locate the SSD in the Disk Management utility: In the Disk Management utility (or Disk Utility on macOS), locate the SSD among the listed drives. It should be labeled with its storage capacity and show as an unallocated or unformatted drive.
- Right-click on the SSD: Right-click on the SSD in the Disk Management utility and select the option to format the drive. Follow the on-screen prompts and choose the desired file system (e.g., NTFS for Windows or APFS for macOS) and allocation unit size.
- Assign a drive letter or mount point: After formatting, right-click on the newly formatted SSD and select the option to assign a drive letter (for Windows) or a mount point (for macOS). Choose an available and meaningful drive letter or mount point for easy identification.
- Initialize the SSD: If prompted, select the option to initialize the SSD. Choose the appropriate partition style (usually GPT for modern systems) and follow any additional prompts to complete the initialization.
- Confirm the SSD is recognized: Once the formatting and initialization process is complete, verify in the Disk Management utility (or Disk Utility on macOS) that the SSD now shows as a healthy, formatted drive with the assigned drive letter or mount point.
By following these steps, you have successfully formatted and initialized the SSD. It is now ready to be used as a storage device in your computer.
Remember to transfer any necessary data from your old hard drive to the new SSD and update your computer’s boot settings if you intend to use the SSD as the primary boot drive.
With the SSD formatted and initialized, you can now enjoy its improved performance, faster read/write speeds, and increased reliability.
Congratulations on successfully installing and setting up your new SSD. Enjoy the enhanced performance and storage capacity it brings to your computer!
Conclusion
Congratulations! You have now completed the installation process for your new SSD. By following the steps outlined in this guide, you have successfully upgraded your computer’s storage to a faster and more efficient solid-state drive.
Installing an SSD can have a significant impact on your computer’s performance. With faster boot times, improved application launch speeds, and seamless multitasking, you’ll experience a noticeable difference in overall responsiveness.
Remember, before proceeding with the installation, it is essential to do thorough research on the compatibility of your computer and select the right SSD for your needs. Backing up your data is also crucial to avoid any loss during the installation process.
From locating the SATA ports to securing the SSD in place and formatting it for use, each step is important in ensuring a successful installation. Take the time to carefully follow each step to avoid any issues.
Now that your SSD is installed and ready for use, make sure to transfer any necessary data from your old hard drive and update your computer’s boot settings if you intend to use the SSD as the primary boot drive.
Enjoy the benefits of your new SSD, such as improved performance, faster data access, and increased reliability. Your computer will be more responsive and efficient, allowing you to accomplish tasks with greater speed and ease.
Should you encounter any difficulties during the installation process or have any questions, consult your computer’s manual or seek assistance from a professional. They will be able to offer guidance and support to ensure a successful SSD installation.
Thank you for following this guide, and we hope you enjoy the enhanced performance and storage capacity that your new SSD brings to your computer.