Introduction
Welcome to the step-by-step guide on setting up an SSD for Windows 10! If you’re looking to boost your computer’s performance and improve its overall speed, upgrading to a solid-state drive (SSD) is a fantastic option. Unlike traditional hard drives, SSDs utilize flash memory technology for lightning-fast data access, resulting in faster boot times and quicker file transfers. In this guide, we’ll walk you through the process of setting up an SSD on your Windows 10 system.
Before we begin, it’s important to note that installing an SSD requires a basic understanding of hardware and software. If you’re unfamiliar with computer components or uncomfortable with making changes to your system, it’s recommended to seek professional assistance. However, if you’re ready to embark on this exciting upgrade journey, let’s dive in!
In the following steps, we will cover everything from choosing the right SSD to optimizing it for Windows 10. By the end of this guide, you’ll have a fully functional SSD, giving your computer a significant performance boost.
It’s worth mentioning that while the focus of this guide is on Windows 10, the majority of the steps are applicable to earlier versions of Windows as well. So, regardless of the version you’re running, you’ll find valuable information to guide you in the SSD setup process.
Without further ado, let’s get started and unleash the full potential of your Windows 10 system with an SSD upgrade!
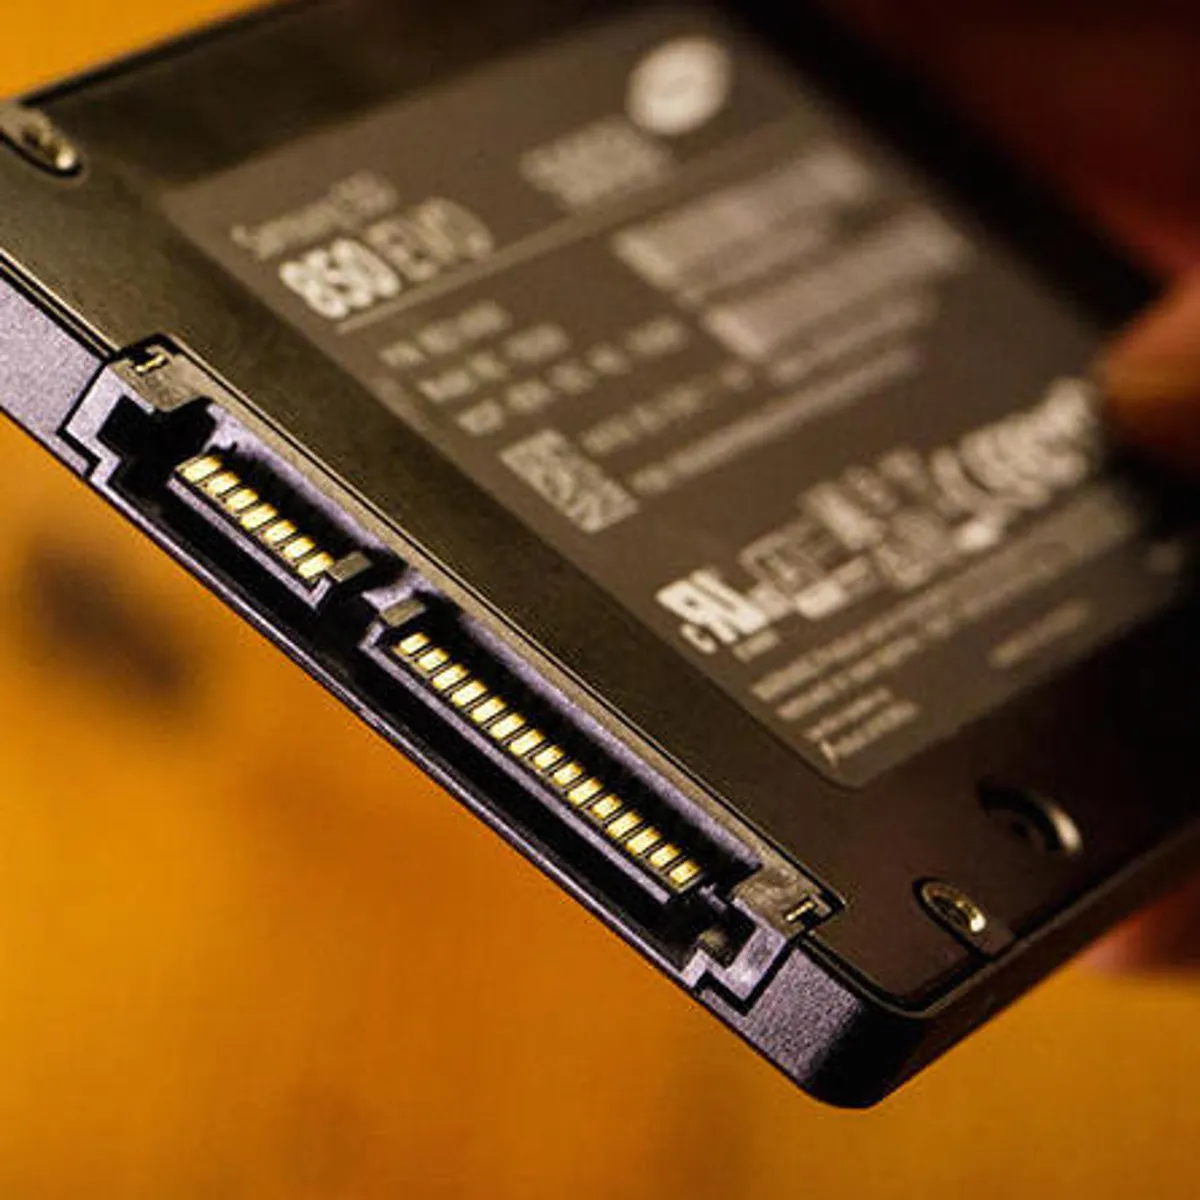
Step 1: Choose the Right SSD
When it comes to choosing the right SSD for your Windows 10 system, several factors need to be considered. Here are some key points to keep in mind:
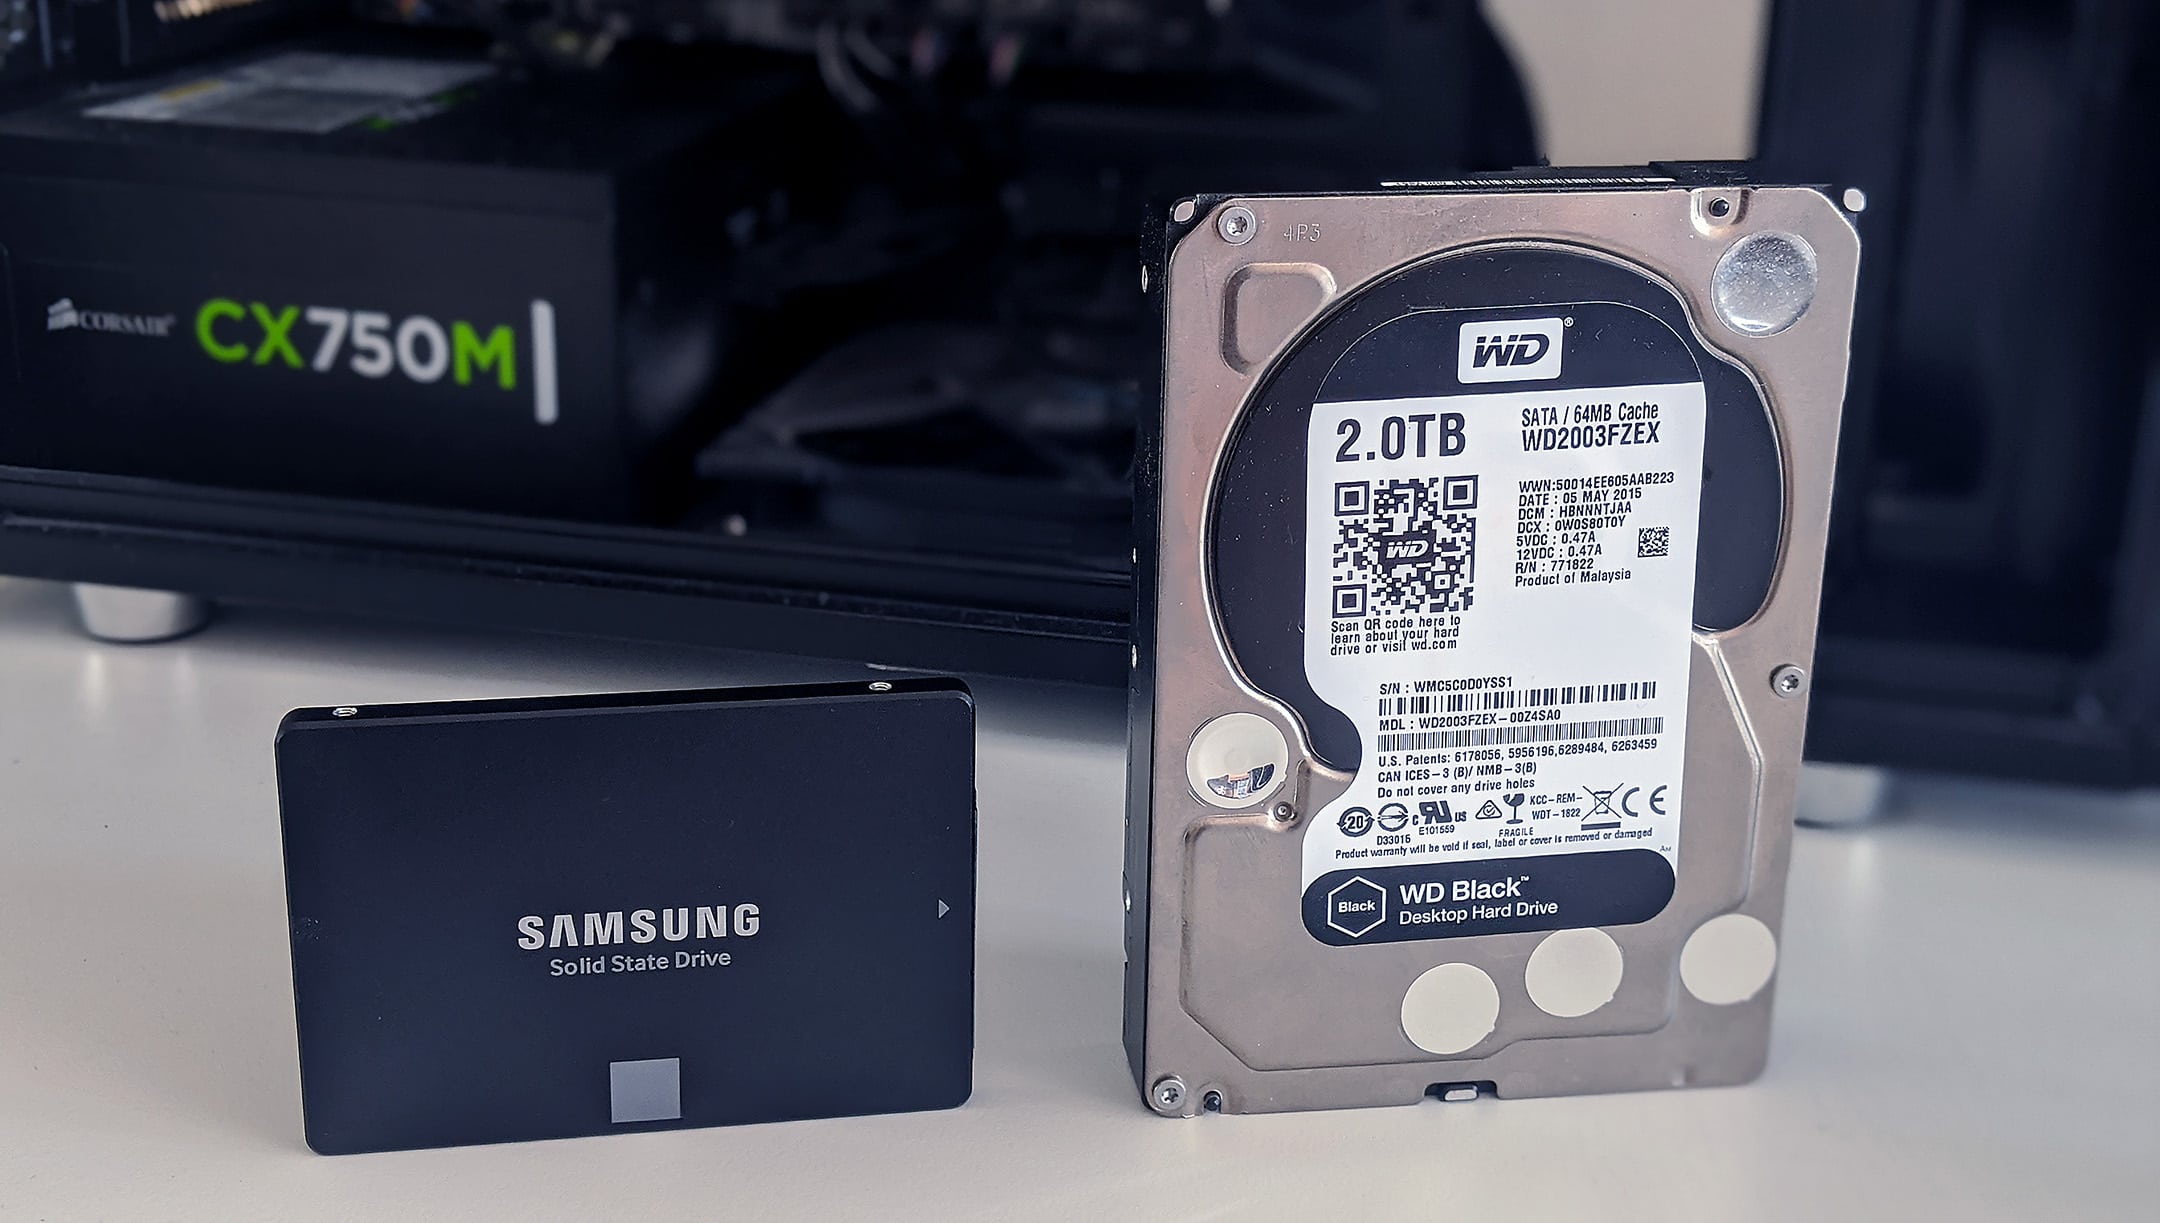
- Storage Capacity: Determine how much storage space you require. SSDs are available in various capacities, ranging from 120GB to several terabytes. Consider your needs for storing operating systems, applications, and files.
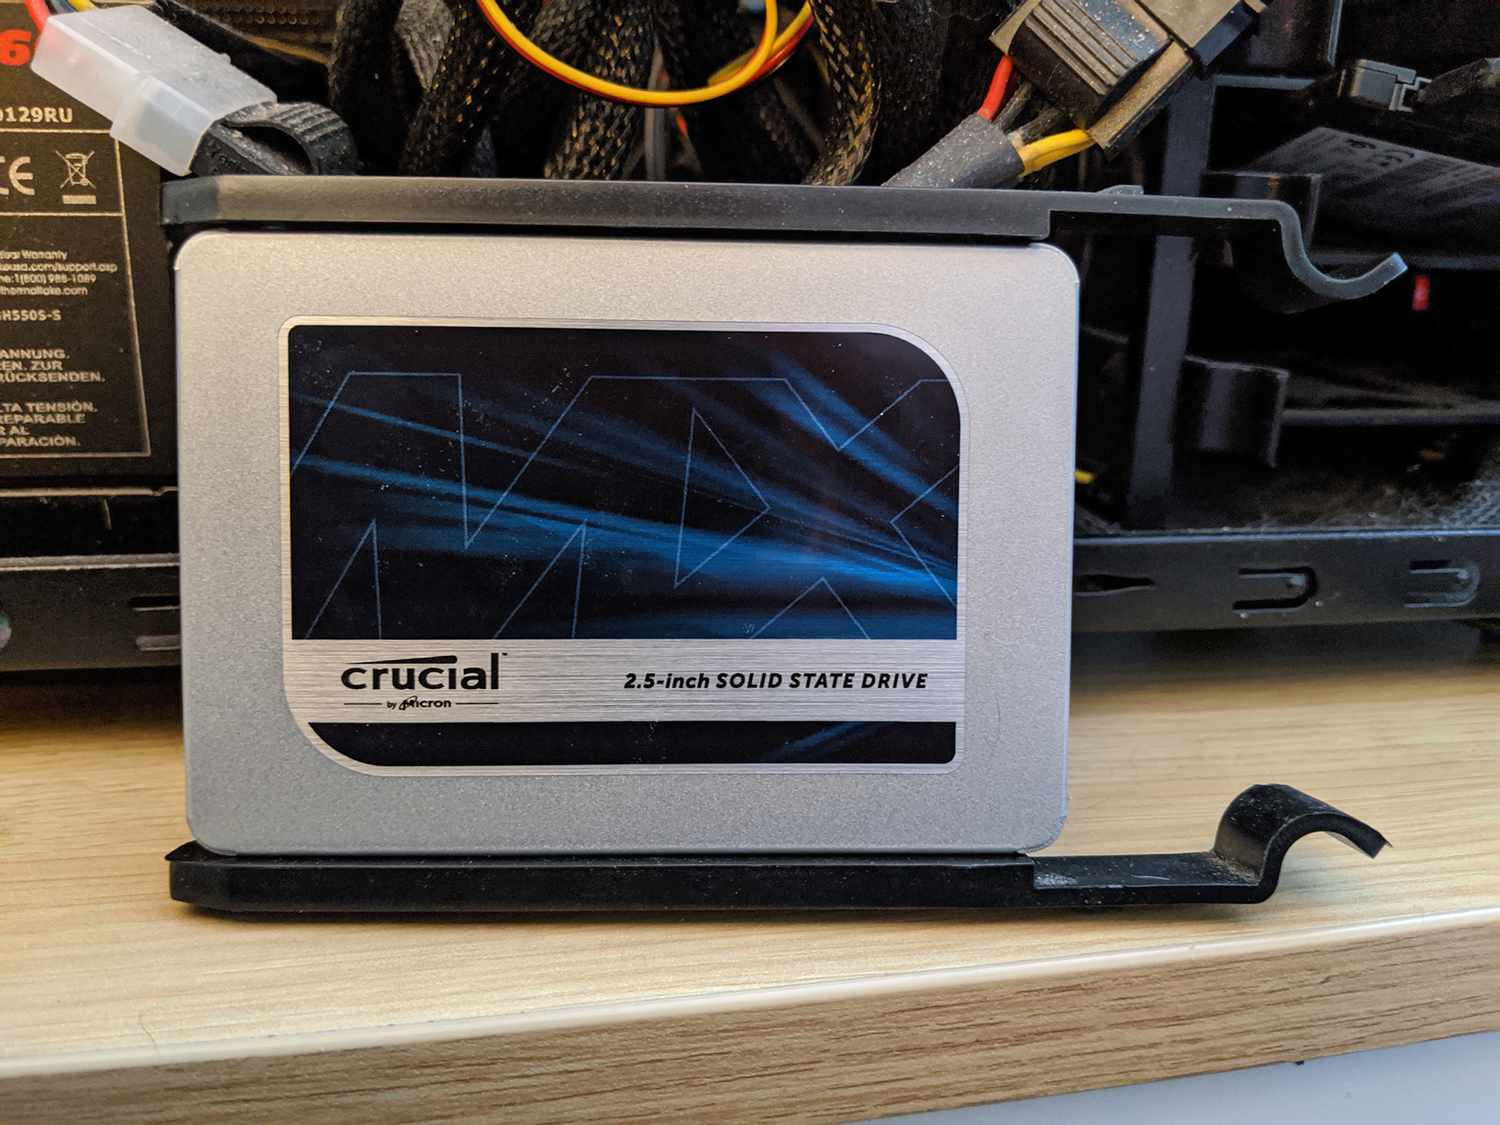
- Form Factor: Check the form factor of your computer’s storage slots. Common form factors for desktops and laptops include 2.5-inch, M.2, and NVMe.
- Interface: Choose an SSD with a compatible interface, such as SATA (for 2.5-inch SSDs) or PCIe (for M.2 and NVMe SSDs).
- Performance: Consider the read and write speeds of the SSD. Higher speeds result in faster data transfers and improved system responsiveness. Look for SSDs with sequential read speeds of at least 500MB/s and write speeds of at least 400MB/s.
- Reliability: Look for SSDs from reputable brands known for their reliability and durability. Read reviews and check for any warranties or guarantees offered by the manufacturer.
Once you’ve considered these factors, you’ll be better equipped to choose an SSD that meets your specific requirements. It’s important to choose a high-quality SSD to ensure long-term performance and reliability.
Keep in mind that SSD prices can vary depending on the brand, capacity, and performance. Set a budget that aligns with your needs and browse through different options to find the best SSD within your price range.
With the right SSD in hand, you’re ready to move on to the next step: backing up your data. It’s always recommended to create a backup of your important files before making any changes to your system to avoid any potential data loss.
Step 2: Backup Your Data
Before proceeding with the installation of your new SSD, it’s important to create a backup of your data. This will ensure that your valuable files and documents are safe in case of any unexpected issues during the setup process.
There are several ways to back up your data:
- External Hard Drive: Connect an external hard drive to your computer and use software or the built-in backup feature in Windows 10 to create a complete backup of your system.
- Cloud Storage: You can upload your important files to cloud storage services like Google Drive, Dropbox, or OneDrive. This way, your files will be accessible from any device or location.
- Network Attached Storage (NAS): If you have a NAS device on your network, you can create a backup of your data to the NAS for added security.
Regardless of the method you choose, make sure to include all important files such as documents, photos, videos, and any other data you don’t want to lose.
It’s worth mentioning that performing regular backups is good practice even after setting up your SSD. This will ensure that your data remains safe and accessible in case of any future hardware or software issues.
Once you have successfully created backups of your data, you can proceed to the next step of preparing the SSD for installation.
Step 3: Prepare the SSD
Now that you have backed up your data, it’s time to prepare the SSD for installation. Follow these steps to get your SSD ready:
- Inspect the SSD: Carefully remove the SSD from its packaging and inspect it for any visible damage. Ensure that all components are present and undamaged.
- Static Precautions: Before handling the SSD, ground yourself by touching a grounded metal object. This will help prevent any static electricity discharge, which can damage sensitive electronic components.
- Formatting the SSD: In most cases, the SSD will come unformatted. To prepare it for installation, you’ll need to format it. Connect the SSD to your computer using the appropriate interface (SATA or M.2) and access the Disk Management tool in Windows 10. From there, you can format the SSD to the desired file system (usually NTFS).
- Partitioning (Optional): If you want to create multiple partitions on the SSD, you can do so using the Disk Management tool or other third-party partitioning software. Partitioning allows you to separate data and files into different sections, making organization and management easier.
It’s important to note that formatting the SSD will erase all existing data. Therefore, ensure that you have already backed up your important files before proceeding with this step.
Once you have prepared the SSD and formatted it to your desired specifications, you are now ready to physically install the SSD into your computer. In the next step, we will guide you through the process of installing the SSD hardware.
Step 4: Install the SSD Hardware
With the SSD prepared and ready, it’s time to physically install it into your computer. Follow these steps to install the SSD hardware:
- Power Off and Unplug: Shut down your computer and disconnect the power cable. This will prevent any electrical damage or accidents during the installation process.
- Open the Case: Depending on your computer model, you may need to remove a side panel or access a specific compartment to gain access to the internal components. Refer to your computer’s user manual for specific instructions on how to open the case.
- Locate an Available Slot or Bay: Identify an available slot or bay for installing the SSD. This may be a 2.5-inch drive bay, an M.2 slot, or an NVMe slot, depending on your SSD’s form factor.
- Mounting the SSD (2.5-inch SSD): If you’re installing a 2.5-inch SSD, you’ll need to secure it in the drive bay. Most drive bays have mounting brackets or trays to hold the SSD securely in place. Use screws or other fastening mechanisms to secure the SSD in the bay.
- Mounting the SSD (M.2 or NVMe SSD): For M.2 or NVMe SSDs, locate the respective slot on the motherboard and gently insert the SSD into it at a slight angle. Apply gentle pressure until the SSD is fully seated in the slot. Depending on the design, you may need to use a screw or retention mechanism to secure the SSD in place.
- Connect Cables: If you’re installing a 2.5-inch SSD, connect a SATA cable from the SSD to an available SATA port on the motherboard. Additionally, connect a power cable from the SSD to an available power connector from the power supply. M.2 and NVMe SSDs do not require additional cables.
- Secure and Close: Ensure that all connections are secure, and there are no loose cables. Carefully place the side panel back on the computer case and secure it using the appropriate screws or latches.
Once the SSD is securely installed, you can proceed to the next step, where we will guide you on accessing the BIOS and enabling the AHCI mode for optimal SSD performance.
Step 5: Access BIOS and Enable AHCI Mode
In order to optimize the performance of your newly installed SSD, it’s important to access the BIOS (Basic Input/Output System) and enable AHCI (Advanced Host Controller Interface) mode. Here’s how you can do it:
- Restart Your Computer: Save any ongoing work and restart your computer. As it boots up, you’ll need to access the BIOS settings. The key or combination of keys to access the BIOS may vary depending on your computer manufacturer. Common keys include Del, F2, F12, or Esc. Refer to your computer’s documentation or pay attention to the on-screen instructions during startup to determine the correct key.
- Access the BIOS: Once you’ve identified the correct key(s), press it repeatedly as the computer starts until the BIOS menu appears. This may take a few tries, so be patient.
- Navigate to the Storage Configuration: Inside the BIOS menu, navigate to the storage or SATA configuration section. The exact location and naming may vary depending on your BIOS version and motherboard manufacturer.
- Enable AHCI Mode: Look for an option related to AHCI mode (such as “SATA Mode,” “SATA Configuration,” or “SATA Operation”). Select it and change the mode to AHCI. Save the changes and exit the BIOS menu. Refer to your BIOS interface or manual for specific instructions on saving changes.
Enabling AHCI mode allows the SSD to operate at its full potential by utilizing the advanced features and optimizations provided by the AHCI interface. It’s important to note that changing the SATA mode from IDE/Compatibility mode to AHCI mode may cause the computer to fail to boot. If this happens, restart your computer and access the BIOS again. Look for an option related to “Legacy IDE” or “Compatibility Mode” and enable it to revert to the original configuration.
Once you’ve successfully enabled AHCI mode, your computer will likely restart. Allow it to boot normally, and the SSD will be ready for the next step: creating a bootable USB drive to install Windows 10 on your new SSD.
Step 6: Create a Bootable USB Drive
In order to install Windows 10 on your newly installed SSD, you’ll need to create a bootable USB drive. This will allow you to perform a fresh installation of the operating system. Follow the steps below to create a bootable USB drive:
- Obtain a Windows 10 ISO File: Download the Windows 10 ISO file from the official Microsoft website or obtain it from a trusted source. Make sure to choose the correct version and edition that matches your existing Windows 10 license.
- Prepare the USB Drive: Insert a USB drive with at least 8GB of storage capacity into your computer. Format the USB drive to ensure it’s clean and free of any existing data.
- Create a Bootable USB using Windows USB/DVD Download Tool: Download and install the Windows USB/DVD Download Tool from the Microsoft website. Launch the tool and follow the on-screen instructions to create a bootable USB drive. Select the Windows 10 ISO file and choose the USB drive as the destination.
- Create a Bootable USB using Rufus: Alternatively, you can use a third-party tool like Rufus to create a bootable USB drive. Download and install Rufus from the official website. Launch Rufus, select the USB drive, choose the Windows 10 ISO file, and configure any necessary settings. Click “Start” to begin the process.
Once the bootable USB drive creation process is complete, you’ll have a USB drive ready for installing Windows 10 on your SSD. Keep the USB drive in a safe place, as it will be required in the next step to install the operating system.
With a bootable USB drive at your disposal, you’re now ready to move on to the next step: installing Windows 10 on your SSD. In the following step, we’ll guide you through the installation process for a seamless transition to your newly upgraded system.
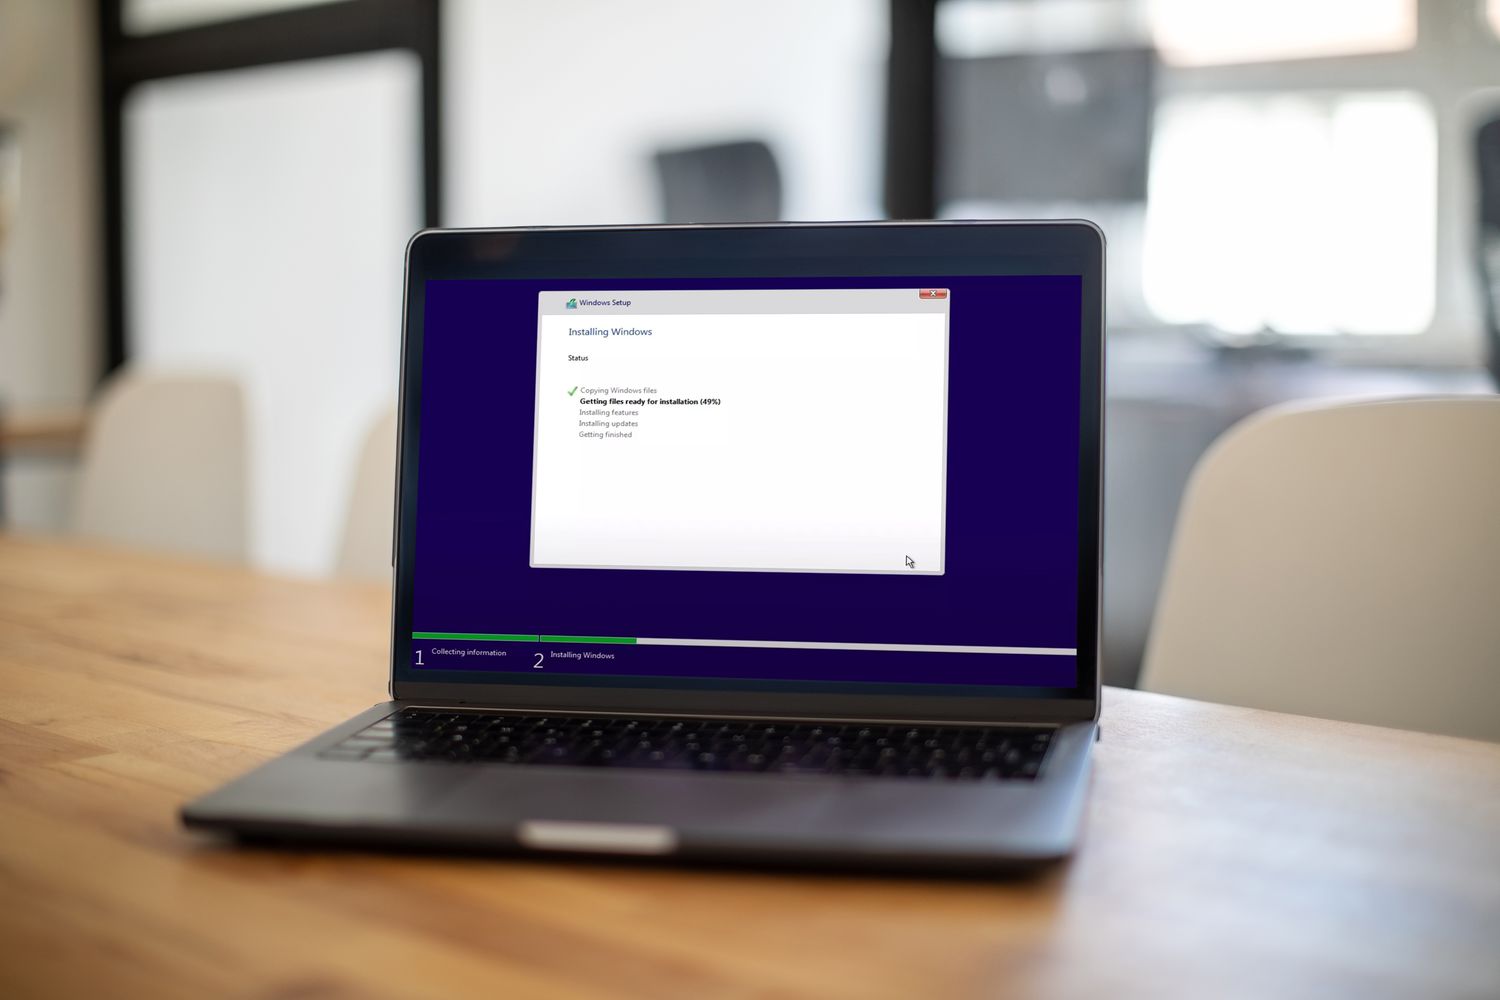
Step 7: Install Windows 10 with the USB Drive
With the bootable USB drive created, it’s time to install Windows 10 on your SSD. Follow the steps below for a smooth installation process:
- Connect the USB Drive: Insert the bootable USB drive into a USB port on your computer.
- Restart Your Computer: Save any ongoing work and restart your computer. As it boots up, access the BIOS settings using the same key or combination of keys we mentioned earlier.
- Navigate to the Boot Priority: Inside the BIOS menu, navigate to the boot priority or boot sequence options. Set the USB drive as the first boot device to ensure your computer boots from the USB drive.
- Save and Exit: Save the BIOS changes and exit the menu. Your computer will restart and boot from the USB drive.
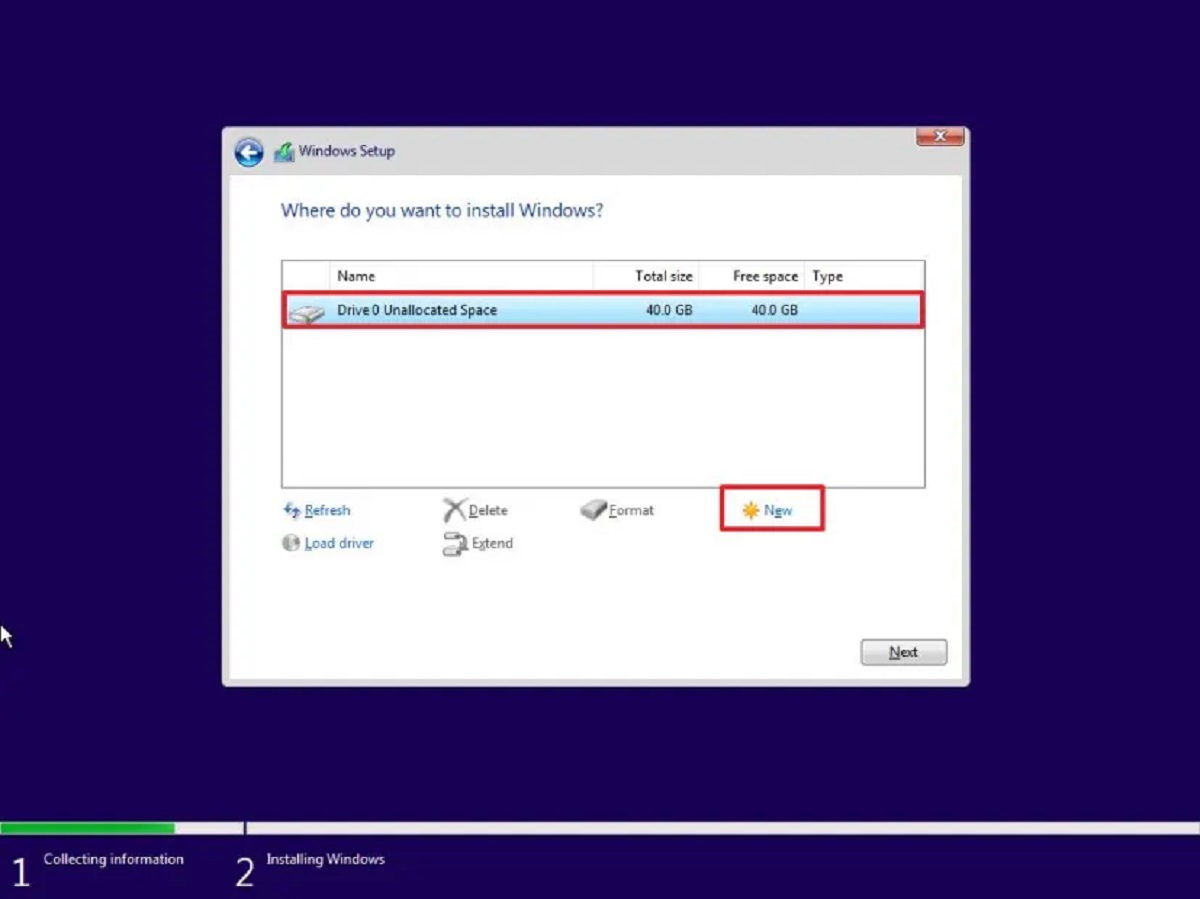
- Follow the Windows 10 Installation Steps: Once the computer boots from the USB drive, the Windows 10 installation process will begin. Follow the on-screen instructions to select the language, agree to the license terms, and choose the installation options.
- Select the SSD as the Installation Destination: When prompted to select the installation destination, choose your SSD as the location. Make sure to select the correct SSD and delete any existing partitions if necessary.
- Complete the Installation: Follow the remaining steps of the installation process, such as creating a user account, setting up preferences, and configuring Windows settings.
- Remove the USB Drive: Once the installation is complete, remove the USB drive from your computer.
After the installation, Windows 10 will be successfully installed on your SSD. You can now enjoy the improved performance and speed of your upgraded system.
It’s worth mentioning that during the installation process, you may be prompted to enter your Windows 10 product key. Make sure to have it handy or provide it if prompted. If you don’t have a product key, you can choose to activate Windows later, but some functionalities may be limited until it’s activated.
Congratulations! You have successfully installed Windows 10 on your SSD. In the next step, we will cover some important optimizations for your SSD to ensure optimal performance.
Step 8: Optimize the SSD for Windows 10
Now that you have installed Windows 10 on your SSD, it’s important to optimize it to ensure optimal performance and longevity. Here are some key optimizations you can make:
- Enable TRIM: TRIM is a feature that helps SSDs maintain performance and extends their lifespan. To enable TRIM, open the Command Prompt as an administrator and type “fsutil behavior set DisableDeleteNotify 0” and hit Enter. Restart your computer for the changes to take effect.
- Disable Indexing: SSDs are already fast at accessing data, so disabling indexing can improve performance and reduce unnecessary write operations. Right-click on your SSD drive in File Explorer, go to Properties, and uncheck “Allow files on the drive to have contents indexed” under the General tab.
- Enable AHCI and Other Optimizations: Make sure that AHCI mode is enabled in the BIOS. Additionally, ensure that all necessary drivers are up to date, including the chipset drivers and SSD firmware. This will provide you with the latest performance optimizations.
- Avoid Defragmentation: Unlike traditional hard drives, SSDs do not benefit from defragmentation. In fact, defragmenting an SSD can reduce its lifespan. Disable automatic defragmentation in Windows 10 to prevent unnecessary wear on your SSD.
- Manage Virtual Memory: By default, Windows 10 manages virtual memory automatically. However, you can optimize it by setting a fixed-size page file on your SSD. Go to System Properties, click on “Advanced system settings,” go to the Advanced tab, and click on “Settings” under the Performance section. In the Performance Options, go to the Advanced tab and click on “Change” under the Virtual Memory section. Uncheck “Automatically manage paging file size for all drives” and set a custom size for the page file on your SSD.
- Regularly Update Your Operating System and Drivers: Keeping your Windows 10 and drivers up to date is crucial for optimal performance and security. Regularly check for updates through Windows Update and visit your hardware manufacturer’s website for the latest drivers.
By following these optimizations, you can ensure that your SSD operates efficiently and performs at its best. Remember to periodically check for firmware updates specific to your SSD model, as manufacturers may release updates that include performance improvements and bug fixes.
With the optimizations in place, you can now fully enjoy the speed and responsiveness that your new SSD brings to your Windows 10 system. Congratulations on successfully setting up and optimizing your SSD!
Conclusion
Congratulations on successfully setting up your SSD for Windows 10! By following the step-by-step guide in this article, you have transformed your computer into a faster and more efficient machine. The SSD upgrade will significantly improve boot times, file transfers, and overall system performance.
We started by choosing the right SSD for your needs, considering factors such as storage capacity, form factor, interface, performance, and reliability. Then, we emphasized the importance of backing up your data before proceeding with the installation process.
You learned how to prepare the SSD for installation by inspecting, handling it with static precautions, formatting it, and potentially partitioning it according to your requirements.
We then guided you through the process of installing the SSD hardware into your computer, ensuring a secure and proper connection. Enabling AHCI mode in the BIOS settings prepared your SSD for optimal performance.
You were guided on creating a bootable USB drive and then using it to install Windows 10 on your SSD. This fresh installation ensures a clean and optimized operating system environment.
Finally, we covered crucial optimizations for your SSD, such as enabling TRIM, disabling indexing, managing virtual memory, updating drivers and firmware, and avoiding defragmentation.
Now that your SSD is set up and optimized, you can experience the full potential of your upgraded computer. Enjoy the lightning-fast performance, quicker file access, and smoother multitasking that your SSD brings.
Remember to regularly update your operating system, drivers, and firmware to maintain optimal performance and address any potential security vulnerabilities. Additionally, continue to practice good data management habits by regularly backing up your important files.
Thank you for following this guide, and we hope you found it helpful in setting up your SSD for Windows 10. Enjoy your faster and more efficient computing experience!