Introduction
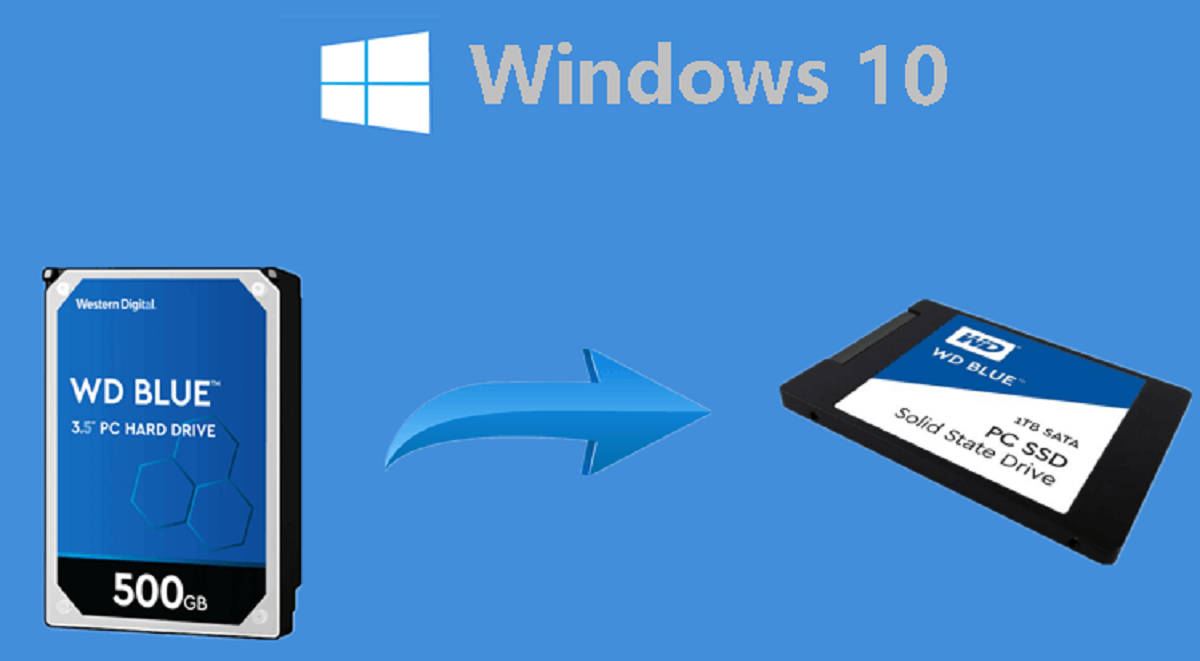
Welcome to the comprehensive guide on how to migrate your Windows 10 operating system to a solid-state drive (SSD). If you’re looking to boost the performance of your computer and take advantage of faster load times and improved responsiveness, migrating to an SSD is a smart choice.
Upgrading to an SSD can significantly enhance the overall performance of your Windows 10 system. By transferring your operating system and data to an SSD, you’ll experience quicker boot times, faster application launches, and accelerated data transfer speeds.
This guide will walk you through the step-by-step process of migrating your Windows 10 operating system to an SSD. We’ll cover essential topics such as preparing for the migration, backing up your data, checking compatibility, choosing the right SSD, and purchasing and installing the SSD.
One of the most critical aspects of ensuring a successful migration is transferring your data to the new drive. We’ll explore different methods to achieve this, including cloning your hard drive and migrating the OS.
In addition to the migration process, we’ll also provide guidance on verifying the success of the migration and addressing any common issues or troubleshooting problems that may arise along the way.
Before we begin, it’s important to note that migrating your operating system to a new drive involves technical steps and should be done with caution. We recommend backing up your data and following the instructions carefully to avoid any potential data loss or system errors.
Are you ready to unlock the full potential of your Windows 10 system? Let’s dive into the world of SSD migration and take your computing experience to the next level!
Preparing for the Migration
Before diving into the migration process, it’s crucial to make necessary preparations to ensure a smooth and successful transition to an SSD. This section will guide you through the essential steps to take before starting the migration.
1. Backing Up Your Data: It’s always wise to create a backup of your important files and data before making any changes to your system. This step will safeguard your information in case anything goes wrong during the migration process. Use an external hard drive, cloud storage, or a reliable backup software to create a complete copy of your files.
2. Checking Compatibility: Check if your computer’s hardware and BIOS support SSDs. Most modern computers are compatible, but it’s always best to confirm this before making a purchase. Consult your motherboard or computer manual or visit the manufacturer’s website for compatibility information.
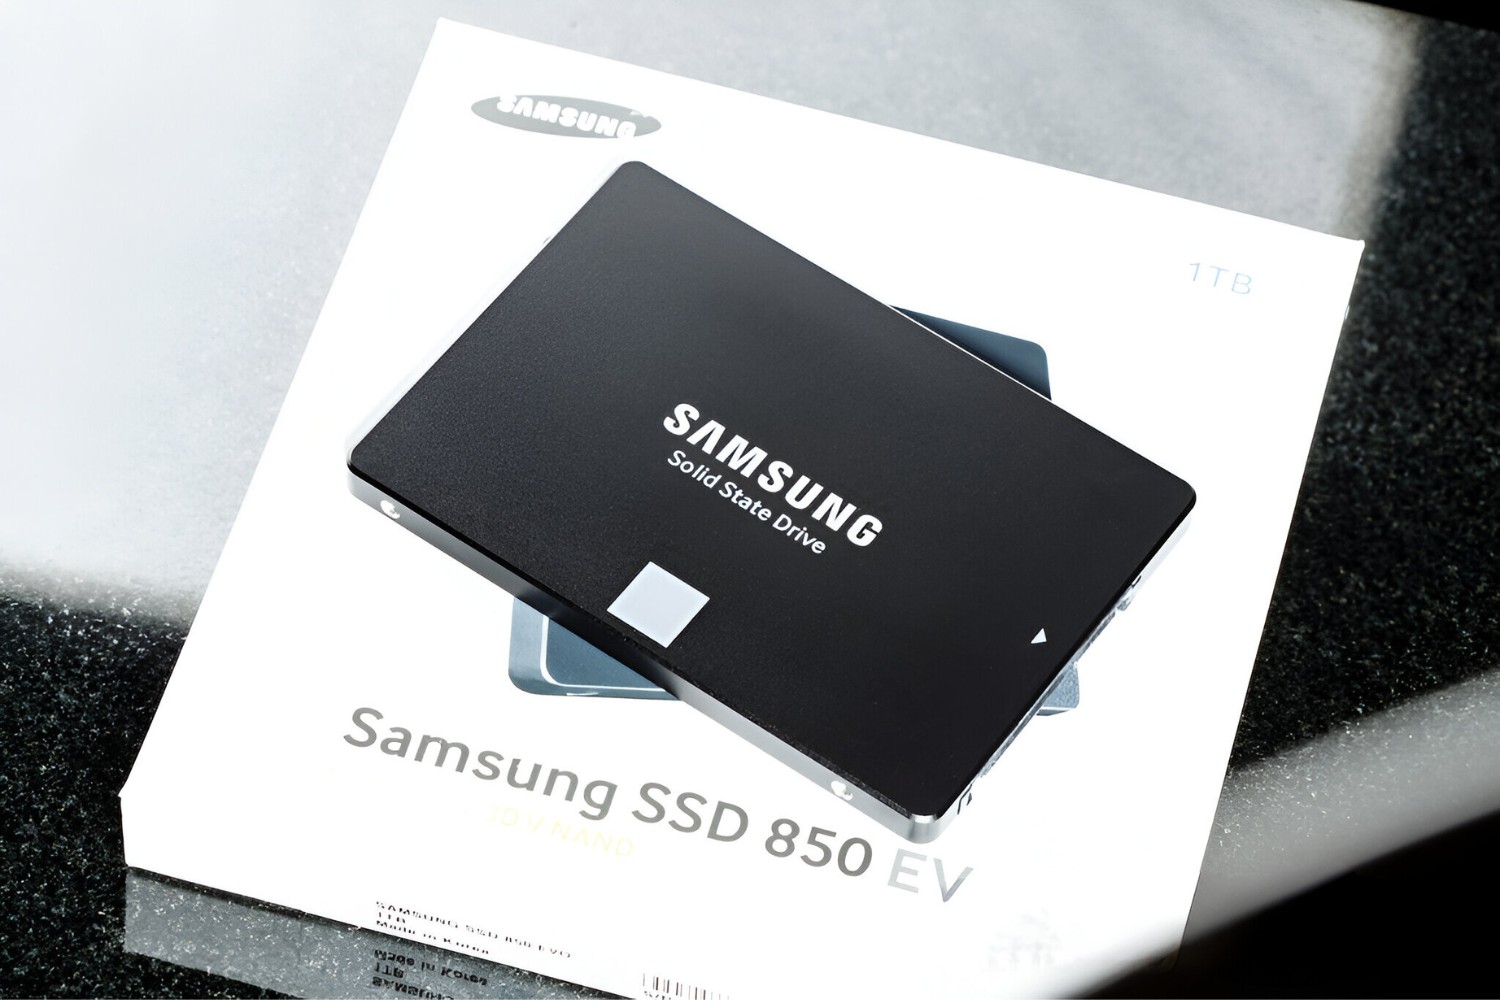
3. Choosing the Right SSD: Selecting the right SSD is crucial for optimal performance. Consider factors like storage capacity, read and write speeds, and whether you prefer a SATA or NVMe SSD. SATA SSDs are more affordable and compatible with most systems, while NVMe SSDs offer faster speeds but at a higher cost. Research various brands and models to find the best fit for your needs and budget.
4. Purchasing and Installing the SSD: Once you’ve selected your SSD, purchase it from a reliable retailer or manufacturer. Make sure to follow the installation instructions provided by the manufacturer carefully. SSDs are typically installed in the same location as your current hard drive, either in a dedicated slot or using an adapter bracket.
5. Transferring Data to the SSD: You have several options for transferring your data to the new SSD. The most common method is cloning your hard drive, which creates an identical copy of your current system on the SSD. Another option is migrating the operating system (OS) only, which allows you to start fresh with the new drive while still keeping your personal files intact on the old drive.
By following these essential steps to prepare for the migration process, you’ll minimize the risk of data loss and ensure a successful transition to your new SSD. Once you’ve completed these preparations, you’re ready to move on to the next steps of cloning your hard drive or migrating the OS to unleash the full potential of your Windows 10 system on the SSD.
Backing Up Your Data
Before embarking on the migration process, it’s imperative to create a backup of your important data. This step ensures that your files are protected in case anything goes wrong during the migration. Here are some essential tips for backing up your data:
1. Identify Important Files: Take inventory of the files that are critical to you, such as documents, photos, videos, and any other data that you want to preserve. This will help you determine what needs to be included in your backup.
2. External Storage: Invest in an external hard drive or utilize cloud storage services to store your backup files. External hard drives offer the advantage of offline storage and faster data transfer speeds, while cloud storage provides the convenience of accessing your files from anywhere with an internet connection.
3. Use Reliable Backup Software: Consider using backup software to streamline the process. There are various options available, such as Acronis True Image, EaseUS Todo Backup, and Macrium Reflect. These tools allow you to create full or incremental backups, schedule automatic backups, and easily restore files if needed.
4. Select Backup Method: Decide whether you want to create a full system backup or back up specific files and folders. A full system backup creates an exact copy of your entire hard drive, including the Windows 10 operating system and all your programs and files. If you prefer a more selective approach, choose the files and folders that you want to include in the backup.
5. Verify and Test Backup: After the backup process is complete, it’s crucial to verify its integrity. Take the time to check that all your important files are included and accessible. Performing a test restore of a few files from the backup will help ensure that it’s functioning correctly and that your data can be recovered if needed.
By backing up your data before starting the migration process, you minimize the risk of losing important files and ensure that you can restore them if necessary. This precautionary measure provides peace of mind throughout the migration process, allowing you to focus on the next steps of checking compatibility, choosing the right SSD, and ultimately transferring your data to the new SSD.
Checking Compatibility
Before proceeding with the migration process, it’s important to ensure that your computer’s hardware and BIOS are compatible with the installation of an SSD. Performing a compatibility check will help you avoid potential issues during the migration. Here are some key steps to follow when checking compatibility:
1. Consult the Manufacturer: Begin by consulting your computer or motherboard manual or visiting the manufacturer’s website. Look for specific information regarding SSD compatibility and any recommended models or specifications. This will give you an idea of whether your system can support an SSD installation. If you’re unable to find this information online, consider reaching out to the manufacturer’s support for assistance.
2. Check Available Ports and Connectors: Locate the ports and connectors on your computer’s motherboard where the SSD would be installed. Most modern motherboards have SATA (Serial ATA) ports, which are compatible with SATA SSDs. If you want to install an NVMe (Non-Volatile Memory Express) SSD, make sure your motherboard has an M.2 or PCIe slot to accommodate it. Additionally, check the SATA cable availability and ensure you have enough SATA power connectors.
3. Review Firmware and BIOS Updates: Check if there are any firmware or BIOS updates available for your system. These updates often include enhancements and bug fixes that improve SSD compatibility. Refer to your motherboard or computer manufacturer’s website for instructions on how to update the firmware and BIOS. It’s important to follow the update process carefully to avoid any potential issues.
4. Consider Your Operating System: Verify that your operating system, in this case, Windows 10, is compatible with SSDs. Windows 10 includes built-in support for SSDs and automatically enables features like TRIM and AHCI (Advanced Host Controller Interface). These features optimize performance and ensure the longevity of your SSD. If your system is not running Windows 10, check the operating system’s compatibility with SSDs and make any necessary updates or configurations.
5. Seek Professional Assistance if Needed: If you’re unsure about checking compatibility or navigating the technical aspects of this process, consider seeking the help of a knowledgeable professional. They can assist in assessing your system’s compatibility and recommend the best course of action for your specific computer setup.
By performing a thorough compatibility check, you can ensure that your computer is ready for the SSD migration process. Confirming compatibility will help avoid any potential roadblocks and ensure a smooth installation and data transfer to your new SSD. Once you’ve verified compatibility, you can confidently move forward with choosing the right SSD and preparing to embark on the exciting journey of improved performance and speed with your Windows 10 system.
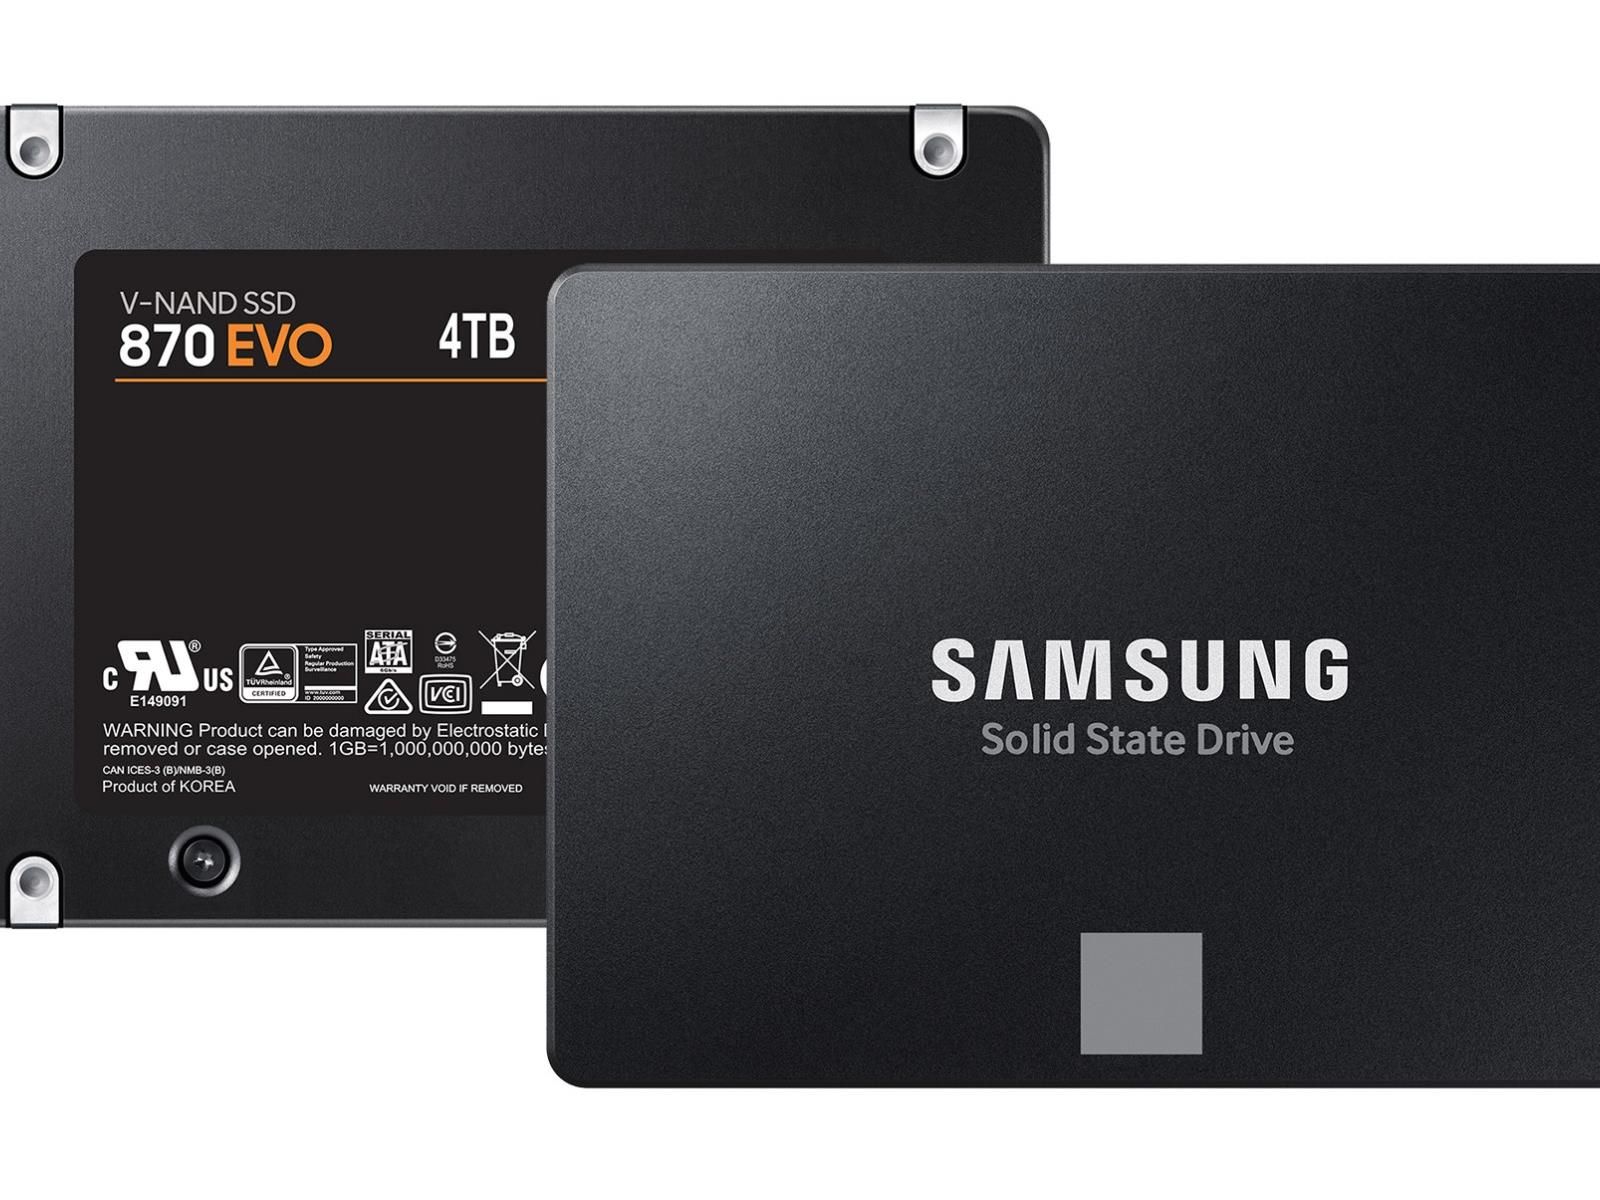
Choosing the Right SSD
Choosing the right solid-state drive (SSD) is crucial to ensure optimal performance and storage capacity for your Windows 10 system. With numerous options available in the market, it’s important to consider a few key factors when making your selection. Here’s a guide to help you choose the right SSD:
1. Storage Capacity: Determine your storage needs and choose an SSD with an appropriate capacity. Consider the size of your current hard drive and the amount of data you need to migrate. SSDs typically come in capacities ranging from 120 GB to 4 TB or more. If you’re unsure, it’s generally recommended to go for at least 250 GB or higher to accommodate your operating system, programs, and important files comfortably.
2. Performance: SSD performance is determined by its read and write speeds. Look for SSDs with higher speeds to ensure snappy system responsiveness and faster data transfer rates. Read reviews and compare benchmark scores to get an idea of the performance of different models.
3. SATA vs NVMe: Consider the interface type of the SSD. SATA SSDs are more affordable and widely compatible with most systems. They connect to a motherboard’s SATA port using a SATA data cable. NVMe SSDs offer superior speeds and are connected via an M.2 or PCIe slot. However, NVMe drives are typically more expensive and require a compatible motherboard.
4. Reliability and Endurance: Look for SSDs from reputable manufacturers known for their quality and reliability. Check for features like power loss protection, error correction technologies, and high endurance ratings. These factors contribute to the overall longevity and reliability of the drive.
5. Price: Set a budget for your SSD purchase. SSD prices can vary significantly based on capacity, performance, and brand. Compare prices from different retailers and consider sales or promotions to find the best deal within your budget.
6. Warranty and Customer Support: Review the warranty provided by the manufacturer. A longer warranty period generally indicates confidence in the SSD’s reliability. Additionally, check for available customer support options in case you encounter any issues during the migration process or require assistance in the future.
By considering these factors, you can find the perfect SSD that meets your requirements and budget. Remember to research different brands and read customer reviews to gain insights into real-world experiences with the SSD models you are considering. Once you have chosen the right SSD, you can move on to purchasing and installing the drive, bringing you one step closer to experiencing the enhanced performance and storage capabilities with your Windows 10 system.
Purchasing and Installing the SSD
Now that you have chosen the right solid-state drive (SSD) for your Windows 10 system, it’s time to move forward with purchasing and installing the drive. This section will guide you through the necessary steps to ensure a smooth and successful SSD installation.
1. Purchase from a Reliable Retailer: Choose a reputable retailer or directly purchase the SSD from the manufacturer’s official website. This will help ensure that you receive a genuine and high-quality product. Look for any promotions or discounts that may be available.
2. Double-Check Compatibility: Before finalizing your purchase, double-check that the selected SSD is compatible with your computer’s specifications. Verify that the form factor (e.g., 2.5-inch, M.2) and interface (SATA or NVMe) align with your motherboard’s available slots and connectors. Refer to your computer or motherboard manual for specific compatibility information.
3. Gather the Necessary Tools: Prepare the tools you will need for the installation, such as a screwdriver set. Depending on the type of SSD and your computer’s configuration, you may also require adapter brackets or cables.
4. Power Off and Open the Computer Case: Power off your computer and unplug it from the electrical outlet. Open the computer case by removing the screws or latches, ensuring that you follow the manufacturer’s instructions for your specific model.
5. Locate the Drive Bays: Locate the drive bays where your current hard drive(s) are installed. These bays are typically located at the front or bottom of the case. SSDs are usually installed in the same location as the existing hard drive, either using a dedicated SSD slot or by attaching it to an adapter bracket.
6. Install the SSD: If you are replacing your current hard drive with the SSD, disconnect the data cable and power cable from the hard drive. Remove any screws securing the hard drive in the drive bay. Install the SSD in the same position, making sure it aligns with the connector(s) and screw holes. Secure the SSD using screws, ensuring it is snugly in place.
7. Connect the Cables: Attach the data cable and power cable to the appropriate connectors on the SSD. Use the cables that were previously connected to the hard drive or refer to your computer’s manual for proper cable connections.
8. Close the Case: Double-check that all cables are securely connected and properly routed. Place the computer case cover back on and fasten it with the screws or latches.
9. Power On and Verify: Reconnect the power cable and turn on your computer. The system should recognize the newly installed SSD. To confirm, navigate to the BIOS or check your computer’s storage settings to ensure that the SSD is detected and listed correctly.
By following these steps, you can successfully purchase and install the SSD in your Windows 10 system. It is crucial to handle the SSD with care, avoid static electricity, and refer to the manufacturer’s instructions for any additional installation requirements. With the SSD securely installed, you are now ready to transfer your data to the new drive and unlock the full potential of improved performance and faster load times.
Transferring Data to the SSD
With your SSD installed and ready to go, the next crucial step is transferring your data from your current hard drive to the new SSD. There are different methods to achieve this, including cloning your hard drive or migrating the operating system (OS) only. Let’s explore these options in detail:
1. Cloning Your Hard Drive: Cloning creates an exact copy of your existing hard drive onto the SSD. This method transfers not only your OS but also all your files, applications, and settings. To clone your hard drive, you will need cloning software like Clonezilla, EaseUS Todo Backup, or Macrium Reflect. Follow the software’s instructions to create a clone, making sure to select the SSD as the destination drive. After the cloning process is complete, you can boot your computer from the SSD and access your files as before.
2. Migrating the Operating System: If you prefer a fresh start and want to keep your personal files on the original hard drive, you can choose to migrate only the OS to the SSD. This process involves reinstalling Windows 10 on the SSD and configuring it to boot from the new drive. First, create a Windows 10 installation media using Microsoft’s Media Creation Tool or Windows 10 ISO file. Then, disconnect your original hard drive and connect only the SSD. Boot from the installation media and follow the prompts to reinstall Windows 10 on the SSD. After the installation is complete, reconnect your original hard drive and set the SSD as the primary boot drive in the BIOS. This way, you can access your personal files on the hard drive while enjoying the enhanced performance of the SSD for your operating system.
3. Data Transfer Software: Another option is to use data transfer software to selectively move your files and applications to the SSD. Software like Laplink PCmover, EaseUS Todo PCTrans, or Acronis True Image can assist in migrating your data from the hard drive to the SSD. These tools allow you to choose specific files, folders, and applications to transfer, ensuring a more customized and streamlined migration process.
Before proceeding with any data transfer method, it is crucial to back up your data, as unforeseen issues can occur during the process. Additionally, ensure that you have adequate storage space on the SSD to accommodate all the data you wish to transfer.
Once you have successfully transferred your data to the SSD, it’s important to verify that everything transferred correctly. Check that your files are accessible, your applications are working as expected, and your system is booting properly from the SSD. This verification step will give you confidence that the migration process was successful.
By following these data transfer methods, you can seamlessly move your data to the SSD, whether you choose to clone your hard drive or migrate the OS only. Each method has its advantages, so choose the one that best suits your preferences and needs. With your data securely transferred to the SSD, you can enjoy the lightning-fast performance and improved responsiveness that SSDs offer.
Cloning Your Hard Drive
Cloning your hard drive is a popular method for transferring all of your data, including the operating system (OS), applications, files, and settings, to a new solid-state drive (SSD). This process creates an identical copy of your current hard drive onto the SSD, allowing you to seamlessly transition to the new drive without reinstalling everything from scratch. Here’s a step-by-step guide on how to clone your hard drive to an SSD:
1. Choosing Cloning Software: Select a reliable cloning software that suits your needs. Some popular options include Clonezilla, EaseUS Todo Backup, Macrium Reflect, and Acronis True Image. Ensure that the software supports the cloning of your specific drive types and provides a user-friendly interface.
2. Prepare Your SSD: Connect your SSD to your computer using the appropriate interface (SATA or NVMe) and ensure it is recognized by your system. Initialize and format the SSD if necessary.
3. Create a Backup: It’s essential to back up your data before cloning to prevent any accidental loss. Use external storage or cloud services to create a backup of your important files and folders. This ensures that even if something goes wrong during the cloning process, you won’t lose your valuable data.
4. Launch the Cloning Software: Open the cloning software you have chosen. Select the option to clone a disk or drive, and choose your current hard drive as the source and the SSD as the destination drive. Make sure you have selected the correct drives to avoid overwriting any important data.
5. Customize Clone Settings: Depending on the software you are using, you may have the option to customize the cloning settings. This includes choosing whether to clone the entire disk or specific partitions, adjusting the size of the target partitions on the SSD, and selecting any additional options or settings offered by the software.
6. Start the Cloning Process: Once you have reviewed and confirmed the cloning settings, start the cloning process. The software will begin copying all the data from your current hard drive to the SSD. This process may take some time, depending on the size of your hard drive and the speed of your system.
7. Verify the Cloning Process: After the cloning process is complete, verify that the cloning was successful. Double-check that all your files, applications, and settings have been transferred to the SSD. You can do this by booting up your computer from the SSD and ensuring that everything is functioning as intended.
8. Set the SSD as the Boot Drive: If the cloning process was successful and you want to use the SSD as your primary drive, you need to set it as the boot drive. To do this, enter your computer’s BIOS settings and change the boot order to prioritize the SSD. Save the changes and restart your computer.
By following these steps, you can clone your hard drive to an SSD and enjoy the benefits of improved performance and faster load times. Remember to carefully review your chosen cloning software’s instructions and take all necessary precautions to prevent data loss during the process. With a successful clone, you’ll have a seamless transition to the SSD, ensuring that all your data and settings are preserved as you continue to use your system with enhanced speed and efficiency.
Migrating the OS
If you prefer a fresh start with your new solid-state drive (SSD) and want to migrate only the operating system (OS) while keeping your personal files and applications on your existing hard drive, the process of migrating the OS to the SSD is the way to go. This method allows you to enjoy the improved performance of the SSD without the need to reinstall all your programs and files. Here’s a step-by-step guide on how to migrate the OS to your new SSD:
1. Create Windows 10 Installation Media: To begin the migration process, you will need to create a Windows 10 installation media. Use Microsoft’s Media Creation Tool or download the Windows 10 ISO file and create a bootable USB drive or DVD. This will be used to install Windows 10 on your SSD.
2. Back Up Your Important Data: Before proceeding with the migration, it’s important to create a backup of your important files and folders. This will ensure that your data is safe in case of any unforeseen issues during the migration process.
3. Disconnect Your Original Hard Drive: To avoid any accidental changes to your current setup, it’s recommended to disconnect your original hard drive temporarily. This will prevent any interference during the installation and migration process.
4. Connect and Install the SSD: Connect your new SSD to your computer using the appropriate interface (SATA or NVMe). Check that your SSD is recognized by your system. If necessary, initialize and format the SSD through the Windows Disk Management tool.
5. Install Windows 10 on the SSD: Boot your computer from the Windows 10 installation media you created earlier. Follow the on-screen prompts and select the SSD as the destination drive for the Windows 10 installation. Choose the appropriate partition style (MBR or GPT) depending on your system’s requirements.
6. Complete the Windows 10 Setup: After Windows 10 installation is complete, go through the initial setup process. Customize your preferences, create user accounts, and choose the desired settings as prompted by the Windows 10 installation wizard.
7. Reconnect Your Original Hard Drive: Once Windows 10 is up and running on the SSD, reconnect your original hard drive. Ensure that the SSD is set as the primary boot drive in the BIOS settings.
8. Configure File Locations and Settings: To optimize your system, configure file locations and settings to store your personal files and applications on the original hard drive. Move your files and folders from the original hard drive to the SSD as desired to take advantage of the improved performance.
9. Install and Configure Applications: Install your applications on the SSD as needed. Some applications may require reinstallation, while others can be copied directly from the original hard drive. Adjust settings and preferences as required to match your previous setup.
10. Verify and Test: After completing the migration process, verify that everything is functioning correctly. Ensure that your system boots from the SSD, all your files are accessible from the original hard drive, and your applications are running smoothly.
By following these steps, you can successfully migrate the Windows 10 operating system to your new SSD while keeping your personal files and applications on the original hard drive. This method provides you with a fresh and improved system performance, without the need for a full reinstallation of your software and file organization. Enjoy the speed and responsiveness of your Windows 10 OS on your new SSD while still accessing your data from the original hard drive.
Verifying the Migration
After migrating your operating system (OS) to your new solid-state drive (SSD), it’s essential to verify that the migration was successful. This verification step ensures that your system is set up correctly and operating optimally on the SSD. Here are some important checks and tests to perform to confirm the success of the migration:
1. Booting from the SSD: Restart your computer and verify that it boots from the SSD. Access your computer’s BIOS settings and check that the SSD is listed as the primary boot drive. This confirms that the system recognizes the SSD as the main drive for the OS.
2. System Speed and Responsiveness: Pay attention to the overall performance of your system. Notice if there’s a significant improvement in speed and responsiveness compared to your previous hard drive. Launch applications, open files, and perform common tasks to test the overall performance of your system on the SSD.
3. File and Application Accessibility: Ensure that all your files are accessible on the SSD and that your applications are working correctly. Open different file types, including documents, images, and videos, to confirm that they can be accessed without any issues. Test your applications and ensure they launch and operate as expected.
4. Check Disk Space and Allocation: Verify that the SSD’s disk space is allocated correctly. Open File Explorer (Windows Explorer) and check the properties of the SSD drive to confirm its total capacity and available space. Ensure that the allocated disk space matches your expectations and that there are no discrepancies.
5. Verify Drive Health and SMART Data: Use a disk health monitoring tool, such as CrystalDiskInfo or HWMonitor, to check the health status and monitor the SMART (Self-Monitoring, Analysis, and Reporting Technology) data of your SSD. This will provide you with insights into the overall health and performance of the drive.
6. Test Boot Time and Application Launches: Measure the boot time of your system and compare it to the boot time before the migration. Note any improvements in the time it takes for your computer to start up. Similarly, test the launch times of various applications and compare them to their performance on the previous hard drive.
7. Perform System Updates: Ensure that your system is up to date by performing Windows updates. Check for any pending updates and install them to keep your system secure and up to date. This verification step ensures that your operating system is current and functioning optimally.
8. Monitor System Stability: Observe the stability of your system over time. Keep an eye out for any unusual crashes, errors, or instability. This will help you identify any potential issues that may have occurred during or after the migration process.
By performing these verification steps, you can confirm that the migration of your operating system to the SSD was successful. If any issues or discrepancies are identified, troubleshoot them promptly to ensure your system is operating optimally on the new SSD. Take note of any performance improvements or changes you experience with your system, and enjoy the enhanced speed and responsiveness that your SSD brings to your Windows 10 system.
Troubleshooting and Common Issues
While the process of migrating your operating system (OS) to a solid-state drive (SSD) is generally smooth and straightforward, occasional issues may arise. Being aware of common problems and their potential solutions can help you troubleshoot and resolve any challenges that may occur during or after the migration. Here are some common issues you may encounter and their troubleshooting steps:
1. Failure to Boot: If your system fails to boot after the OS migration, ensure that the SSD is recognized as the primary boot drive in the BIOS settings. Verify the cable connections between the SSD and your motherboard. If necessary, reconnect the SSD and make sure it is properly seated in the appropriate slot.
2. Inconsistent or Slow Performance: If you notice slower than expected performance on the SSD, check if the SSD is configured correctly. Ensure that the appropriate SSD drivers are installed. Verify that the SSD is running in AHCI (Advanced Host Controller Interface) mode and that TRIM is enabled. These settings can be adjusted in the BIOS or Windows operating system settings.
3. Data Loss or Corruption: To prevent data loss or corruption during the migration process, always back up your important files and data beforehand. If data loss or corruption does occur, refer to your backup and restore procedures to retrieve or restore the lost data. Be cautious and double-check your backup data before proceeding with any restoration process.
4. Drive Not Recognized: If the SSD is not recognized by your system, ensure that the SSD is connected properly to the appropriate ports and cables. Check if the SSD appears in the device manager or disk management utilities in the Windows operating system. If it doesn’t, there may be a compatibility or hardware issue. Refer to the manufacturer’s documentation or seek technical support if needed.
5. Insufficient Space on the SSD: If you encounter space constraints on the SSD after migrating your OS, consider relocating large files or folders from the SSD to your original hard drive. You can also uninstall unnecessary applications or move them to the original hard drive to free up space. If possible, upgrade to a larger capacity SSD to accommodate your storage needs.
6. Activation or Licensing Issues: If your Windows 10 license encounters activation issues after migration, ensure that you have a valid product key and that you are connected to the internet during the activation process. If the problem persists, contact Microsoft support for assistance in resolving the activation or licensing issue.
7. Incompatibility with Older Software: If you encounter compatibility issues with certain software applications after migrating to the SSD, check for updates or patches from the software manufacturers. Some older software versions might not work well with modern hardware or SSDs. Alternatively, consider running the software in compatibility mode or virtual environments.
When faced with any of these issues, utilize online resources, community forums, and manufacturer’s support documentation to find specific troubleshooting steps related to your situation. Additionally, consider seeking assistance from knowledgeable sources or technical support to address any persistent issues.
Remember to exercise caution when troubleshooting and making system changes. Create backups and restore points before applying any solutions, and be aware of the potential risks involved in modifying system settings or hardware configurations. By taking proactive steps and troubleshooting common issues, you can overcome challenges and ensure a successful migration to your SSD, enabling you to enjoy the enhanced performance and benefits it brings to your Windows 10 system.
Conclusion
Congratulations! You have now reached the end of this comprehensive guide on how to migrate your Windows 10 operating system to a solid-state drive (SSD). By following the step-by-step instructions and best practices outlined in this guide, you have successfully unlocked the full potential of your Windows 10 system with the enhanced performance and faster load times that an SSD offers.
Through the sections of this guide, you have learned how to properly prepare for the migration, including backing up your data, checking compatibility, choosing the right SSD, and purchasing/installing the drive. You have explored different methods of transferring your data to the SSD, such as cloning your hard drive or migrating the OS, and gained insights into verifying the migration’s success and troubleshooting common issues that may arise.
Migrating your OS to an SSD can provide a significant boost in your computer’s speed and overall performance. You will experience quicker boot times, faster application launches, and improved responsiveness, allowing you to work more efficiently and enjoy a seamless computing experience.
Remember to always prioritize data backup and take necessary precautions during the migration process to minimize the risk of data loss or system errors. Double-check compatibility, follow manufacturer instructions, and consult professional assistance if needed.
With your Windows 10 system successfully migrated to an SSD, it’s time to fully enjoy the benefits. Take the opportunity to organize your files, delete unnecessary items, and optimize your system’s settings. Regularly maintain and update your SSD using manufacturer-provided software or tools to ensure its longevity and performance over time.
Thank you for joining us on this journey to harness the power of an SSD in your Windows 10 system. We hope this guide has provided you with the necessary knowledge and confidence to undertake the migration process and reap the rewards of improved speed, efficiency, and reliability.
Embrace the performance upgrade and make the most of your newly migrated Windows 10 system on your SSD. Happy computing!