Introduction
Welcome to the comprehensive guide on how to load Windows onto a new SSD! If you’ve recently upgraded to a solid-state drive (SSD) and are looking to install Windows on it, you’ve come to the right place. In this article, we will walk you through the step-by-step process of preparing, connecting, and installing Windows on your new SSD.
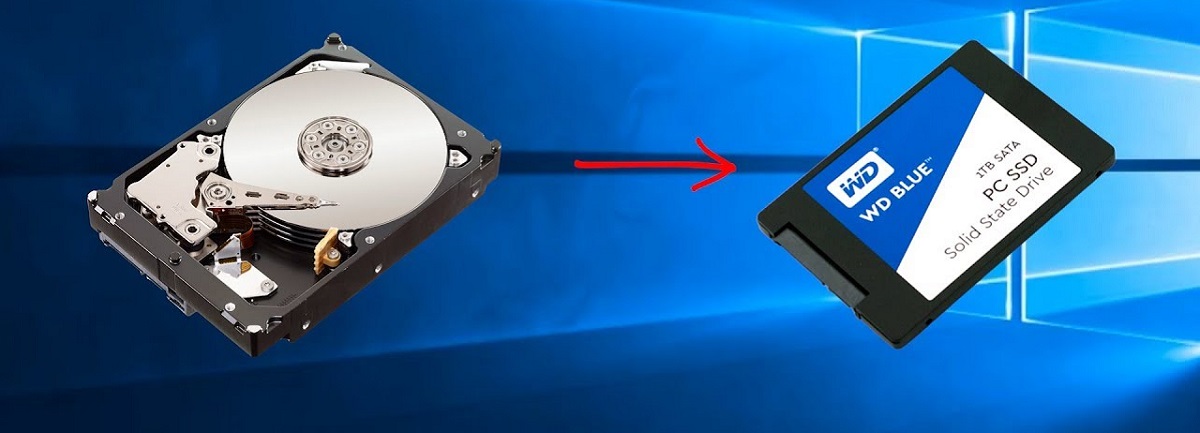
Why would you want to load Windows onto an SSD? Well, SSDs offer significant advantages over traditional hard disk drives (HDDs), such as faster boot times, improved overall system performance, and quicker file transfers. By installing Windows on an SSD, you can greatly enhance your computer’s speed and responsiveness.
Before diving into the installation process, it’s important to gather the necessary materials. You’ll need a new SSD, a USB flash drive with at least 8GB of storage, and your Windows installation media or product key. It’s also a good idea to have a backup of your data, just in case anything goes wrong during the installation.
Once you have everything you need, the next step is to prepare the SSD for installation. This involves connecting the SSD to your computer and formatting it properly. We’ll guide you through this process to ensure that your SSD is ready to go.
After preparing the SSD, the next step is to create a bootable Windows installation USB. This will allow you to install Windows on your new SSD. We’ll walk you through the steps of creating the bootable USB drive using the Windows Media Creation Tool or other software options.
With the bootable USB drive ready, it’s time to connect the new SSD to your computer. We will cover the different ways you can connect an SSD, whether it be via a SATA cable or an M.2 slot. Ensuring a secure and proper connection is crucial for a successful installation.
After connecting the SSD, you’ll need to boot from the USB drive. This involves accessing your computer’s BIOS/UEFI settings and changing the boot order to prioritize the USB drive. Don’t worry, we’ll guide you through this process and provide tips for common BIOS/UEFI interfaces.
Once you’ve successfully booted from the USB, it’s time to install and set up Windows on the SSD. We’ll take you through the Windows installation wizard, where you’ll need to select the SSD as the destination for the installation. We’ll also cover other important Windows setup steps, such as creating a user account and configuring system settings.
Finally, we’ll discuss completing the setup and configuration of Windows on the SSD. This includes installing necessary drivers, updating Windows, and transferring your data from the backup. We’ll also provide tips for optimizing your SSD’s performance and ensuring it’s set up for long-term reliability.
By the end of this guide, you’ll have Windows successfully running on your new SSD, reaping the benefits of faster speeds and improved overall performance. Let’s get started with gathering the necessary materials!
Gather the Necessary Materials
Before embarking on the journey of loading Windows onto your new SSD, it’s crucial to gather the necessary materials. By ensuring you have everything you need beforehand, you can streamline the installation process and minimize any potential hiccups along the way. So, let’s go over the essential materials you should have on hand.
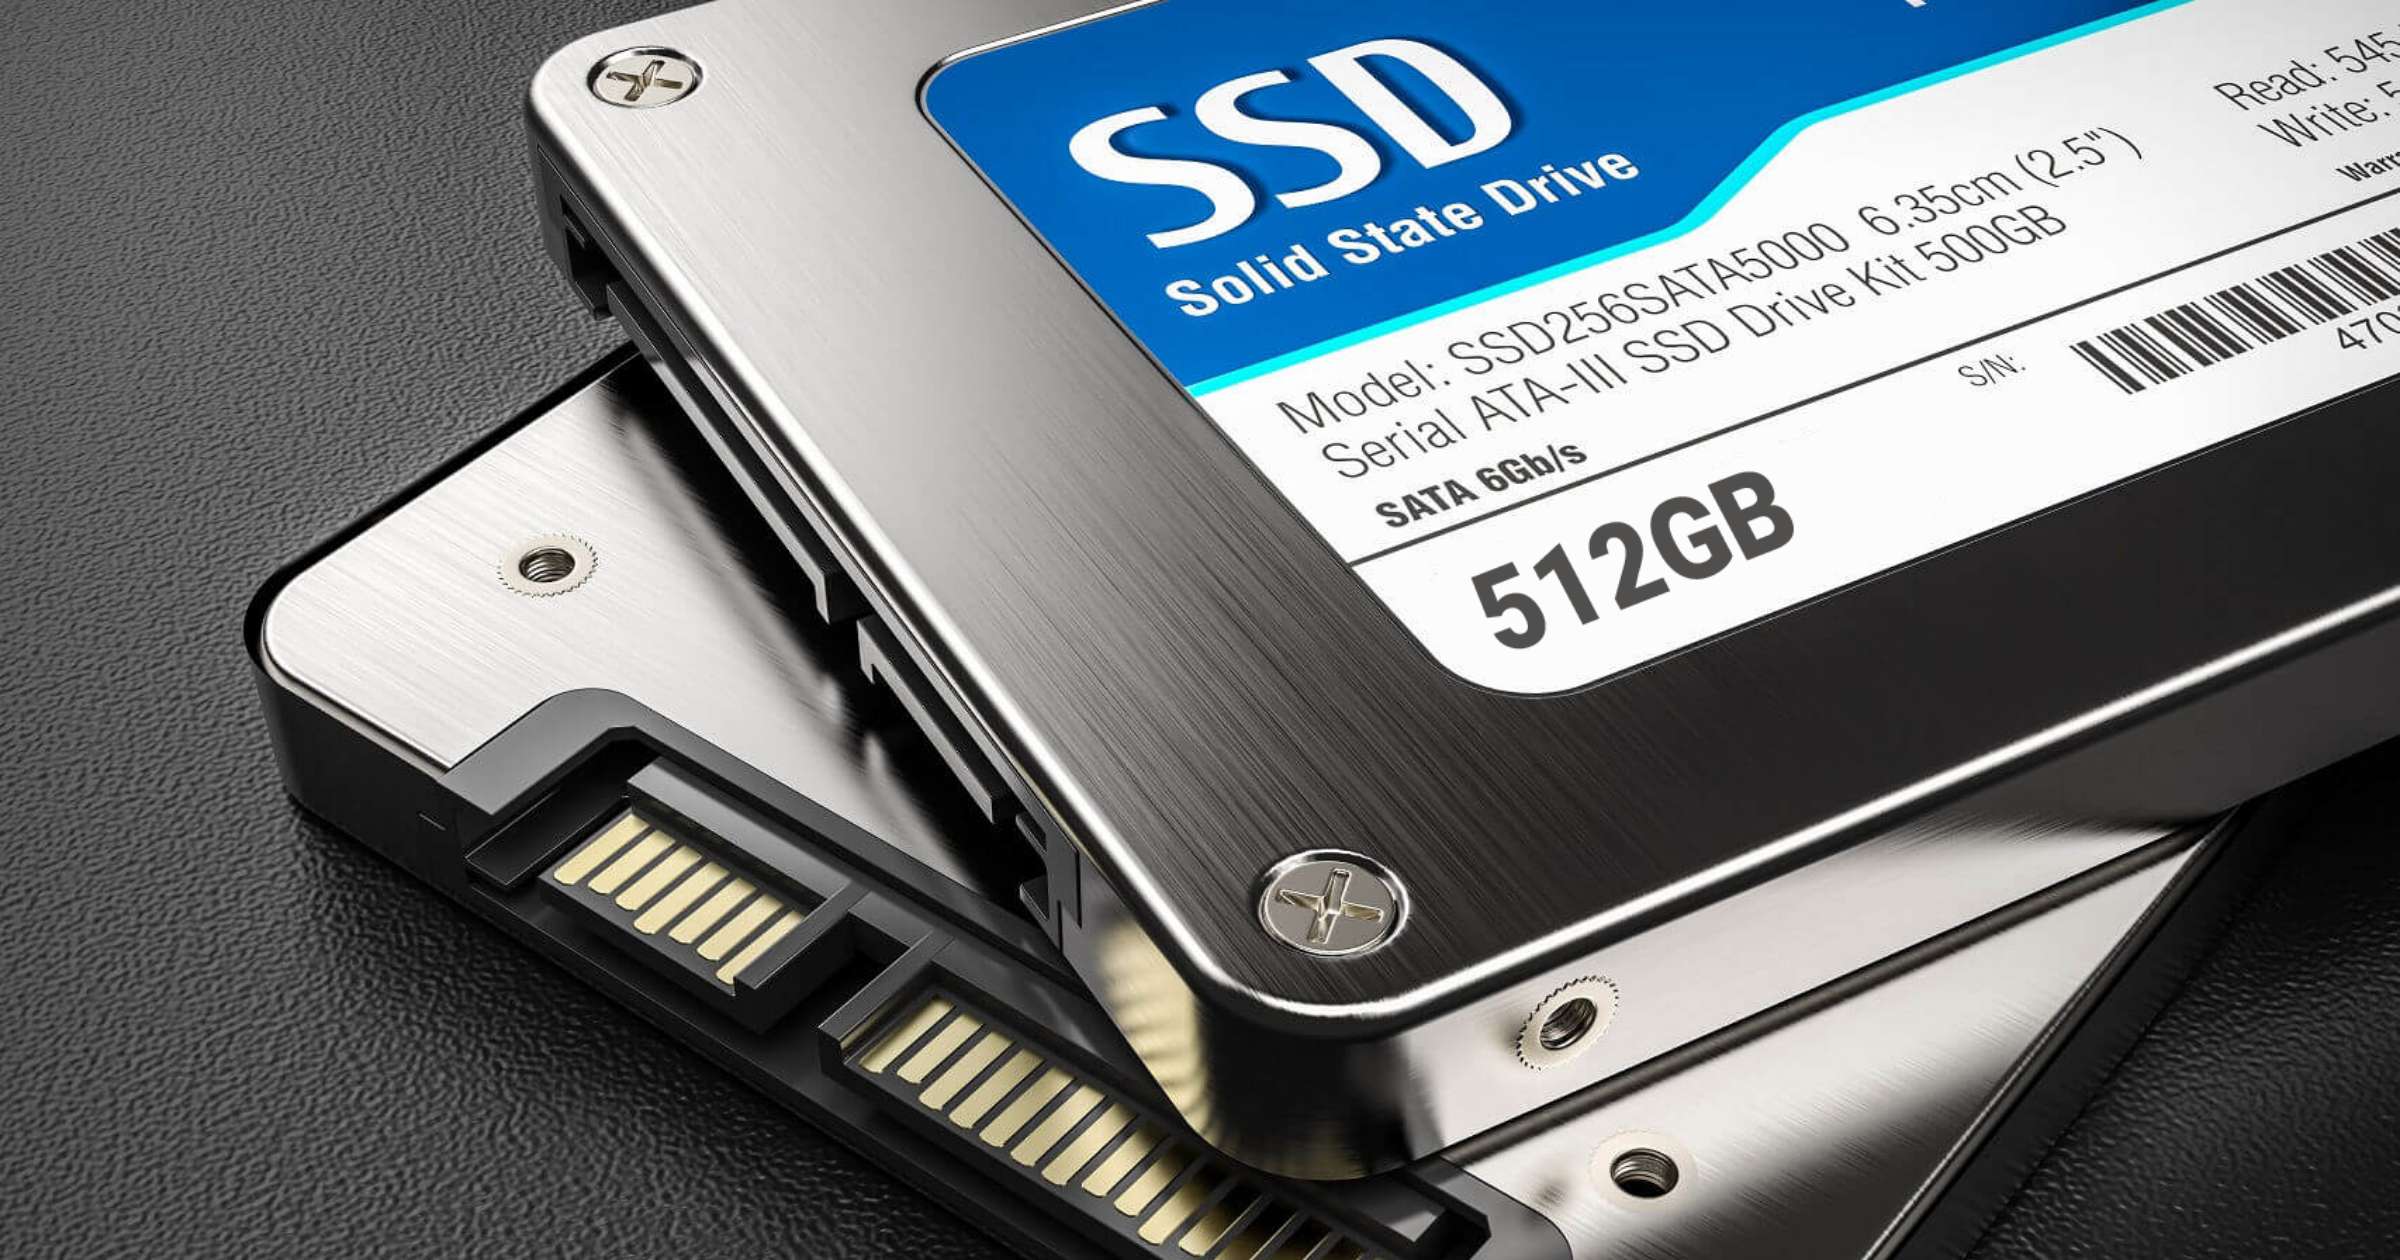
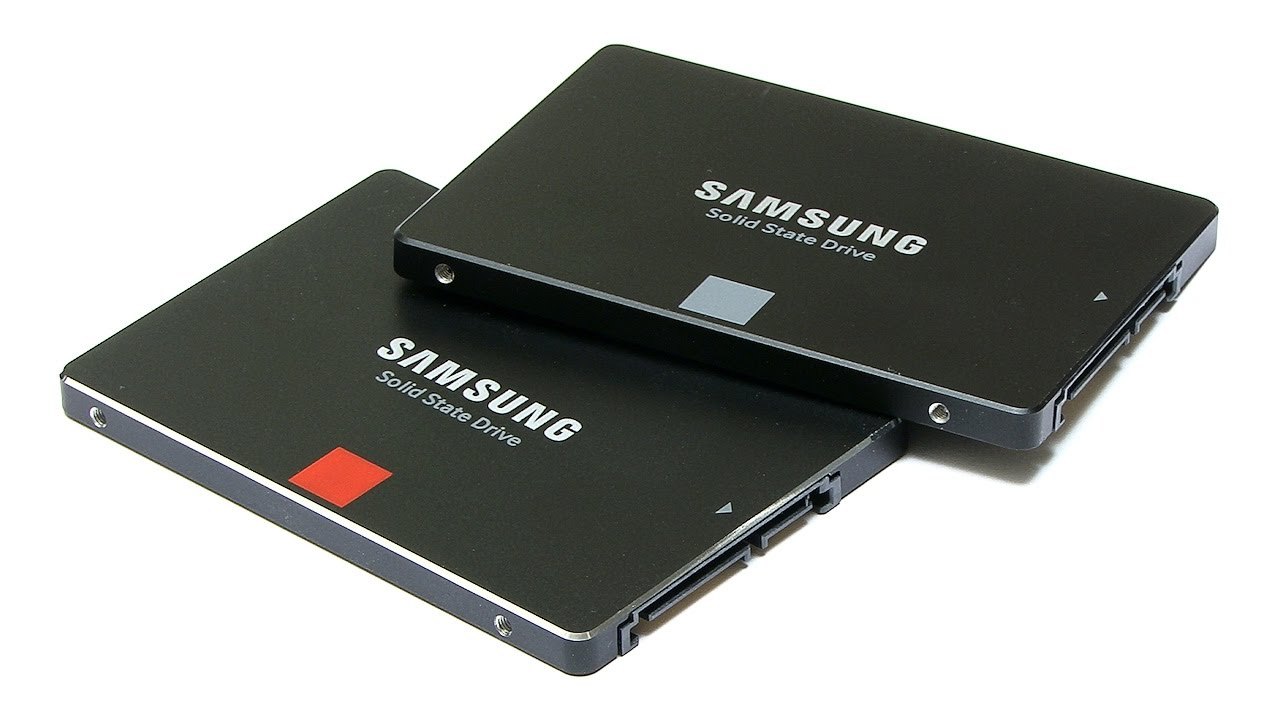
First and foremost, you’ll need a new SSD. There are various SSDs available on the market, so choose one that suits your storage needs and budget. Make sure to check your computer’s specifications to determine whether you require a 2.5-inch SATA SSD or an M.2 SSD. Additionally, consider the capacity you need to accommodate your operating system, applications, and files.
Next up, you’ll need a USB flash drive with at least 8GB of storage capacity. This will serve as the bootable installation media for Windows. It’s crucial to have a reliable and adequately sized USB drive to ensure a smooth and successful installation process. If you don’t own one, you can easily purchase one from various online or local electronics stores.
Another essential item is your Windows installation media or product key. If you’ve purchased a physical copy of Windows, make sure to locate the installation DVD or USB. If you’ve downloaded Windows digitally, ensure you have the product key handy. It’s important to have the necessary license and activation key to validate your installation.
In addition to these primary materials, it’s also wise to have a backup of your important data. While the installation process itself shouldn’t result in data loss, it’s always better to be safe than sorry. Create a backup of your files, documents, photos, and any other important data on an external storage device or cloud services. This way, if any unforeseen circumstances arise, you can quickly restore your data without any worries.
Lastly, it’s a good idea to have a pen and paper or a digital note-taking tool to jot down any important steps or instructions during the installation process. By keeping track of important details, you can refer back to them if needed, ensuring a smooth and error-free installation.
To summarize, the necessary materials for loading Windows onto a new SSD include a new SSD, a USB flash drive (8GB or more), Windows installation media or product key, a backup of your data, and a pen and paper or digital note-taking tool. With these materials in hand, you’ll be well-prepared to proceed with the installation process and enjoy the benefits of a speedy and efficient operating system on your new SSD.
Prepare the SSD
Now that you have gathered all the necessary materials, it’s time to prepare the SSD for the Windows installation. This crucial step involves formatting the SSD and ensuring it’s ready to receive the operating system. Follow the steps below to prepare your new SSD.
1. Connect the SSD: Start by shutting down your computer and unplugging it from the power source. Carefully open your computer case and locate an available SATA port. Connect one end of a SATA data cable to the SSD and the other end to the motherboard’s SATA port. Next, connect the SATA power cable from your power supply to the SSD. Ensure a secure connection to avoid any disconnections during the installation process.
2. Access the BIOS/UEFI Settings: Now it’s time to access your computer’s BIOS or UEFI settings. You’ll need to restart your computer and enter the BIOS/UEFI configuration. The process may vary depending on your computer’s manufacturer, but usually involves pressing a specific key (such as Del, F2, or F10) during startup. Consult your computer’s manual or manufacturer’s website for detailed instructions on accessing the BIOS/UEFI settings.
3. Set the Boot Order: Once you’re in the BIOS/UEFI settings, navigate to the Boot or Boot Order menu. Here, you’ll find a list of boot devices. Set the SSD as the first boot device to ensure that your computer boots from the SSD during the Windows installation process. Save your changes and exit the BIOS/UEFI settings.
4. Format the SSD: After restarting your computer, it’s time to format the SSD. Open the Windows Disk Management tool by pressing Win + X and selecting “Disk Management” from the menu. Locate the new SSD in the list of drives and right-click on it. Choose the “Format” option and select the desired file system (typically NTFS). Assign a drive letter to the SSD, and check the “Perform a quick format” box. Click “OK” to begin the formatting process. Be patient, as this may take a few minutes.
5. Verify the SSD: Once the formatting is complete, verify that the SSD appears as a healthy and active drive in the Disk Management tool. It should show the assigned drive letter and the correct capacity. This ensures that the SSD is properly recognized by your computer and ready for the Windows installation.
By following these steps, you have successfully prepared the SSD for the Windows installation. The SSD is now formatted and ready to receive the operating system. In the next section, we will discuss how to create a bootable Windows installation USB, which will allow us to install Windows on the SSD.
Create a Bootable Windows Installation USB
To install Windows on your new SSD, you’ll need to create a bootable USB drive that contains the Windows installation files. This will allow you to start the installation process and install the operating system on the SSD. Follow the steps below to create a bootable Windows installation USB.
1. Obtain the Windows Media Creation Tool: The easiest way to create a bootable USB drive is by using the official Microsoft tool called the “Windows Media Creation Tool.” You can download it from the official Microsoft website. Simply search for “Windows Media Creation Tool”, and you’ll find the download page. Download and install the tool on your computer.
2. Launch the Windows Media Creation Tool: Once the tool is installed, launch it by double-clicking the downloaded file. You may need to grant administrative privileges to run the tool. Upon launching, the tool will present you with two options: “Upgrade this PC now” and “Create installation media (USB flash drive, DVD, or ISO file) for another PC.” Select the second option to create a bootable USB drive.
3. Choose the Language, Edition, and Architecture: On the next screen, you’ll be prompted to select the language, Windows edition, and architecture for the installation. Choose the options that match your existing Windows installation or the edition you want to install on the new SSD. Make sure to select the correct architecture (32-bit or 64-bit) based on your computer’s specifications.
4. Select the USB Drive: In the next step, the tool will ask you to choose the media to use. Select the “USB flash drive” option and click “Next.” Make sure you have a USB flash drive with at least 8GB of storage capacity connected to your computer. The tool will detect and display the available USB drives, so choose the correct one.
5. Create the Bootable USB: After selecting the USB drive, the tool will begin downloading the necessary Windows installation files and create the bootable USB drive. This process may take a while, depending on your internet connection speed. Ensure that your computer is connected to a stable internet connection during this process. Avoid interrupting or disconnecting the USB drive or your computer during this process to prevent any data corruption.
6. Completing the Process: Once the tool finishes creating the bootable USB drive, it will display a message stating that the process is complete. You can now safely remove the USB drive from your computer.
Congratulations! You have successfully created a bootable Windows installation USB drive. This USB drive contains all the necessary files to install Windows on your new SSD. In the next section, we will discuss how to connect the new SSD to your computer and boot from the USB drive to start the installation process.
Connect the New SSD to Your Computer
With your bootable Windows installation USB drive ready, it’s time to connect the new SSD to your computer. This step is essential to ensure that the operating system can be installed on the SSD successfully. Follow the steps below to connect the new SSD to your computer.
1. Shut Down Your Computer: First, make sure to shut down your computer completely before proceeding. This will ensure that you can safely connect the new SSD without any risk of electrical shock or damage to your components.
2. Open Your Computer Case: Depending on the type of computer you have, you’ll need to open your computer case to access the internal components. Refer to your computer’s manual or search for specific instructions based on your computer model to learn how to open the case properly. It’s important to be cautious and follow safety guidelines during this process.
3. Locate an Available SATA Port: Look for an available SATA port on your motherboard. SATA ports are typically rectangular in shape and will have multiple ports. If you’re unsure about the location, refer to your motherboard’s manual for specific guidelines. Keep in mind that some motherboards may have different types of SATA ports, such as SATA II or SATA III. It’s recommended to connect your SSD to a SATA III port for optimal performance.
4. Connect the SATA Data Cable: Take the SATA data cable that came with your SSD or any compatible SATA data cable. Connect one end of the cable to the SSD’s SATA port. Make sure to align the plug with the port and firmly push it in until it’s securely connected. Ensure that the connection is tight to prevent any accidentally disconnections during the installation process.
5. Connect the SATA Power Cable: Locate a free SATA power cable from your power supply unit. Connect one end of the SATA power cable to the SSD’s power port. Just like with the data cable, align the plug with the port and push it in until it’s snugly connected. The power cable provides the necessary power to the SSD for it to operate.
6. Secure the SSD: Once the SATA data and power cables are connected, carefully place the SSD in an available drive bay or slot inside your computer case. Secure it using the appropriate screws or mounting brackets. Ensure that the SSD is properly aligned and seated securely in the drive bay to avoid any potential issues during the installation process.
7. Close Your Computer Case: After confirming that all connections are secure and the SSD is properly installed, gently close your computer case. Make sure to secure any screws or latches that hold the case together. Double-check that there are no loose cables or components inside the case that could potentially interfere with the installation process.
Congratulations! You have successfully connected the new SSD to your computer. With the SSD securely installed, you’re now ready to proceed to the next step: booting from the USB drive and installing Windows on the SSD. In the next section, we will walk you through the process of booting from the USB drive and initiating the Windows installation process.
Boot from the USB
Now that you have connected the new SSD to your computer, the next step is to boot from the USB drive containing the Windows installation files. By booting from the USB, you will initiate the Windows installation process and be able to install the operating system on the SSD. Follow the steps below to boot from the USB drive.
1. Start Your Computer: Ensure that your computer is powered off. Press the power button to turn on your computer and wait for the manufacturer’s logo or initial startup screen to appear. Keep in mind that the key or combination of keys required to access the boot menu may vary depending on your computer manufacturer.
2. Access the Boot Menu: As your computer starts up, you’ll need to access the boot menu. To do this, quickly press the designated key or combination of keys on your keyboard. Common keys to access the boot menu include F12, Esc, or Del. Refer to your computer’s manual or perform an online search for the specific key(s) required to access the boot menu on your computer model.
3. Select the USB Drive: Once you have accessed the boot menu, you’ll see a list of available boot devices, including the USB drive that contains the Windows installation files. Use the up and down arrow keys on your keyboard to highlight the USB drive option and press Enter to select it as the boot device.
4. Initiate the Boot: After selecting the USB drive, your computer will start to boot from the USB. You should now see the Windows installation screen, signaling that the boot process was successful.
5. Follow the On-Screen Prompts: Once you have successfully booted from the USB drive, you’ll be presented with the Windows installation wizard. Follow the on-screen prompts to begin the installation process. You’ll need to select your preferred language, time zone, and keyboard layout.
6. Accept the License Agreement: Read and accept the license agreement to proceed with the installation. It’s important to carefully review the terms and conditions before accepting them.
7. Select the SSD as the Installation Destination: During the installation process, the wizard will prompt you to select the installation destination. Choose the new SSD you connected earlier as the destination for the Windows installation. You can identify the SSD by its capacity or the drive letter assigned to it.
8. Follow the Windows Installation Instructions: Once you’ve selected the SSD as the installation destination, follow the on-screen instructions to complete the installation process. The installation may take some time, so be patient and ensure that your computer is connected to a reliable power source.
Congratulations! You have successfully booted from the USB drive and initiated the Windows installation process on your new SSD. In the next section, we will guide you through the steps to install and set up Windows on the SSD.
Install and Set Up Windows on the SSD
Now that you have successfully booted from the USB drive, it’s time to install and set up Windows on your new SSD. Follow the step-by-step instructions below to complete the installation process and get your operating system up and running on the SSD.
1. Select Language, Time, and Keyboard Settings: After booting from the USB, the Windows installation wizard will present you with a screen to choose your language preferences, time zone, and keyboard layout. Select the appropriate options and click “Next” to proceed.
2. Click on “Install Now”: On the next screen, you’ll see the option to “Install Now.” Click on it to begin the installation process.
3. Enter the Product Key: Enter the product key for your copy of Windows. You can find this key on the packaging if you have a physical copy of Windows, or it may have been provided to you digitally. If you don’t have a product key yet, you can skip this step, and Windows will run in an unactivated state. You can activate it later using your product key.
4. Accept the License Terms: Read through the license terms carefully and check the box to indicate that you accept them. Click “Next” to proceed.
5. Choose the Type of Installation: At this stage, you’ll see two options: “Upgrade” or “Custom.” Select the “Custom” option, as this will allow you to perform a fresh installation of Windows on the SSD.
6. Select the SSD as the Installation Destination: On the next screen, you’ll see a list of available drives. Select the new SSD that you connected earlier. Be cautious not to select any other drive that contains important data, as the installation process will erase all data on the selected drive.
7. Proceed with the Installation: Click “Next” to start the installation process. Windows will begin copying files, expanding them, and installing features and updates. The installation may take some time, so be patient and avoid interrupting the process.
8. Set Up Your Account: Once the installation is complete, Windows will prompt you to set up your account. Enter your desired username and password. You can also choose whether to use a Microsoft account or create a local account. Follow the on-screen instructions to complete this step.
9. Customize Settings: On the following screens, you’ll be given the option to customize settings such as privacy, update preferences, and Cortana. Adjust these settings according to your preferences. If you’re unsure, you can always choose the recommended settings and update them later.
10. Wait for Initialization: After customizing the settings, Windows will finalize the installation and prepare your computer for first-time use. This may take a few moments, so be patient.
Congratulations! You have successfully installed and set up Windows on your new SSD. Windows is now running on the SSD, taking advantage of its speed and performance benefits. In the next section, we will discuss the final steps for completing the setup and configuration of Windows on the SSD.
Complete Setup and Configuration
With Windows installed on your new SSD, you’re almost finished. However, a few additional steps are necessary to complete the setup and configuration of your operating system. Follow the instructions below to finalize the process and ensure your new system is secure and optimized.
1. Install Necessary Drivers: Start by installing any necessary drivers for your computer’s hardware. These drivers ensure that your components function properly and interact with the operating system effectively. Visit the manufacturer’s website for your computer or individual components to download and install the latest drivers available.
2. Update Windows: After installing the drivers, it’s crucial to update Windows to the latest version. Windows updates include security patches, bug fixes, and performance improvements. Go to the Windows Update settings, and check for updates. Download and install any available updates to ensure your operating system is up to date.
3. Transfer Data from Backup: If you created a backup of your data before starting the installation process, you can now transfer your files back to your SSD. Connect the external storage device containing your backup and copy the necessary files to your SSD. Organize them according to your preferences to establish a tidy file structure on your new system.
4. Install and Update Apps: Begin reinstalling any applications or programs you previously had on your computer. Visit the websites of each program or use dedicated software platforms to download and install the latest versions. Ensure that all apps are up to date to benefit from improvements and security patches.
5. Personalize Your Settings: Take some time to customize your Windows settings according to your preferences. Adjust desktop backgrounds, display settings, taskbar positions, and other personalization settings to make your system feel familiar and comfortable.
6. Set Up Security Measures: Install a reliable antivirus software to protect your system from threats. Enable Windows Defender or any other security features that are included with the operating system. Configure firewall settings and set up regular backups to maintain the safety and integrity of your system.
7. Optimize SSD Performance: To enhance the performance of your SSD, ensure that the TRIM feature is enabled. TRIM helps maintain the performance and lifespan of your SSD. Open the Command Prompt, type in “fsutil behavior query DisableDeleteNotify,” and ensure that the result is “DisableDeleteNotify = 0.” If it’s not, type in “fsutil behavior set DisableDeleteNotify 0” and press Enter.
8. Explore Additional Features: Take some time to explore the additional features provided by Windows. Familiarize yourself with the Start Menu, the Windows Store, and other system tools and utilities that can further enhance your experience.
Congratulations! You have completed the setup and configuration of Windows on your new SSD. Your operating system is now secure, up to date, and optimized for performance. Enjoy the benefits of faster boot times, improved system responsiveness, and smooth multitasking on your new SSD-powered system.
Conclusion
Congratulations on successfully loading Windows onto your new SSD! By following the steps outlined in this guide, you have upgraded your computer’s storage and unlocked the numerous benefits of using an SSD, such as faster boot times, improved overall system performance, and quicker file transfers.
We started by gathering the necessary materials, including the new SSD, a USB flash drive, the Windows installation media or product key, and a backup of your data. Then, we prepared the SSD by connecting it to your computer and formatting it properly. Next, we created a bootable Windows installation USB drive to initiate the installation process.
After connecting the new SSD to your computer, we booted from the USB drive and began the installation of Windows. We guided you through selecting the language, entering the product key, accepting the license terms, and choosing the SSD as the installation destination. Once the installation was complete, we moved on to setting up Windows, installing necessary drivers, updating the operating system, transferring data from a backup, and personalizing your settings.
By completing these steps, your Windows installation on the new SSD is ready for action. The final touches involved optimizing your SSD’s performance, ensuring security measures were in place, and exploring additional features offered by Windows.
Enjoy the enhanced speed and efficiency of your new SSD-powered system. Take advantage of the increased storage capacity and optimize your workflow for improved productivity. Remember to keep your Windows installation and drivers up to date to benefit from the latest features and security patches.
Thank you for following this guide. We hope it has provided you with the knowledge and confidence to load Windows onto your new SSD successfully. If you have any further questions or need additional assistance, don’t hesitate to seek help from online forums or expert support. Happy computing!