Introduction
Welcome to this guide on how to migrate to SSD Samsung. Upgrading your storage to a solid-state drive (SSD) can significantly enhance your computer’s performance and improve its overall responsiveness. Samsung SSDs are known for their reliability, speed, and advanced features, making them a popular choice among users.
Switching from a traditional hard disk drive (HDD) to an SSD can bring numerous benefits, such as faster boot times, quicker application launches, and smoother multitasking. Additionally, SSDs have no moving parts, which means they are more resistant to physical damage and have a longer lifespan compared to HDDs.
Before you dive into the process of migrating to an SSD Samsung, it’s important to note that this guide assumes you have a basic understanding of computers and are familiar with handling hardware components. If you are uncertain about any step, it’s advisable to seek assistance from a professional or refer to the manufacturer’s documentation.
In the following sections, we will discuss the benefits of migrating to an SSD Samsung, how to check compatibility and capacity, the importance of backing up your data, and the steps to transfer your data from your old drive to the new SSD. We will also cover the process of cloning your drive, installing the SSD, setting up your new drive, and testing its performance.
So, let’s get started on this exciting journey to upgrade your computer’s storage and unleash its full potential with an SSD Samsung.
Benefits of Migrating to SSD Samsung
Migrating to an SSD Samsung brings a multitude of benefits that can significantly enhance your overall computing experience. Here are some of the key advantages you can expect:
1. Improved Speed and Performance: SSDs are much faster than traditional hard drives, offering faster boot times and quicker application launches. With an SSD Samsung, you can experience a noticeable improvement in your computer’s responsiveness and overall performance.
2. Reduced Loading Times: Whether you’re starting up your computer or opening software and files, SSDs excel at reducing loading times. This means you can be up and running in no time, increasing your productivity and saving valuable minutes throughout the day.
3. Enhanced Multitasking Ability: With an SSD Samsung, you can seamlessly switch between multiple applications without experiencing significant slowdowns. This is particularly beneficial for professionals who work with resource-intensive software or multitask heavily.
4. Reliability and Durability: SSDs have no moving parts, making them more resistant to physical damage, such as drops or vibration. This durability ensures that your data remains safe, reducing the risk of data loss due to mechanical failures.
5. Energy Efficiency: Compared to traditional hard drives, SSDs consume less power. This not only translates to lower electricity bills but also helps extend the battery life of laptops and other portable devices.
6. No Noise: SSDs operate silently, as they don’t rely on spinning disks and moving parts. This creates a quiet computing environment, especially beneficial for those who value a noise-free workspace or enjoy a peaceful computing experience.
7. Longer Lifespan: SSDs have a longer lifespan compared to HDDs, thanks to their advanced wear-leveling algorithms and improved technology. This means that an investment in an SSD Samsung can serve your computing needs for years to come.
8. Advanced Features: Samsung SSDs come with advanced features like TRIM support and data encryption that can further enhance the performance and security of your system.
By migrating to an SSD Samsung, you can unlock these benefits and transform your computer into a faster, more reliable, and efficient machine. So, let’s move on to the next section to check the compatibility and capacity of your system.
Checking Compatibility and Capacity
Before migrating to an SSD Samsung, it’s crucial to ensure that your computer is compatible with the new drive and has sufficient capacity to accommodate your data. Here’s what you need to do:
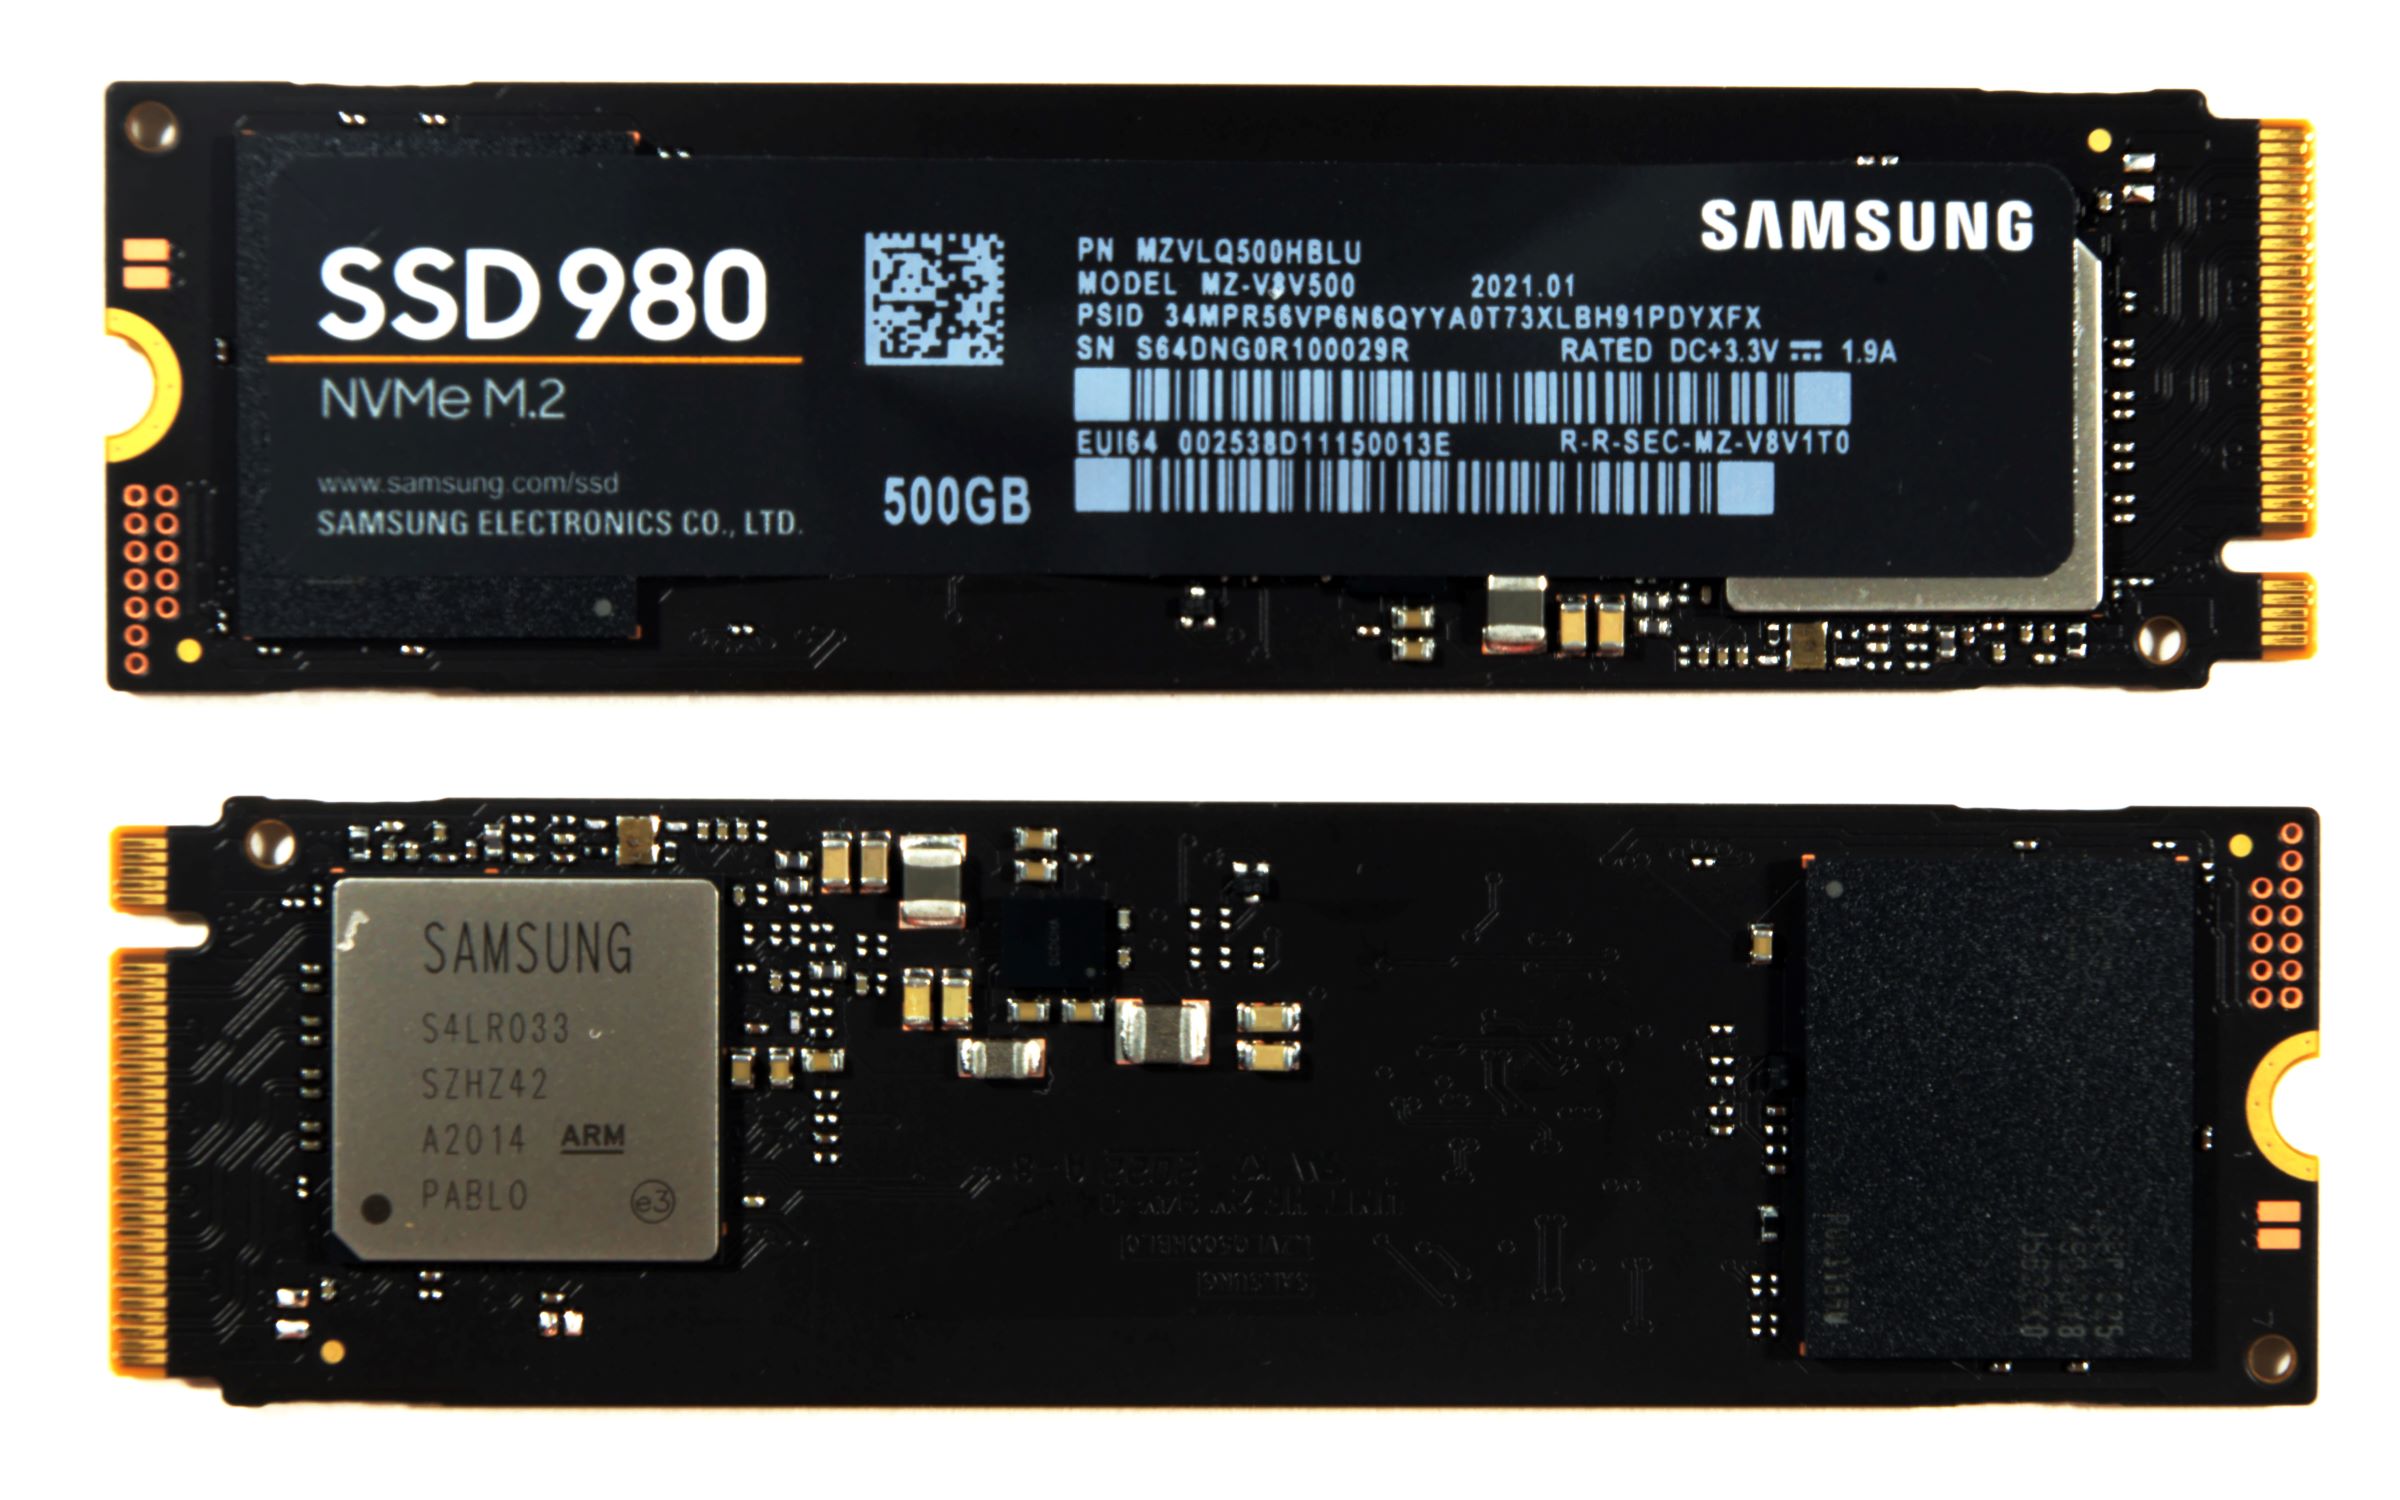
1. Check Interface Compatibility: Determine the type of interface your current storage drive uses. Most modern computers utilize either SATA (Serial ATA) or NVMe (Non-Volatile Memory Express) interfaces. Make sure your SSD Samsung is compatible with the interface on your motherboard.
2. Verify Physical Size: SSDs come in various form factors, such as 2.5-inch and M.2. Check your computer’s documentation or consult the manufacturer’s website to find out the supported form factors. Ensure that the physical dimensions of your SSD Samsung match the available slots in your system.
3. Assess Storage Capacity Needs: Evaluate your data storage requirements to determine the capacity of the SSD you’ll need. Consider the current size of your drive and the amount of data you have. It’s advisable to choose an SSD with greater capacity to allow for future growth and avoid running out of storage space.
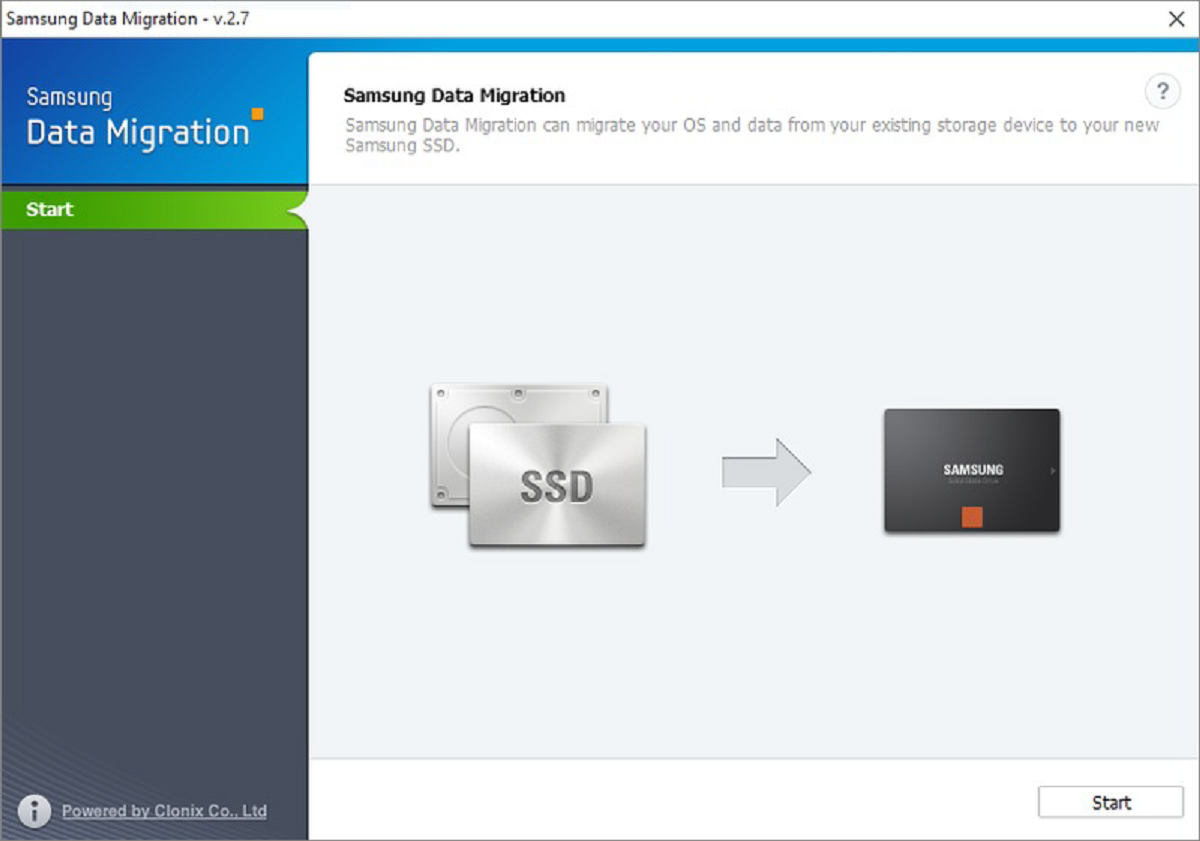
4. Consider Migration Software: Check if your SSD Samsung comes with migration software. This software can simplify data transfer by assisting with cloning your old drive to the new SSD. If not included, you may need to look for third-party migration tools.
5. Review System Specifications: Take a look at your computer’s specifications, including the processor, RAM, and operating system requirements specified by Samsung for optimal SSD performance. Ensure your system meets or exceeds these requirements to get the most out of your SSD.
By performing these compatibility and capacity checks, you can ensure a smooth migration process and avoid any potential issues or incompatibilities. In the next section, we’ll discuss the importance of backing up your data before transferring it to your new SSD Samsung.
Backup Your Data
Before proceeding with the migration to SSD Samsung, it is essential to create a backup of your data to ensure its safety and prevent any potential loss. Follow these steps to back up your data:
1. Identify Important Files: Determine which files and folders contain crucial data that you cannot afford to lose. This may include documents, photos, videos, or any other personal or work-related files.
2. Select Backup Method: Choose a backup method that suits your needs. You can opt for an external hard drive, cloud storage, or network-attached storage (NAS). Consider factors such as storage capacity, ease of use, and accessibility when making your decision.
3. Transfer Files to Backup Location: Copy your important files and folders to the selected backup medium. Ensure that you maintain the folder structure and preserve the file hierarchy to make it easier to restore the data later.
4. Verify Backup Integrity: Double-check that the backup process is complete and ensure the integrity of your backup files. Perform a test restore of a few files to a different location to confirm that the backup is functioning properly.
5. Update Backup Regularly: Make it a habit to regularly update your backup to keep your important files synchronized. Set up automated backup software or create a reminder to prompt you to perform backups at regular intervals.
6. Document Backup Procedure: Keep a record of the steps you followed to back up your data, including the backup medium used and the date of the most recent backup. This documentation will be helpful for future reference or in case you encounter any issues during the migration process.
By backing up your data, you can have peace of mind knowing that your important files are secure and protected. In the next section, we’ll guide you through the process of transferring your data from your old drive to the new SSD Samsung.
Transferring Data to Your SSD
Now that you have backed up your important data, it’s time to transfer it to your new SSD Samsung. There are different methods you can use to accomplish this, depending on your specific needs and preferences:
1. Manual File Transfer: If you only have a small amount of data or specific files to transfer, you can manually copy and paste them from your backup location to the SSD. Simply navigate to your backup storage medium, select the files or folders you want to transfer, and paste them into the appropriate location on the SSD.
2. Migration Software: If you have a large amount of data or want to transfer your operating system and applications, consider using migration software. Samsung SSDs often come with their own migration software, which can make the process easier. This software allows you to clone your entire old drive onto the new SSD, including your operating system, applications, and data.
3. Third-Party Software: Alternatively, you can consider using third-party migration software, such as Clonezilla or Acronis True Image. These tools offer more customization options and advanced features for transferring data to your SSD.
4. Operating System Reinstallation: If you prefer a fresh start or encounter compatibility issues during the migration, you can choose to reinstall your operating system and applications directly onto the SSD. This method requires a bit more time and effort but ensures a clean installation.
Note: Regardless of the method you choose, make sure to follow the instructions provided by the migration software or consult the documentation for the third-party tool you decide to use. This will help ensure a smooth and successful transfer of your data to the SSD Samsung.
Once the data transfer is complete, verify that all your files and applications are intact on the SSD. Double-check important files to confirm they can be accessed without any issues. In the next section, we will guide you through the process of cloning your old drive to the SSD Samsung.
Cloning Your Old Drive to SSD
If you want to transfer your operating system, applications, and data from your old drive to the new SSD Samsung, the most efficient method is to clone your old drive. Cloning creates an identical copy of your old drive on the new SSD, allowing for a seamless transition. Follow these steps to clone your old drive:
1. Prepare the Cloning Software: Install the provided cloning software that came with your SSD Samsung or use a third-party cloning tool. Ensure that both your old drive and the new SSD are connected to your computer.
2. Select the Source and Target Drives: In the cloning software, select your old drive as the source drive and the SSD Samsung as the target drive. Be careful to accurately identify the drives to avoid any data loss.
3. Adjust Partition Sizes (Optional): If you want to resize the partitions on the SSD, you may have the option to do so during the cloning process. This allows you to allocate more or less space to specific partitions based on your needs.
4. Start the Cloning Process: Once all settings are configured, start the cloning process. The software will begin copying all data from the old drive to the SSD Samsung. This may take some time depending on the size of your data.
5. Verify the Cloning Process: After the cloning process is complete, compare the data between the old drive and the new SSD to ensure everything transferred successfully. Check that all files, applications, and the operating system are present and functioning properly on the SSD.
6. Set the Boot Priority (If Needed): If your computer doesn’t automatically boot from the SSD after cloning, you may need to adjust the boot priority in the BIOS settings. Set the SSD as the primary boot device to ensure your computer starts up from the new drive.
7. Keep the Old Drive as a Backup (Optional): If you want to retain the old drive as a backup or for additional storage, safely store it in a suitable location. This way, you can access any files or data that were not transferred during the cloning process.
Cloning your old drive to the SSD Samsung offers a convenient way to duplicate your entire system. It allows you to continue working seamlessly without reinstalling the operating system and applications. In the next section, we’ll discuss the process of installing your newly cloned SSD.
Installing Your SSD Samsung
After successfully cloning your old drive to the SSD Samsung, the next step is to physically install the SSD in your computer. Follow these steps to install your SSD:
1. Prepare Your Work Area: Before starting, ensure you have a clean and static-free work area. Gather the necessary tools, including a screwdriver, if required.
2. Power Off Your Computer: Shut down your computer and disconnect the power cable. This will prevent any accidental damage or electrical shocks during the installation process.
3. Locate the Drive Bay: Identify the drive bay where your old drive was located. This can vary depending on your computer’s form factor and design.
4. Mount the SSD in the Drive Bay: If your SSD Samsung is a 2.5-inch form factor, use the appropriate mounting bracket or caddy to secure the SSD in the drive bay. If it’s an M.2 form factor, insert the SSD into the corresponding slot on the motherboard.
5. Secure the SSD: Use screws or clips to secure the SSD in place. Be cautious not to overtighten the screws, as it may damage the drive or the screw threads.
6. Connect Power and Data Cables: Connect the power cable and data cable to the SSD Samsung. Refer to your motherboard’s documentation to identify the correct SATA or NVMe slot for the data cable.
7. Close Your Computer: Carefully put the computer casing back together and fasten any screws or latches to secure it. Make sure all connections are properly in place.
8. Connect Power and Boot Up: Reconnect the power cable to your computer and start it up. The system should recognize the newly installed SSD and boot from it if you had set it as the primary boot device.
9. Verify SSD Recognition: Once your computer has booted up, open the operating system and verify that the SSD is recognized. Check the system settings or device manager to ensure the SSD Samsung is detected and functioning properly.
By following these installation steps, you can successfully install your SSD Samsung and have it ready for use in your computer. In the next section, we’ll guide you through the process of setting up your new SSD.
Setting Up Your New SSD
After installing your SSD Samsung in your computer, it’s essential to properly set it up to ensure optimal performance and functionality. Here are the steps to set up your new SSD:
1. Format the SSD: If the SSD is brand new or you have performed a clean installation, you may need to format the SSD. This prepares the drive for use and allows your operating system to recognize and utilize it. Refer to your operating system’s documentation for instructions on formatting a new drive.
2. Assign Drive Letter (Windows): In Windows, you may need to assign or change the drive letter for your newly installed SSD. This allows the operating system to identify the drive and assign it a letter for easy accessibility. To do this, go to “Disk Management” in the Control Panel and follow the instructions to assign a drive letter.
3. Update Firmware (If Applicable): Check if there are any firmware updates available for your SSD model. Firmware updates can bring performance improvements, bug fixes, and compatibility enhancements. Visit the manufacturer’s website or use their software utility to update the firmware if necessary.
4. Optimize Drive Settings (Optional): Depending on your operating system and SSD model, there may be additional settings you can optimize for better performance. For example, Windows users can enable features like TRIM and AHCI in the BIOS to enhance SSD performance. Consult the manufacturer’s documentation or online resources for recommended settings.
5. Restore Backed-Up Data: If you have previously backed up your data, now is the time to restore it onto your new SSD. Copy the files and folders from the backup location back onto the SSD, ensuring that they are organized in the correct directory structure.
6. Reinstall Applications (If Necessary): If you have chosen to perform a fresh installation on the SSD or opted not to clone your applications, you will need to reinstall them onto the new drive. Use the original installation disks or download the latest versions to set up your preferred applications.
7. Verify SSD Performance: After setting up your SSD, run performance tests to ensure it is functioning optimally. Use benchmarking tools to measure read and write speeds, access times, and other performance metrics. This will allow you to gauge the improvement in performance compared to your previous storage drive.
By following these steps to set up your new SSD, you can maximize its performance, ensure compatibility with your operating system, and restore your data onto the drive. In the next section, we’ll discuss the importance of testing your SSD to ensure it’s working correctly.
Testing Your SSD
After setting up your SSD Samsung, it’s important to perform some tests to ensure it’s functioning correctly and to validate its performance. Here are some recommended tests to help you evaluate your SSD:
1. Sequential and Random Read/Write Tests: Use benchmarking tools to measure the sequential and random read/write speeds of your SSD. This will give you an idea of how quickly data can be read from or written to the drive. Compare the results with the manufacturer’s specifications to ensure your SSD is performing as expected.
2. Access Time Test: Assess the access time of your SSD, which shows how quickly the drive can respond to read or write requests. Lower access times indicate faster performance. Benchmarking tools can provide this information.
3. Stress Testing: Run stress tests on your SSD to gauge its stability and endurance. Stress testing tools like CrystalDiskMark or AS SSD Benchmark can simulate heavy loads to assess how well your SSD handles sustained usage.
4. Check for Bad Blocks: Use software utilities like CHKDSK (for Windows) or fsck (for Linux) to scan for and repair any bad blocks on the SSD. Bad blocks can affect performance and lead to data corruption.
5. Assess TRIM Support: Confirm that TRIM is enabled and functioning on your SSD. TRIM helps maintain the performance and lifespan of your SSD by allowing the operating system to inform the SSD which data blocks are no longer in use and can be wiped.
6. Monitor Drive Temperature: Keep track of your SSD’s temperature using monitoring software. Ensure that the drive is not experiencing excessive heat, as this can negatively impact performance and lifespan. Proper airflow and cooling are important for maintaining optimal drive temperatures.
7. Evaluate Power Consumption: Check the power consumption of your SSD to ensure it aligns with the manufacturer’s specifications. Lower power consumption can improve energy efficiency and battery life for mobile devices.
Performing these tests can help identify any potential issues with your SSD Samsung and validate its performance. If you encounter any anomalies or discrepancies, consult the manufacturer’s support resources or seek assistance from a professional. By ensuring your SSD is in good working condition, you can make the most of its advanced features and enjoy reliable storage performance.
Conclusion
Congratulations on successfully migrating to an SSD Samsung! By upgrading your storage to an SSD, you have unlocked a host of benefits, including improved speed, faster loading times, enhanced multitasking, and increased reliability. Your new SSD will revolutionize your computing experience and bring a significant boost in performance.
Throughout this guide, we covered the essential steps for migrating to an SSD Samsung. We discussed the benefits of making the switch, the importance of compatibility and capacity checks, the necessity of backing up your data, and the methods for transferring your data to the new drive. We also explored cloning your old drive, installing the SSD, setting it up, and testing its performance.
Remember, it is crucial to consider proper maintenance and care for your SSD. Regularly update the firmware, perform routine testing, and monitor temperature and power consumption to ensure optimal performance and longevity. Additionally, keep your operating system and applications up to date to take advantage of the latest enhancements and security patches.
If you encountered any challenges during the migration process or require further assistance, reach out to the manufacturer’s support or consult professional technicians to ensure a smooth transition. Your SSD Samsung is an investment that will pay off with improved productivity and a more enjoyable computing experience.
Now that you have successfully migrated to an SSD Samsung, take some time to sit back, relax, and explore the lightning-fast speeds and responsiveness it brings to your computer. Enjoy the benefits of faster boot times, quicker application launches, and smoother multitasking. Embrace the durability and reliability of your new SSD, knowing that your data is safe and that you have made a significant upgrade to your system’s performance.
Thank you for following this guide, and we hope you enjoy the enhanced performance and efficiency that your SSD Samsung provides!