Introduction
Welcome to the world of portable storage and flexibility! In today’s digital era, we rely heavily on our computers and laptops to store and access important data. However, one common drawback is the limited capacity of the internal hard drive. This is where the Portable SSD T5 comes to the rescue.
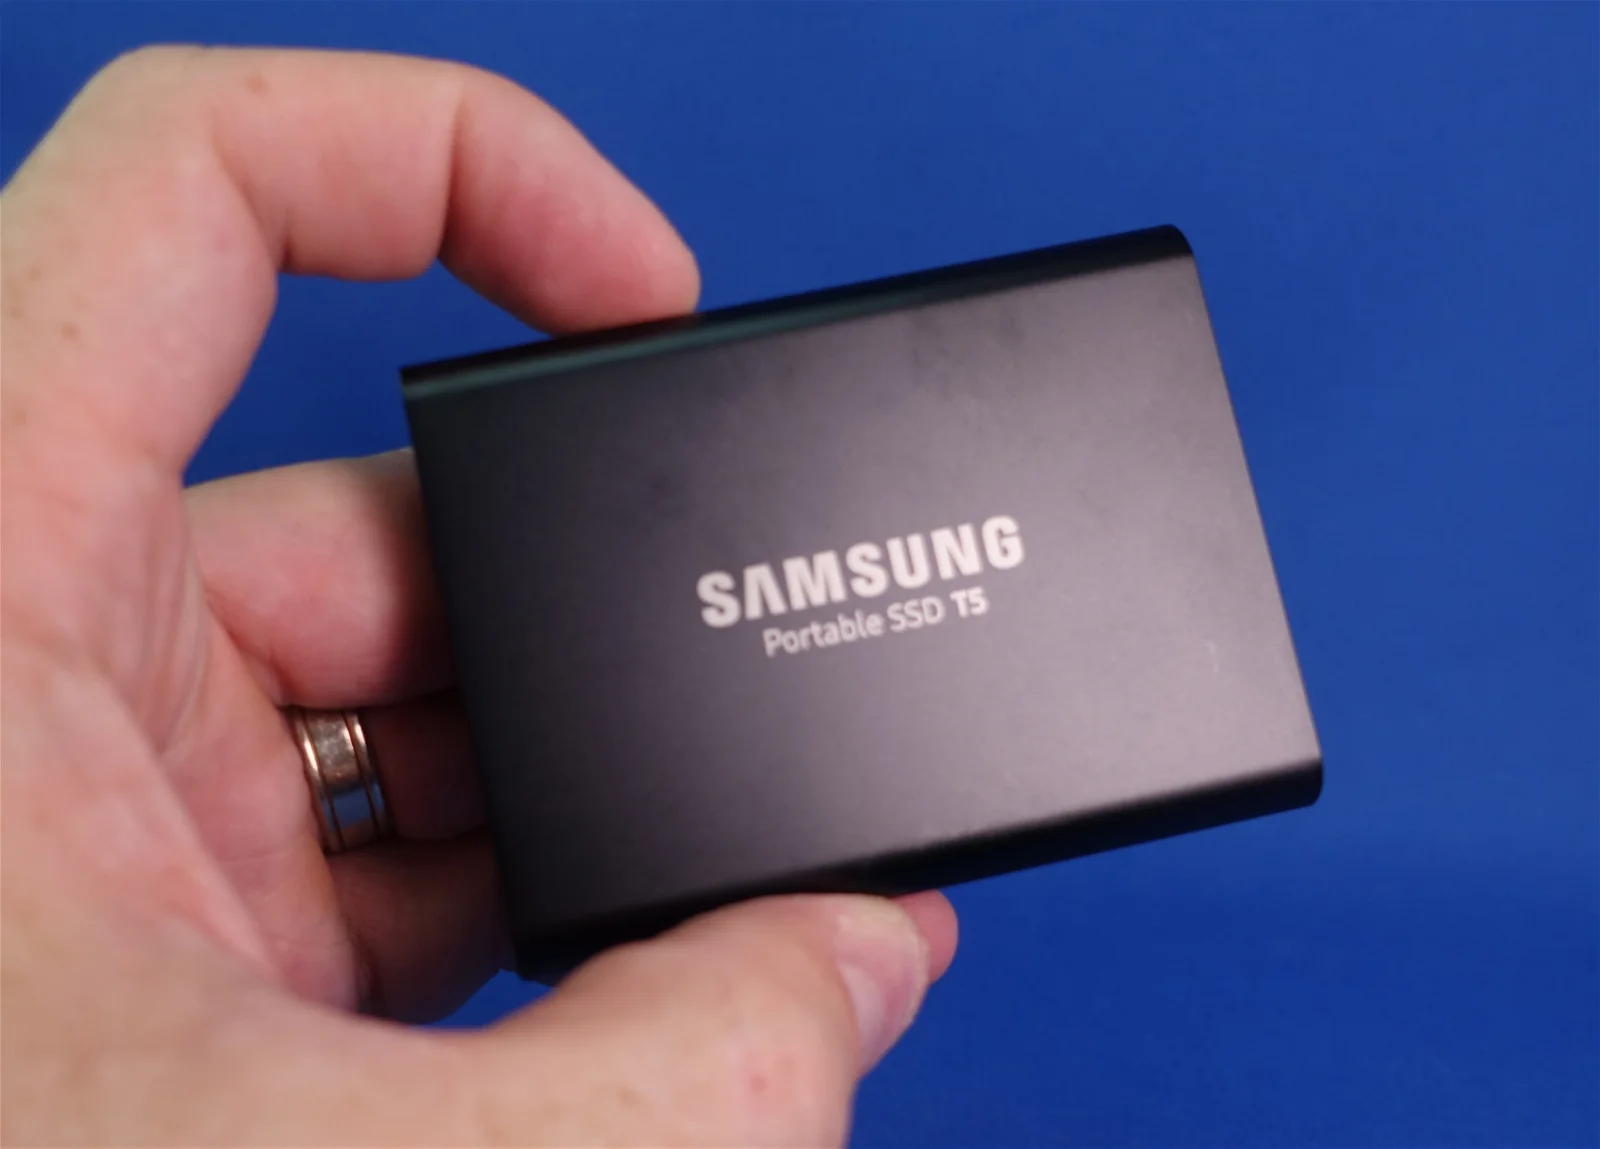
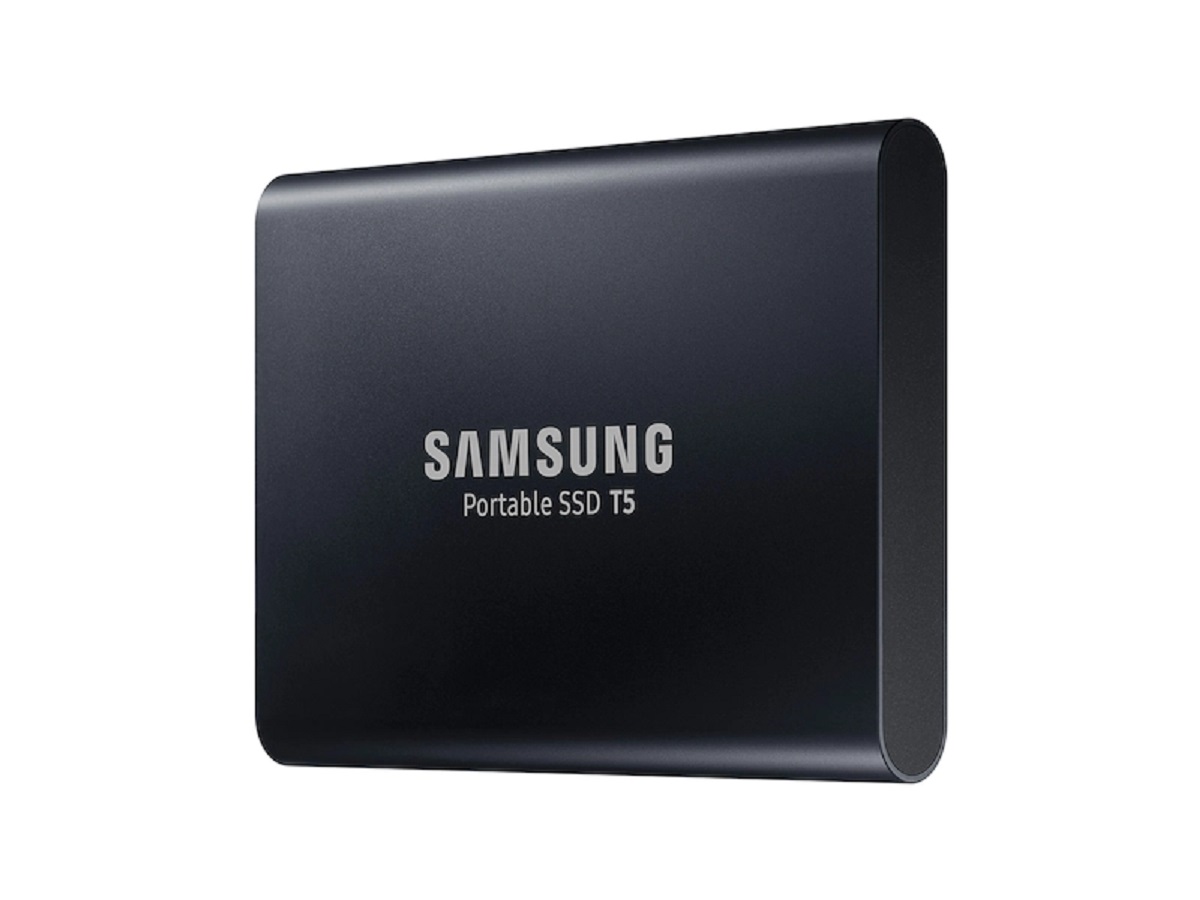
The Portable SSD T5 is an incredibly compact and lightweight external solid-state drive that offers ample storage space and lightning-fast performance. But did you know that you can take it a step further and transfer your operating system onto the Portable SSD T5? Not only will this free up space on your internal hard drive, but it will also enable you to carry your operating system with you wherever you go.
In this guide, we will walk you through the steps to transfer your operating system to the Portable SSD T5. Whether you’re a power user who needs to work on multiple machines or a frequent traveler looking for seamless access to your OS, this method will provide you with the flexibility and convenience you desire.
Before we dive into the nitty-gritty details, let’s talk about why transferring your operating system to a portable SSD is a great idea.
Why Transfer the Operating System?
Transferring your operating system to a portable SSD brings a multitude of benefits and opportunities that can greatly enhance your computing experience. Here are a few compelling reasons to consider this option:
1. Portability: By transferring your operating system to a portable SSD, you can carry your personalized system settings, files, and applications with you wherever you go. Whether you’re traveling, working remotely, or need to switch between different computers, you can have a consistent computing environment at your fingertips.
2. Faster Performance: Solid-state drives, such as the Portable SSD T5, provide significantly faster read and write speeds compared to traditional hard drives. By running your operating system from the portable SSD, you’ll experience an overall boost in performance, including faster boot times, quicker application launches, and smoother multitasking.
3. Increased Storage Space: Internal hard drives in laptops and computers often have limited storage capacity. By transferring your operating system to a portable SSD, you can free up valuable space on your internal drive. This allows you to store more files, media, and applications, ensuring that you don’t run out of storage and can maintain optimal performance.
4. Data Security and Backup: Storing your operating system on a portable SSD adds an extra layer of data security. If your computer crashes, gets infected by malware, or experiences any hardware issues, you can still access your important files, documents, and applications stored on the portable SSD. Additionally, you can easily create backups of the portable SSD to avoid any data loss scenarios.
5. Seamless Upgrades and Transitions: If you’re planning to upgrade your computer or migrate to a new one, having your operating system on a portable SSD simplifies the process. You can easily transfer your entire OS to the new machine without the hassle of reinstalling and reconfiguring everything from scratch.
6. Versatility: Finally, transferring your operating system to a portable SSD allows you to use multiple devices as your main workstation. Whether you’re switching between a desktop, laptop, or even a public computer, you can simply connect your portable SSD and have access to your personalized operating system, making it highly versatile for different computing environments.
Now that we’ve explored the benefits of transferring your operating system to a portable SSD let’s move on to the prerequisites and step-by-step instructions to successfully complete the process.
What You Will Need
Before you begin transferring your operating system to a portable SSD, there are a few essential items you’ll need to gather. Make sure you have the following:
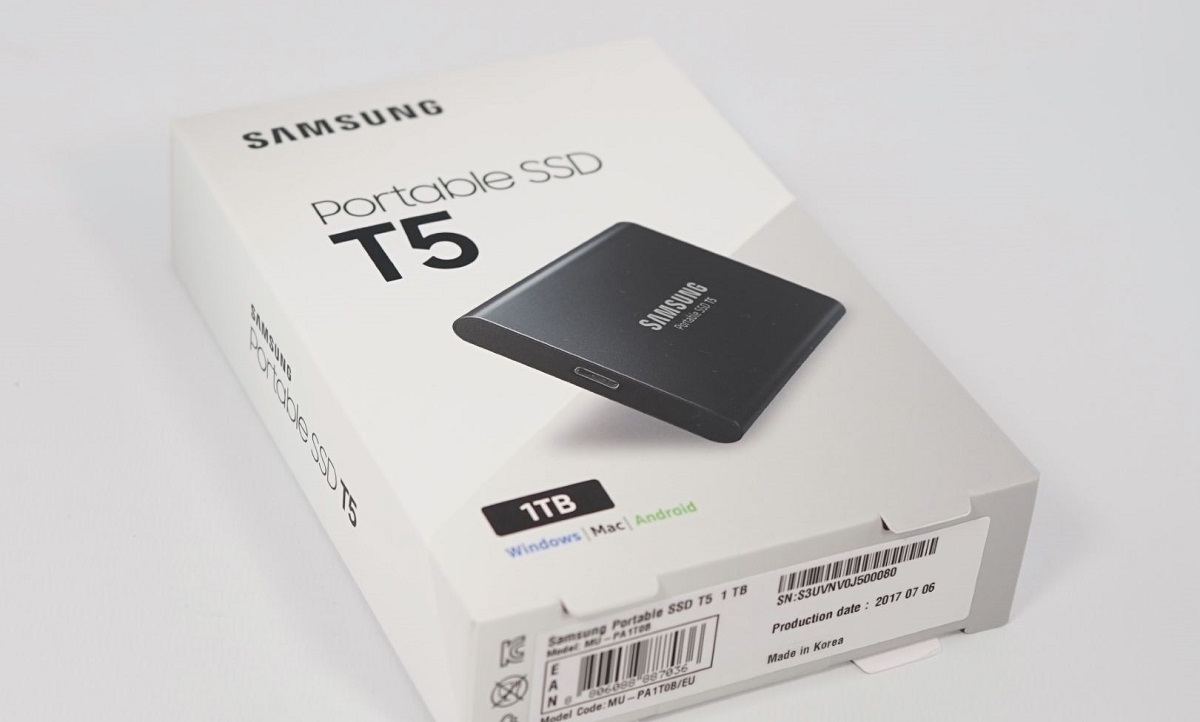
1. Portable SSD T5: The first and most crucial item is the Portable SSD T5 itself. Ensure that you have a compatible and sufficiently large capacity SSD to accommodate your operating system and additional files.
2. Computer: You’ll need a computer or laptop to perform the transfer process. Ensure your computer meets the system requirements and has an available USB port to connect the Portable SSD T5.
3. Operating System Installation Media: You’ll need the installation media for the operating system you want to transfer. This can be an installation disc or a bootable USB drive. If you don’t have one, you’ll need to create a bootable USB drive using the operating system ISO file.
4. USB Drive: If you don’t have a bootable USB drive with the operating system installation media, you’ll need a USB drive with sufficient capacity to create one. Ideally, a USB 3.0 drive would offer faster transfer speeds.
5. Data Backup: It is highly recommended to back up all your important files, documents, and settings before proceeding with the operating system transfer. This ensures that your data is safe and can be easily restored in case of any unforeseen issues.
6. Internet Connection: While not mandatory, having an internet connection during the process can be useful for downloading the latest updates or drivers required for the operating system or the Portable SSD T5.
By gathering these essential items, you’ll be fully prepared to transfer your operating system to the Portable SSD T5 seamlessly. Now that you have everything you need, let’s move on to the step-by-step instructions for making this transfer a reality.
Step 1: Back up Your Data
Before embarking on any major changes to your operating system, it’s crucial to back up all your important data. This will ensure that you don’t lose any files or settings during the transfer process. Here’s how to back up your data:
1. Identify your important files: Take some time to identify the files, documents, photos, and any other data that you don’t want to lose. This may include personal files, work-related documents, and application data.
2. Choose a backup method: There are several backup methods you can choose from, depending on your preferences and requirements. You can use an external hard drive, cloud storage services, or even a backup software program. Select the method that suits you best.
3. Copy your files to the backup location: Once you’ve decided on the backup method, start copying your important files to the designated backup location. Create a new folder and organize your files accordingly to make it easier to restore them later.
4. Verify the backup: After copying all your files, double-check to ensure that the backup was successful. Open some of the files and verify that they’re intact and accessible.
5. Test the restore process: It’s always a good idea to test the restore process to make sure that you can retrieve your files from the backup location. Select a sample file and restore it to a separate location. Once restored, verify that the file is identical to the original.
6. Keep the backup up to date: As you continue to work on your computer, make it a habit to periodically update your backup. This will ensure that you always have a recent copy of your important files in case of any unexpected events.
Backing up your data provides you with peace of mind and a safety net during the operating system transfer process. Once you’ve completed the backup, you can proceed to the next step without worrying about losing any valuable files or data.
Step 2: Format the Portable SSD T5
Before you can transfer your operating system to the Portable SSD T5, it’s important to format the drive to ensure optimal performance and compatibility. Here’s how you can format the Portable SSD T5:
1. Connect the Portable SSD T5: Use the provided USB cable to connect the Portable SSD T5 to your computer. Ensure that the drive is properly connected and recognized by the operating system.
2. Open Disk Management: On Windows, right-click on the Start menu and select “Disk Management.” On macOS, go to “Applications,” then “Utilities,” and open “Disk Utility.”
3. Identify the Portable SSD T5: In the Disk Management or Disk Utility window, locate the Portable SSD T5. You should see it listed as a connected drive, usually labeled with the brand name and the drive’s capacity.
4. Format the drive: Right-click on the Portable SSD T5 (Windows) or click on the drive and select the “Erase” tab (macOS). Choose a file system format for the drive, such as exFAT or NTFS for Windows, or macOS Extended (Journaled) for macOS.
5. Assign a drive letter or name (Windows): If you’re using Windows, you’ll have the option to assign a drive letter or name to the Portable SSD T5 during the formatting process. Choose a letter or name that is easy to remember and identify.
6. Confirm the format: Double-check all the formatting details, including the file system format and the drive letter or name. Make sure everything is correct, as formatting will erase all data on the drive.
7. Begin the format: Click on the “Format” button to start the formatting process. This may take a few moments, depending on the size of the drive. Once the formatting is complete, you’ll receive a confirmation message.
8. Eject the Portable SSD T5: Before disconnecting the Portable SSD T5, make sure to properly eject it from your computer. This ensures that all data has been written to the drive and reduces the risk of data corruption.
By formatting the Portable SSD T5, you’re preparing it for the operating system transfer and ensuring compatibility with your computer’s operating system. With the drive formatted and ready to go, you can proceed to the next step with confidence.
Step 3: Create a Bootable USB Drive
In order to transfer your operating system to the Portable SSD T5, you will need to create a bootable USB drive containing the installation files. This will allow you to install the operating system onto the portable SSD. Follow these steps to create a bootable USB drive:
1. Obtain the operating system installation files: If you don’t already have the operating system installation files, you will need to download them from the official source. This may involve purchasing the software or downloading it from the manufacturer’s website.
2. Prepare the USB drive: Connect the USB drive to your computer. It’s important to note that the USB drive will be formatted during the process, so make sure to back up any important files stored on it.
3. Format the USB drive: Right-click on the USB drive in Windows Explorer or Finder (on macOS) and select the “Format” option. Make sure to choose a file system format that is compatible with both your computer and the operating system you are installing. Typically, FAT32 is a reliable choice for cross-platform compatibility.
4. Create a bootable USB: There are multiple tools available to create a bootable USB drive, such as Rufus for Windows or Disk Utility for macOS. Open the chosen tool and select the USB drive you just formatted as the target for the bootable creation process.
5. Select the operating system image: In the bootable creation tool, browse for the location of the operating system installation files you obtained in step 1. Select the image file or ISO file that corresponds to your desired operating system.
6. Start the bootable creation process: Follow the instructions provided by the bootable creation tool to start the process of creating the bootable USB drive. This may take some time, depending on the size of the operating system image and the speed of your USB drive.
7. Verify the bootable USB drive: Once the bootable creation process is complete, verify that the USB drive is bootable. Restart your computer and access the boot menu by pressing the appropriate key (usually F12 or ESC) during startup. Select the USB drive as the boot device and check if the operating system installation process begins.
8. Safely eject the bootable USB drive: After verifying the bootable USB drive, safely eject it from your computer to prevent any data corruption. This will ensure that the USB drive is ready to be used for installing the operating system onto the Portable SSD T5.
With your bootable USB drive ready, you are now equipped to proceed to the next step and install your operating system onto the Portable SSD T5. Be sure to safely store your bootable USB drive in a secure location for future use.
Step 4: Install the Operating System onto the Portable SSD T5
Now that you have a bootable USB drive, it’s time to install the operating system onto the Portable SSD T5. Follow these steps to successfully complete the installation:
1. Connect the Portable SSD T5: Ensure that the Portable SSD T5 is connected to your computer via the USB cable. Double-check the connection to make sure it is stable.
2. Restart your computer: Restart your computer and access the boot menu by pressing the appropriate key (usually F12 or ESC) during startup. Select the bootable USB drive you created in the previous step as the primary boot device.
3. Start the installation process: Once you have successfully booted from the USB drive, the operating system installation process will commence. Follow the on-screen instructions provided by the operating system installer. You may be asked to choose language preferences, agree to licensing terms, and select the installation destination.
4. Choose the Portable SSD T5 as the installation destination: When prompted to select the installation destination, make sure to choose the Portable SSD T5 as the target drive. This ensures that the operating system is installed directly onto the portable SSD and not the internal hard drive of your computer.
5. Configure the installation settings: Customize the installation settings according to your preferences. This may include choosing a username and password, selecting additional software or drivers, and configuring network settings.
6. Wait for the installation to complete: The operating system installation process may take some time. Be patient and allow the installer to complete the necessary steps. Your computer may restart multiple times during the installation process.
7. Set up the operating system: After the installation is complete, follow the instructions to set up the operating system. This may involve creating a user account, personalizing settings, and connecting to a network.
8. Test the operating system on the Portable SSD T5: Once the setup process is finished, restart your computer again and access the boot menu. Select the Portable SSD T5 as the boot device to ensure that the operating system is successfully installed and running from the portable SSD.
Congratulations! You have now successfully installed the operating system onto the Portable SSD T5. Your computer will now boot from the portable SSD, allowing you to enjoy the benefits of a portable and personalized operating system. In the next step, we will set the Portable SSD T5 as the boot drive to ensure seamless and convenient access to your operating system.
Step 5: Set the Portable SSD T5 as the Boot Drive
After successfully installing the operating system onto the Portable SSD T5, the final step is to set it as the boot drive. This will ensure that your computer automatically boots from the portable SSD whenever you start or restart your system. Follow these steps to set the Portable SSD T5 as the boot drive:
1. Restart your computer: Restart your computer and access the BIOS or UEFI settings by pressing the designated key during startup. The key to access these settings is usually displayed on the boot screen, and it can differ depending on your computer’s manufacturer (e.g., F2, Delete, or Esc).
2. Enter the BIOS or UEFI settings: Once you’re in the BIOS or UEFI settings, navigate to the “Boot” or “Boot Priority” section. This section contains the options related to the boot devices and their order of priority.
3. Change the boot order: In the boot devices list, locate the Portable SSD T5. Use the provided instructions in the BIOS or UEFI settings to move the Portable SSD T5 to the top of the boot order. This ensures that the computer checks the portable SSD first for the operating system during the boot process.
4. Save and exit the BIOS or UEFI settings: Once you’ve set the Portable SSD T5 as the top boot priority, save the changes and exit the BIOS or UEFI settings. This action is usually done by pressing a key such as F10 or by selecting the “Save and Exit” option from the menu.
5. Restart your computer: After exiting the BIOS or UEFI settings, your computer will restart. It will now automatically boot from the Portable SSD T5, loading the operating system stored on the portable SSD.
6. Check if the boot process is successful: Allow the computer to boot from the Portable SSD T5. Once the operating system is loaded, ensure that everything is functioning correctly by checking the system settings, launching applications, and accessing files.
7. Utilize the benefits of the Portable SSD T5: Now that the Portable SSD T5 is set as the boot drive, you can enjoy the benefits of a portable and high-performance operating system. Experience faster boot times, improved system responsiveness, and the convenience of having your personalized environment available wherever you go.
Congratulations! By setting the Portable SSD T5 as the boot drive, you have successfully completed the process of transferring and utilizing your operating system from the portable SSD. From now on, whenever you start or restart your computer, it will seamlessly boot from the portable SSD, offering you the flexibility and convenience you desire.
Conclusion
Congratulations on successfully transferring your operating system to the Portable SSD T5! You now have the freedom to take your personalized computing environment with you wherever you go. By following the steps outlined in this guide, you have unlocked a world of portability, increased performance, and enhanced storage capacity.
Transferring your operating system to the Portable SSD T5 offers numerous benefits. It allows you to have a consistent computing experience across multiple devices, enjoy faster performance, and free up valuable space on your internal hard drive. Additionally, you gain the flexibility to easily upgrade or switch computers without the hassle of reinstalling and reconfiguring the entire operating system from scratch.
Remember to always prioritize backing up your important data before making any changes to your operating system. This ensures that your files and settings are safe and can be easily restored in case of any unforeseen issues.
With the Portable SSD T5 as your boot drive, you can experience lightning-fast speeds, seamless access to your operating system, and peace of mind knowing that your important files are stored securely.
Whether you’re a power user, a frequent traveler, or simply someone who values flexibility and convenience, transferring your operating system to the Portable SSD T5 opens up a world of possibilities. Enjoy the freedom to work and play on your terms, wherever you may be.
Embrace the potential of portable storage and take full advantage of the capabilities offered by the Portable SSD T5. Upgrade your computing experience and embark on a new level of productivity and convenience with your operating system confidently stored on the portable SSD.