Introduction
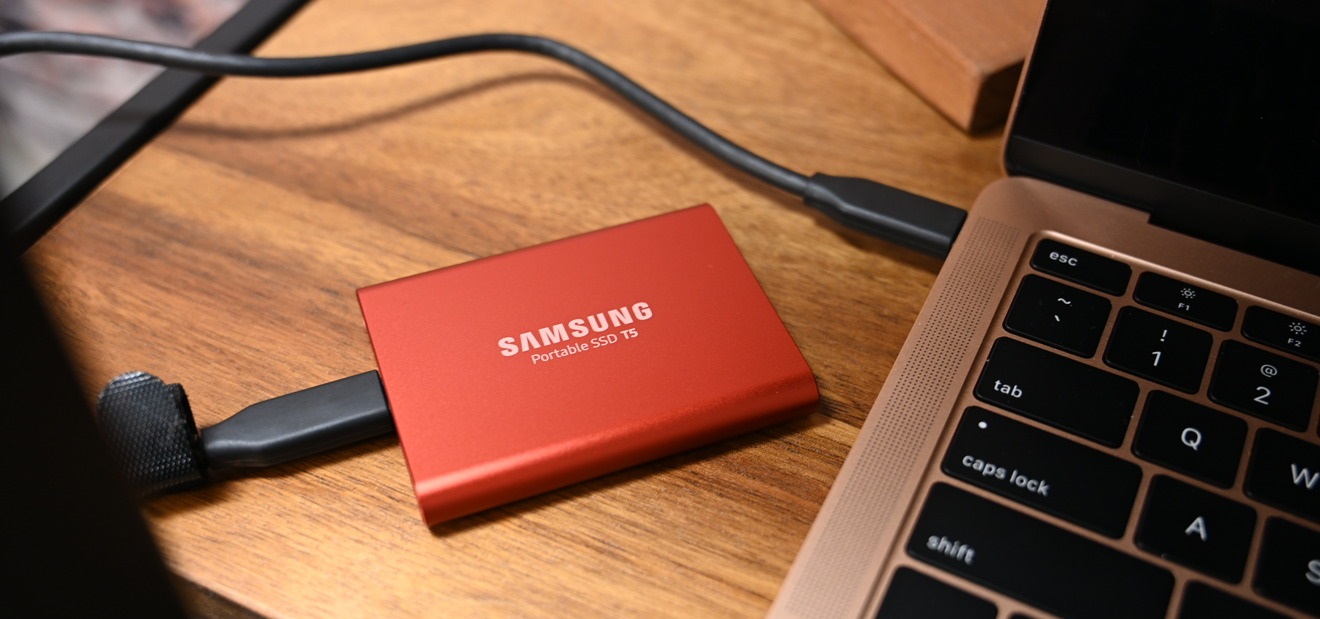
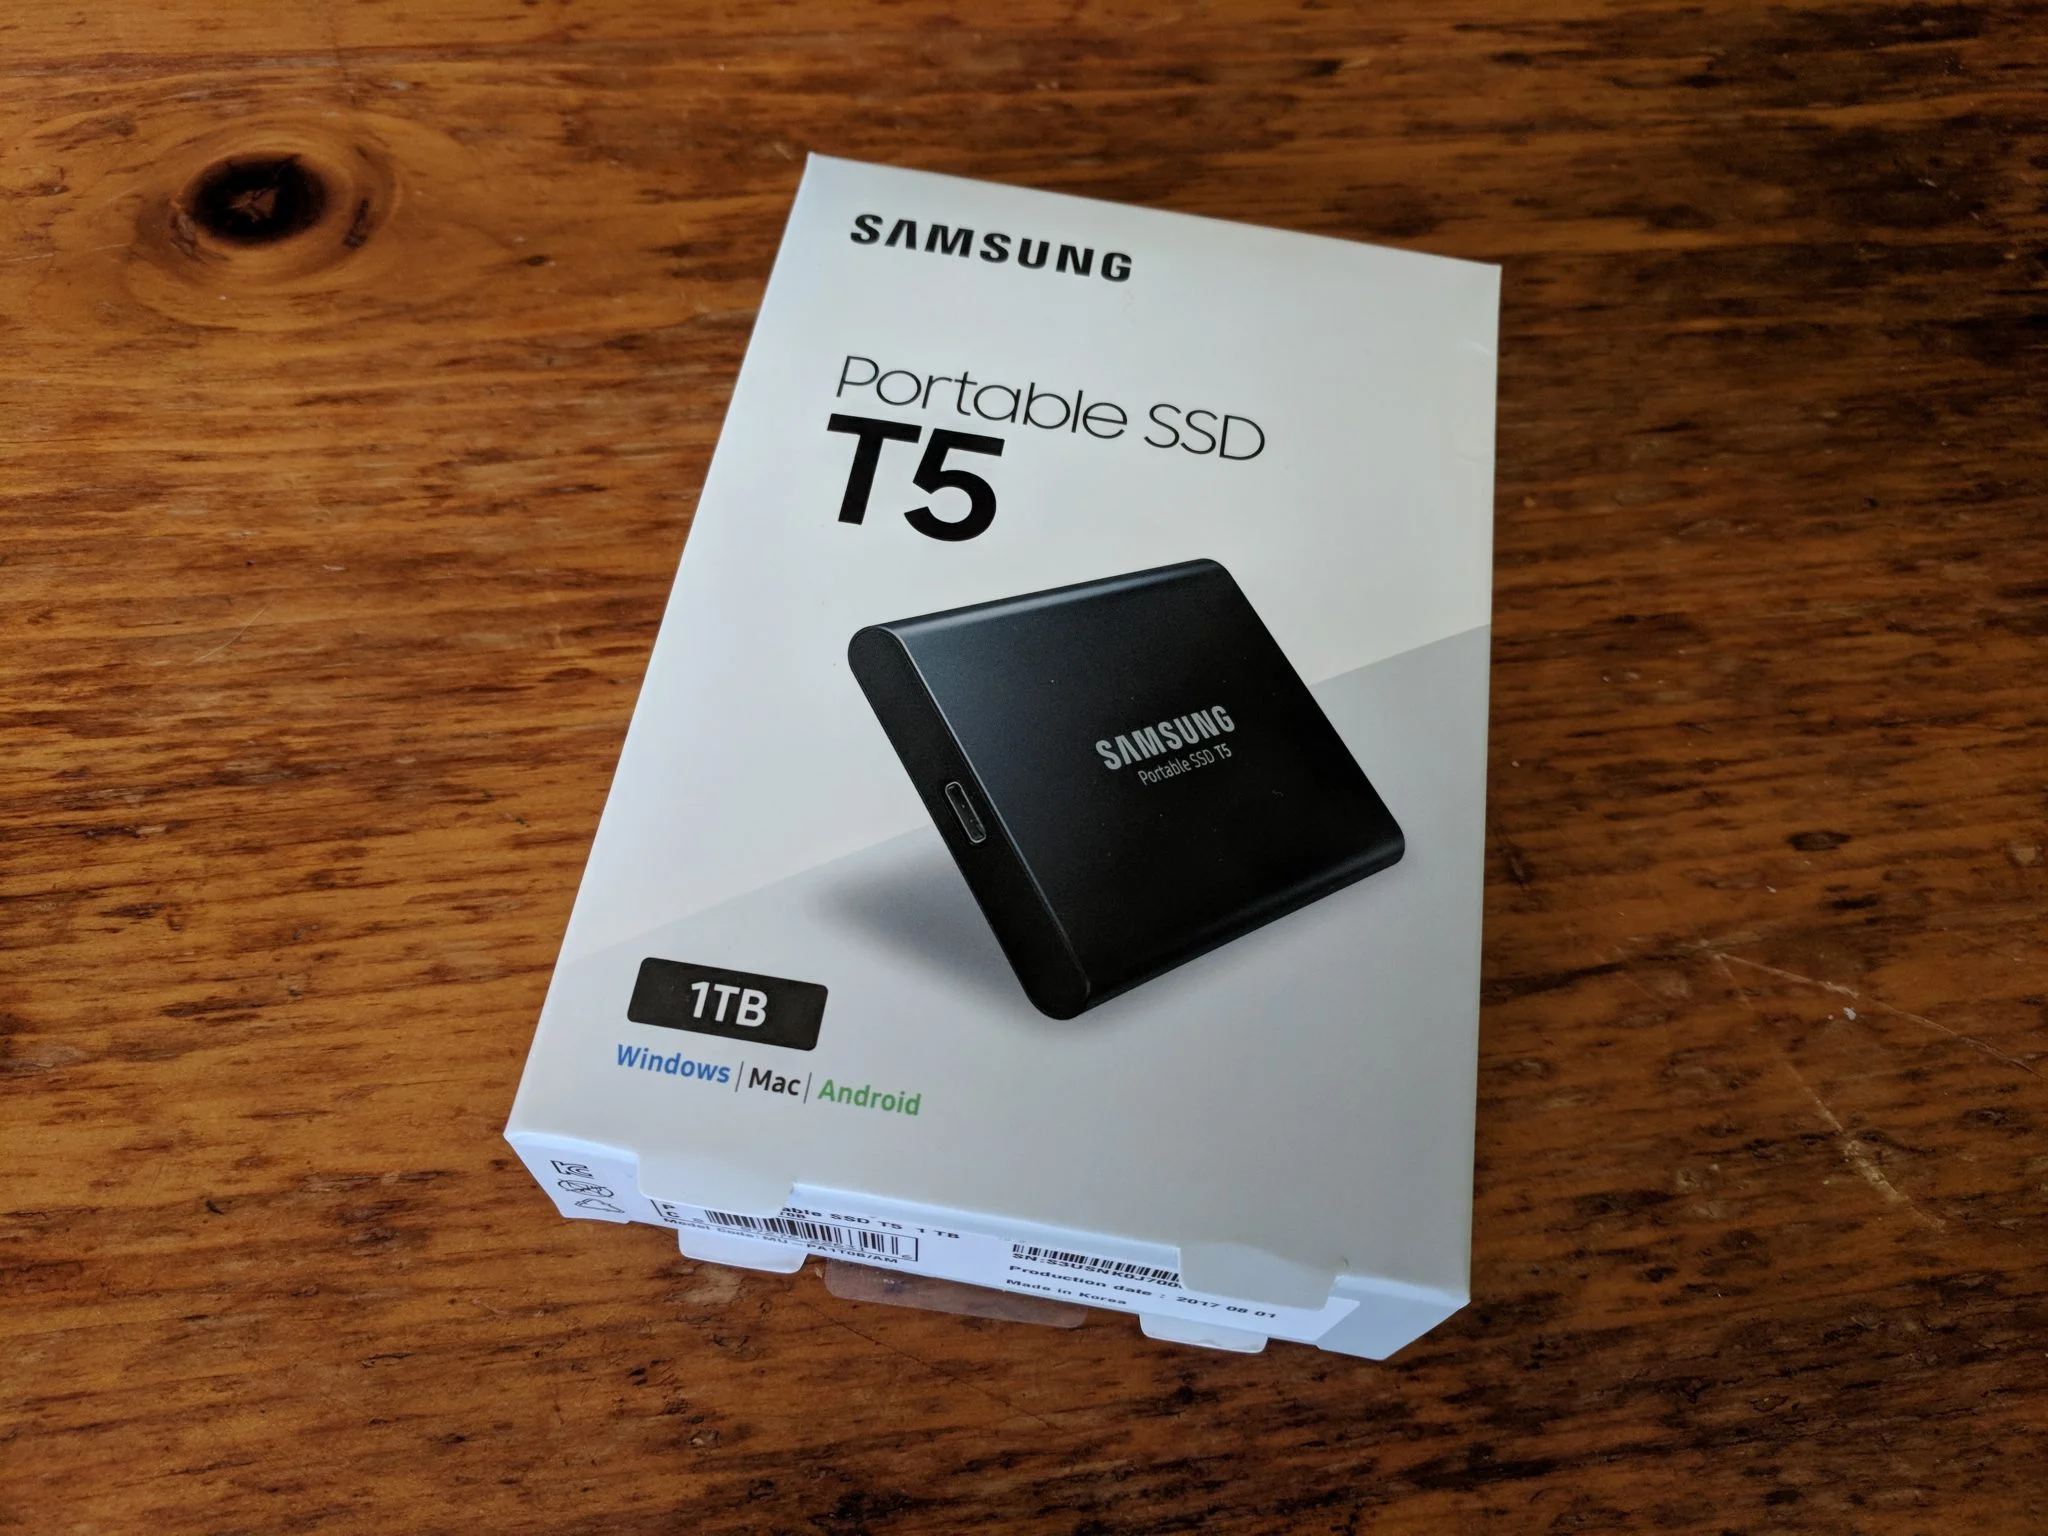
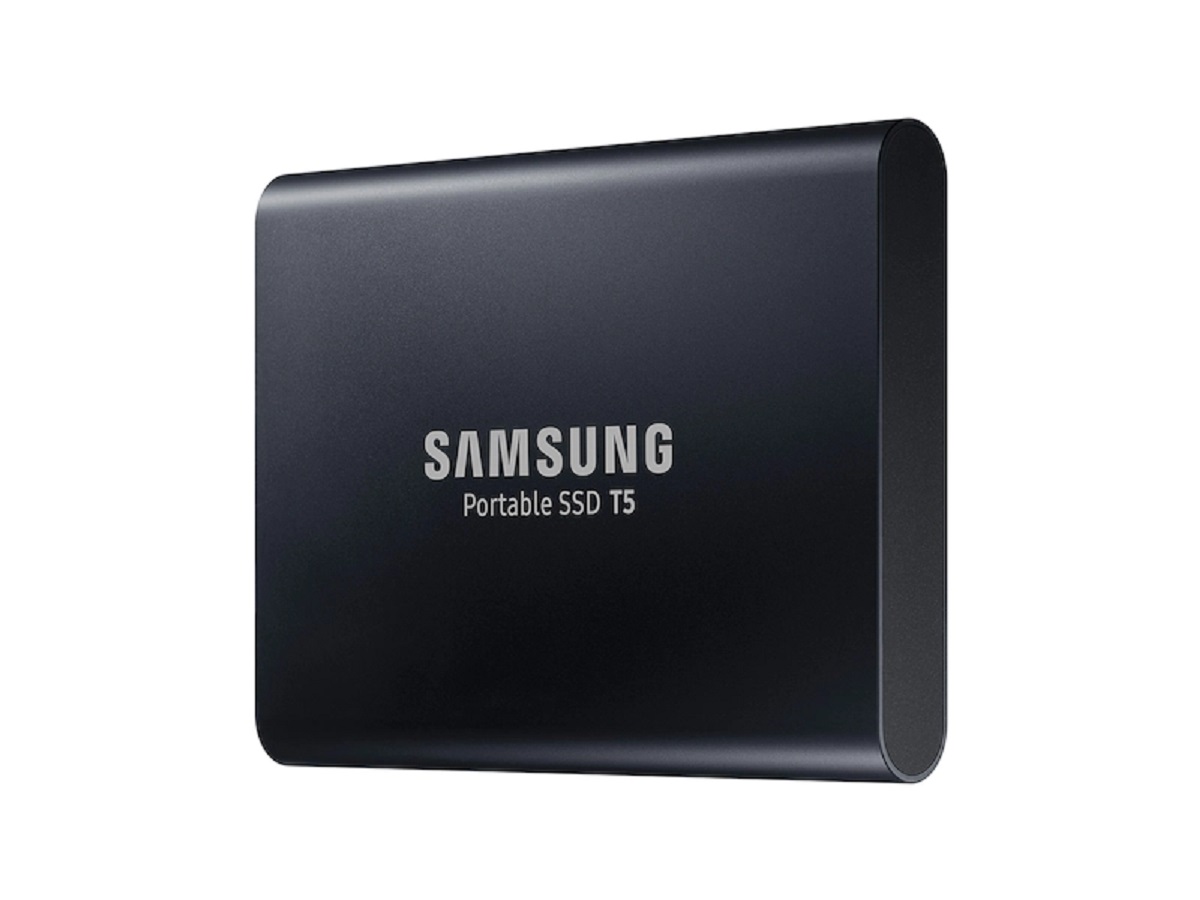
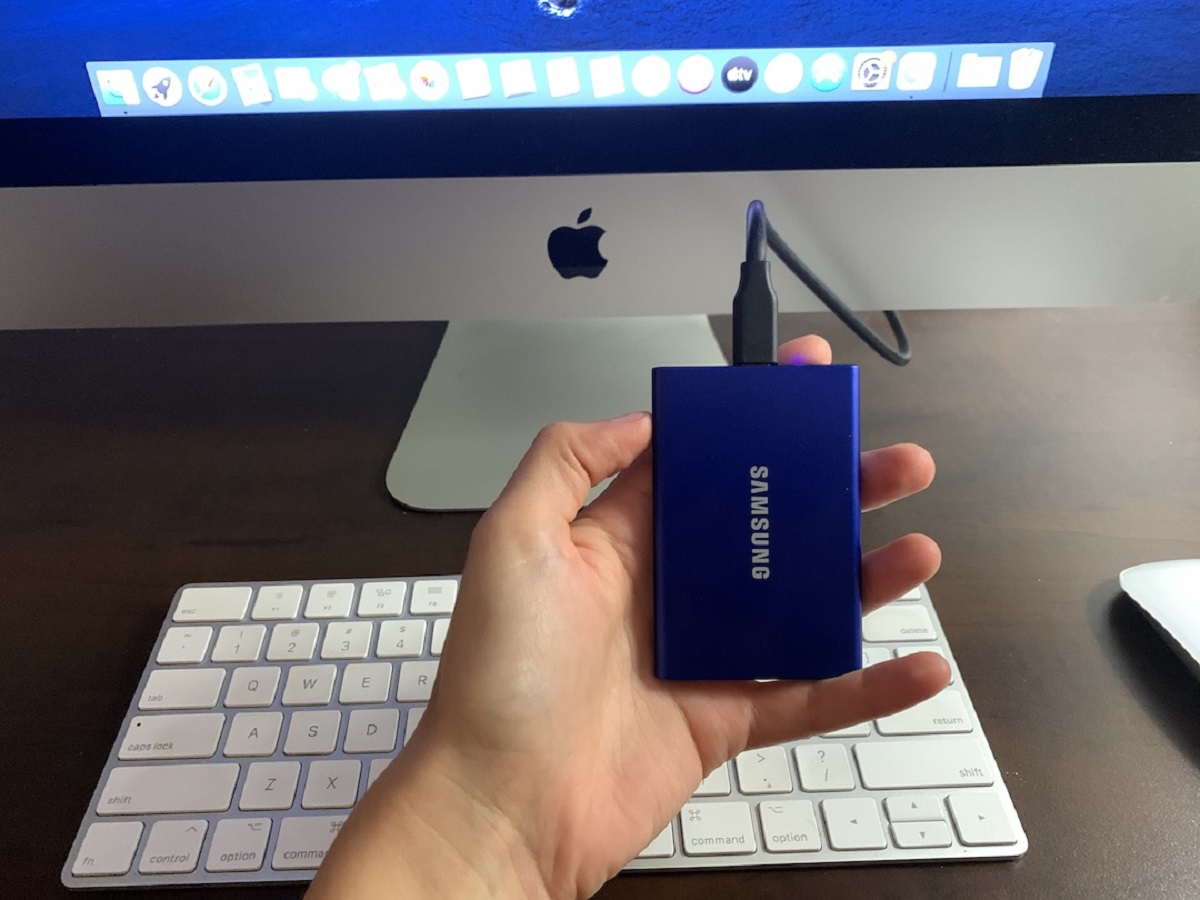
Welcome to this article on how to connect your Samsung T5 Portable SSD to a 2012 iMac! The Samsung T5 Portable SSD is a powerful and convenient storage device that allows you to transfer and store your files with ease. With its fast data transfer speeds and compact design, it is a popular choice for professionals and casual users alike.
However, connecting the T5 Portable SSD to an older iMac model like the 2012 version may require a few additional steps. In this guide, we will walk you through the process, ensuring a seamless connection and efficient file transfer.
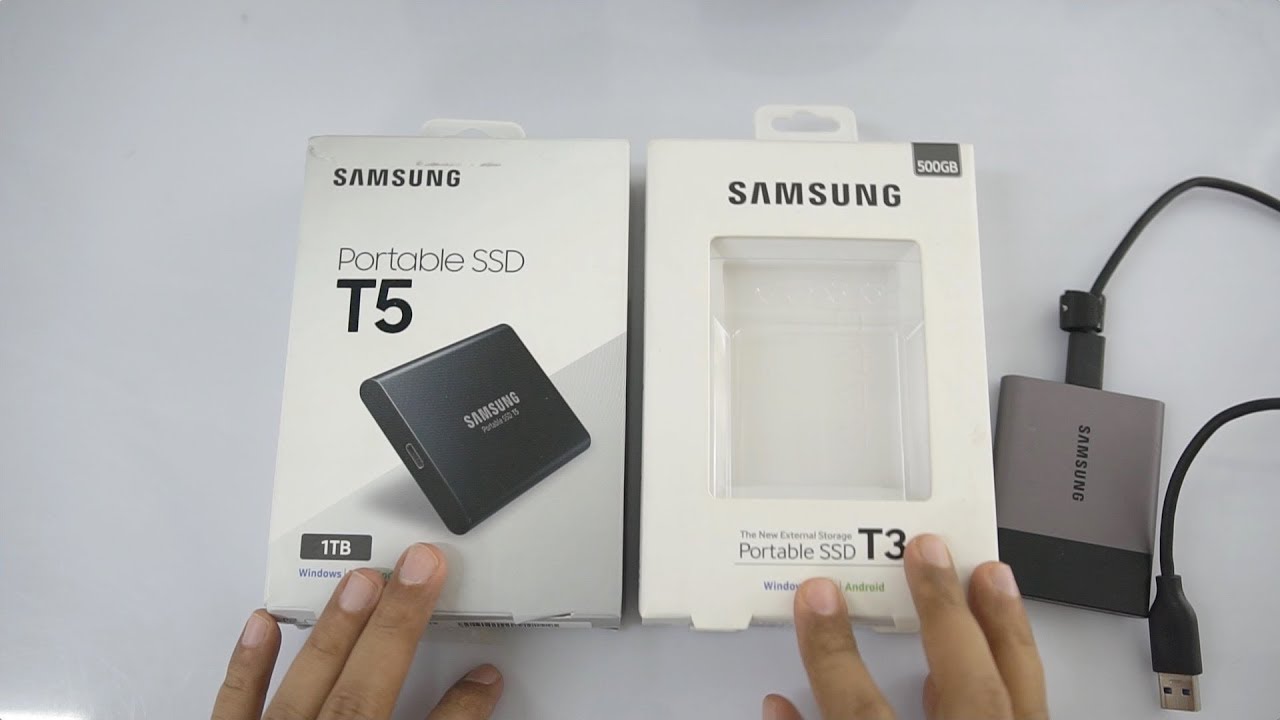
Before we dive into the steps, it is important to mention that this guide assumes you already have a Samsung T5 Portable SSD and a compatible USB-C to USB-A cable. If you do not have these items, make sure to acquire them before proceeding.
Now, let’s get started and learn how to connect your Samsung T5 Portable SSD to your 2012 iMac!
Step 1: Check Compatibility
Before connecting your Samsung T5 Portable SSD to your 2012 iMac, it is crucial to ensure that both the SSD and your iMac are compatible. This step will help you avoid any potential issues or incompatibilities that may arise.
The Samsung T5 Portable SSD uses a USB-C connection, while the 2012 iMac model typically has USB-A ports. Therefore, you will need a USB-C to USB-A adapter or cable to facilitate the connection between the two devices.
To check compatibility:
- Identify the USB ports on your 2012 iMac. They are rectangular in shape and labeled with the USB icon.
- Verify that your iMac has at least one USB-A port available for connecting the SSD.
- If there are no available USB-A ports, you will need a USB-C to USB-A adapter or cable to connect the SSD to your iMac.
It is important to note that the USB-C to USB-A adapter or cable should be of good quality to ensure a stable and reliable connection. Using a low-quality adapter or cable may result in slower data transfer speeds or connection issues.
Once you have confirmed the compatibility of your Samsung T5 Portable SSD and 2012 iMac, you can proceed to the next step: connecting the SSD to your iMac.
Step 2: Connect the SSD to the iMac
Now that you have confirmed the compatibility, it’s time to connect your Samsung T5 Portable SSD to your 2012 iMac. Follow the steps below:
- Locate an available USB-A port on your iMac. These ports are typically located on the back or side of the iMac.
- If you have a USB-C to USB-A adapter, connect the USB-C end of the adapter to your T5 SSD.
- Insert the USB-A end of the adapter or the USB-A to USB-C cable directly into the USB-A port on your 2012 iMac.
- Ensure that the connection between the SSD and the iMac is secure.
Once the SSD is connected to your iMac, you should see a confirmation message or an icon on your iMac’s screen indicating that the device has been recognized. This signifies a successful connection.
If you encounter any issues or the device is not recognized, try the following troubleshooting tips:
- Check that the USB-C to USB-A adapter or cable is properly connected and secure.
- Try connecting the SSD to a different USB-A port on your iMac.
- If possible, test the SSD on another computer to verify if the issue lies with the SSD or the iMac.
- Update the firmware of your Samsung T5 Portable SSD by visiting the official Samsung website and following the instructions provided.
Once you have successfully connected the SSD to your iMac, it’s time to move on to the next step: formatting the SSD.
Step 3: Format the SSD
After successfully connecting your Samsung T5 Portable SSD to your 2012 iMac, the next step is to format the SSD to ensure compatibility with your operating system and optimal performance. Formatting will erase all existing data on the SSD, so it is essential to back up any important files before proceeding.
To format the SSD on your 2012 iMac, follow these steps:
- Go to the “Applications” folder in your Mac’s Finder.
- Open the “Utilities” folder and find the “Disk Utility” application. Click to open it.
- In the left sidebar of the Disk Utility window, locate your connected T5 Portable SSD. It should be listed as an external device.
- Select the T5 Portable SSD and click on the “Erase” button at the top of the Disk Utility window.
- Choose a name for your SSD and select a suitable format option. For optimal compatibility, select “Mac OS Extended (Journaled)”.
- Click on the “Erase” button to begin the formatting process. This may take a few minutes, so be patient.
Once the formatting is complete, your SSD will be ready to use with your 2012 iMac. It is now a blank storage device, and you can proceed to transfer files as needed.
If you encounter any issues during the formatting process, such as the SSD not appearing in the Disk Utility or errors occurring, you may need to seek further assistance. Consider reaching out to Samsung customer support or consulting with a professional technician to resolve the problem.
Now that your SSD is properly formatted, it’s time to move on to the next step: transferring files to the SSD.
Step 4: Transfer Files to the SSD
Now that your Samsung T5 Portable SSD is connected to your 2012 iMac and formatted, it’s time to start transferring your files to the SSD. Follow these steps to ensure a smooth and efficient file transfer:
- Open a new Finder window on your iMac by clicking on the desktop and selecting “New Finder Window” from the menu bar.
- In the sidebar of the Finder window, you should see your T5 Portable SSD listed under “Devices” or “External Drives”. Click on it to open the SSD.
- Locate the files or folders on your iMac that you want to transfer to the SSD.
- Drag and drop the desired files or folders from your iMac onto the SSD window in the Finder.
- Alternatively, you can use the copy-paste method. Right-click on the files or folders you want to transfer, select “Copy”, then navigate to the SSD window and right-click again and choose “Paste”.
- Wait for the transfer to complete. The time taken will depend on the size of the files and the speed of your SSD.
It is advisable to transfer your files in smaller batches rather than transferring all the files at once. This can help prevent any potential errors or interruptions during the transfer process.
Once the transfer is complete, double-check that the files have been successfully copied to the SSD. You can open the SSD window in the Finder and navigate through the folders to ensure that all the files are present.
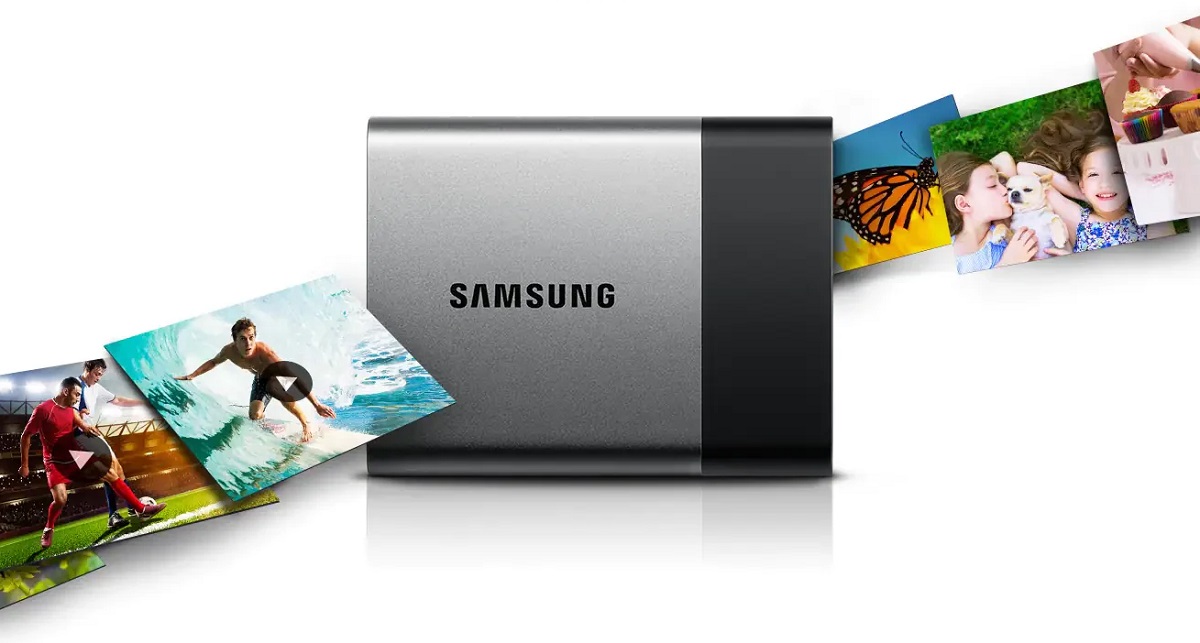
With your files safely transferred to the SSD, you can now enjoy the benefits of portable and fast storage. Whether you’re using the SSD for backup, multimedia storage, or transferring large files between devices, it offers a convenient and efficient solution.
Now that the files are safely transferred to the SSD, the final step is to disconnect it properly from your iMac. Let’s move on to the last step.
Step 5: Safely Disconnect the SSD
After transferring your files to the Samsung T5 Portable SSD, it is essential to safely disconnect the device from your 2012 iMac to avoid any potential data loss or corruption. Follow these steps to ensure a proper and safe disconnection:
- Make sure that all file transfers or operations involving the SSD are complete.
- Close any applications or windows that are accessing the SSD.
- In the Finder, eject the SSD by clicking on the eject icon next to its name in the left sidebar.
- Wait for a few seconds to ensure that the SSD has been safely ejected.
- You can now unplug the USB-C to USB-A adapter or USB-A to USB-C cable from your 2012 iMac.
It is important to note that unplugging the connection between the SSD and your iMac without safely ejecting it may result in data corruption or loss. Always prioritize proper disconnection to ensure the integrity of your files.
Once you have safely disconnected the SSD from your iMac, you can store it in a safe place or take it with you wherever you go. The Samsung T5 Portable SSD’s compact design and durable build make it an excellent companion for your data storage needs.
Congratulations! You have successfully connected, formatted, transferred files, and safely disconnected your Samsung T5 Portable SSD to your 2012 iMac. By following these steps, you can ensure efficient file management and reliable storage performance.
Remember to always handle your SSD with care and keep it protected when not in use. Regularly back up your important files to prevent data loss, and consider creating multiple copies of your data for added security.
Thank you for following this guide, and we hope that it has been helpful to you. If you have any further questions or need additional assistance, feel free to reach out to Samsung customer support or consult the official user manual for your Samsung T5 Portable SSD.
Conclusion
Connecting your Samsung T5 Portable SSD to your 2012 iMac opens up new possibilities for fast and reliable storage. By following the steps outlined in this guide, you can easily establish a connection, format the SSD, transfer files, and safely disconnect the device, ensuring a smooth and efficient workflow.
Remember to always check compatibility between your SSD and iMac, and use a suitable USB-C to USB-A adapter or cable for connection. Formatting the SSD to the appropriate file system ensures optimal performance and compatibility with your iMac.
Transferring files to the Samsung T5 Portable SSD gives you the flexibility to store and access your data conveniently. With high-speed data transfer rates and compact portability, the T5 SSD is an excellent choice for professionals and casual users alike.
Lastly, make sure to safely disconnect the SSD from your iMac by properly ejecting it to prevent data corruption or loss. Keeping your SSD protected and regularly backing up your important files are also crucial practices to maintain the integrity of your data.
We hope this guide has been helpful in assisting you with connecting your Samsung T5 Portable SSD to your 2012 iMac. Should you have any further questions or need additional assistance, don’t hesitate to reach out to Samsung customer support or consult the official user manual for your T5 SSD.
Enjoy the benefits of portable and reliable storage with your Samsung T5 Portable SSD and your 2012 iMac!