Introduction:
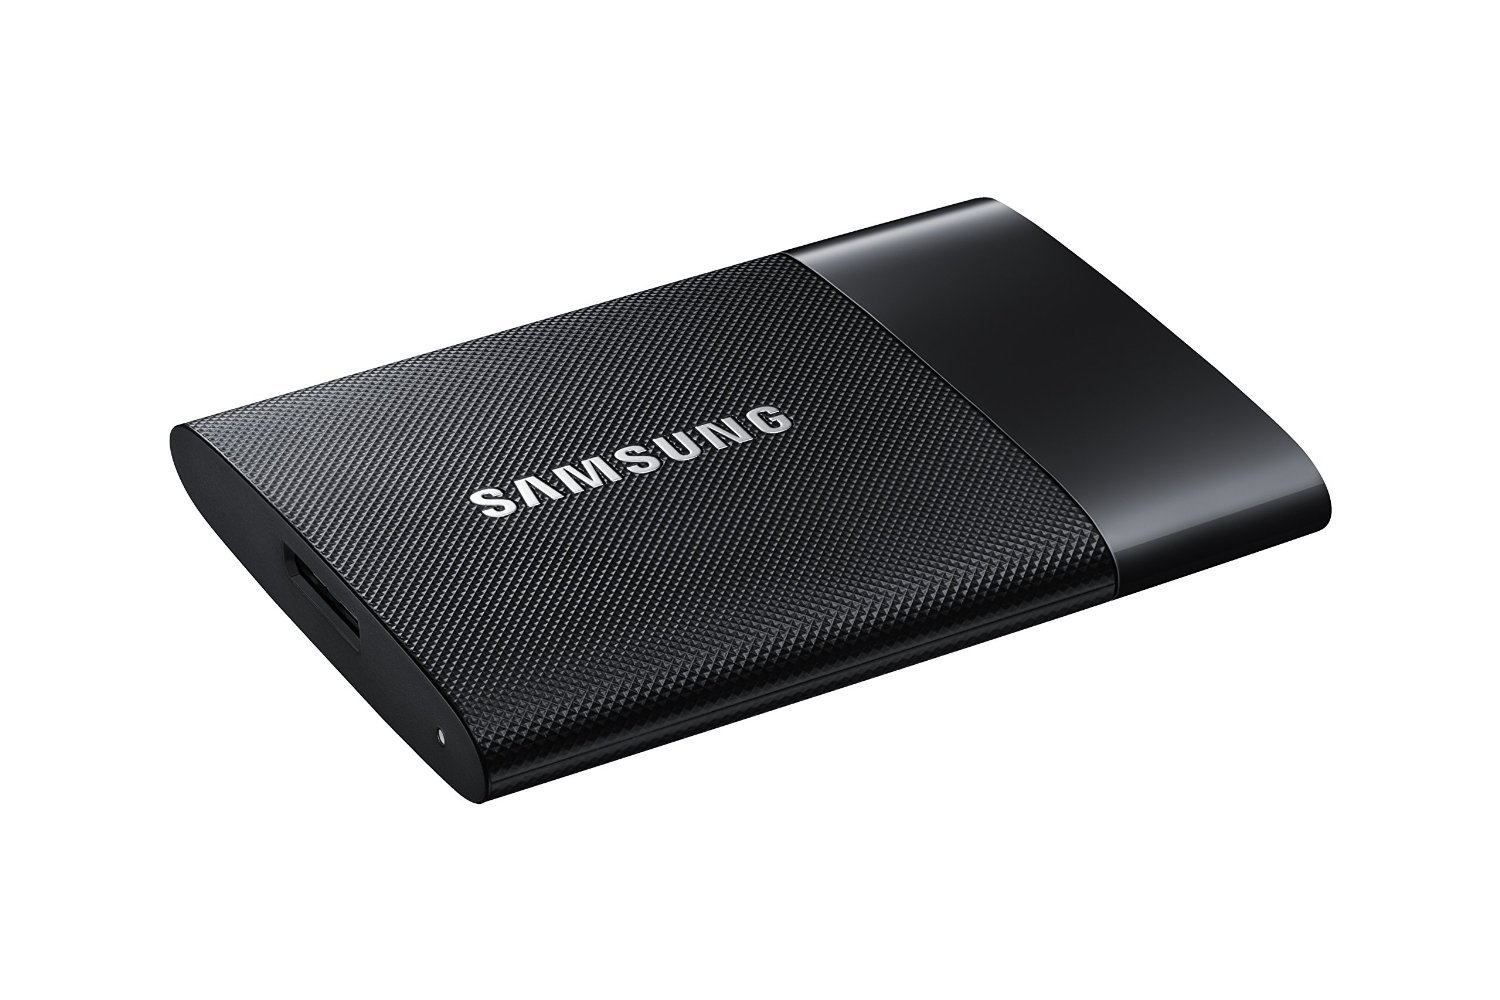
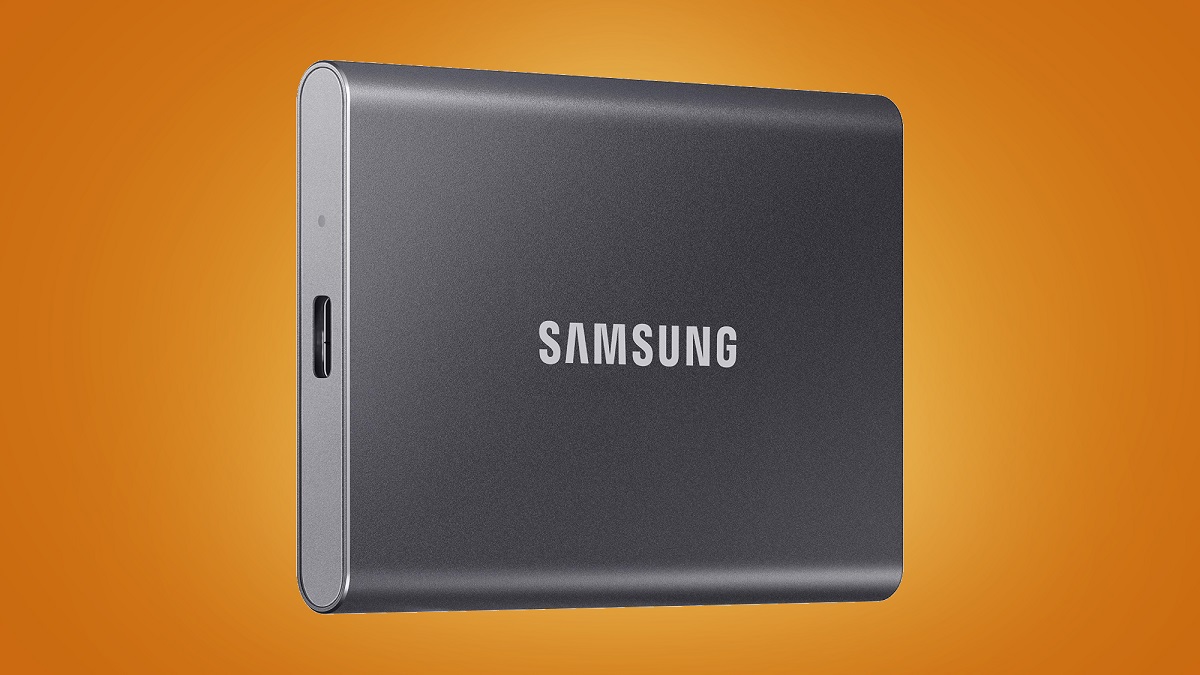
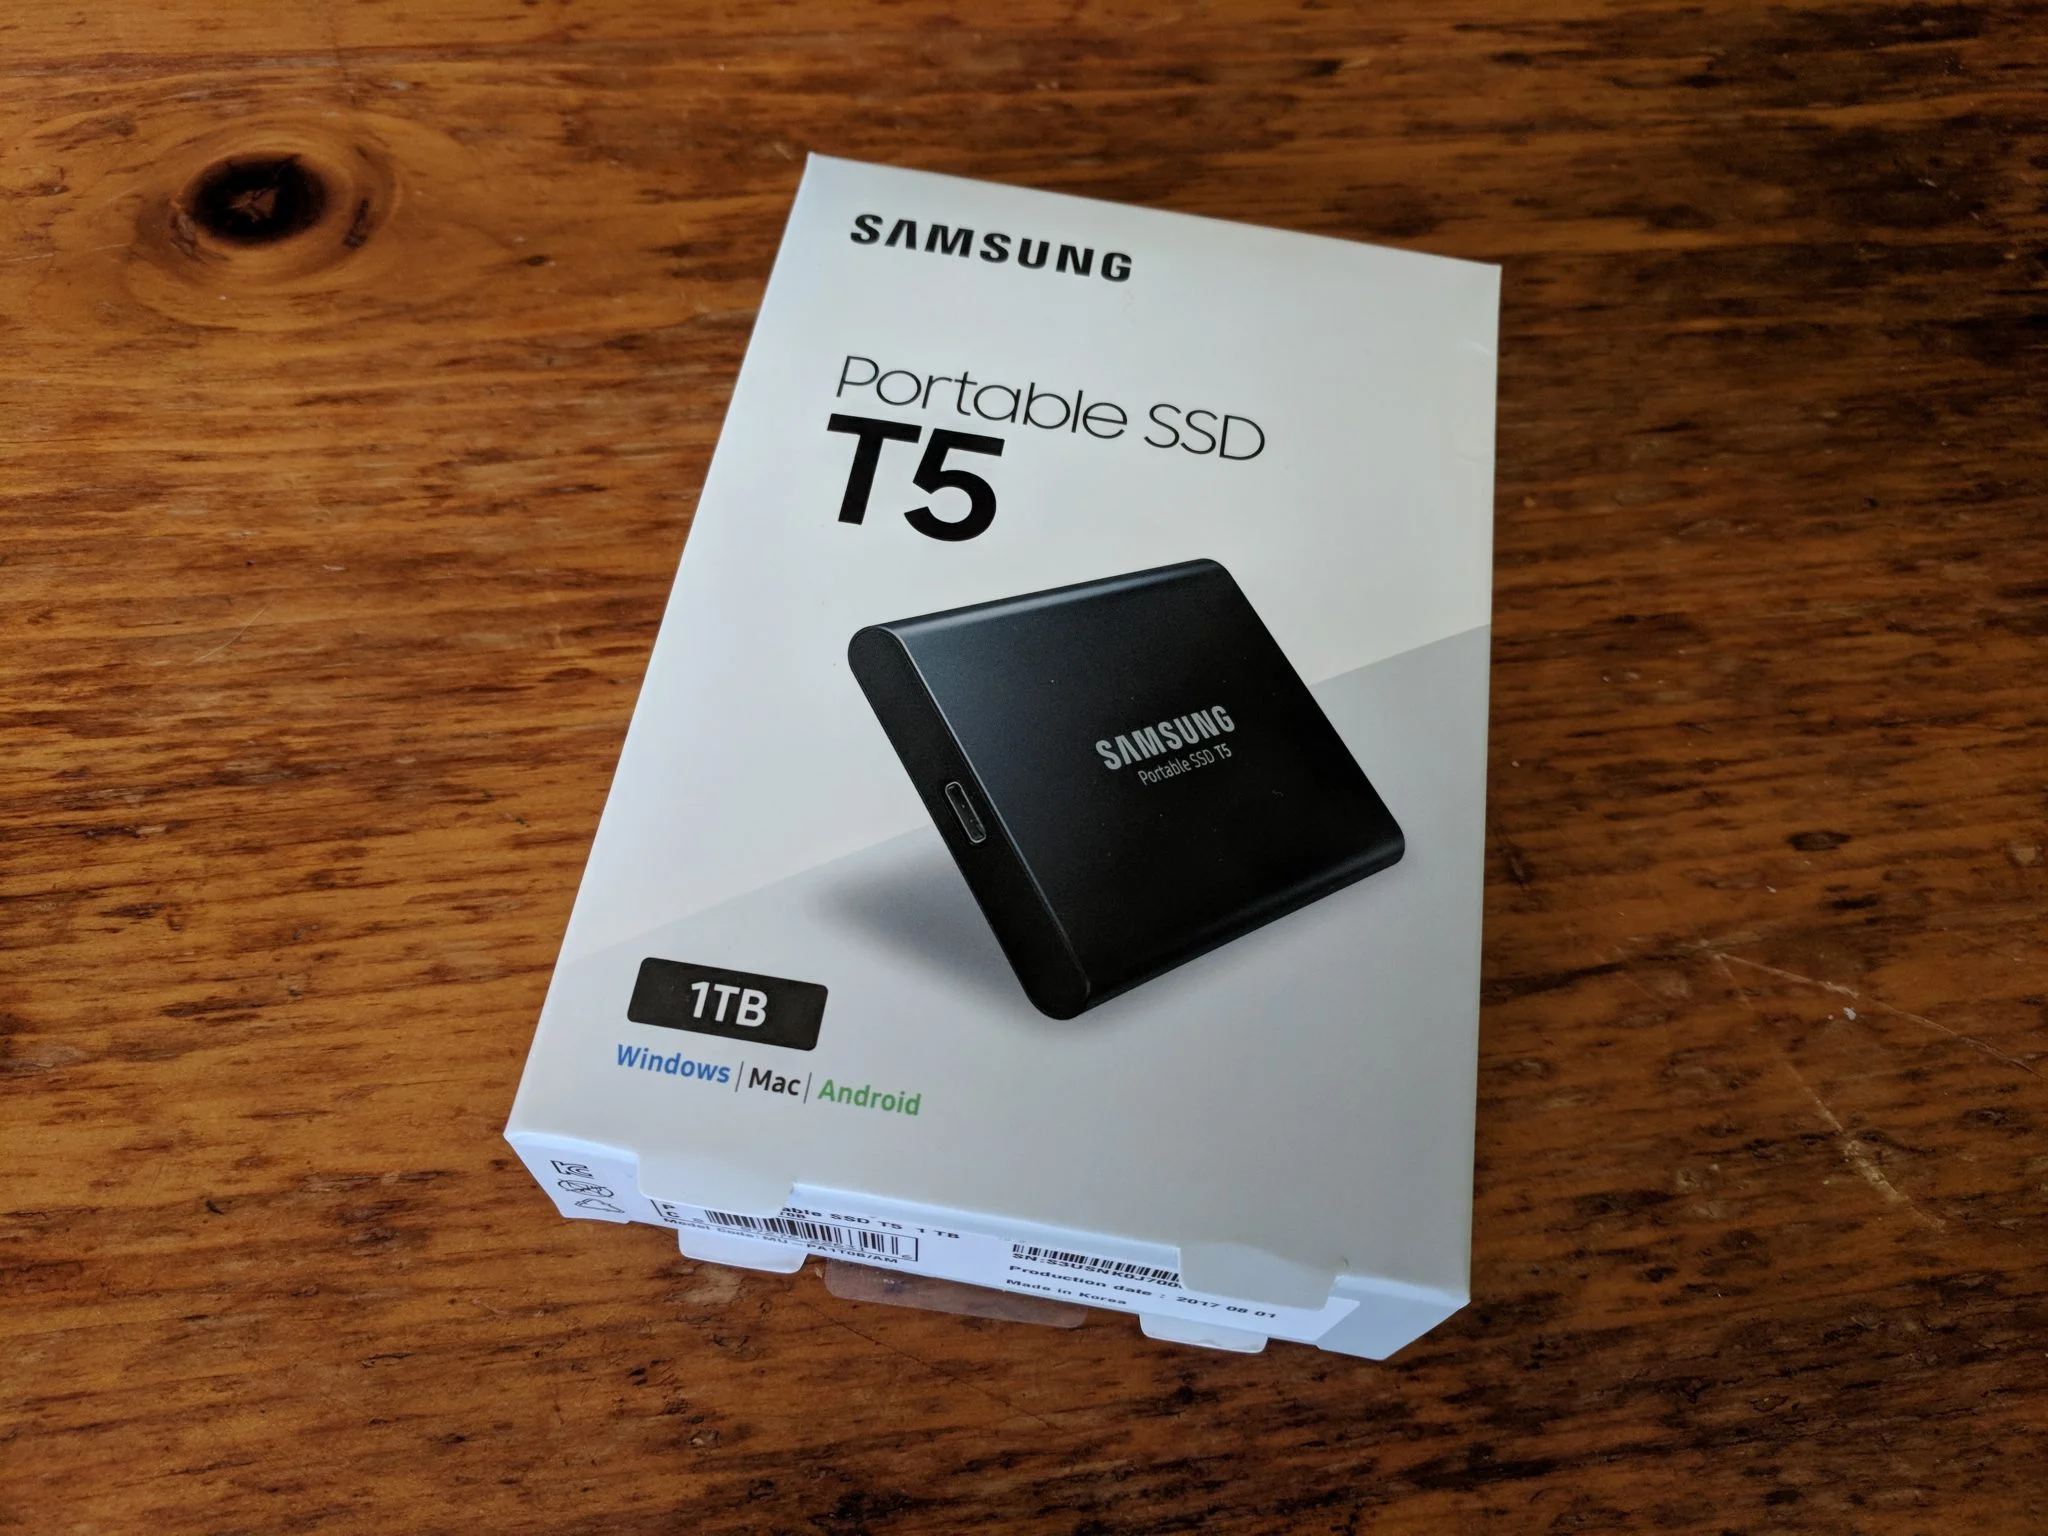
The Samsung Portable SSD T5 1TB is a reliable and compact storage solution that allows you to store and access your data on the go. Whether you are using it for work, travel, or personal use, there may come a time when you need to factory reset it. This could be due to issues with the drive or simply to start fresh with a clean slate. In this article, we will guide you through the process of factory resetting your Samsung Portable SSD T5 1TB, ensuring that all your data is erased and the drive is returned to its original settings.
Before we delve into the step-by-step instructions, it is important to note that factory resetting your Samsung Portable SSD T5 1TB will permanently erase all the data stored on the drive. Therefore, it is crucial to back up any important files and ensure that you have a copy of your data stored elsewhere before proceeding with the reset.
Now, let’s dive into the details of how to factory reset your Samsung Portable SSD T5 1TB. It’s a relatively simple process that can be completed on both Mac and Windows computers.
Before we begin, make sure that the Samsung Portable SSD T5 1TB is disconnected from any other devices. This will ensure that the reset process goes smoothly without any interruptions.
In the next step, we will guide you through the process of backing up your data to ensure that you don’t lose any important files. Keep reading to learn more.
Step 1: Back Up Your Data:
Before you proceed with the factory reset of your Samsung Portable SSD T5 1TB, it is crucial to back up all the data stored on the drive. This will ensure that you don’t lose any important files during the reset process. Here’s how you can back up your data:
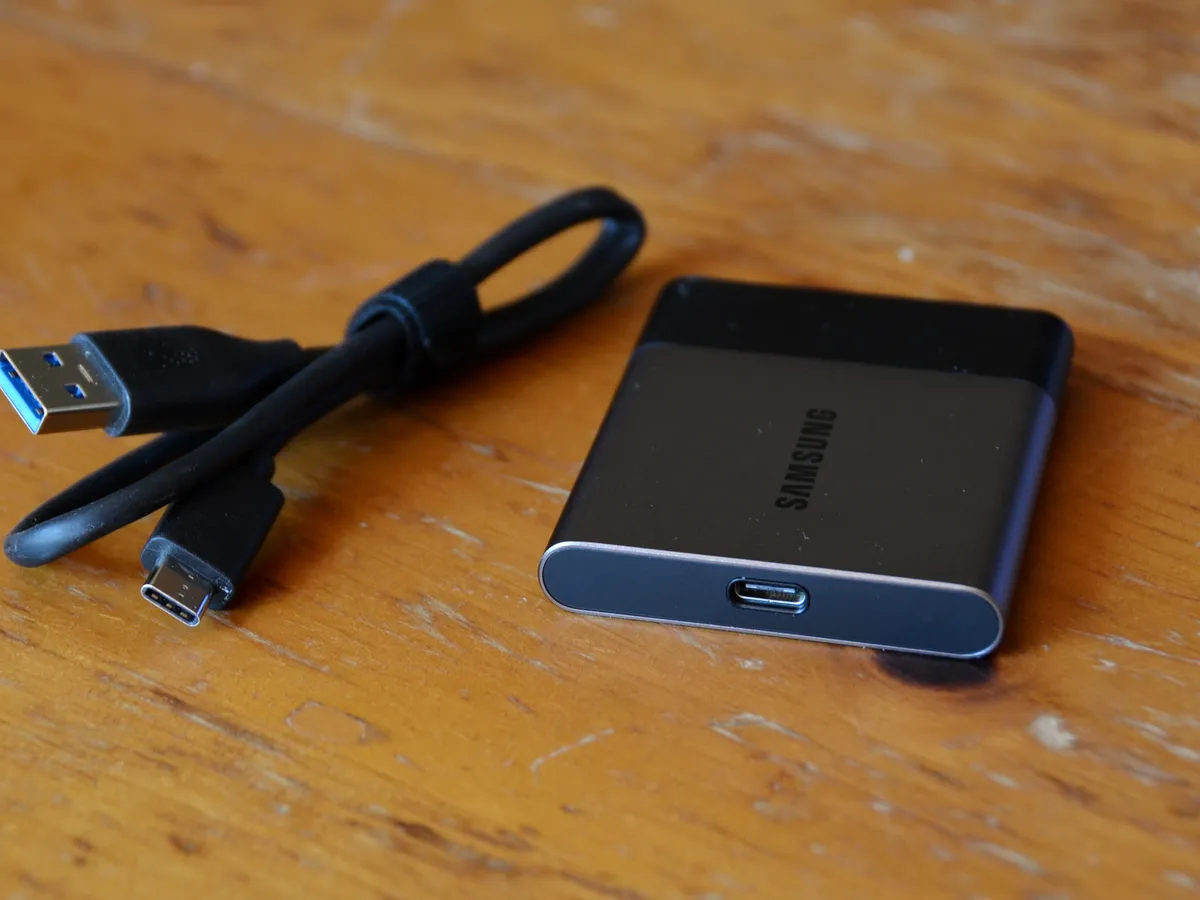
1. Connect your Samsung Portable SSD T5 1TB to your computer using the included USB cable. Ensure that the drive is recognized and accessible on your computer before proceeding.
2. Open your preferred file explorer or file manager on your computer. Navigate to the Samsung Portable SSD T5 1TB drive and locate the files or folders that you want to back up.
3. Select the files or folders you want to back up, right-click, and choose the “Copy” option from the context menu. Alternatively, you can use the keyboard shortcut Ctrl+C (Command+C on Mac) to copy the selected files.
4. Create a new folder on your computer’s local storage or an external drive, and give it a recognizable name, such as “Samsung Portable SSD Backup.”
5. Open the newly created folder, right-click, and choose the “Paste” option from the context menu. Alternatively, you can use the keyboard shortcut Ctrl+V (Command+V on Mac) to paste the copied files into the folder.
6. Wait for the copying process to complete. The time required may vary depending on the size and number of files being copied.
7. Once the files are successfully copied, double-check that they are safely stored in the backup folder. You can open a few randomly selected files to ensure their integrity.
8. Repeat the process for any other files or folders you want to back up from the Samsung Portable SSD T5 1TB.
By following these steps, you have successfully backed up your important data from the Samsung Portable SSD T5 1TB. You can now proceed with the factory reset process without the risk of losing any crucial files. In the next step, we will guide you through the process of connecting your Samsung Portable SSD T5 1TB to your computer, ready for the reset.
Step 2: Connect the Samsung Portable SSD T5 1TB to Your Computer:
In order to proceed with the factory reset of your Samsung Portable SSD T5 1TB, you need to connect it to your computer. Follow these steps to establish the connection:
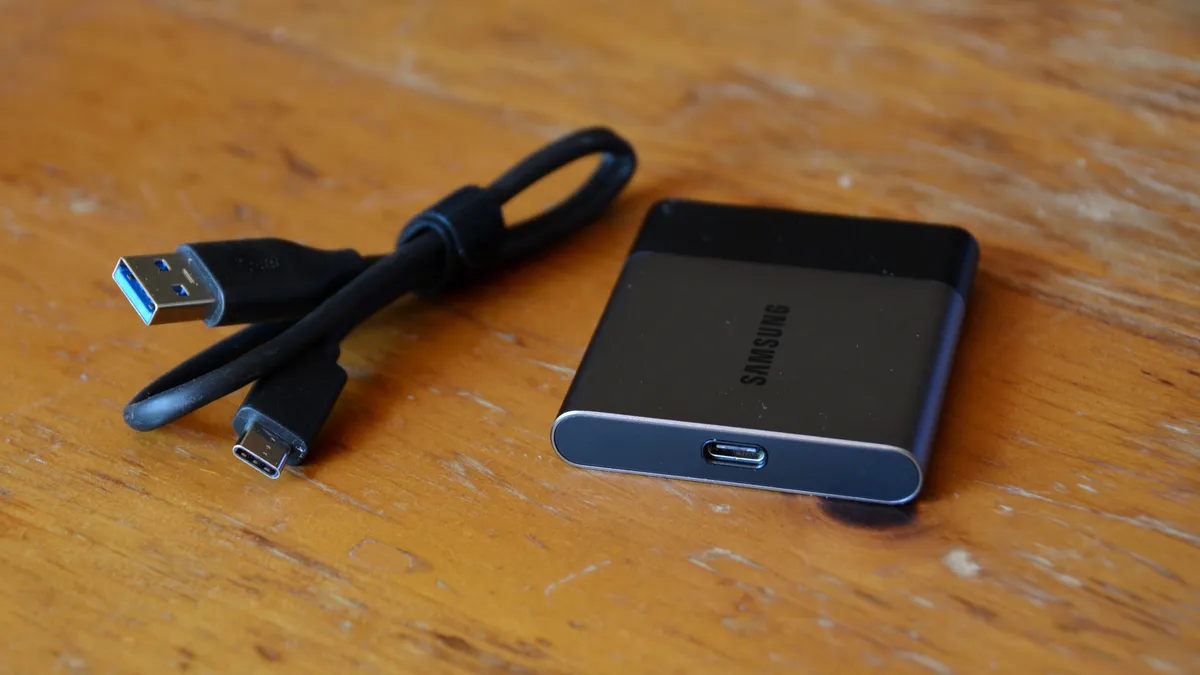
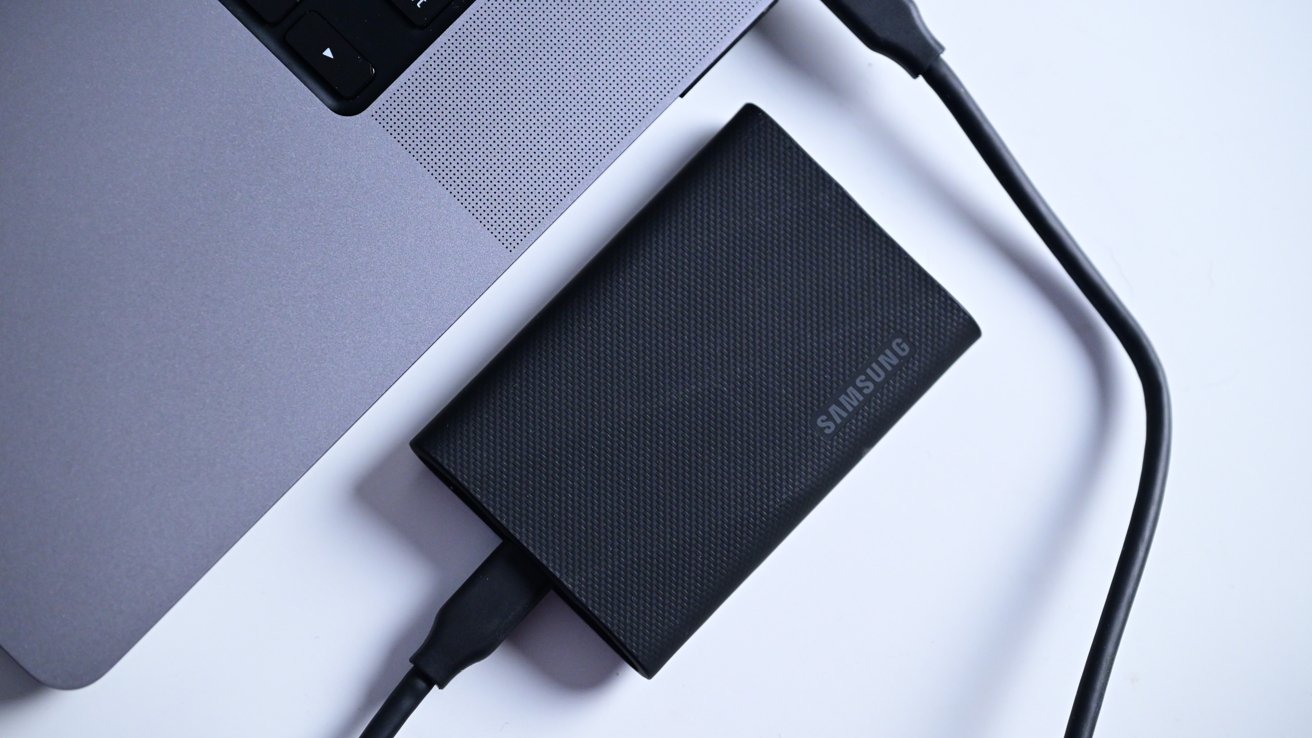
1. Take the USB cable that came with your Samsung Portable SSD T5 1TB and plug one end into the USB Type-C port on the SSD drive.
2. Depending on the type of USB port on your computer, connect the other end of the USB cable into the appropriate USB port. If your computer has a USB Type-C port, use a USB Type-C to Type-C cable. If your computer has a USB Type-A port, use a USB Type-C to Type-A cable or use an adapter to connect the cable.
3. Ensure that the connection is secure by pushing in the USB cable firmly, but gently, on both ends.
4. Once the Samsung Portable SSD T5 1TB is connected to your computer, your operating system should detect it and display a notification or show it in the list of connected drives.
5. If you are using a Mac, you can check if the drive is recognized by opening Finder and looking for the Samsung Portable SSD T5 1TB in the sidebar under “Devices.” If you are using Windows, open File Explorer and check for the drive under “This PC” or “Computer.”
Now that you have successfully connected your Samsung Portable SSD T5 1TB to your computer, you can proceed with the next steps to initiate the factory reset process. In the following step, we will discuss how to open Disk Utility on Mac or Disk Management on Windows to prepare for the reset process.
Step 3: Open Disk Utility (Mac) or Disk Management (Windows):
To prepare for the factory reset of your Samsung Portable SSD T5 1TB, you need to open the appropriate disk management tool on your computer. The process differs depending on whether you are using a Mac or Windows computer. Follow the steps below based on your operating system:
If you are using a Mac:
1. Click on the “Finder” icon in your dock or select “Finder” from the menu bar at the top of your screen.
2. In the Finder menu, click on “Go” and then select “Utilities.” Alternatively, you can press “Shift + Command + U” on your keyboard.
3. In the Utilities folder, locate and open the “Disk Utility” application.
4. Once Disk Utility is open, you will see a list of drives and volumes on the left-hand side. Look for the Samsung Portable SSD T5 1TB in the list. It may be listed as “Samsung Portable SSD” or a similar name.
5. Click on the Samsung Portable SSD T5 1TB to select it and view its details, including the current formatting and available space. Make sure that you have selected the correct drive before proceeding with the next steps.
If you are using Windows:
1. Right-click on the “Start” button located at the bottom left corner of your screen, or press “Windows key + X” on your keyboard.
2. From the context menu, select “Disk Management.” This will open the Disk Management tool.
3. In the Disk Management window, you will see a list of drives and volumes. Look for the Samsung Portable SSD T5 1TB in the list. It may be labeled as “Disk x” or a similar name.
4. Identify the Samsung Portable SSD T5 1TB by its size and ensure that you have selected the correct drive before proceeding with the next steps.
By following these steps, you have successfully opened the respective disk management tool on your computer. In the next step, we will guide you on how to locate the Samsung Portable SSD T5 1TB within the disk management tool.
Step 4: Locate the Samsung Portable SSD T5 1TB:
After opening the disk management tool on your computer, the next step is to locate the Samsung Portable SSD T5 1TB within the application. Follow the instructions below based on your operating system:
If you are using a Mac:
1. In Disk Utility, look for the list of drives and volumes on the left-hand side of the window. Scroll through the list if necessary.
2. Locate the Samsung Portable SSD T5 1TB drive. It may be listed with a name like “Samsung Portable SSD” or something similar. The drive icon should match your Samsung Portable SSD T5 1TB.
3. Take note of the drive’s current formatting if you want to restore it to its original factory settings.
If you are using Windows:
1. In Disk Management, you will see several disks and partitions listed in the main window.
2. Look for the Samsung Portable SSD T5 1TB in the list of disks. It will be labeled as “Disk x” or a similar name.
3. Identify the Samsung Portable SSD T5 1TB by its size. It should match the capacity of your drive (e.g., 1TB).
4. Take note of the current formatting of the drive if you want to restore it to its original factory settings.
Once you have successfully located the Samsung Portable SSD T5 1TB within the disk management tool, you are ready to proceed to the next step. In the following step, we will guide you on how to initialize the drive in preparation for the factory reset.
Step 5: Initialize the Drive:
Before you can proceed with the factory reset of your Samsung Portable SSD T5 1TB, it is necessary to initialize the drive. This process will prepare the drive for the formatting and resetting. Here’s how to initialize the drive:
1. In Disk Utility (for Mac) or Disk Management (for Windows), locate the Samsung Portable SSD T5 1TB that you identified in the previous step.
2. Right-click on the Samsung Portable SSD T5 1TB and select the option to initialize the drive. The specific wording may vary depending on your operating system, but it usually mentions “Initialize,” “Partition,” or “Format.”
3. A dialog box or wizard will appear, prompting you to select the partition style and file system for the drive. Choose the appropriate options based on your needs:
– Partition Style: For Windows, choose either MBR (Master Boot Record) or GPT (GUID Partition Table) depending on your system requirements. For Mac, GPT is the recommended option.
– File System: You can choose between different file systems such as exFAT, NTFS, or APFS. Consider your compatibility needs and the types of devices you plan to use the drive with. If you want to restore the drive to its original factory settings, select the file system that matches the drive’s original format.
4. Follow the on-screen instructions to complete the initialization process. Be aware that initializing the drive will erase all data on it, so double-check that you have backed up any important files before proceeding.
5. Once the initialization process is complete, the Samsung Portable SSD T5 1TB will be ready for formatting and the factory reset. In the next step, we’ll guide you through the process of formatting the drive.
By following these steps, you have successfully initialized the Samsung Portable SSD T5 1TB, preparing it for the factory reset process. Proceed to the next step to format the drive and complete the reset.
Step 6: Format the Drive:
After initializing your Samsung Portable SSD T5 1TB, the next step in the factory reset process is to format the drive. Formatting will erase all data on the drive and prepare it for a clean reset. Follow these instructions to format the drive:
1. In Disk Utility (for Mac) or Disk Management (for Windows), locate the Samsung Portable SSD T5 1TB that you initialized in the previous step.
2. Right-click on the Samsung Portable SSD T5 1TB and select the option to format or format the drive. The wording may differ depending on your operating system, but it usually mentions “Format,” “Erase,” or “Delete Volume.”
3. A dialog box or wizard will appear, prompting you to choose the format settings for the drive. Here are some considerations:
– Volume Label: This is the name you want to assign to the drive. Choose a descriptive label that will help you identify the drive easily.
– File System: Select the file system you wish to use for the drive. Common options include exFAT, NTFS, or APFS. If you want to restore the drive to its original factory settings, select the file system that matches the drive’s original format.
– Allocation Unit Size (Windows only): This setting determines the cluster size for the drive. You can usually leave it as the default setting, which is recommended for most users.
4. Review the format settings and make sure they are correct. Formatting the drive will permanently erase all data on it, so double-check that you have backed up any important files before proceeding. Once you are ready, click on the “Format” or “Erase” button to start the formatting process.
5. Wait for the formatting process to complete. The time required may vary depending on the size of the drive and the selected format settings.
6. Once the formatting is finished, you will receive a confirmation message indicating that the drive has been successfully formatted.
Congratulations! You have successfully formatted your Samsung Portable SSD T5 1TB. This step prepares the drive for the factory reset process. In the next step, we will guide you on how to confirm the factory reset to ensure that the drive is returned to its original settings.
Step 7: Confirm the Factory Reset:
After formatting your Samsung Portable SSD T5 1TB, it’s important to confirm the factory reset to ensure that the drive is returned to its original settings. Follow these instructions to confirm the factory reset:
1. In Disk Utility (for Mac) or Disk Management (for Windows), locate the Samsung Portable SSD T5 1TB that you formatted in the previous step.
2. Right-click on the Samsung Portable SSD T5 1TB and select the option to delete or remove the volume. The specific wording may vary depending on your operating system, but it usually mentions “Delete,” “Remove,” or “Delete Volume.”
3. A confirmation dialog or warning message will appear, notifying you that deleting the volume will permanently remove all data on the drive. Make sure you have backed up any important files before proceeding.
4. Read the confirmation message carefully to ensure that you are deleting the correct volume. Click on the “OK” or “Delete” button to confirm the factory reset.
5. Wait for the deletion process to complete. The drive will be returned to its original state, with no partitions or volumes remaining.
6. Once the factory reset is completed, you will receive a confirmation message indicating that the drive has been successfully reset.
By following these steps, you have confirmed the factory reset of your Samsung Portable SSD T5 1TB. The drive is now wiped clean and returned to its original settings. In the next step, we will guide you on disconnecting and reconnecting the Samsung Portable SSD T5 1TB to your computer.
Step 8: Disconnect and Reconnect the Samsung Portable SSD T5 1TB:
After confirming the factory reset of your Samsung Portable SSD T5 1TB, it’s time to disconnect and reconnect the drive to your computer. This step ensures that the reset is properly recognized and the drive is ready for use. Follow these instructions to disconnect and reconnect your Samsung Portable SSD T5 1TB:
1. If you are currently using any applications or files stored on the Samsung Portable SSD T5 1TB, make sure to save and close them before proceeding. This will prevent any data loss or conflicts during the disconnection process.
2. Safely eject the Samsung Portable SSD T5 1TB from your computer by right-clicking on the drive in your file explorer or disk management tool. Select the option to eject or safely remove the drive. This ensures that any pending write operations are completed and prevents data corruption.
3. Once you have safely ejected the drive, gently unplug the USB cable from both the Samsung Portable SSD T5 1TB and your computer. Avoid applying excessive force or pulling on the cable at an angle to prevent damage to the connectors.
4. After disconnecting the drive, take a moment to inspect the USB cable for any damage or fraying. If you notice any issues, consider using a different USB cable to reconnect the drive to your computer.
5. Plug the USB cable back into the Samsung Portable SSD T5 1TB, ensuring a secure and snug connection. Then, connect the other end of the cable to an available USB port on your computer. Make sure to use the appropriate USB port type (Type-C or Type-A) based on the cable and your computer’s USB ports.
6. Once the drive is reconnected, your operating system should detect and recognize the Samsung Portable SSD T5 1TB. You should see a notification or see the drive listed in your file explorer or disk management tool.
By following these steps, you have successfully disconnected and reconnected the Samsung Portable SSD T5 1TB to your computer. In the next step, we will guide you on how to verify the factory reset to ensure that the drive has been successfully reset.
Step 9: Verify the Factory Reset:
After reconnecting your Samsung Portable SSD T5 1TB to your computer, it’s important to verify that the factory reset was successful. This step ensures that the drive is ready for use and has been returned to its original settings. Follow these instructions to verify the factory reset:
1. Open your file explorer or disk management tool on your computer.
2. Locate the Samsung Portable SSD T5 1TB in the list of drives or volumes. It should be displayed with its new default name (e.g., “Samsung Portable SSD” or a similar name).
3. Check the drive’s properties or details to ensure that it is recognized as a freshly formatted and reset drive. The available space on the drive should reflect the full capacity of the Samsung Portable SSD T5 1TB.
4. If you have any files or folders saved on the drive before the factory reset, they should no longer be present. The drive should appear empty, indicating that all data has been successfully erased.
5. Optionally, you can perform a quick test by copying a small file to the drive and then removing it. This will help verify that the drive is functioning properly and can store and retrieve data as expected.
By following these steps and verifying the factory reset, you can be confident that your Samsung Portable SSD T5 1TB has been successfully reset to its original settings. You can now use the drive with a fresh start, whether it’s for storing new data or configuring it for a different purpose.
Congratulations! You have completed the process of factory resetting your Samsung Portable SSD T5 1TB. Remember to keep your data backed up regularly and follow best practices to ensure the safety and integrity of your files.
If you encounter any issues or have further questions, refer to the official user manual or seek assistance from Samsung support. Enjoy using your refreshed and reset Samsung Portable SSD T5 1TB!
Conclusion:
Congratulations on successfully factory resetting your Samsung Portable SSD T5 1TB! In this article, we have provided you with a step-by-step guide to ensure that your drive is wiped clean and returned to its original settings. By following the outlined instructions, you were able to back up your data, connect the drive to your computer, open the required disk management tools, initialize the drive, format it, confirm the factory reset, and finally, verify the reset.
Remember, factory resetting your Samsung Portable SSD T5 1TB permanently erases all data stored on the drive. Therefore, it is crucial to back up any important files before proceeding with the reset process. Additionally, double-check that you have disconnected and reconnected the drive securely, ensuring a proper connection.
By successfully completing the factory reset, you can now use your Samsung Portable SSD T5 1TB with a clean slate. Whether you plan to use it for work, travel, or personal use, the reset drive is ready to accommodate your storage needs.
If you encounter any issues or require further assistance, consult the official user manual provided by Samsung or reach out to their support team for professional guidance.
Remember to regularly back up your data, maintain good storage practices, and keep your device firmware updated to ensure the optimal performance and longevity of your Samsung Portable SSD T5 1TB.
We hope this guide has been helpful to you, and we appreciate your patience throughout the process. Now, enjoy using your freshly reset Samsung Portable SSD T5 1TB and make the most out of its reliable and portable storage capabilities!