Introduction
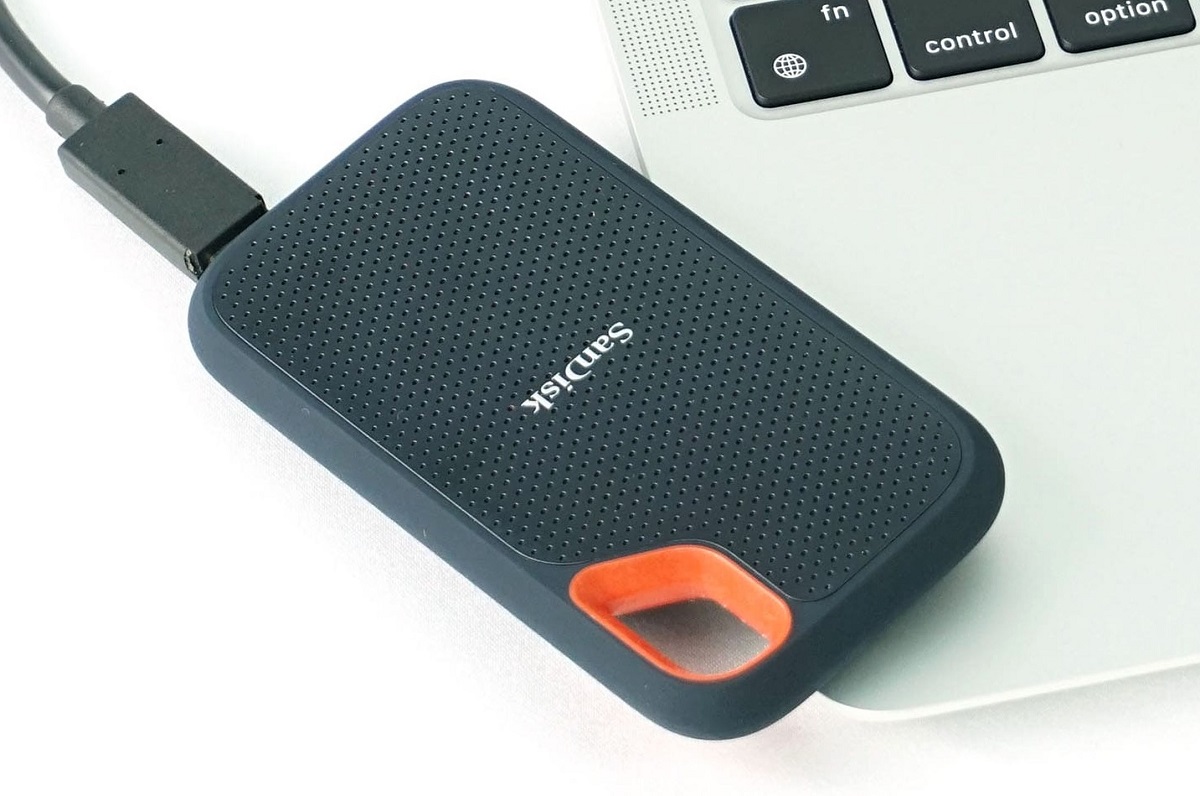
Welcome to the comprehensive guide on how to set up the SanDisk Extreme Portable SSD on your Mac. The SanDisk Extreme Portable SSD is a high-performance, reliable, and compact external storage solution that allows you to conveniently store and access your files on the go. Whether you need to free up space on your Mac or want to secure your valuable data, this guide will walk you through the process step by step.
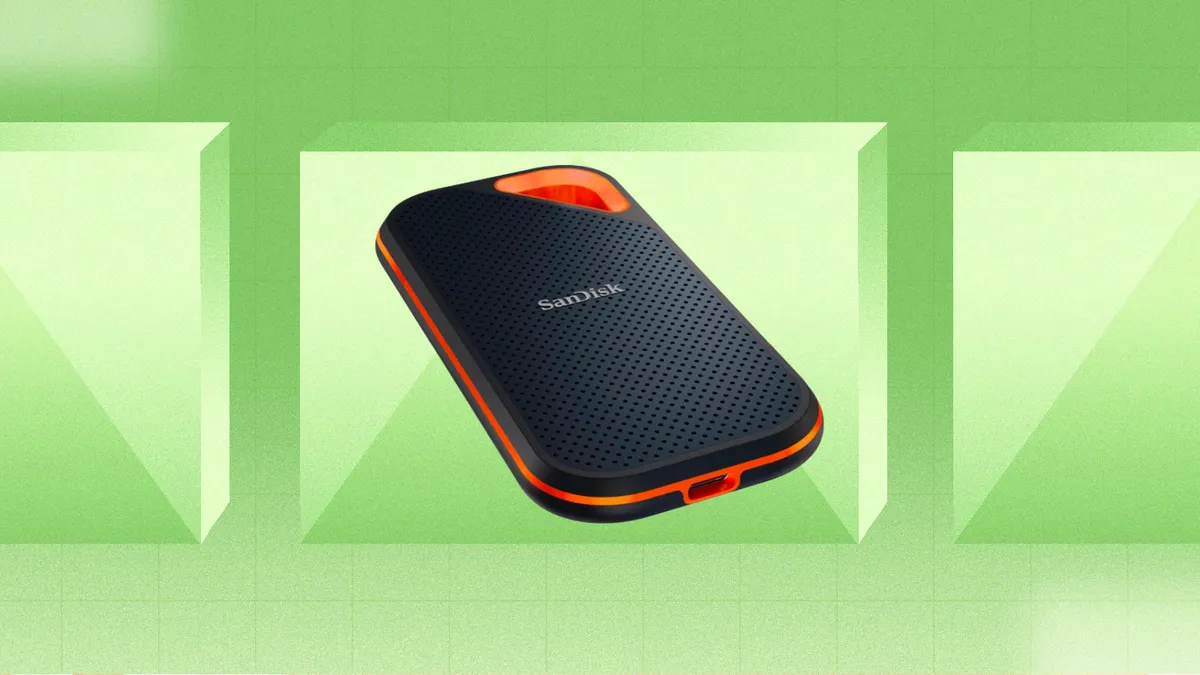
With its exceptional speed and robust design, the SanDisk Extreme Portable SSD is an excellent choice for Mac users who require fast and reliable storage for their files. It offers blazing-fast data transfer speeds, ensuring rapid access to your photos, videos, documents, and other important files. Additionally, its durable construction and lightweight design make it perfect for travel or daily commuting.
Setting up the SanDisk Extreme Portable SSD on your Mac is a straightforward process that requires a few simple steps. In this guide, we will cover everything from connecting the SSD to your Mac to formatting the drive and transferring your files. We will also explore advanced features such as data encryption and secure file management.
Whether you’re a professional photographer, a videographer, or simply a Mac user in need of extra storage space, this guide will serve as your go-to resource for setting up and getting the most out of your SanDisk Extreme Portable SSD. So, without further ado, let’s dive into the step-by-step process and unleash the power of this versatile external storage solution on your Mac.
Step 1: Connecting the SanDisk Extreme Portable SSD to your Mac
Before you can start using the SanDisk Extreme Portable SSD on your Mac, you need to connect it properly. Follow the steps below to ensure a seamless connection:
- First, locate the USB-C or USB-A cable that came with your SanDisk Extreme Portable SSD. The type of cable you have will depend on the model you own and the ports available on your Mac.
- If your Mac has a USB-C port, connect one end of the USB-C cable to the SanDisk Extreme Portable SSD. Then, connect the other end to the USB-C port on your Mac.
- If your Mac has a USB-A port, use the USB-A to USB-C adapter that came with the SSD. Connect the USB-A end of the adapter to the USB-A cable, and then connect the USB-C end of the adapter to the SanDisk Extreme Portable SSD. Finally, connect the USB-A end of the cable to the USB-A port on your Mac.
- Once the SSD is connected, you should see a notification on your Mac indicating that a new drive is detected.
- You can now open Finder on your Mac and access the SanDisk Extreme Portable SSD. It should appear in the sidebar under the “Devices” section. Click on it to open the drive and view its contents.
It’s important to note that if you’re using the SanDisk Extreme Portable SSD for the first time, your Mac may prompt you to initialize and format the drive. Follow the on-screen instructions to complete the formatting process.
Once you’ve connected the SanDisk Extreme Portable SSD to your Mac and it’s recognized by your system, you’re ready to move on to the next step: formatting the drive. This will ensure compatibility and optimize performance for your Mac.
Step 2: Formatting the SanDisk Extreme Portable SSD
After connecting your SanDisk Extreme Portable SSD to your Mac, the next step is to format the drive. Formatting the SSD ensures compatibility with your Mac and eliminates any existing data on the drive. Follow the instructions below to format your SanDisk Extreme Portable SSD:
- Open Finder on your Mac, and from the sidebar, select the SanDisk Extreme Portable SSD under the “Devices” section.
- Go to the “File” menu and choose “Get Info” (or you can simply press Command + I).
- In the “Get Info” window, make sure you select the “General” tab. Here you will see the current file system format of your SSD.
- Click on the “Erase” button, located at the top of the “Get Info” window. A new dialog box will appear.
- In the dialog box, you can choose a name for your SSD and select the desired format. For maximum compatibility, choose “Mac OS Extended (Journaled)” as the format. This format is suitable for most Mac users.
- Before proceeding, be aware that formatting will erase all data on the SSD. If you have any important files on the drive, make sure to back them up before formatting.
- Once you have selected the format, click on the “Erase” button to start the formatting process.
- Wait for the formatting process to complete. The time it takes will depend on the size of the SSD.
- Once the formatting is finished, your SanDisk Extreme Portable SSD is ready to use with your Mac. You can now transfer your files, create folders, and manage the content on the drive as needed.
It’s worth noting that if you plan to use the SanDisk Extreme Portable SSD across different operating systems, you may want to consider formatting it to exFAT. This format is compatible with both macOS and Windows, allowing you to easily share files between different systems.
With your SanDisk Extreme Portable SSD formatted and ready to go, you’re now ready to move on to the next step: transferring and managing your files on the drive.
Step 3: Transferring and managing your files on the SanDisk Extreme Portable SSD
Now that you have formatted your SanDisk Extreme Portable SSD, it’s time to start transferring and managing your files on the drive. Whether you want to back up important documents, store photos and videos, or keep your music collection organized, the SanDisk Extreme Portable SSD offers ample space and efficient file management options. Follow the steps below to transfer and manage your files effectively:
- Open Finder on your Mac and locate the SanDisk Extreme Portable SSD under the “Devices” section in the sidebar.
- Double-click on the SSD to open it and reveal the available storage space.
- To transfer files to the SSD, simply drag and drop them from your Mac’s internal storage or any other location on your computer into the SSD’s folder.
- If you have a large number of files or want to transfer an entire folder, you can select them and use the cut (Command + X) and paste (Command + V) commands to move them to the SSD.
- If you want to create folders on your SSD to organize your files, right-click on the empty space within the SSD, select “New Folder,” and give it a name. You can then drag and drop files into the newly created folder for better organization.
- To delete files from the SSD, simply select the files you want to remove and press the “Delete” key on your keyboard. Confirm the deletion when prompted.
- Alternatively, you can right-click on the selected files and choose “Move to Trash” to send them to the trash bin. Remember to empty the trash to permanently delete the files from the SSD.
- For efficient file management, consider organizing your files into different folders based on categories or projects. This will make it easier for you to locate specific files in the future.
- Remember to safely eject the SanDisk Extreme Portable SSD from your Mac when you no longer need to use it. To do this, simply right-click on the SSD icon in the Finder sidebar and select “Eject.” Wait for the confirmation message before disconnecting the SSD.
By following these steps, you can easily transfer and manage your files on the SanDisk Extreme Portable SSD. With its fast transfer speeds and ample storage capacity, you can enjoy seamless access to your important files wherever you go.
Now that you have learned how to transfer and manage files on your SSD, let’s move on to the next step: encrypting and securing your data on the SanDisk Extreme Portable SSD.
Step 4: Encrypting and Securing Your Data on the SanDisk Extreme Portable SSD
When it comes to protecting your sensitive data, encrypting and securing your files on the SanDisk Extreme Portable SSD is crucial. By encrypting your data, you can ensure that even if the SSD falls into the wrong hands, your information remains secure. Follow the steps below to encrypt and secure your data on the SanDisk Extreme Portable SSD:
- Connect the SanDisk Extreme Portable SSD to your Mac and open Finder.
- Locate the SSD under the “Devices” section in the sidebar and double-click to open it.
- In the SSD folder, go to the “Applications” folder and open the “Utilities” folder.
- Open the “Disk Utility” application. This utility allows you to manage and encrypt your SSD.
- In Disk Utility, select the SanDisk Extreme Portable SSD from the list of drives on the left-hand side.
- Click on the “Erase” button at the top of the window. A new dialog box will appear.
- Choose a name for your SSD and select the format option “Mac OS Extended (Journaled, Encrypted)”.
- Enter a secure password. Make sure it’s strong and unique, consisting of a combination of letters, numbers, and special characters.
- Click on the “Erase” button to start the encryption process. This may take some time, depending on the size of your SSD.
- Once the encryption process is complete, your SanDisk Extreme Portable SSD is now protected with a secure password.
- When you connect the SSD to your Mac in the future, you will be prompted to enter your password to access the encrypted data.
- Remember to choose a strong password and keep it confidential to ensure the security of your encrypted data.
With your SanDisk Extreme Portable SSD encrypted and your data secured, you can have peace of mind knowing that your sensitive information remains protected. Whether you’re storing personal documents, confidential work files, or private photos, encryption adds an extra layer of security against unauthorized access.
By following these steps, you have successfully encrypted and secured your data on the SanDisk Extreme Portable SSD. Now you can enjoy the benefits of fast and secure storage for your important files.
Congratulations! You have completed all the necessary steps to set up and utilize your SanDisk Extreme Portable SSD on your Mac. With its high performance, durability, and secure storage capabilities, the SanDisk Extreme Portable SSD is an excellent choice for users who require fast and reliable external storage for their Mac. Make the most out of your SanDisk Extreme Portable SSD and enjoy the convenience it offers in backing up, transferring, and securing your data.
Conclusion
Congratulations! You have successfully set up the SanDisk Extreme Portable SSD on your Mac. By following the steps outlined in this guide, you have connected the SSD, formatted it to ensure compatibility, transferred and managed your files, and encrypted your sensitive data for enhanced security. The SanDisk Extreme Portable SSD offers incredible performance, reliability, and convenience, making it an excellent choice for Mac users who require fast and secure external storage.
With its compact design and fast data transfer speeds, the SanDisk Extreme Portable SSD allows you to conveniently carry your files wherever you go. Whether you’re a photographer, videographer, or a regular user in need of extra storage space, this SSD offers ample capacity to store your documents, photos, videos, and more.
By connecting the SanDisk Extreme Portable SSD to your Mac, you have expanded your storage options and freed up valuable space on your internal drive. With easy file management and organization, you can efficiently keep track of your data and locate files whenever you need them.
In addition, by encrypting your data on the SanDisk Extreme Portable SSD, you have added an extra layer of security to protect your sensitive information. With a strong and unique password, you can prevent unauthorized access and have peace of mind knowing that your confidential files are safe.
Remember to always safely eject the SSD from your Mac before disconnecting it to avoid data loss or corruption. It’s good practice to keep your SSD firmware up to date to ensure optimal performance and compatibility with your Mac.
With your SanDisk Extreme Portable SSD properly set up on your Mac, you can now enjoy the benefits of fast, reliable, and secure external storage. Whether you’re a professional or a casual user, the SanDisk Extreme Portable SSD is a valuable tool to enhance your Mac experience.
Thank you for following this guide, and we hope that it has been helpful in setting up your SanDisk Extreme Portable SSD on your Mac. Enjoy the convenience and performance of your new storage solution!